 Tweet
Tweet
Seamless!
-
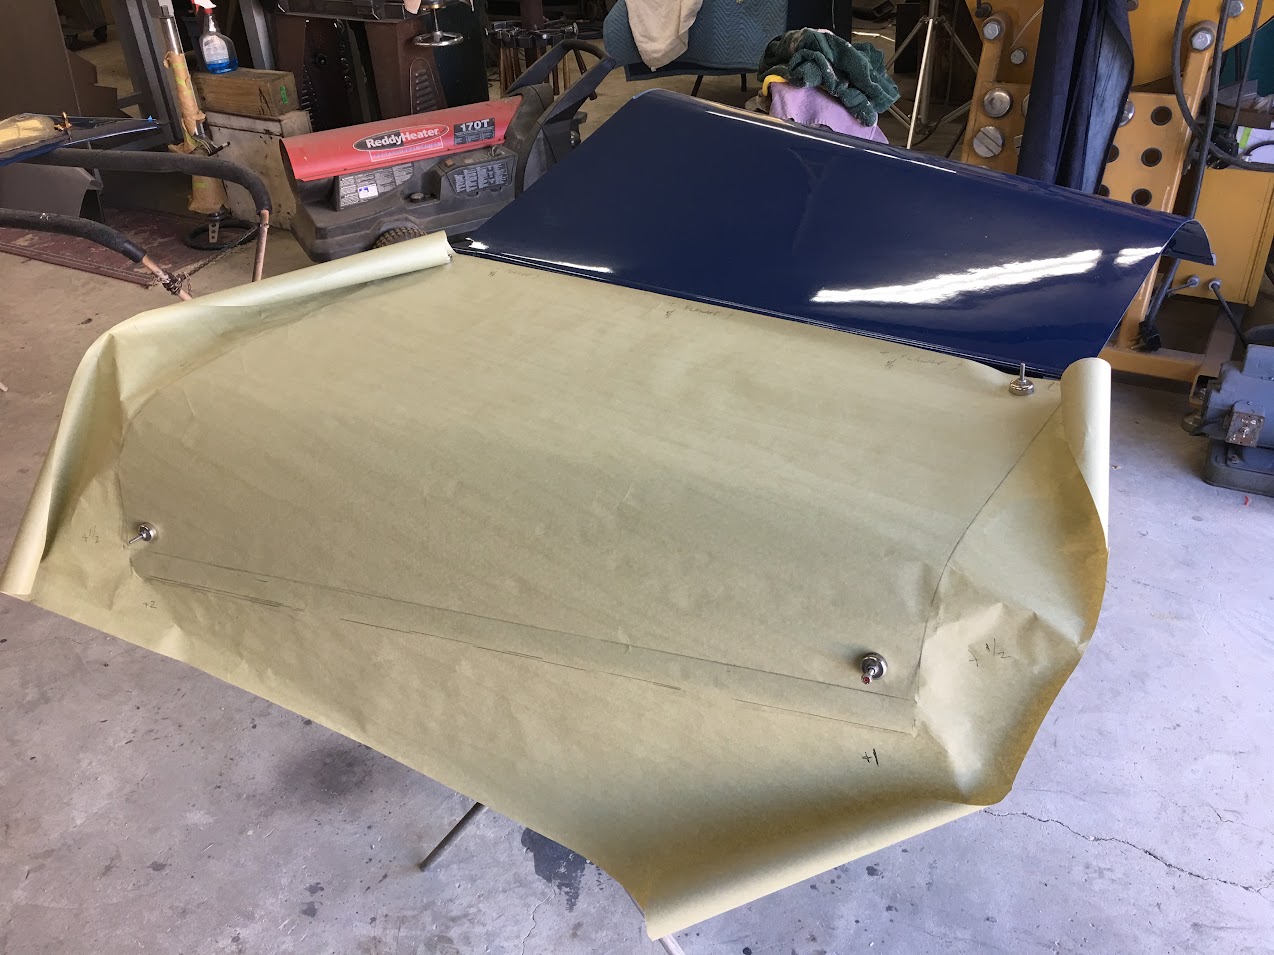
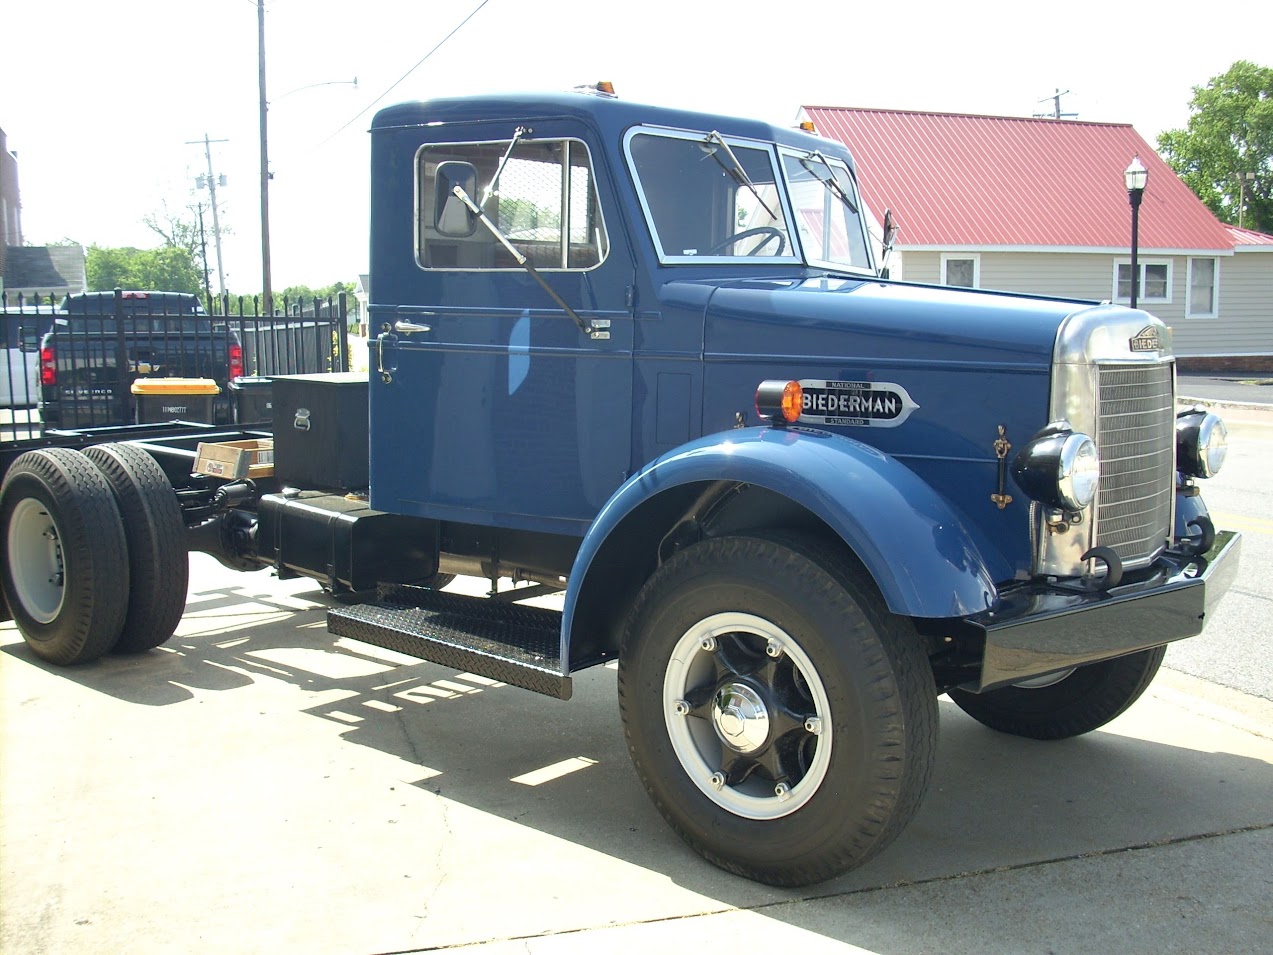
Today we started fabricating the new hood for the Biederman truck. During restoration John had bought a replacement cab with less rust issues that was a couple years newer, and unfortunately slightly wider as well. Since the original hood did not sit down where the bead details aligned, we're going to fabricate a new one that will fit correctly.
Doesn't look like these are going to fit either. Me and dominoes..
Hood is removed and a paper pattern taken for starting point of the new one. Slight bit more material will be added for good measure..
pattern laid out on 16 gauge cold rolled steel.
A straight edge finds the start of the radius on either side, marked with tape, and measure to find the center of the radius. Then the radius center and widths get marked onto the new panel.
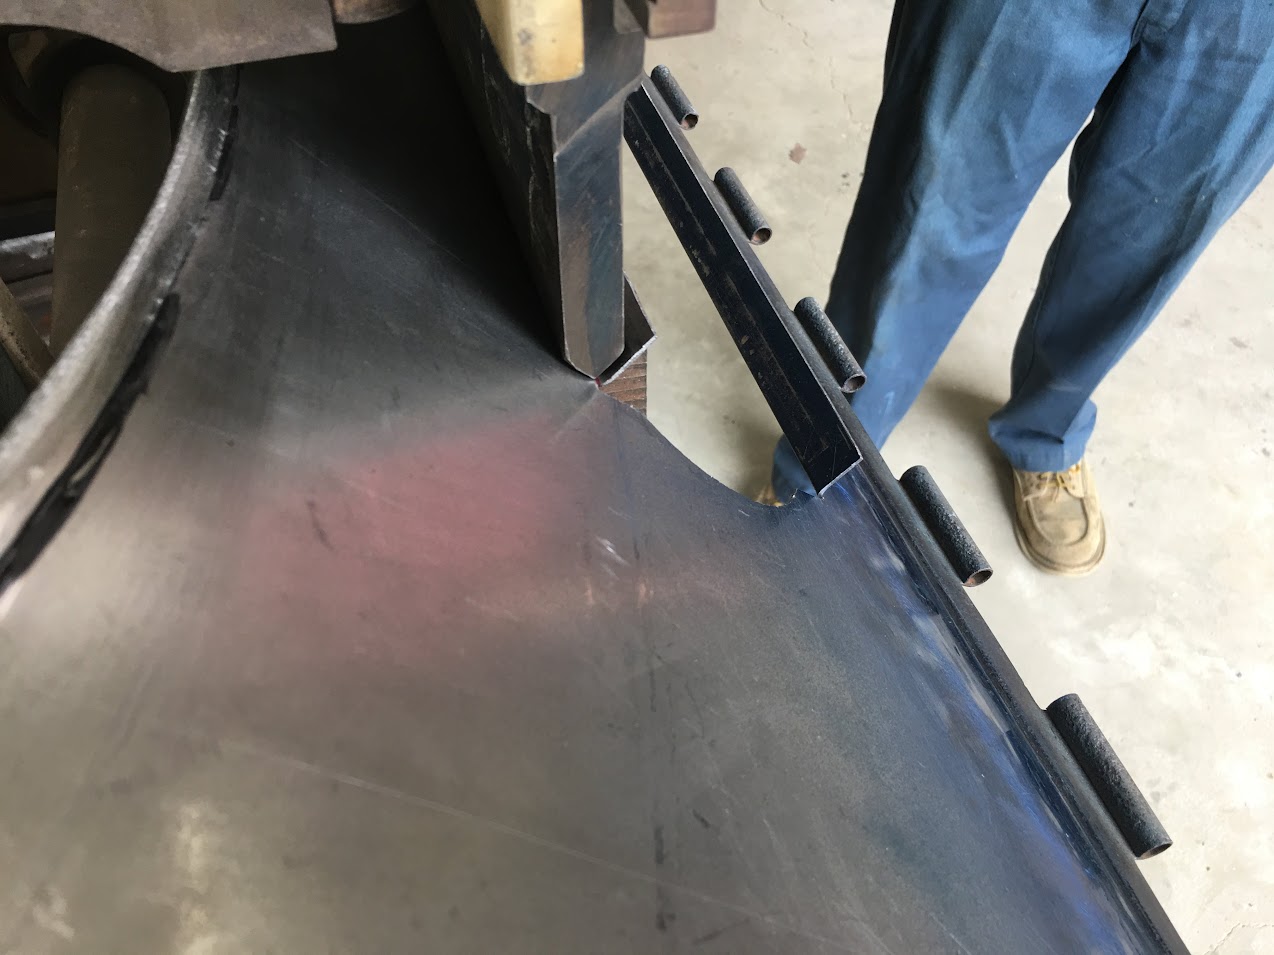
the panel was wheeled to add a slight bit of crown prior to switching to the go kart slick for adding the corner radius.
Both sides formed, ready for trimming..
Video version:
.
Comment
-
More progress on Biederman hood, the butterfly hinge parts were removed from the old hood, and the piano hinge that attaches the hood sides was removed.
Piano hinge is actually part of original hood, hemmed at the lower edge. Sanding through the hemmed edge releases the hinge..
....and any spot welds were removed by grinding through the hood side to save the hinge..
This tool was designed and given to me by Clint Button (Carolina Sculpture Studio) at the recent metalshaping workshop I attended in Rock Hill. Worked well to mark the rear edge...
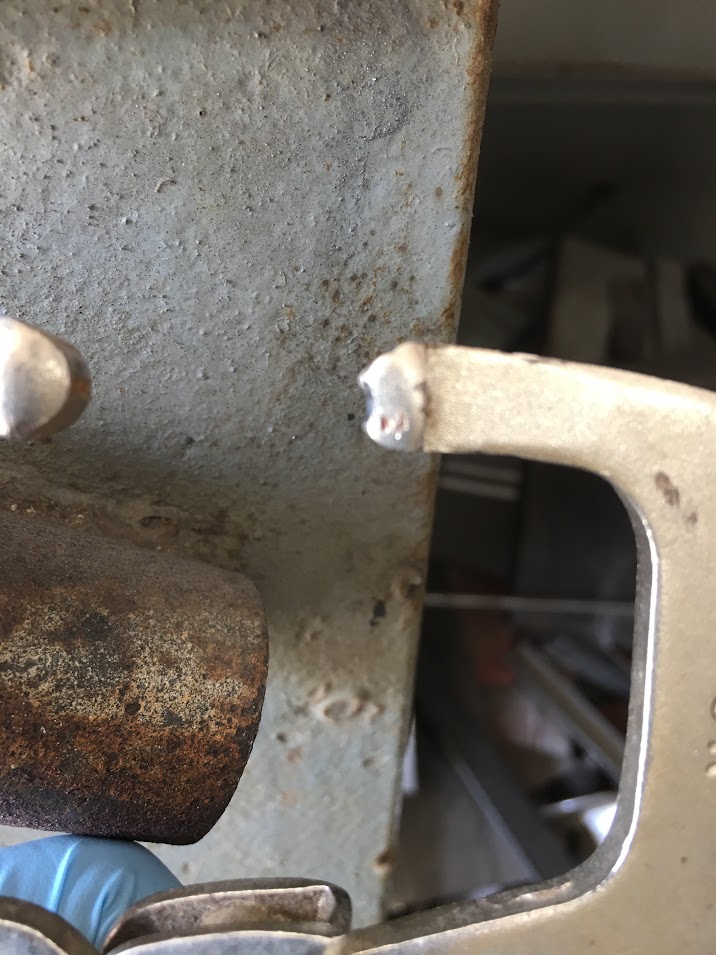
Clamping and plug welding the butterfly hinges to the hood.
Hood trimmed and gapped.....
....and our next task will be to TIG weld the piano hinges to the trimmed lower edge of the hood, these hinges attach the hood side panels..
Last edited by MP&C; April 24, 2018, 09:10 PM.Comment
-
As always, AMAZING!
DanComment
-
Thanks for checking out the progress Dan!
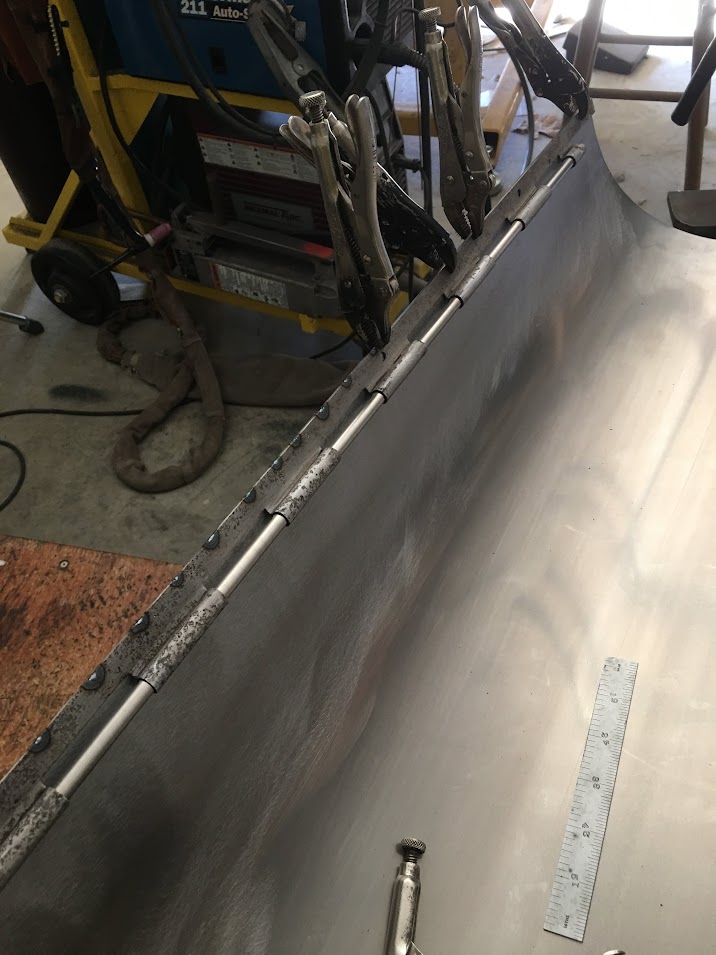
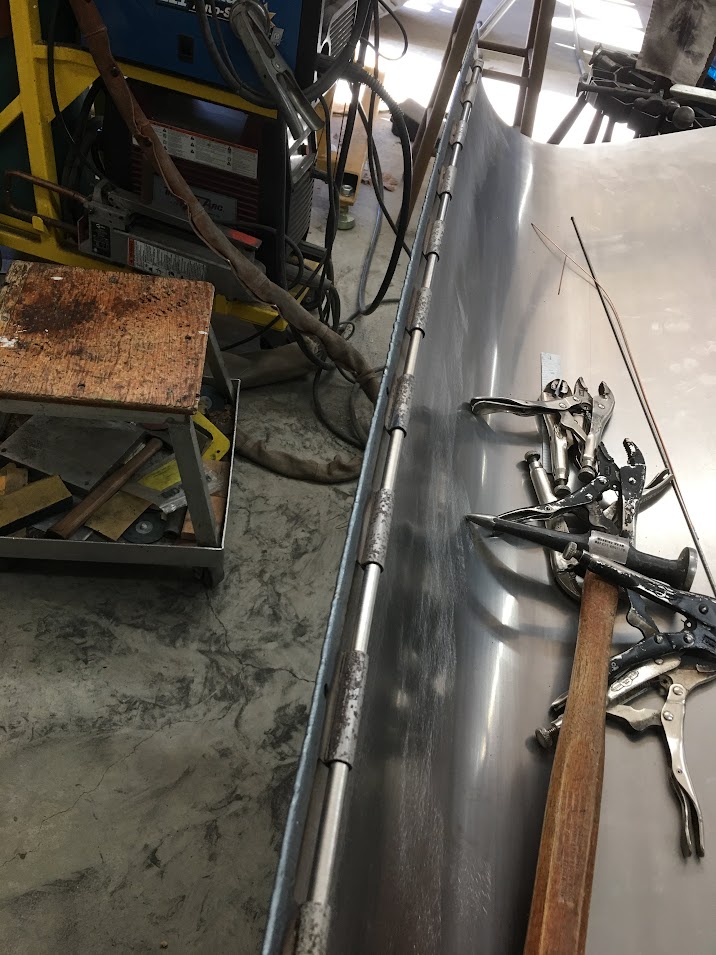
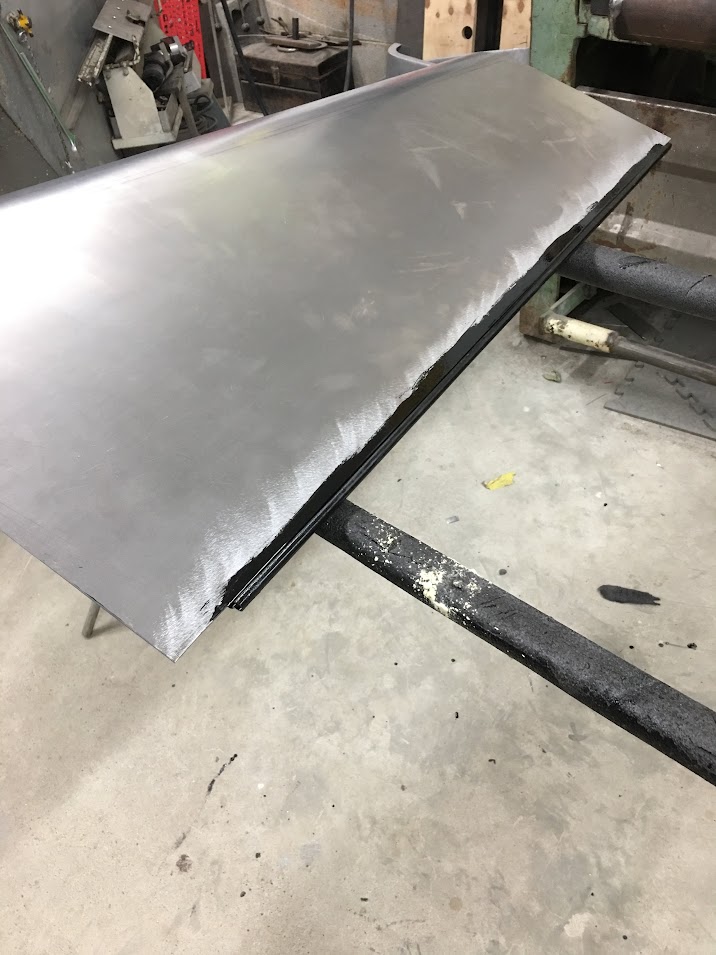
Progress through today, TIG welding up the hinges onto the new hoods..
Some SPI epoxy is mixed and brushed on, allowing it to seep between the welded parts and seal things up..
As the dominoes continued falling, the hood sides did not fit either. It was our initial plan to cut off the hinge from the top, wire edge from the bottom, and add a new center section, all parts cut to fit properly and welded back together. When we stripped paint off the lower wire edged part, we saw a bit too much pitting, rust, etc. that we opted to change to a full new lower section under the hinge. Nothing to wire edging 16 gauge, right?
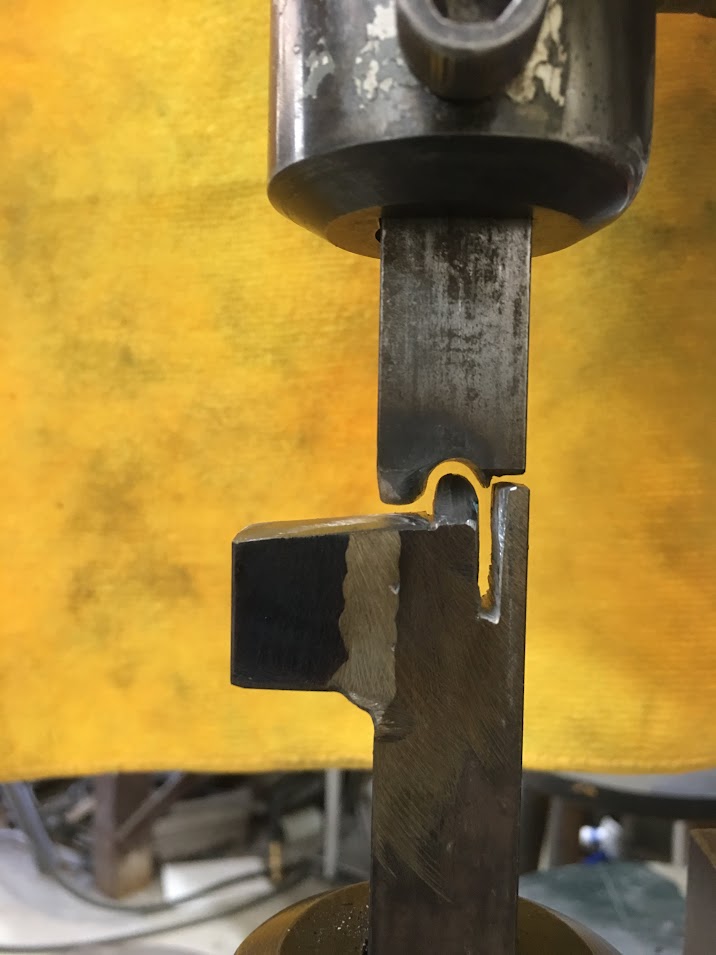
So we whipped up a set of dies to add the joggle needed for the external wiring, using 3/16 solid rod for the wiring..
Practice sample:
With that complete, we tipped the lower edge to run through the joggle die..
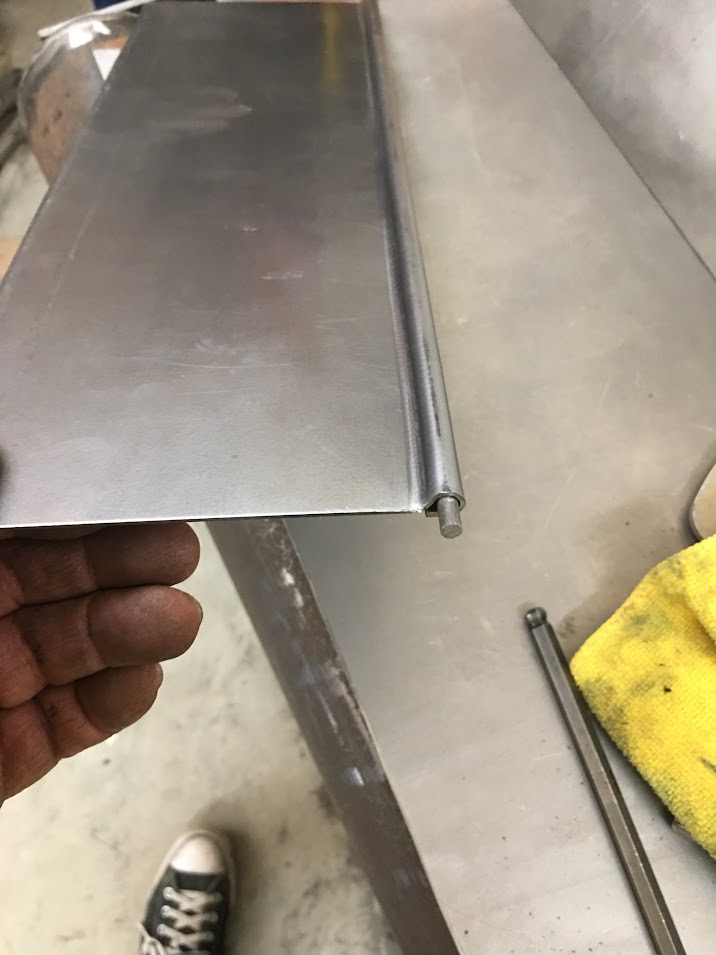
The wiring and inside of the joggle were both degreased, scuffed, and SPI epoxy added prior to folding the remainder..
Vise grips modified so they wouldn't slip off the wiring..
Wiring locked in place with some hammer action...
Hood side is tacked to the hinge, mocked to the hood, and trimmed for gaps
It's not done, but that's all for today, we're packing it up for the car show in Leonardtown tomorrow.
.
Comment
-
WOW! You ever think of getting into building mousetraps? The world would beat a path to your door!Patrick & Tammy
- Long Haulin' 2008, 2009, 2010, 2011, 2012, 2014...Addicting isn't it...??Comment
-
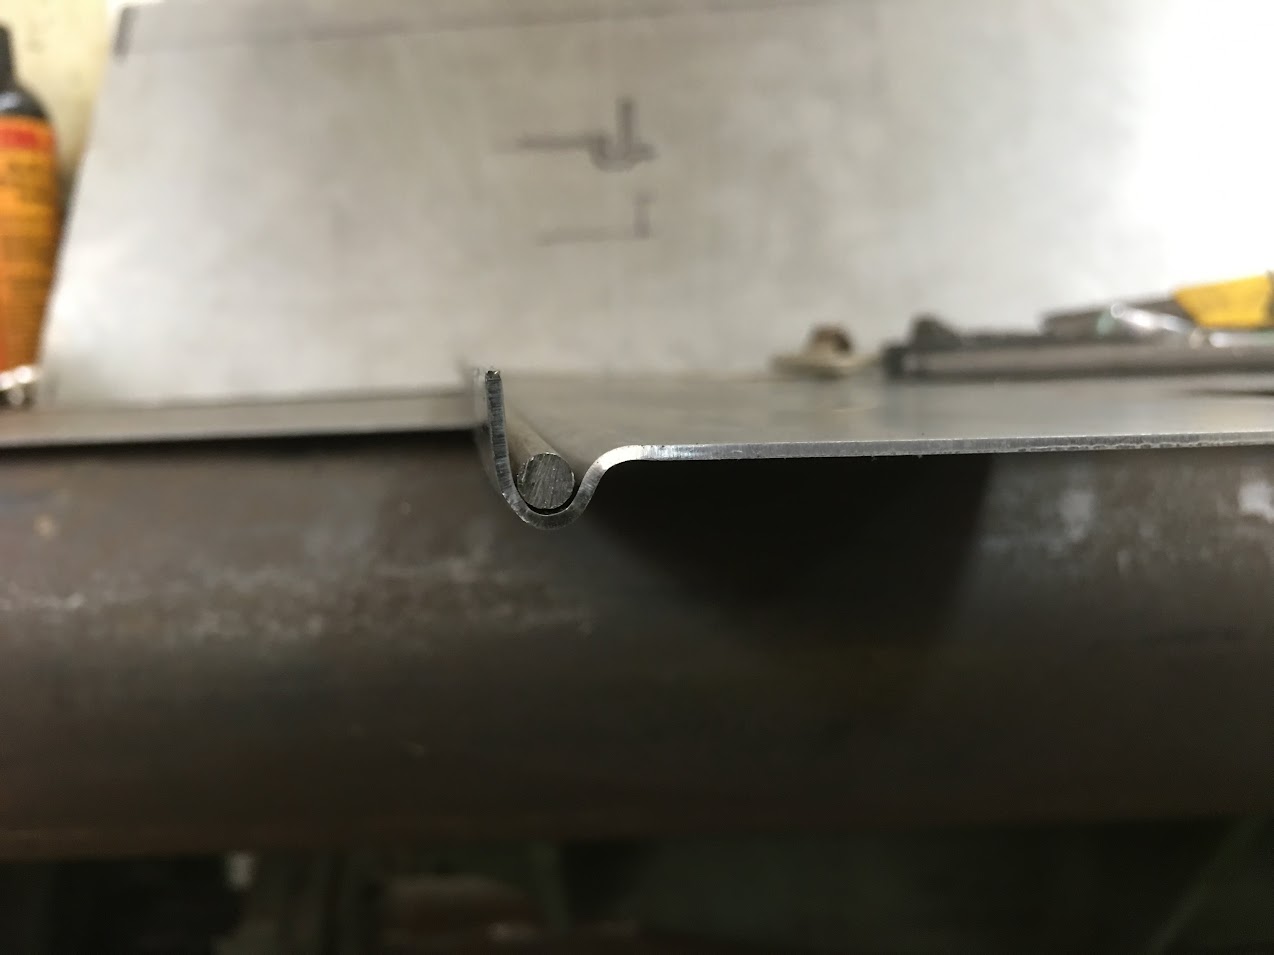
Tonight we did the wired edge on the Biederman truck's drivers hood side, so we did a couple videos of the process. We did a practice sample to make sure our adjustment on the folded flange length gave us a good wrap with a slight gap for paint..
This shows the basic process of closing the wrap, wasn't as pretty as it should have been, but hey, this is practice.
For the hood side, we used the tipping wheel in the Fasti swaging machine (bead roller) to add the flange. After running through the Lennox for adding the joggle, the panel was scrubbed with a warm dish soap and water mix using scotchbrite, then scuffed with 220 paper, then SPI epoxy added in the channel. After our 3/16 wire was laid in place, any remaining bare spots on the wire were also brushed with epoxy. The entire length was then closed as per the practice sample. We'll let that set a day or so and get the recycled hinge welded to the top.
Comment
-
Finishing up on the Biederman hood fabrications today.. That's what I told myself anyhow...
Getting the OEM hood hinge welded to the new hood side..
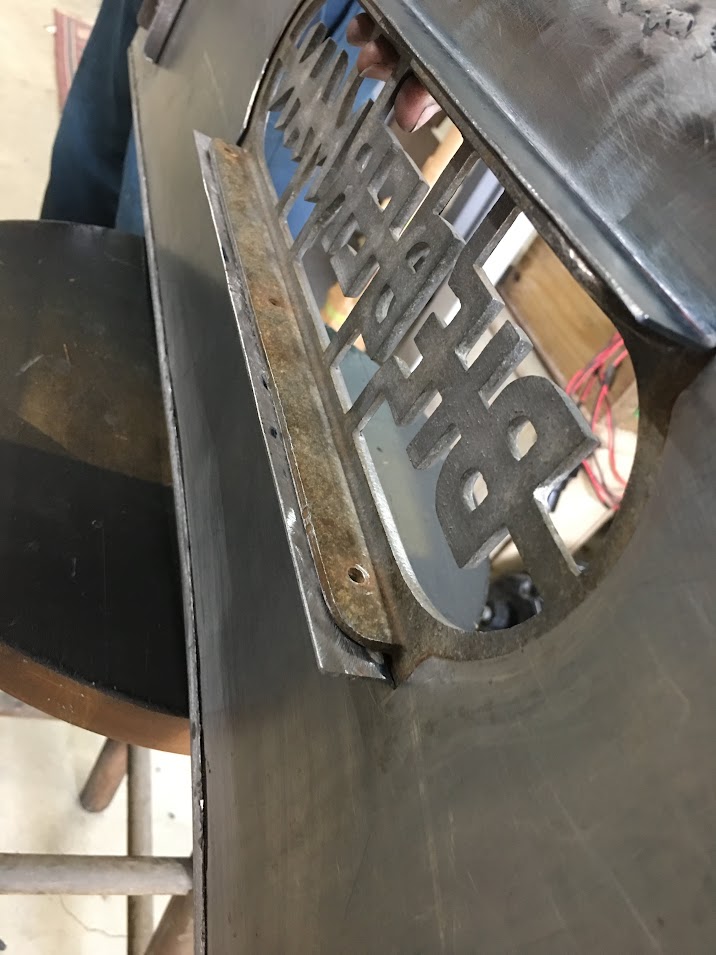
Factory version had spot welded angles on the inside to bolt side emblems to, we'll see if we can improve by eliminating a rust trap...
This should do..... Vise mounted jigsaw with optional pony clamp cruise control Don't try this at home..
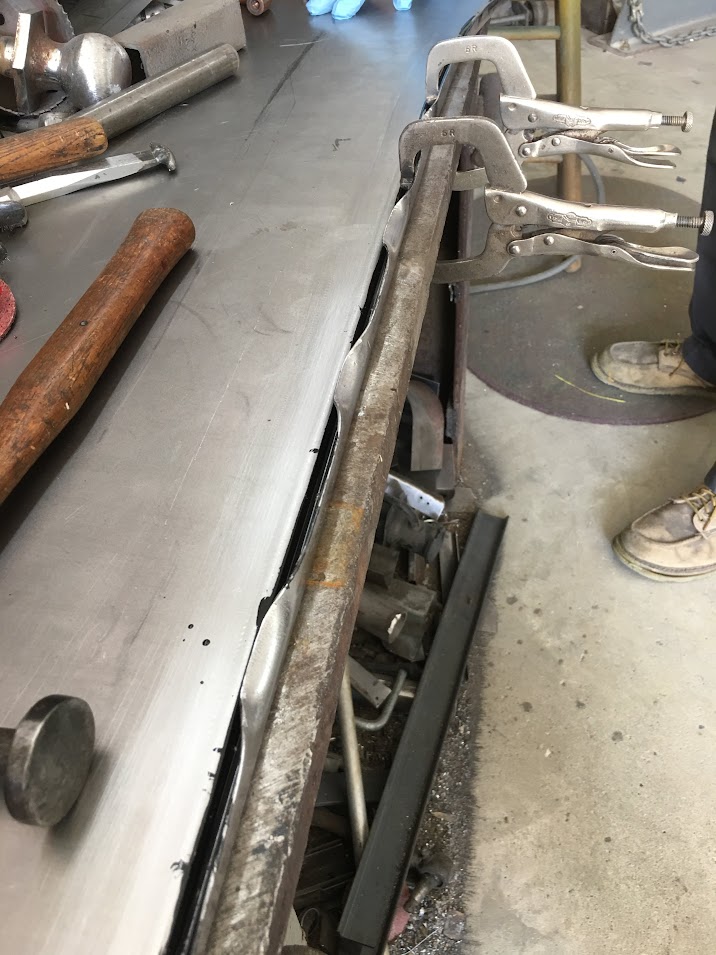
Beltline trim added.....Hey! it lines up with the cab!
Hood sides added.. and Robert is done with the hood..
Video Version:
.Comment
-
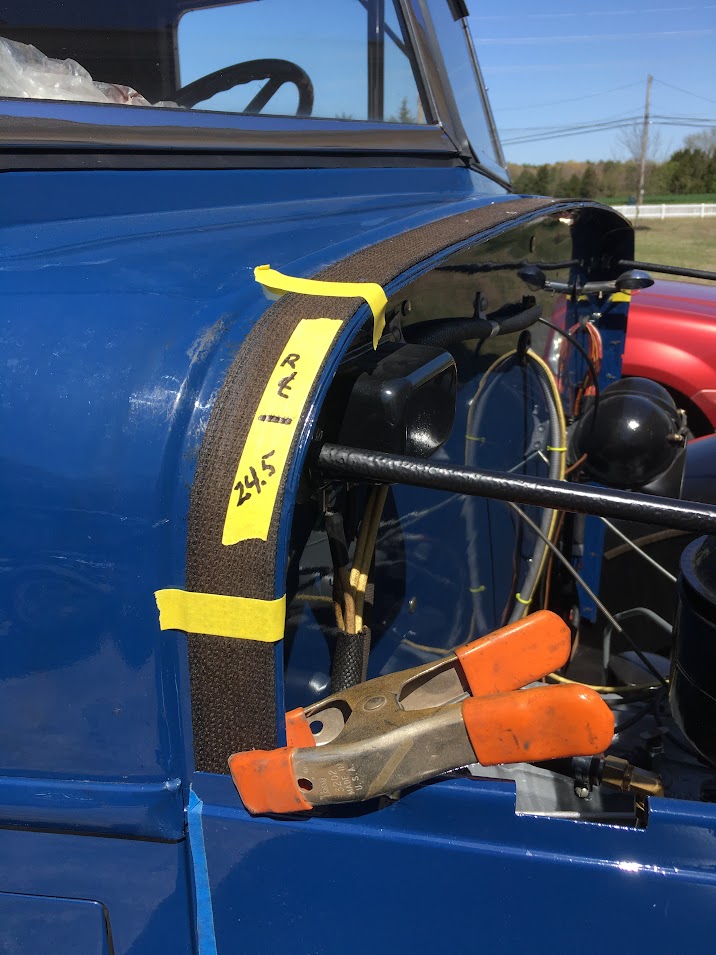
John sent me a picture today, he picked up the front fenders from his painter and got them installed. He hopes to get the hood parts tomorrow.
Comment
-
Kinda shows how lame the newer truck FRP noses are....Patrick & Tammy
- Long Haulin' 2008, 2009, 2010, 2011, 2012, 2014...Addicting isn't it...??Comment
-
John got the hood installed, and truck is loaded up for the trek to Lexington KY for the ATHS Convention.
Comment
-
Just stunning. If you didn't know better you would think that was just a really nice respray on excellent stock parts. You guys should be very proud.
DanComment
-

 Patrick & Tammy
- Long Haulin' 2008, 2009, 2010, 2011, 2012, 2014...Addicting isn't it...??Comment
-
Looks like it just came off the assembly line. Then again it probably didn't look this good when it was new.Comment
-
Thanks guys, It was a nice challenge to bring the final pieces of the puzzle together, especially for a truck that John couldn't find replacement parts.. I even put him to work a few times when push came to shove!
Comment


Comment