Announcement

Collapse
No announcement yet.

55 Wagon Progress

Collapse
X
 
  • Filter
  • Time
  • Show
Clear All
new posts

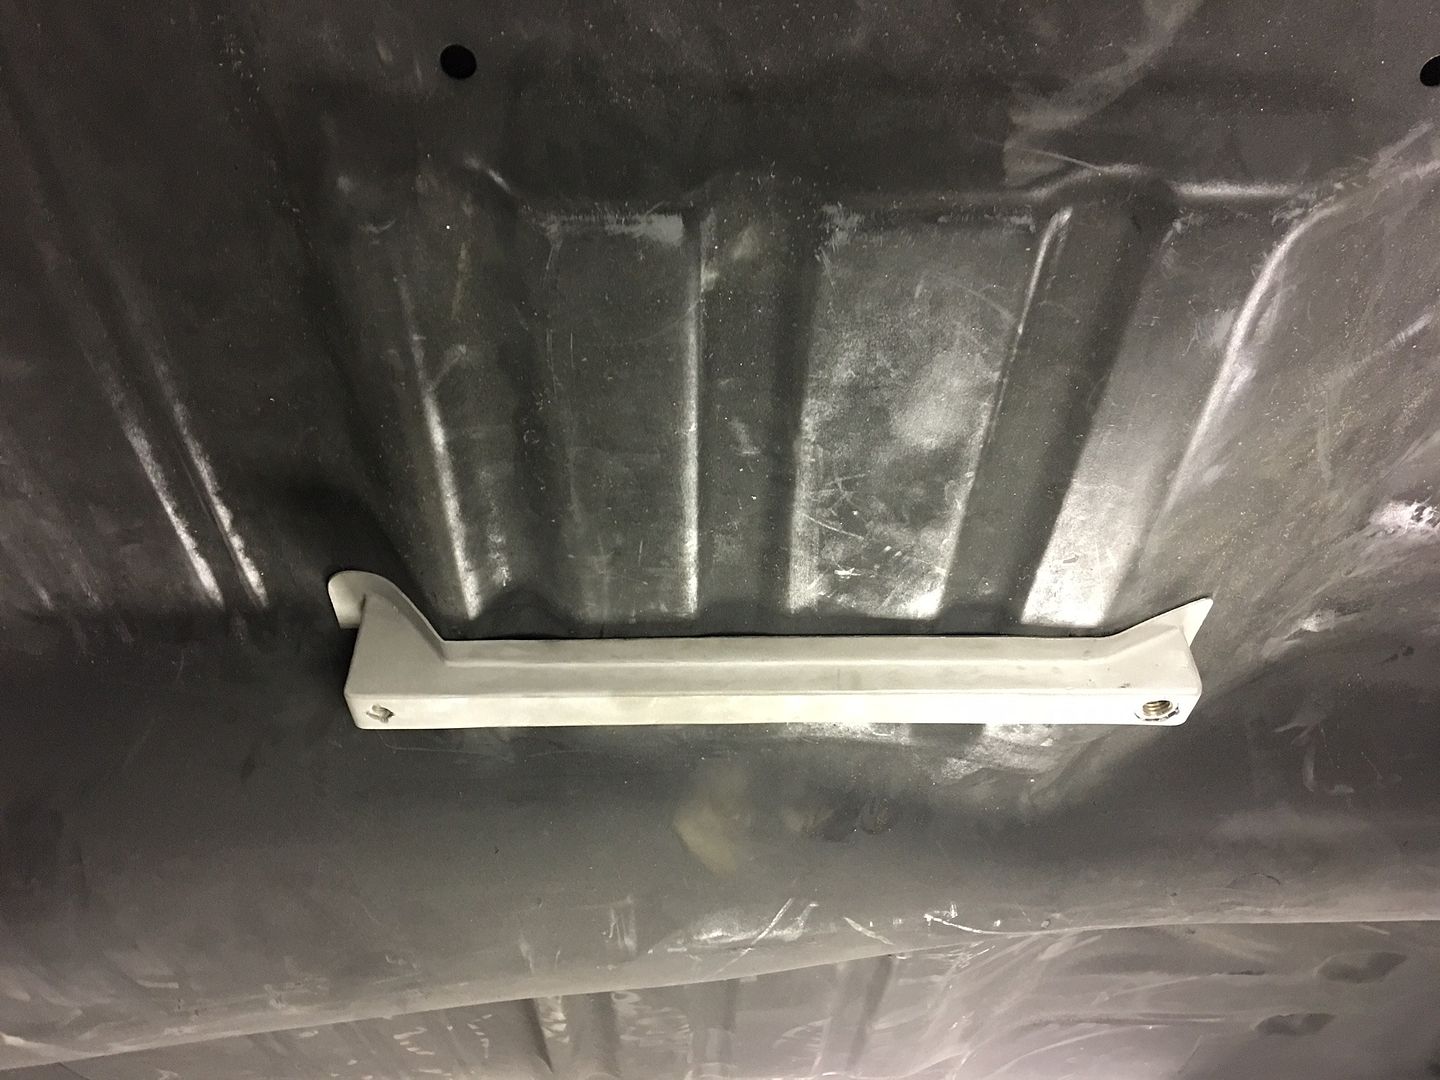
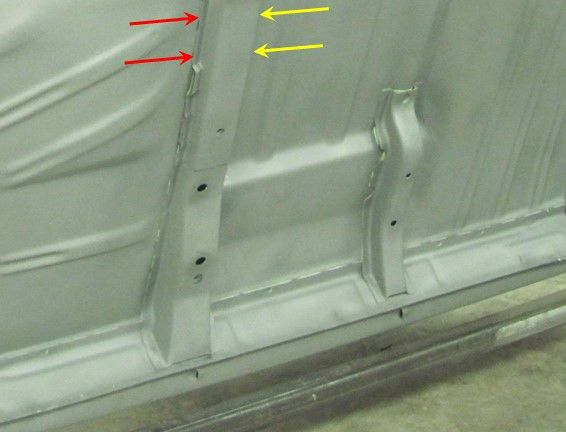
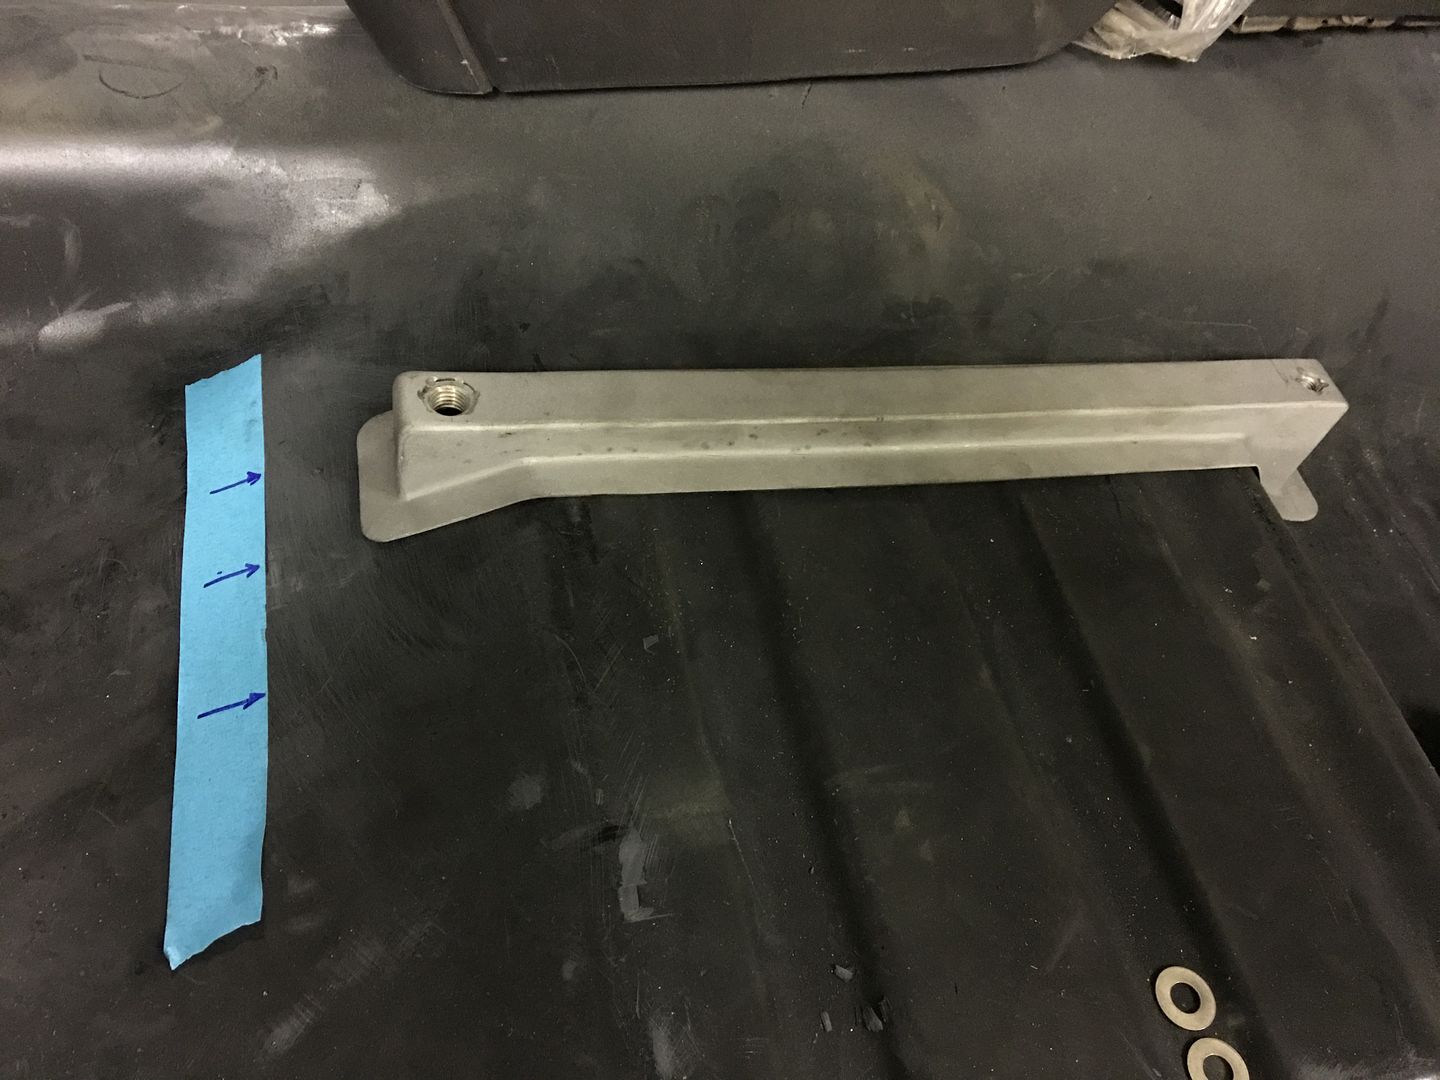
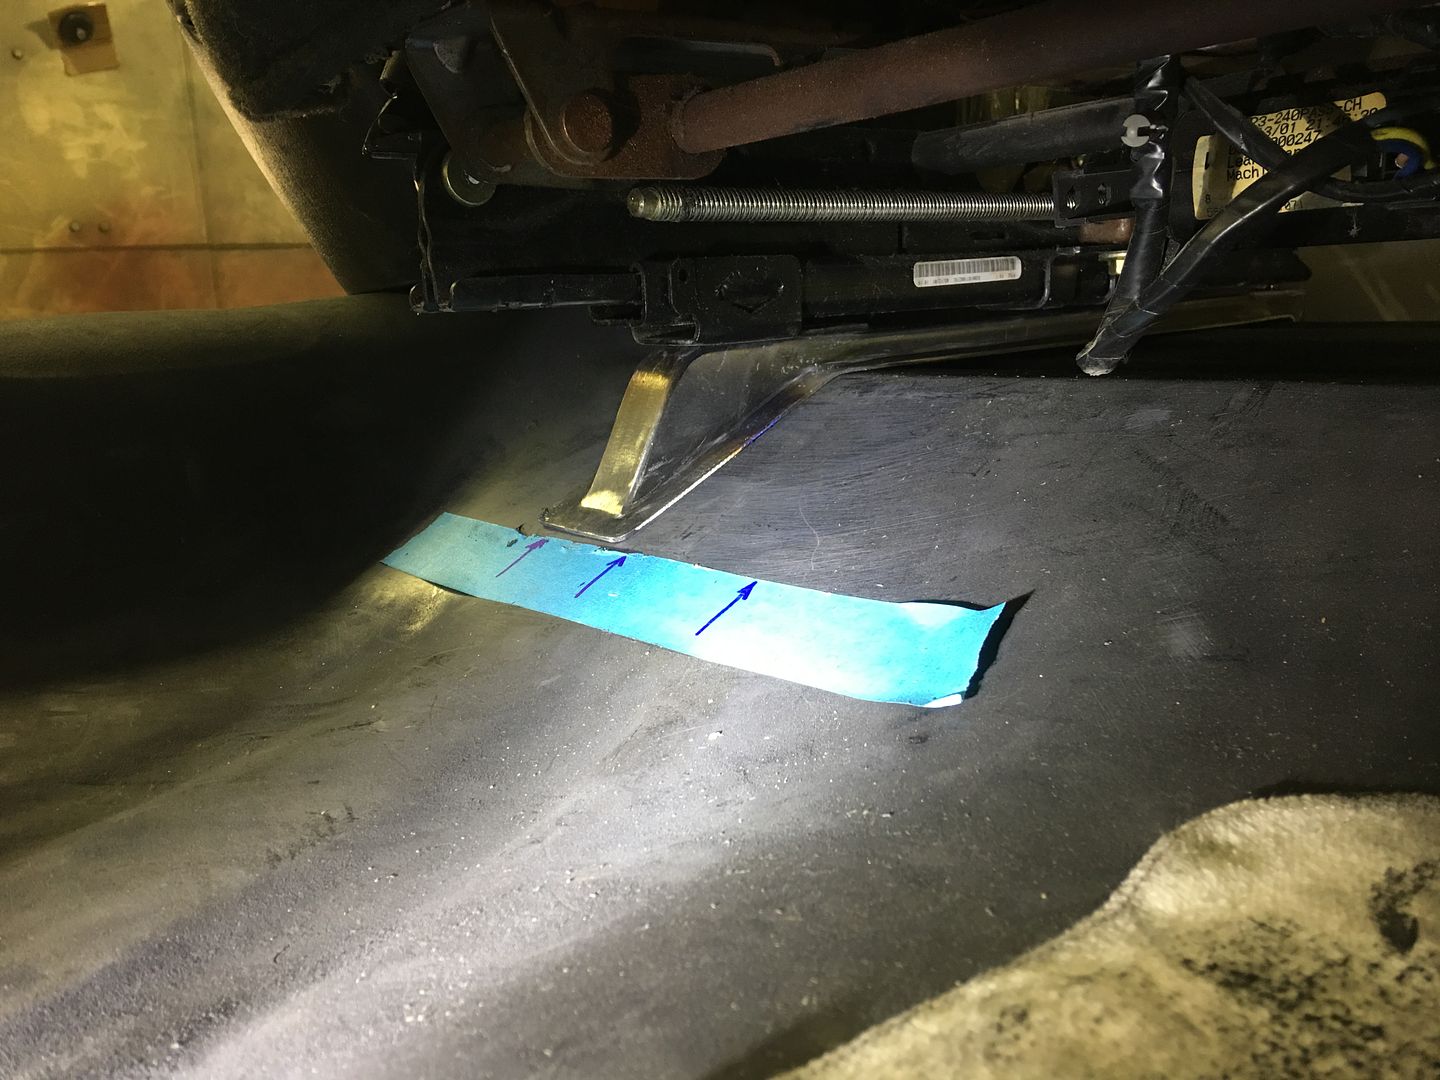
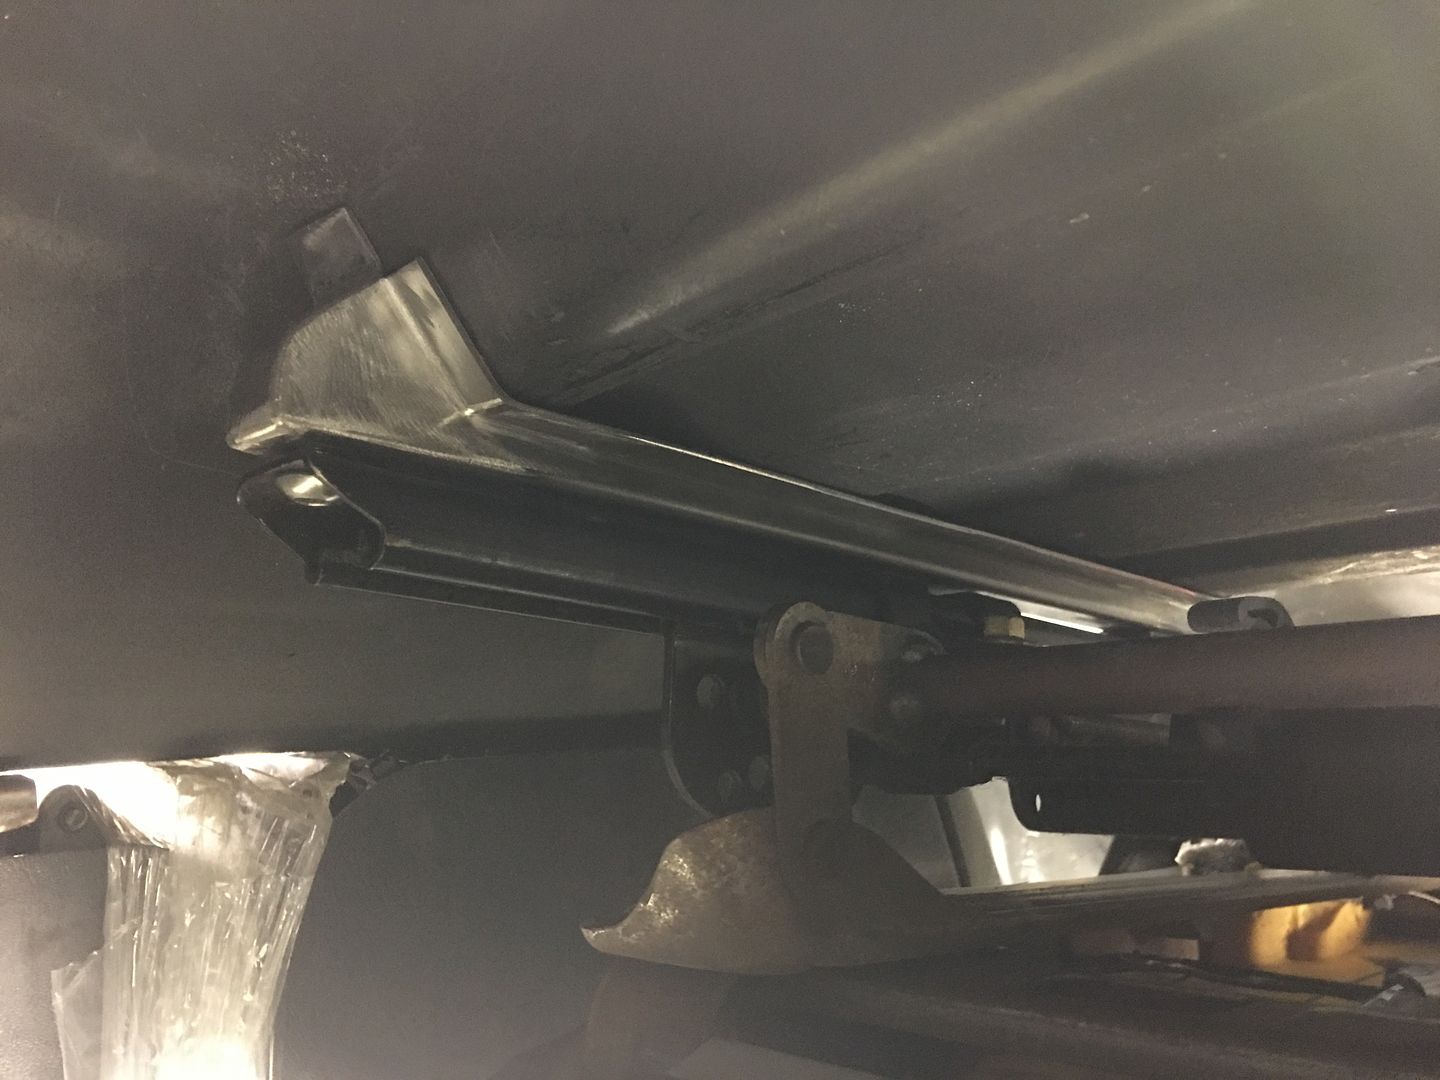
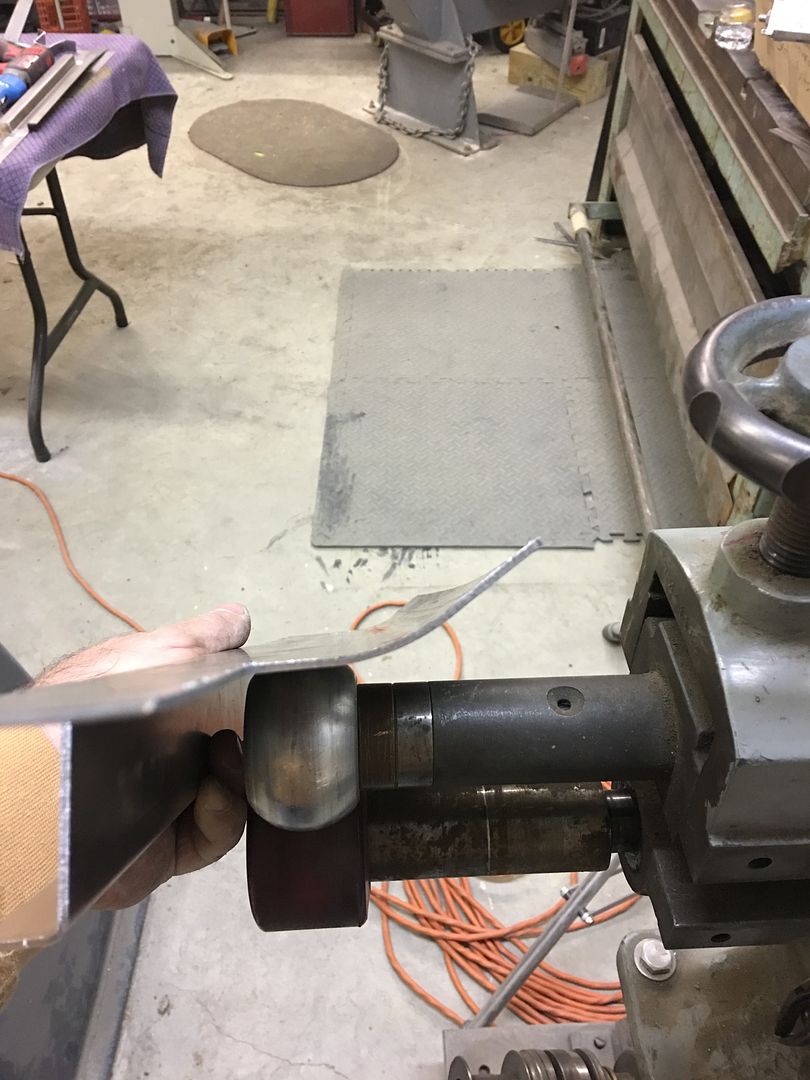
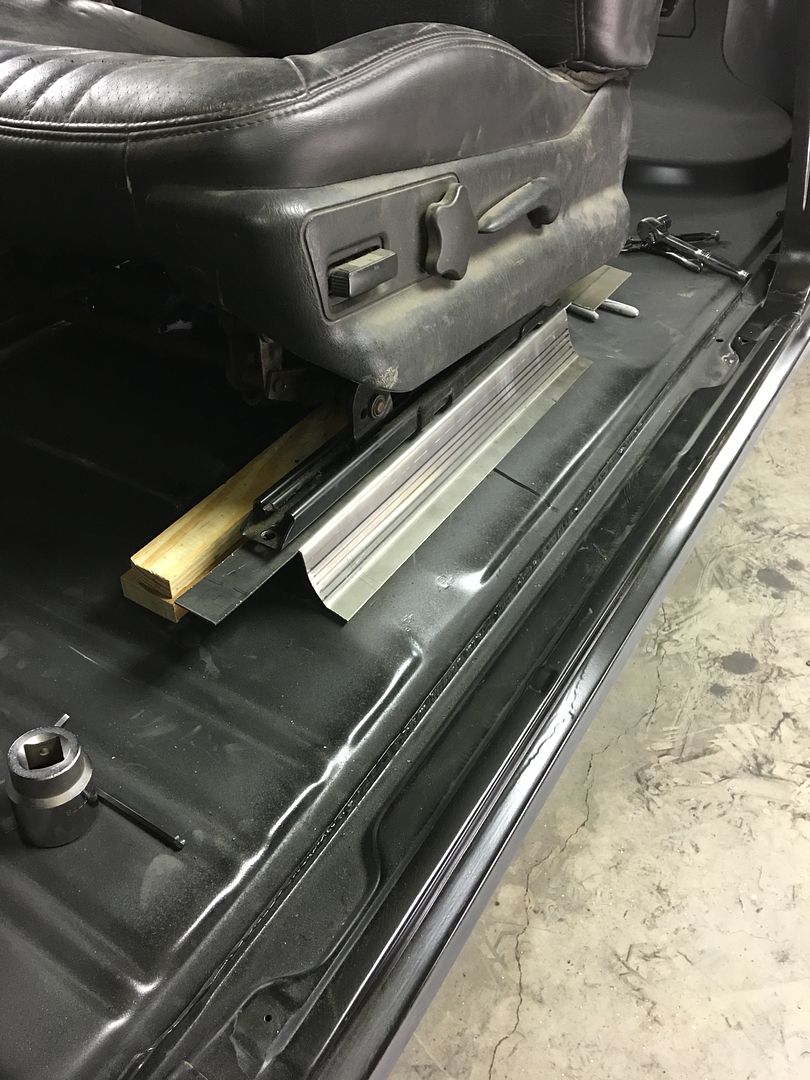
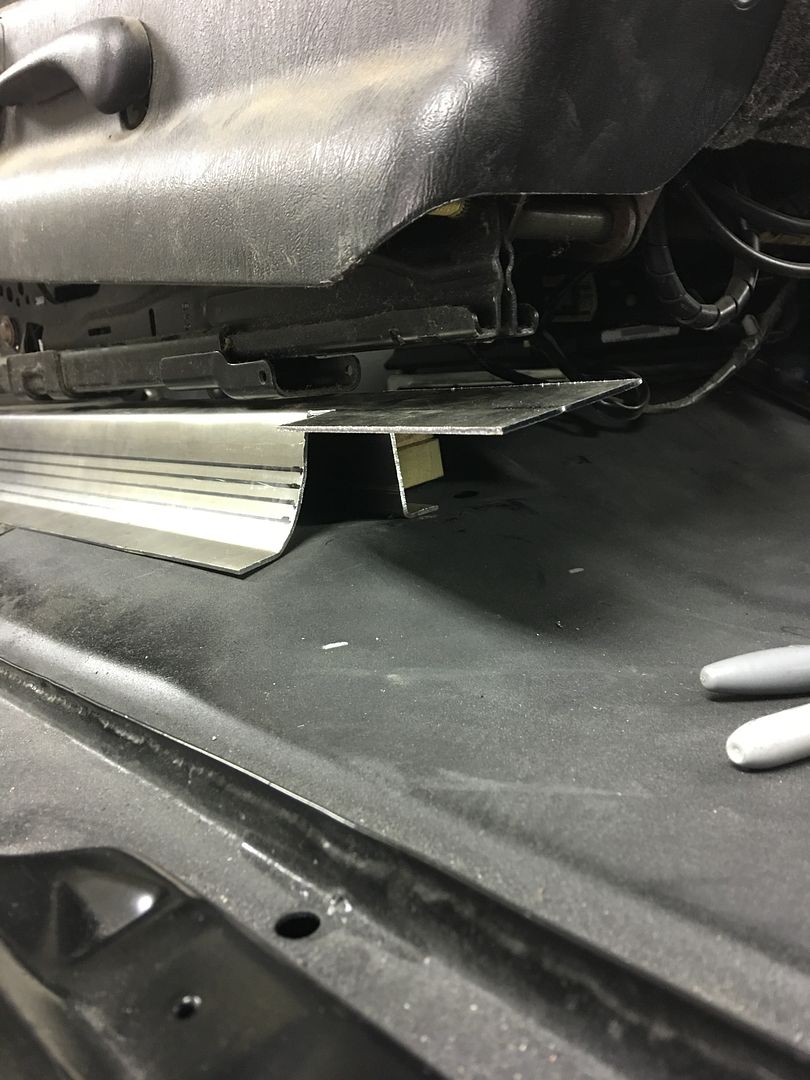
  • That makes sense, more than likely not worth the trouble, but you could put the inside on the floor, a little riser on the lower side then spacers between the seat and the track.

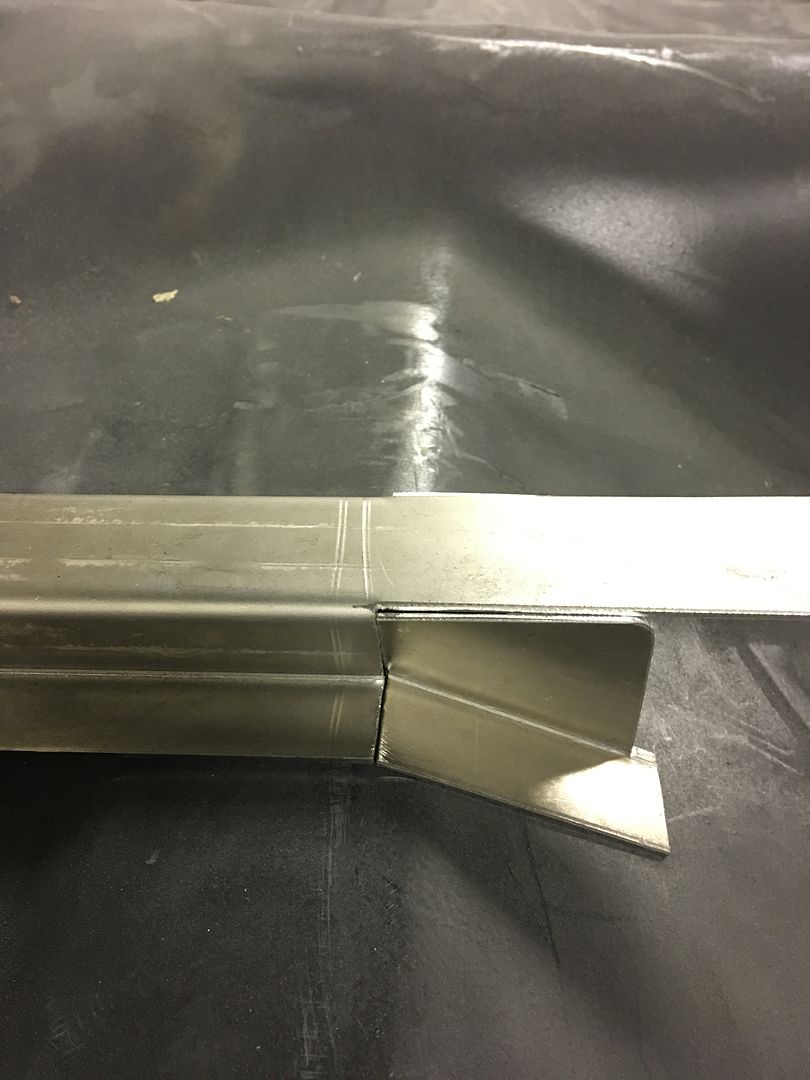
    But it's hard to go wrong with sag!
    Last edited by Russell; January 4, 2017, 06:57 PM.
    http://www.bangshift.com/forum/forum...-consolidation
    1.54, 7.31 @ 94.14, 11.43 @ 118.95

    PB 60' 1.49
    ​​​​​​

    Comment


    • 14 gauge, I hope it doesn't sag. That would be a healthy load to move these!


      Seat riser bracket number two fabrication, got more detail pictures this time..

      Used the Tipping die in the Lennox to thin out the crease line, makes for a more crisp bend, especially given the 14 gauge steel we're using...


      After bending in the Diacro manual press brake using the gooseneck die...


      Fitting and trimming the end transitions while matched to the floor...


      Ready for the TIG


      Robert


      Instagram @ mccartney_paint_and_custom


      MP&C Youtube Channel

      Comment


      • OK, so sometimes you take another look and think yeah, we can do better than that. Today the passenger bucket seat was test fit onto our riser. It could be brought a bit tighter to the floor.


        Next, looking at the cross member, the rear flange (red arrows) didn't match up to the rear flange of our riser.


        The blue tape shows the rear flange of the cross member below...


        Here's our updated riser, half as tall, and once trimmed the flange will match to above the cross member..


        Robert


        Instagram @ mccartney_paint_and_custom


        MP&C Youtube Channel

        Comment


        • When perfection is not good enough! (Sorta like Hallmark)

          Dan

          Comment


          • Thanks Dan, we'll just call it practice...


            More details on the seat risers, here the 5/8-11 hex nut is welded inside. The tacks at the top are merely to hold it centered within the hole to maintain our correct C-C hole spacing. It gets welded inside as well to keep things anchored in place.


            The 5/8 hardware was chosen as the factory seat bracket on these 2002 Monte Carlo seats had a hole that large existing already. The front of the seat bracket actually had another bracket underneath that was held in place with a solid rivet. We drilled out the rivet to remove the obstacle (so the rail was flat across the bottom), and opened the hole up for 3/8 hardware.


            Test fit....


            Still need to fill in the flange corners on the front and this one will be ready for SPI epoxy primer to coat all the surfaces before it gets welded in place..
            Robert


            Instagram @ mccartney_paint_and_custom


            MP&C Youtube Channel

            Comment


            • Moving on to the outer risers, these ones will be a bit taller due to the recess where the original seat frames bolted. We started out with using the tipping die in the Lennox to thin the 14 gauge cold rolled steel at the bend line for a more crisp bend.


              Using the tipping die in the Lennox Metlmaster to thin the bend lines in this 14 gauge cold rolled steel for more crisp bends... Making seat risers for buck...


              Next, after making the inside bends, the Fasti-werks bead roller is used with a skate board wheel to add a radius to the outer "leg" of the riser.


              Next time in the shop we'll get the ends closed up.....
              Robert


              Instagram @ mccartney_paint_and_custom


              MP&C Youtube Channel

              Comment


              • Moving on to closing up the ends of the outer seat riser... Quite a bit of stretch to get this corner to match up to the seat riser...


                A lot of stretch to get the corner piece to match up


                Then the corner was Tig welded in place and another test fit with the bucket seat..


                After Tig welding in the rear corner, the outer seat riser is test fit with the 2002 Monte Carlo Bucket Seat


                .
                Robert


                Instagram @ mccartney_paint_and_custom


                MP&C Youtube Channel

                Comment


                • Cody Walls took the Dave Thomas 35 Chevy to Pomona this weekend for the GNRS, the car took 2nd place in it's class and also received a paint award for the 57 Cadillac Biarritz colored finish. Well done Cody!


                  Last edited by MP&C; January 30, 2017, 10:26 AM.
                  Robert


                  Instagram @ mccartney_paint_and_custom


                  MP&C Youtube Channel

                  Comment


                  • Nice louvers! And good going, indeed!

                    Dan

                    Comment


                    • wow
                      Doing it all wrong since 1966

                      Comment


                      • Impressive work.

                        Comment


                        • Beautiful car I love the craftmanship .
                          Greg & Mendy Dayton, Ohio 2007LH 2008LH 2010LH 2011LH 2012 1st 2 stops 2013LH 2015 1st 2 stops2016LH 2017 first and last stops . 2018 LH ("It's better to be dead and cool than alive and uncool!! Harley Davidson!")

                          Comment


                          • Thanks for the kind words guys! Cody is a true talent with an eye for detail. I appreciate the opportunity to work with him (however small our effort was) on the 35 project. Here's his web site, he's also on FB and IG if you'd care to occasionally check out what he's working on next....


                            Well, let's back up and punt one more time. The owner of the 55 stopped by about a week ago and sat in the mocked up bucket seat. She said it sat too high, so our version 2 seat brackets were out. Cutting the floor pan was over-ruled (for recessing the brackets) so we opted for a 14 gauge flat seat pan directly on top of the floor, which also gave us a shape we could eliminate the "step" in the floor.


                            seat pan for adapting 2002 Monte Carlo seats into the 55 wagon.


                            test fit of bucket seat and mock up of wedge for attaching rear bolt..


                            Next is to add the wedges to the rear ramp for attaching the rear of the track slides...
                            Last edited by MP&C; January 31, 2017, 05:11 AM.
                            Robert


                            Instagram @ mccartney_paint_and_custom


                            MP&C Youtube Channel

                            Comment


                            • She must be short like we are. I had to cut the seat riser by 1" on the van so we could reach the floor! Even with the power seat all the way down it wasn't enough.

                              Dan

                              Comment


                              • Absolutely amazing work!
                                CHECK US OUT AT:
                                www.ridetech.com

                                Comment

                                Working...
                                X