 Tweet
Tweet
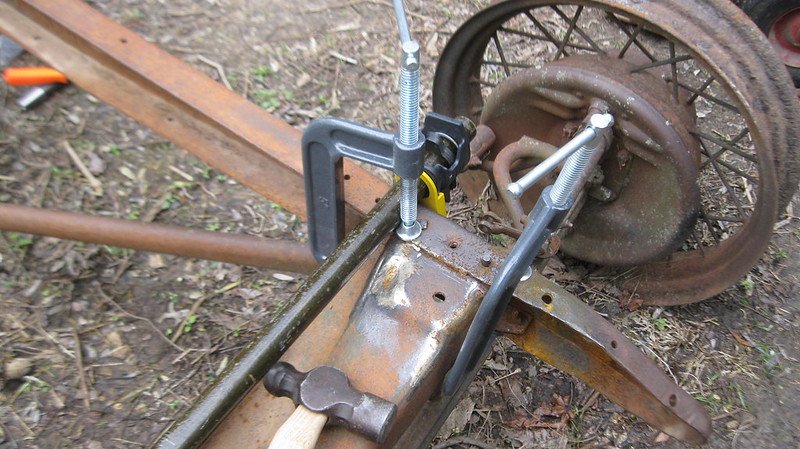
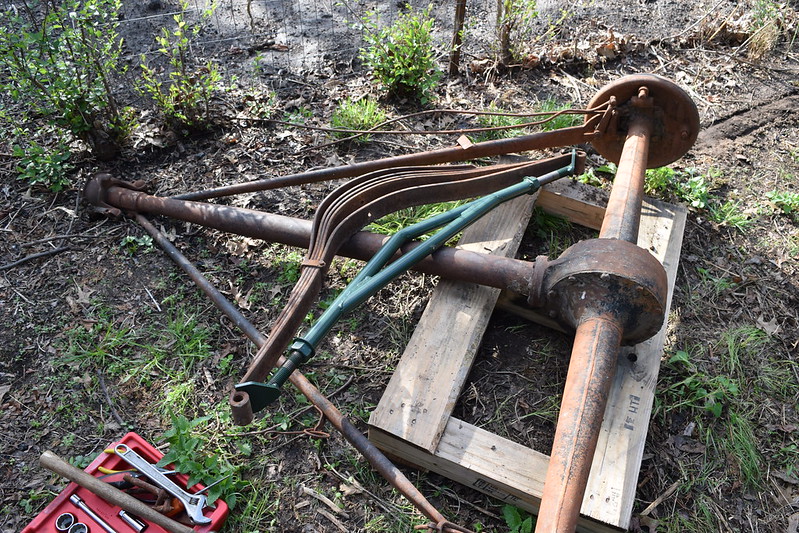
I've been collecting parts to do this build for about 2 years, starting with the rolling chassis. One of the guys my dad works with, lost his father a a few years ago and decided to start cleaning up his property. I had been buying various automotive things from him and hadn't paid much attention to the frame. Until one day I got to looking at the hubcaps on it.
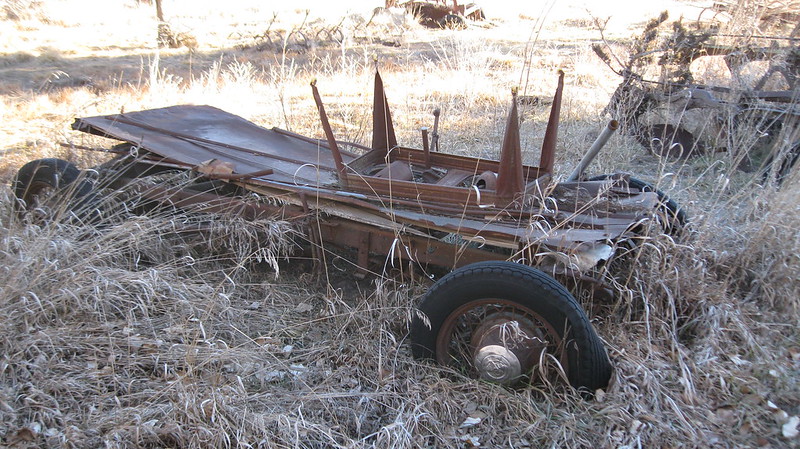 IMG_5276 by , on Flickr
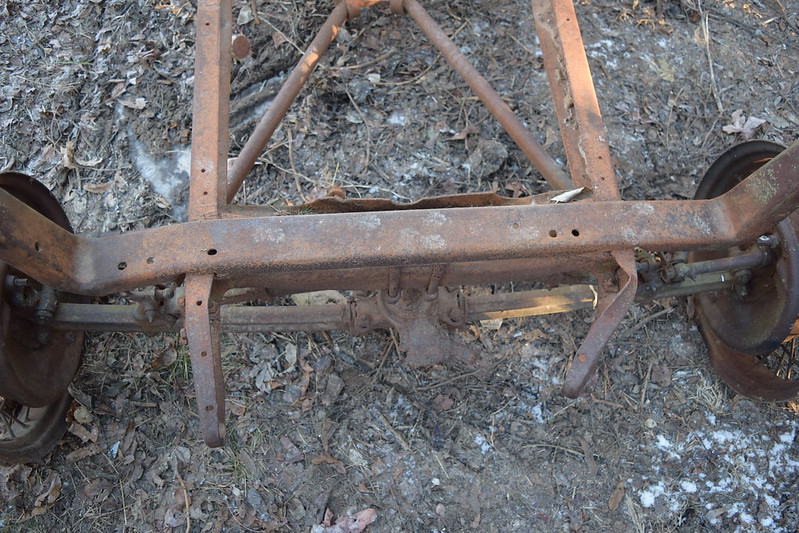
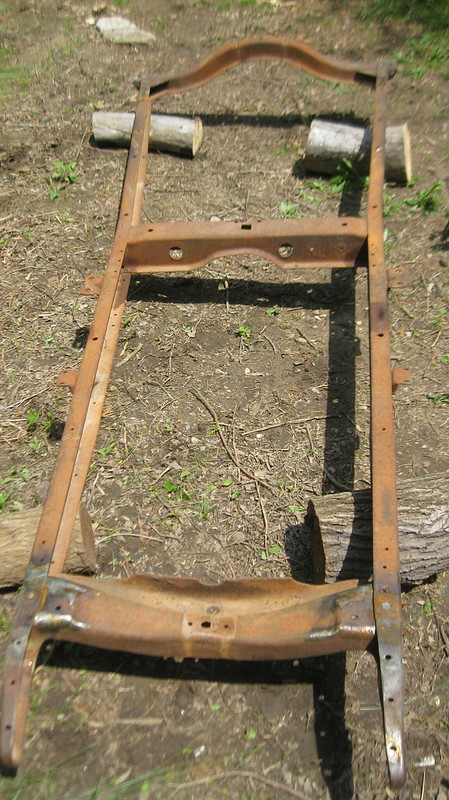
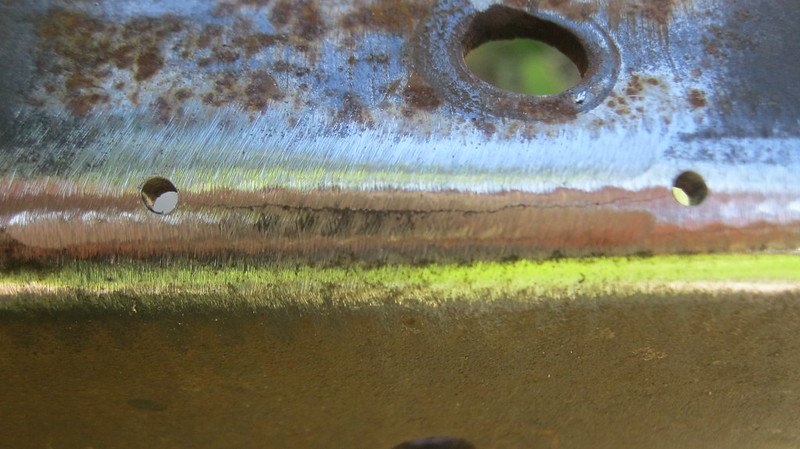
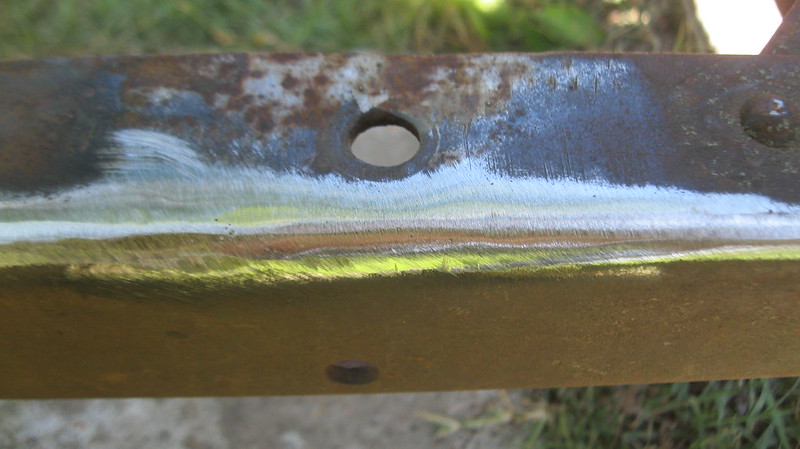
Which the 18" wheels and hubcaps are 32 ford, I thought I had won the lottery of potential Hot Rod builds.After pulling the scrap metal off of this one time hay wagon off I found the cross member to be a straight piece of metal and not a K. Needless to say I still bought it for the whopping sum of $50. At that point I shoved it into the tree row and started looking for a motor, as I figured that would dictate the build. The first motor I found was a 1946 Cadillac V8 for a couple hundred bucks, The huge downfall was an 8 inch crack in the side of the block. Fixable but both my dad and the seller thought it was to heavy of a motor for the A frame. So my search turned to a Flat head V8, despite the constant suggestion to just go with a small block chevy. Oddly enough I came across a 30's Gleaner- Baldwin 4 banger ( hence the name silver seeder) that was made by ford. My old mail man who lived 3 miles away had bought it to power a buzz saw.
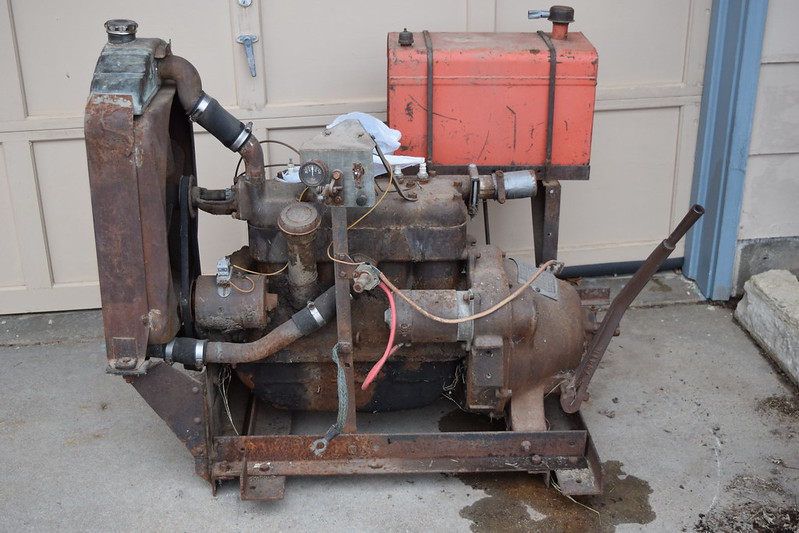 DSC_0484 by , on Flickr
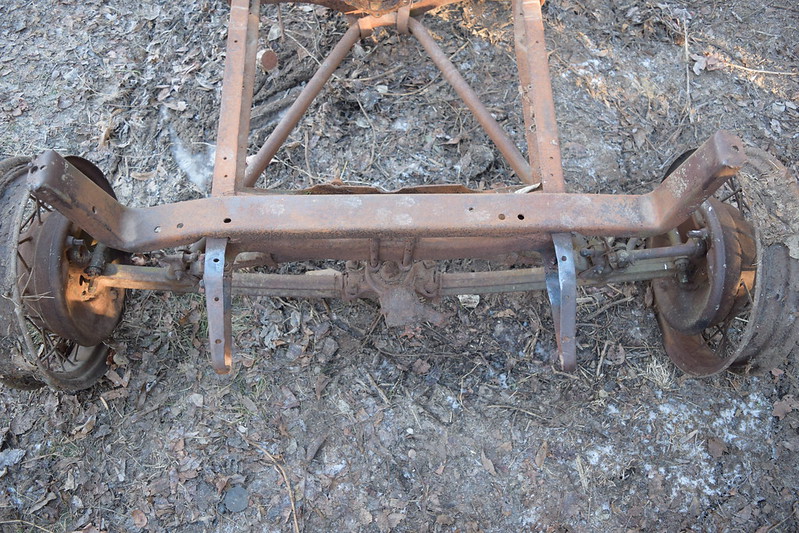
I then found a guy who practically gave away all the parts he wasn't needing from a fairly complete model A that he was going to hot rod. So that gained me a second rear end, with a torque tube, a model A transmission, a steering column, and some other small parts.Last May at a swap meet I was talking to a vendor who was selling a few model a bodies and asked him if he had a cowl to sell. He didn't but had seen one on the other side of the swap meet, and all's he needed was the gas tank to complete one of the bodies he was selling. I had found a gas tank for a model A at the place I bought the frame. So I went half in with him and got me the cowl to complete the A to the point I could get it street legal.
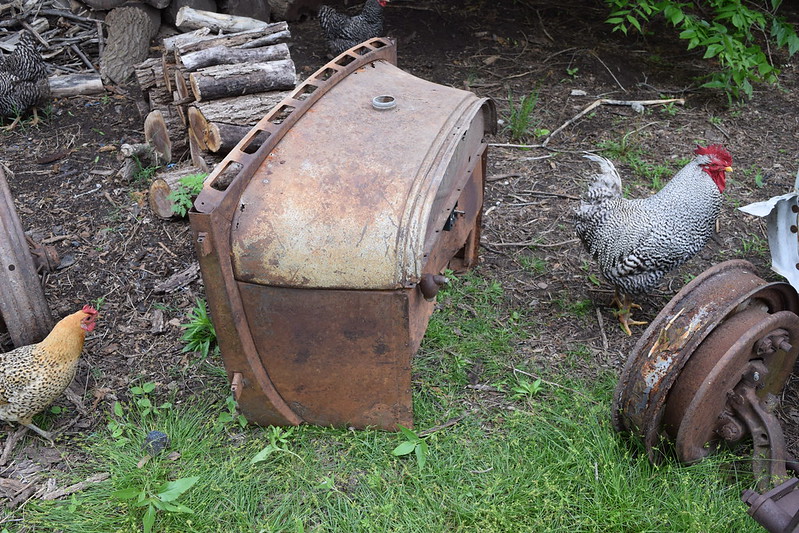 DSC_0846 by , on Flickr
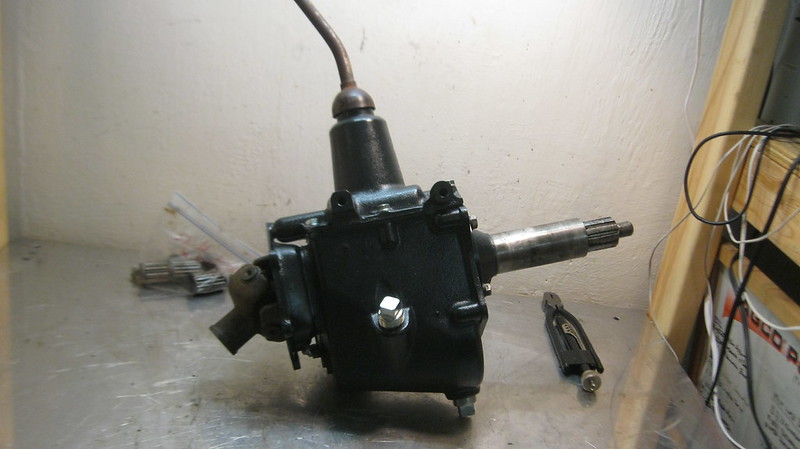
So after selling my El Camino and some other things I had some funds to start buying some of the tools, and supplies needed for the build. I kind of dinked around with the project a bit cleaning and painting the marvel carb, turning he motor over to insure it wasn't locked up, grinding some of the brackets off the frame, as well as trying to straighten the frame horns. The project didn;t realy take off till recently when I decided to start with the trans as I had it sitting in my Durant shell all summer but the area had flooded and the trans got water in it.( Going to hold back a bit on some of the rebuild pics as to not flood the page, but will give key ones.)
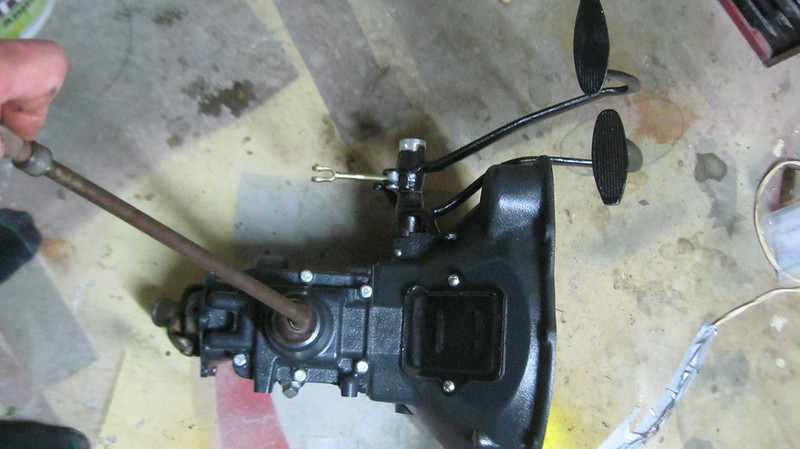
 IMG_9049 by , on Flickr
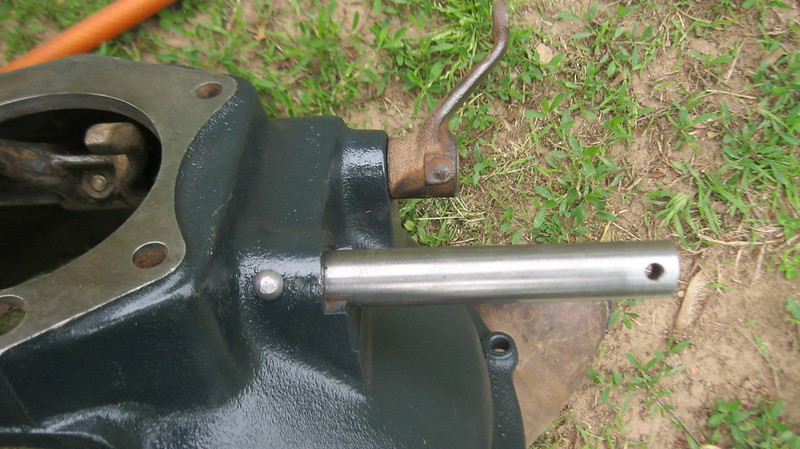
First thing I did was separate the bell housing, but in order to do that I needed to remove the Clutch and brake pedal and lineage first. Every thing moved some what freely, however the clevis pics where all rusted solid, so out came the dremel.
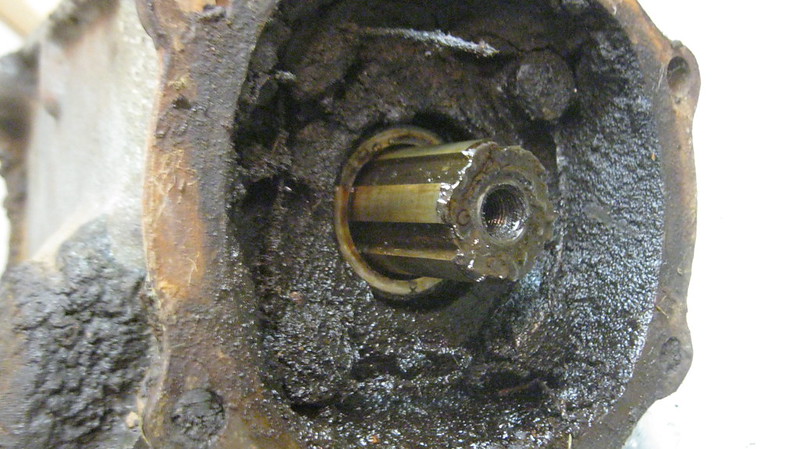
 IMG_9094 by , on Flickr
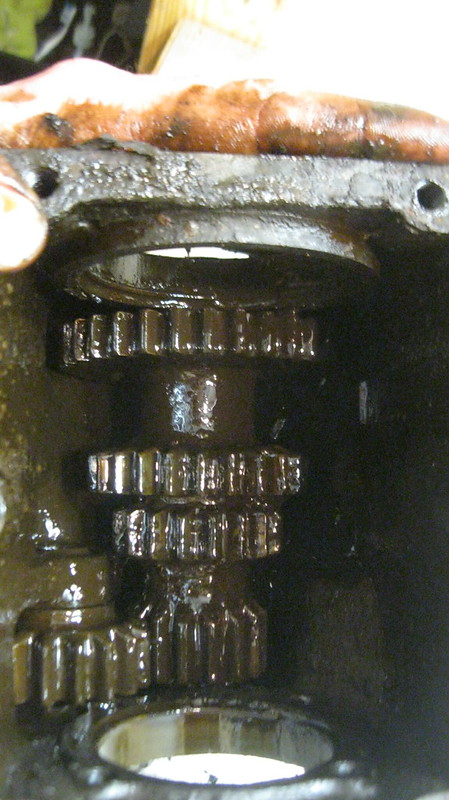
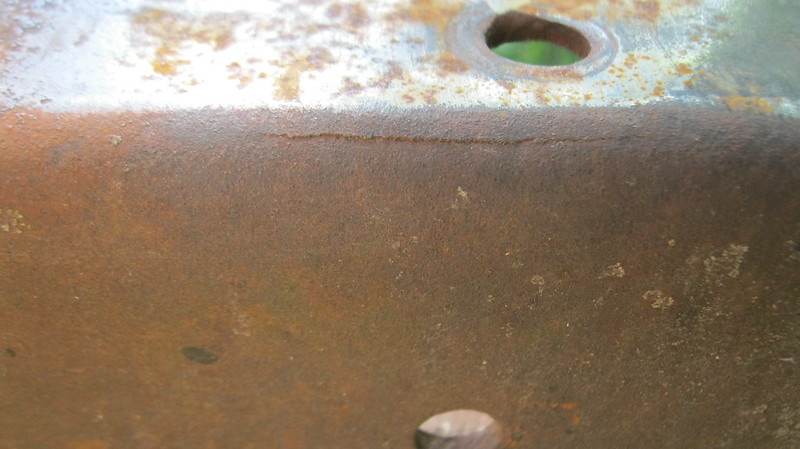
A bit of a blurry picture but as you can see both sides of the clevis are rusted in. After separation I gave the Trans and bell housing a bath to clean the majority of the dried on grease off. With great anxiety of the inside being rusted horribly I pulled the shift column off to find.
 IMG_9124 by , on Flickr
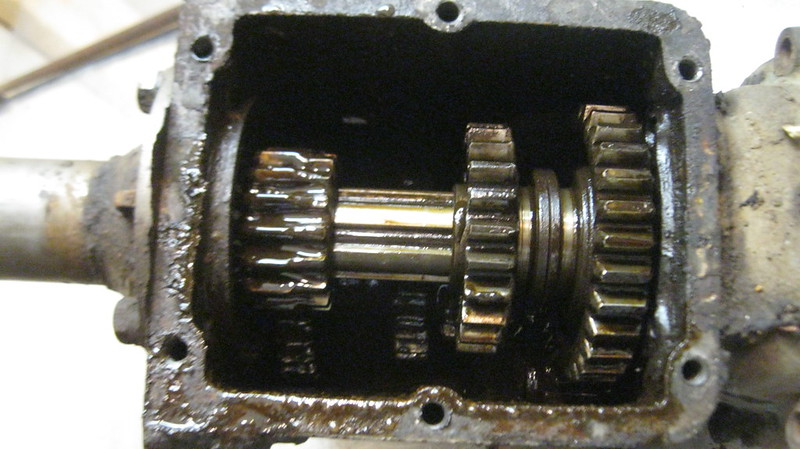
Every thing was covered in sludgy 600W.
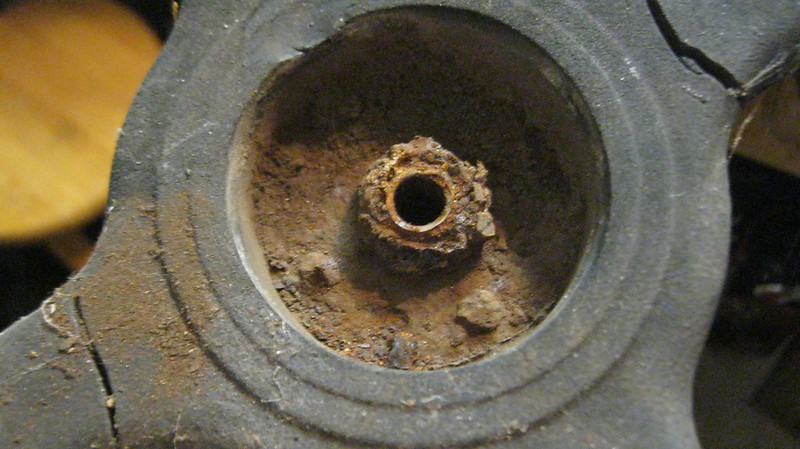
 IMG_9138 by , on Flickr
As the best to be hoped for on the counter shaft and reverse gear as well.
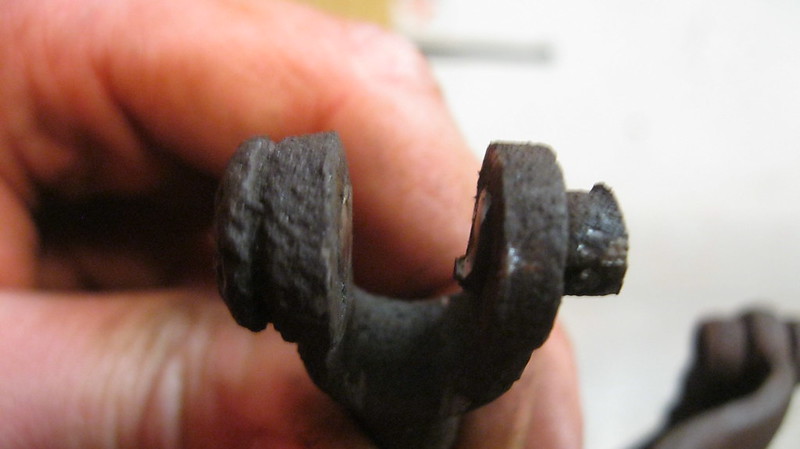
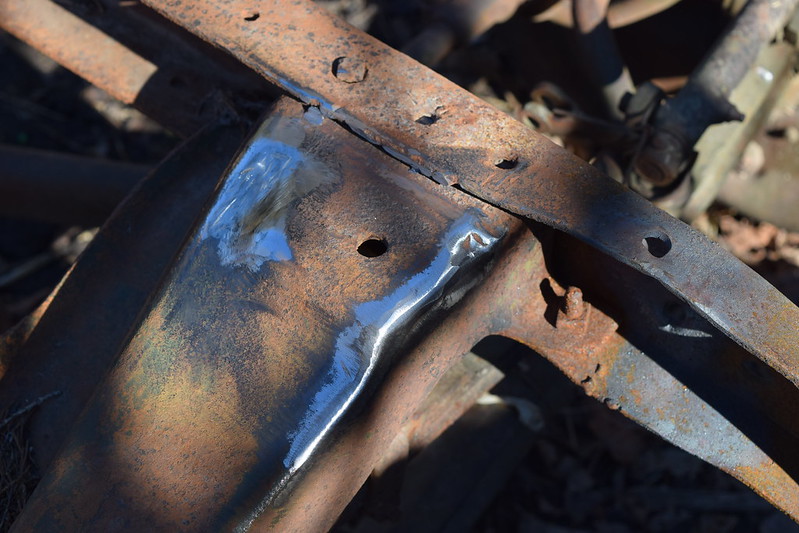
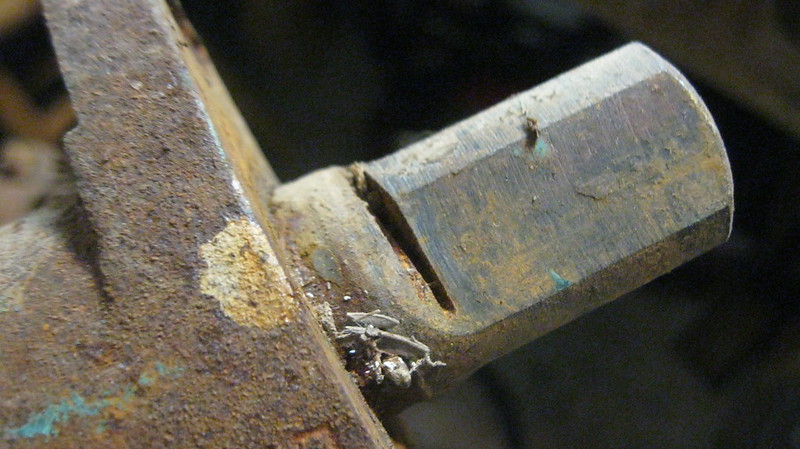
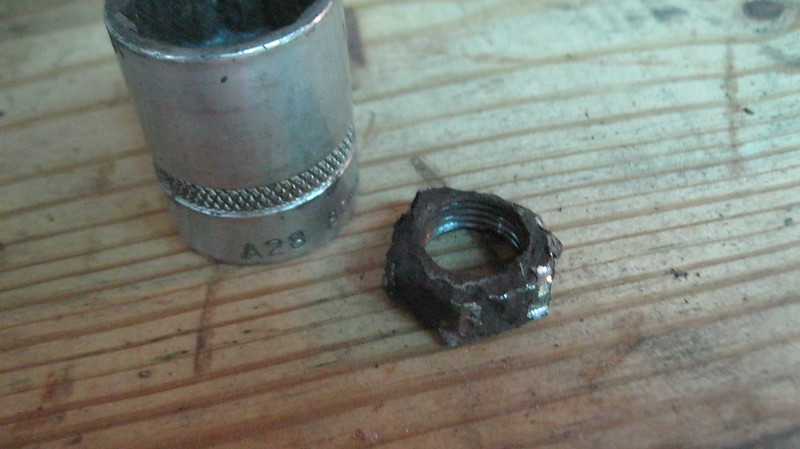
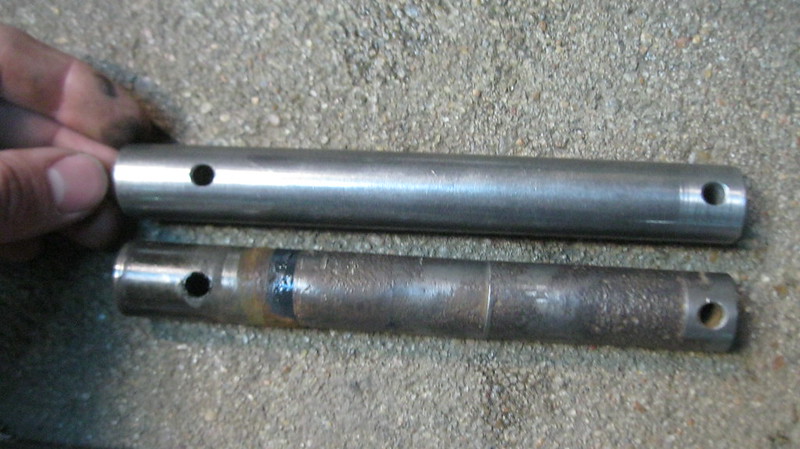
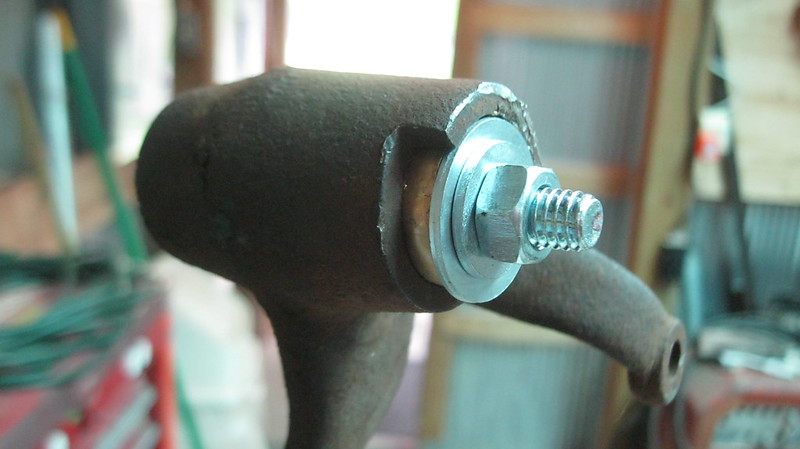
A bit of a step back: As I took the U joint housing off I noticed something was odd with the bolts, one being my 6 point socket didn't want to realy go on.
 IMG_9130 by , on Flickr
It was only after I cleaned them up I realized why.
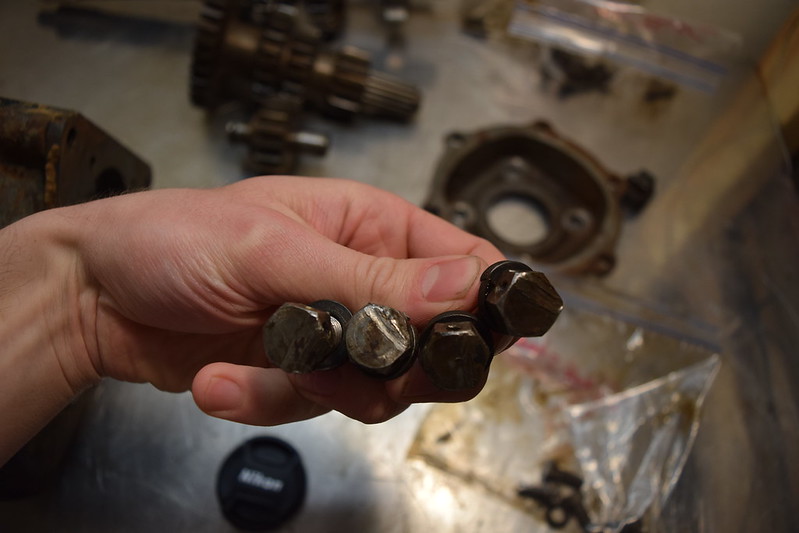 DSC_0304 by , on Flickr
Some where down the line, some how either the U joint came in contact with the bolts, or some one failed to run that safety wire through the bolts to prevent them from backing out. I'm guessing the rear end got shoved forward pushing the U joint into the bolts.
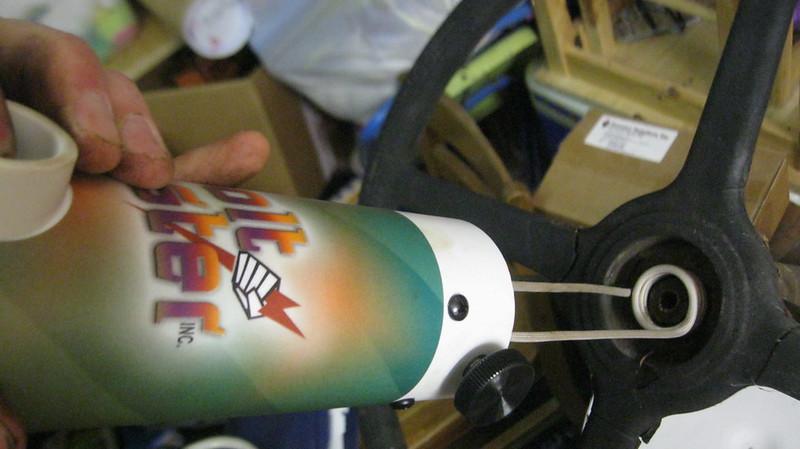
After every thing was apart, cleaned and inspected I put in a couple orders with parts suppliers. Earlier this week I got some paint in so I painted the trans
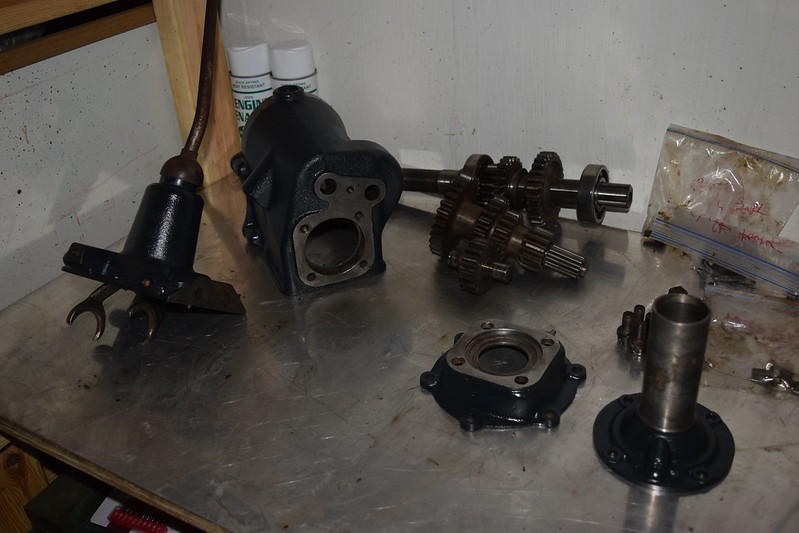 DSC_0330 by , on Flickr
IMG_5276 by , on FlickrWhich the 18" wheels and hubcaps are 32 ford, I thought I had won the lottery of potential Hot Rod builds.After pulling the scrap metal off of this one time hay wagon off I found the cross member to be a straight piece of metal and not a K. Needless to say I still bought it for the whopping sum of $50. At that point I shoved it into the tree row and started looking for a motor, as I figured that would dictate the build. The first motor I found was a 1946 Cadillac V8 for a couple hundred bucks, The huge downfall was an 8 inch crack in the side of the block. Fixable but both my dad and the seller thought it was to heavy of a motor for the A frame. So my search turned to a Flat head V8, despite the constant suggestion to just go with a small block chevy. Oddly enough I came across a 30's Gleaner- Baldwin 4 banger ( hence the name silver seeder) that was made by ford. My old mail man who lived 3 miles away had bought it to power a buzz saw.
DSC_0484 by , on FlickrI then found a guy who practically gave away all the parts he wasn't needing from a fairly complete model A that he was going to hot rod. So that gained me a second rear end, with a torque tube, a model A transmission, a steering column, and some other small parts.Last May at a swap meet I was talking to a vendor who was selling a few model a bodies and asked him if he had a cowl to sell. He didn't but had seen one on the other side of the swap meet, and all's he needed was the gas tank to complete one of the bodies he was selling. I had found a gas tank for a model A at the place I bought the frame. So I went half in with him and got me the cowl to complete the A to the point I could get it street legal.
DSC_0846 by , on FlickrSo after selling my El Camino and some other things I had some funds to start buying some of the tools, and supplies needed for the build. I kind of dinked around with the project a bit cleaning and painting the marvel carb, turning he motor over to insure it wasn't locked up, grinding some of the brackets off the frame, as well as trying to straighten the frame horns. The project didn;t realy take off till recently when I decided to start with the trans as I had it sitting in my Durant shell all summer but the area had flooded and the trans got water in it.( Going to hold back a bit on some of the rebuild pics as to not flood the page, but will give key ones.)
IMG_9049 by , on FlickrFirst thing I did was separate the bell housing, but in order to do that I needed to remove the Clutch and brake pedal and lineage first. Every thing moved some what freely, however the clevis pics where all rusted solid, so out came the dremel.
IMG_9094 by , on FlickrA bit of a blurry picture but as you can see both sides of the clevis are rusted in. After separation I gave the Trans and bell housing a bath to clean the majority of the dried on grease off. With great anxiety of the inside being rusted horribly I pulled the shift column off to find.
IMG_9124 by , on FlickrEvery thing was covered in sludgy 600W.
IMG_9138 by , on FlickrAs the best to be hoped for on the counter shaft and reverse gear as well.
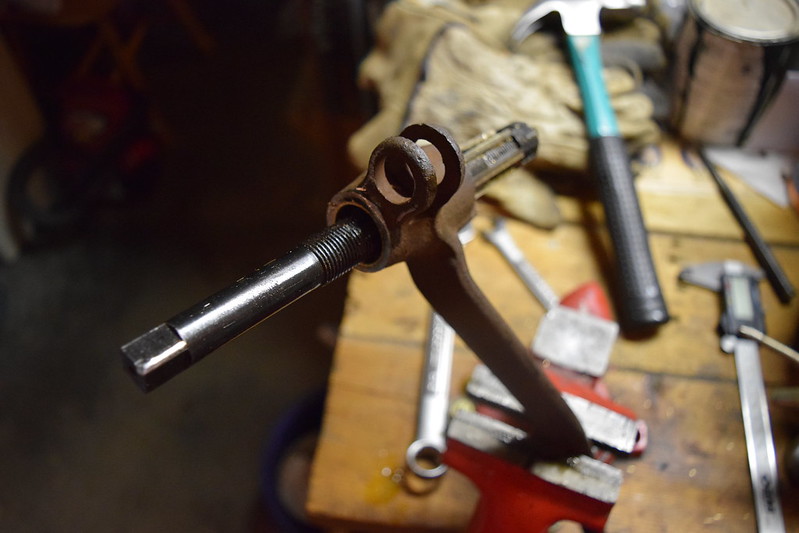
A bit of a step back: As I took the U joint housing off I noticed something was odd with the bolts, one being my 6 point socket didn't want to realy go on.
IMG_9130 by , on FlickrIt was only after I cleaned them up I realized why.
DSC_0304 by , on FlickrSome where down the line, some how either the U joint came in contact with the bolts, or some one failed to run that safety wire through the bolts to prevent them from backing out. I'm guessing the rear end got shoved forward pushing the U joint into the bolts.
After every thing was apart, cleaned and inspected I put in a couple orders with parts suppliers. Earlier this week I got some paint in so I painted the trans
DSC_0330 by , on Flickr


Comment