 Tweet
Tweet
Craftsman 2 pc. Ratcheting Dual Box End Wrench Set on sale I ordered on-line for store pick up..........check it out.....
-
That steely eyed look I had behind the wheel was me trying see.......... -
Craftsman 16882 1/2in. Impact Wrench $22.49 Shipped
That steely eyed look I had behind the wheel was me trying see..........Comment
-
Kobalt Power Cross "Twisted" Ratcheting Combination Wrenches (both standard and Metric) marked down to $5.98 (orig prices vary by size. Bet $11.97 to $18.47).

That steely eyed look I had behind the wheel was me trying see..........Comment
-
Who makes the best 'Circlip' pliers?
AKA, 'retaining ring' pliers... I picked up a 'Gucci' set at HarborFreight... They are SH*T-TASTIC by even Chinese standards.
I think they may have been made by the North Korean Space Program.
Who makes the best for these?
What do you guys use? Any feedback?Last edited by Caveman Tony; July 15, 2012, 07:54 PM.Yes, I'm a CarJunkie... How many times would YOU rebuild the same engine before getting a crate motor?
Comment
-
I have a set of blue handle Knipex snap ring pliers that I got in school 20 years ago. I love them. Got them from the SK tool guy but a quick search says you can still get them. They still look the same sans the handle color, so I'm guessing the same quality. Snap-on always a good bet. Stay away from the interchangeable tip style.
SteveWell I have stopped buying stuff for cars I don't own. Is that a step in the right or wrong direction?Comment
-
a new channel some might be interested in. he basically made stuff for mercedes as they head towards a million miles forgotten. I did the same for an old subaru .. special tools that went all purpose.
this guy stays clean. ..and all he has put together is for sale.
I don't know if I added any of what I have made.. ..
a half inch ratchet makes a stronger breaker bar than a half inch breaker bar.. just need mig welder. never twist the end off again.Previously boxer3main
the death rate and fairy tales cannot kill the nature left behind.Comment
-
gator socket
[IMG]http://lh3.ggpht.com/-Z3ID88cDsK8/UDTnutZ0qSI/AAAAAAAAFi4/3xkCopTfpy8/47029_thumb%25255B1%25255D.jpg?imgmax=800[/IMG]
could not remember the name of this one.. I got a rare perfect use for it. my subaru has six magnesium type bolts that snap off every single attempt at removing the tank..heads are long gone into rounded due to the catalyizing self healing seam of a hard mounted tank in a flexible unibody.
at sears, cheap. alot of places. keep the pins slicked away it goes.
I cannot create heat of any kind at the seam (early a10 chassis only), it triggers an obnoxious unsafe reaction. staying the removal process to cold will allow me to avoid removing all gas, all lines, plugging them, flling broken tank with water, and grinding away with spark flying where they should not be, while getting dripped on with ...stuff. My model car has literally been given away due to a gas tank problem.
a rare use..possibly, but I did find one for what some might call a gimmick.Last edited by Barry Donovan; August 22, 2012, 05:52 PM.Previously boxer3main
the death rate and fairy tales cannot kill the nature left behind.Comment
-
I make tools all the time.... one of my best is for alining the engine
in a chassis... I made a billet alum plug that mounts in the rear main
of the engine... it has a laser pointer in it with 3 set screws to aline
the pointer(I did the alignment in the lathe) then when I go to set the
engine angle I put the engine in so it aligns with the pinion so it is
all in 1 line... once its all done then I can dial in the pinion angle and
preload... I also have a alum tool for putting in the bushing for the
intermediate shaft on the SB mopars and other assorted thingsComment
-
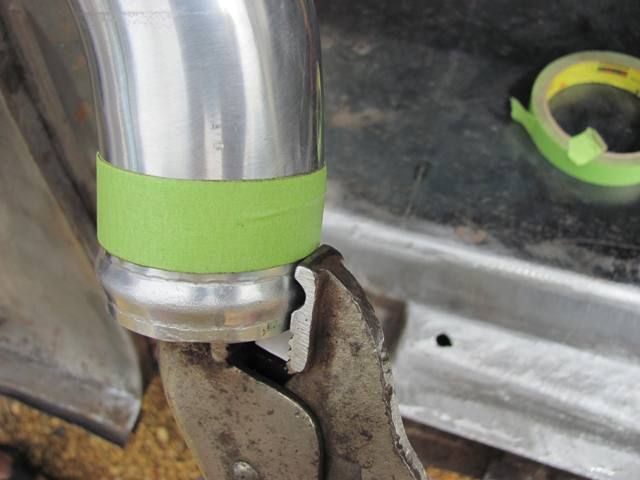
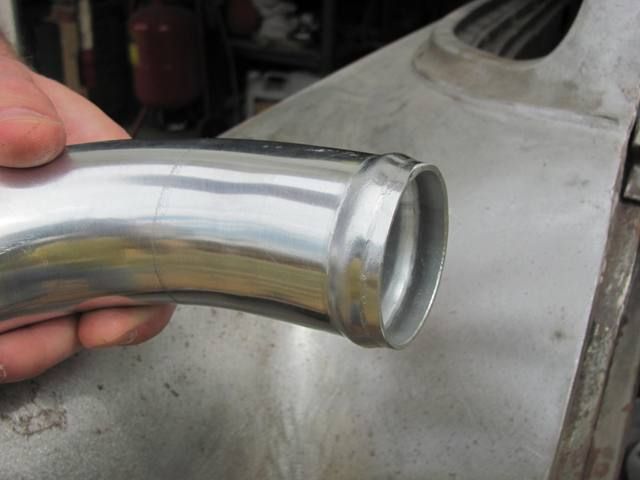
Had someone stop by the shop needing to add a bead to the end of the aluminum tubing (fuel fill) he had to install in his Cobra project. He had trimmed one end for a better fit and needed to replace the bead for the hose...
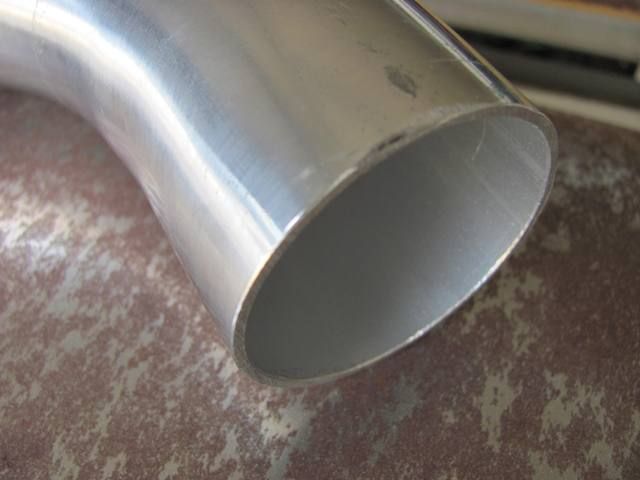
......to match the other end.
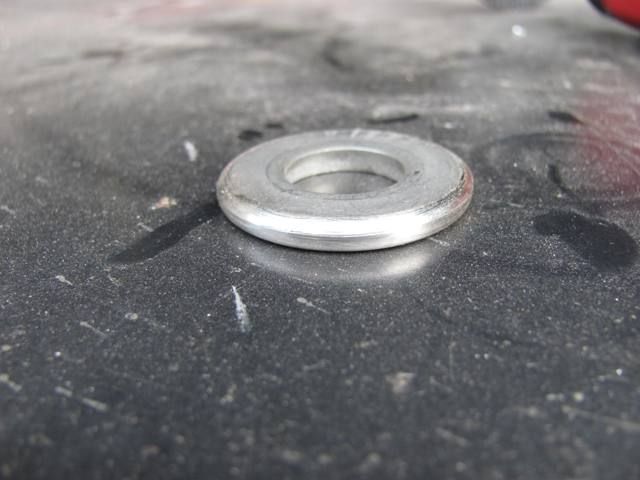
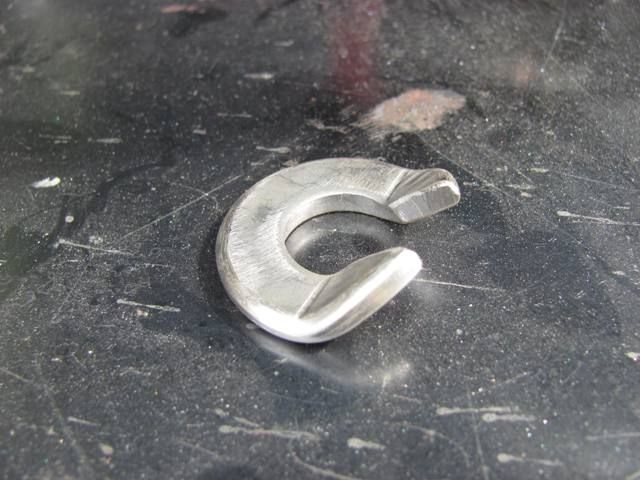
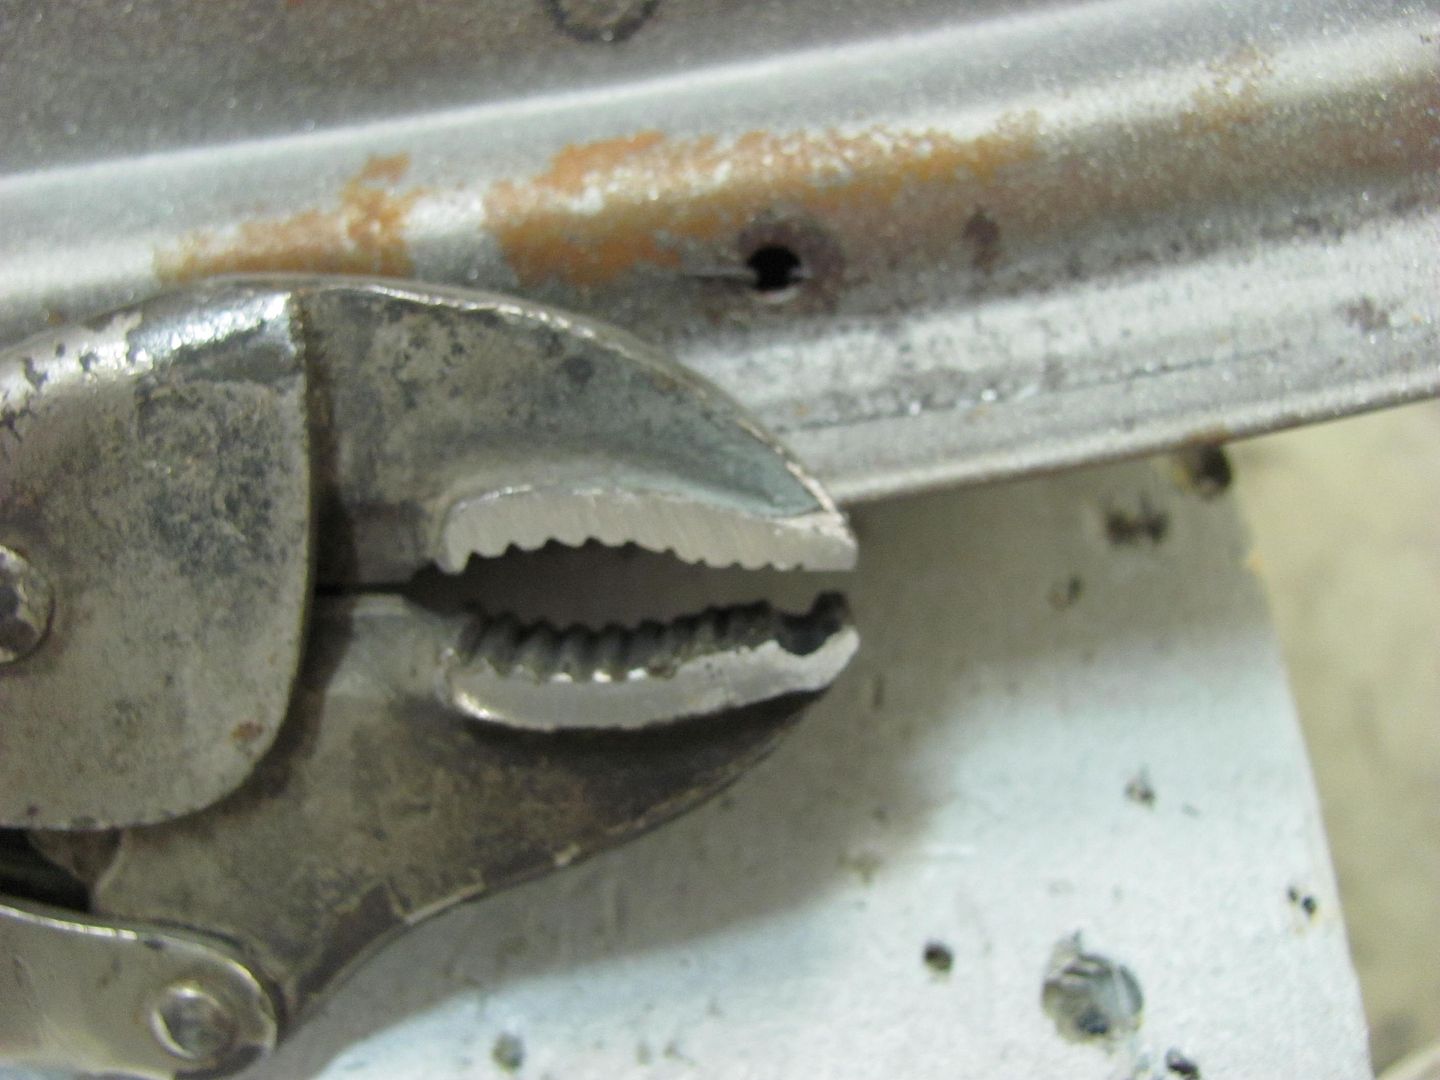
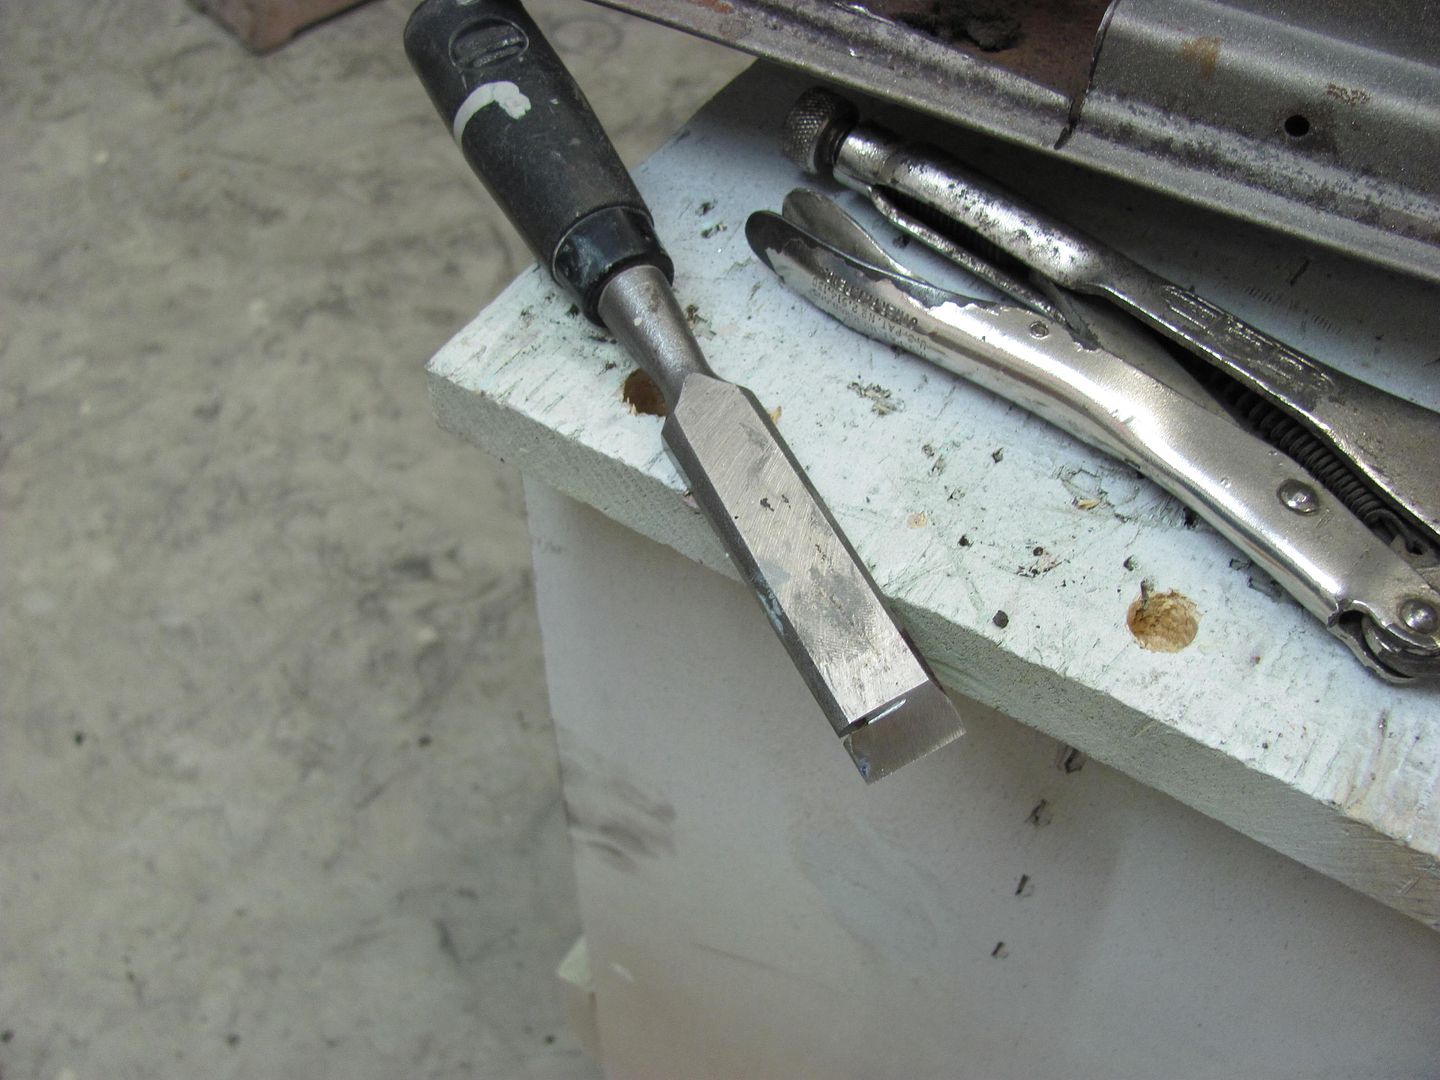
The dies on the bead roller were much too large in diameter, so I thought to make a manual device out of a pair of vise grips... Once the teeth start to wear these make ideal candidates for purpose-built tools. For the punch part of the tool, started with a thick 5/8 washer and gave the edges a nice radius in the lathe.
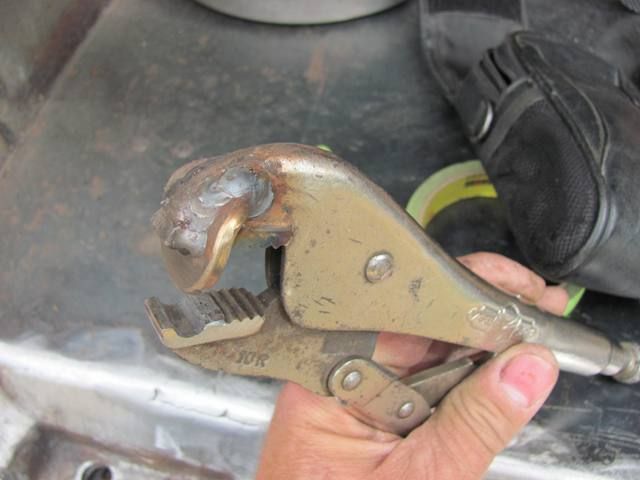
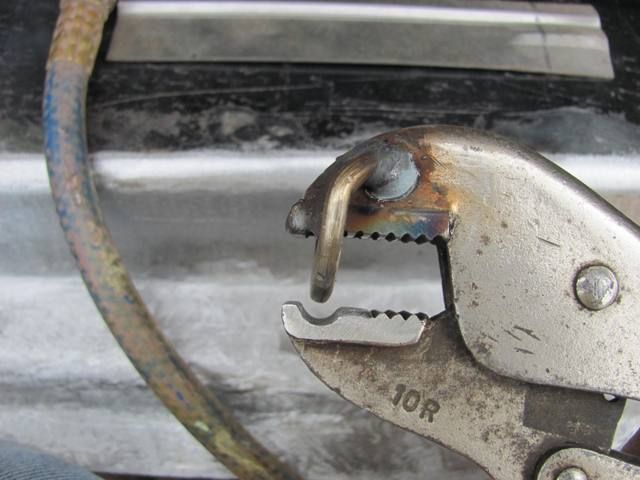
The vise grip bottom teeth were welded in and sanded smoothed to provide a flat area for the punch to push against (for less marking of the tubing), then an 1/8" thick 3" dia cut off wheel provided the recess in the lower jaw of the vise grips.
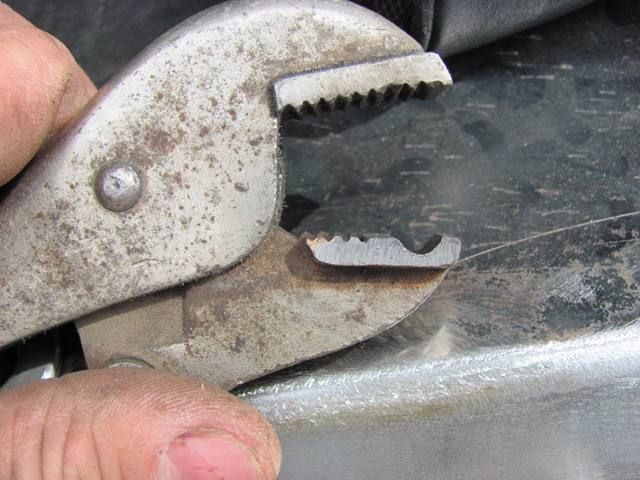
The washer was notched and bent to better fit the vise grips for welding....
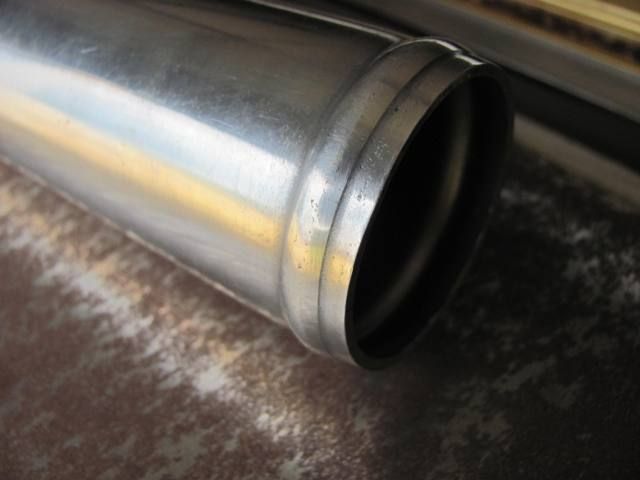
Multiple layers of masking tape added to use as a reference/stop mark to align against end of vise grip jaw. The masking tape worked well to provide a reference stop and not scratch the polished aluminum, like a hose clamp might.
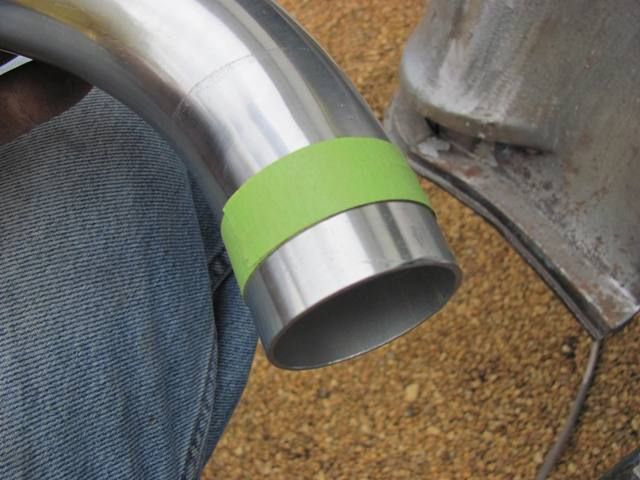
The vise grips with their adjustable jaw setting work well to make one revolution, then adjust tighter, etc..
Finished product....

 Last edited by MP&C; December 2, 2012, 06:58 PM.
Comment
-
Robert you rock......
SteveWell I have stopped buying stuff for cars I don't own. Is that a step in the right or wrong direction?Comment
-
There's other tools out there that do it real nice ($$$$) but for an occasional need and limited budget you can't beat the Vise Grips for making purpose-built tools. You heading to OJ's this year/spring?Last edited by MP&C; December 2, 2012, 06:31 PM.Comment
-
Heck yes Bringing brownies and the 66 truck.
SteveWell I have stopped buying stuff for cars I don't own. Is that a step in the right or wrong direction?Comment
-
Nice vice grip mod, clever thinking!Flying south, with a flock of bird dogs.Comment
-
Here's another modified vise-grip tool...
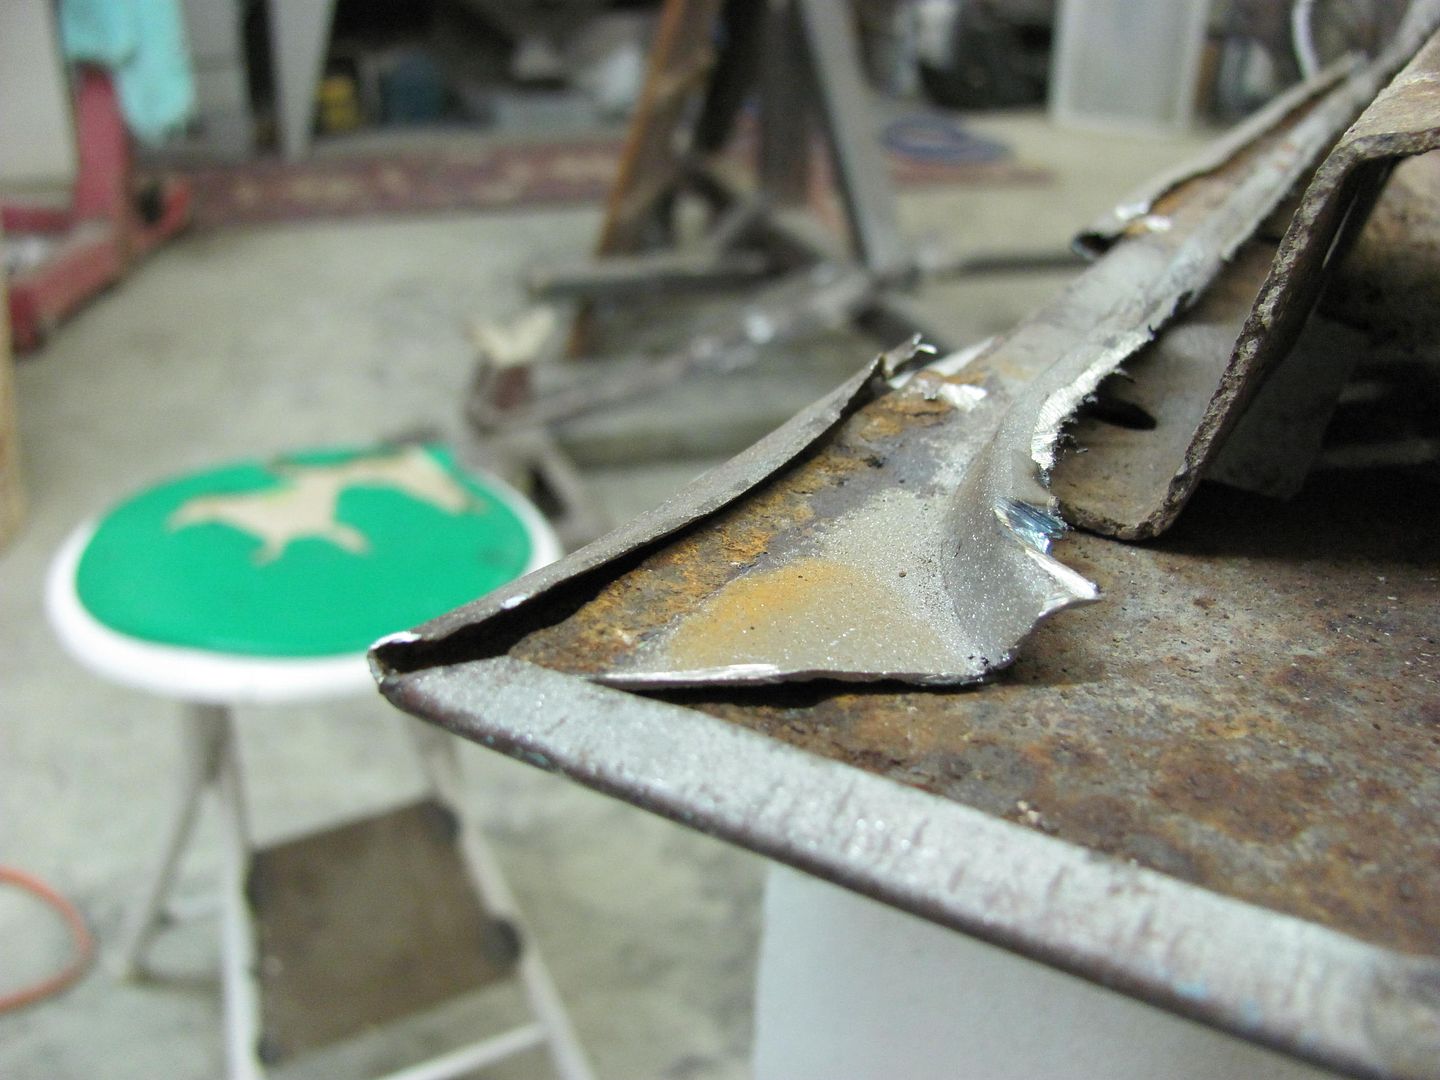
Probably one of the biggest challenges in taking things apart for repairs is doing so without inflicting more damage. Many times a door will require work to the inner structure as well as the outside. In such a case, it may be easier to leave one side intact while repairing the other, to keep a reference to work against.
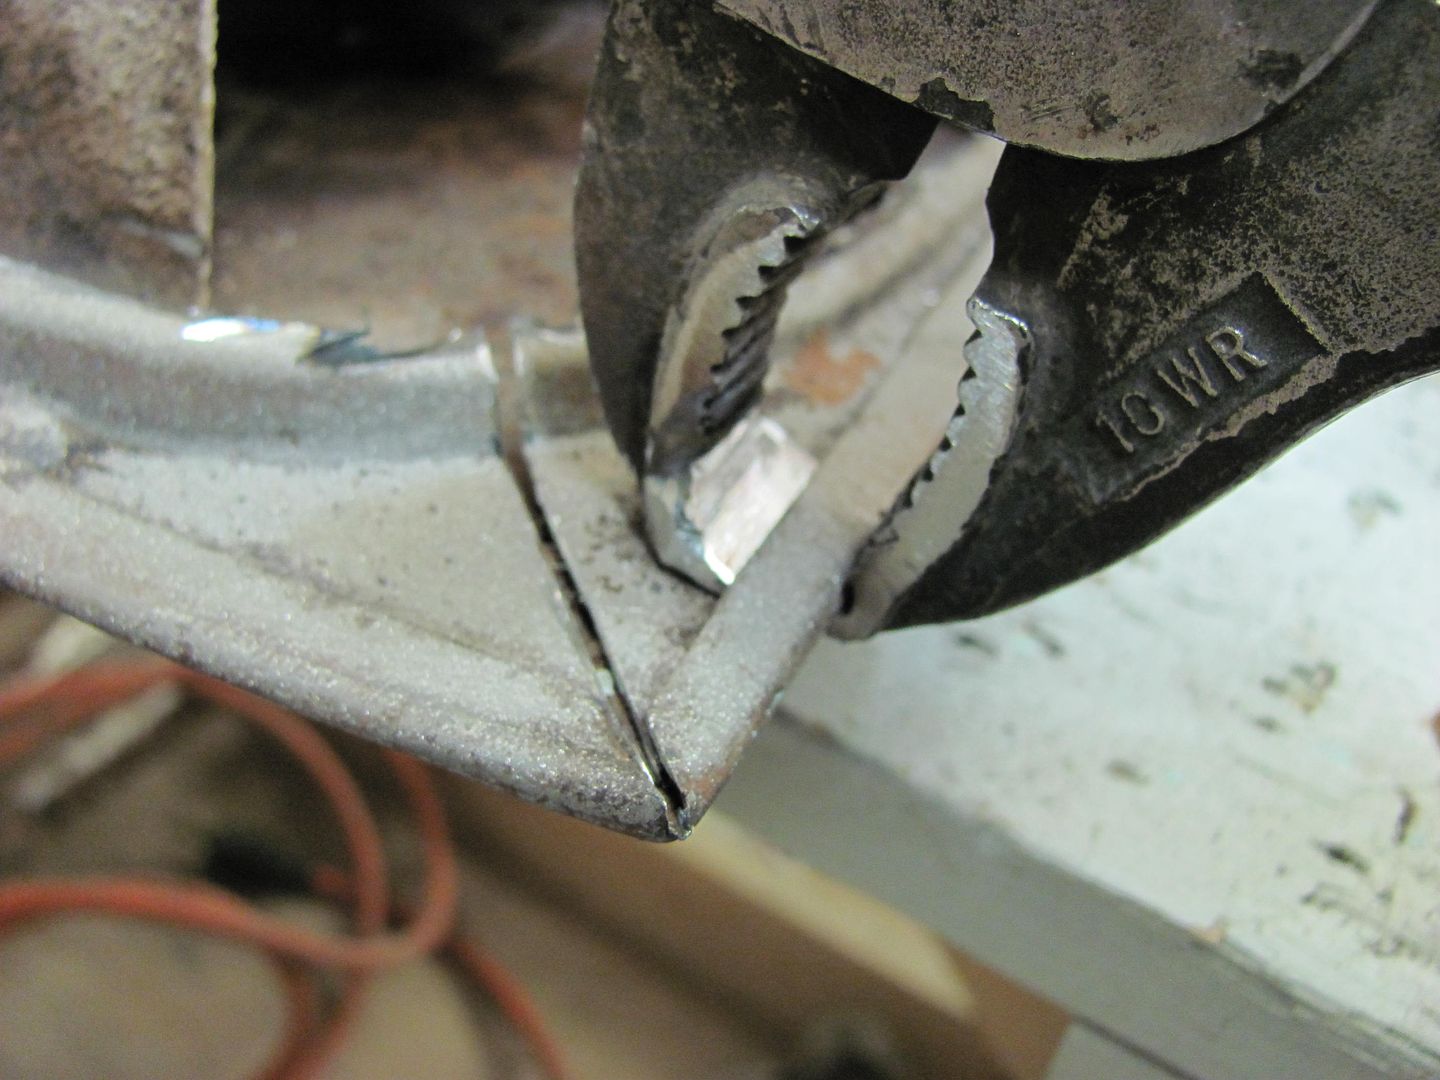
Here the Vice Grips lower jaw is modified to receive the edge of the door skin...
Then a suitable "blade" is found....
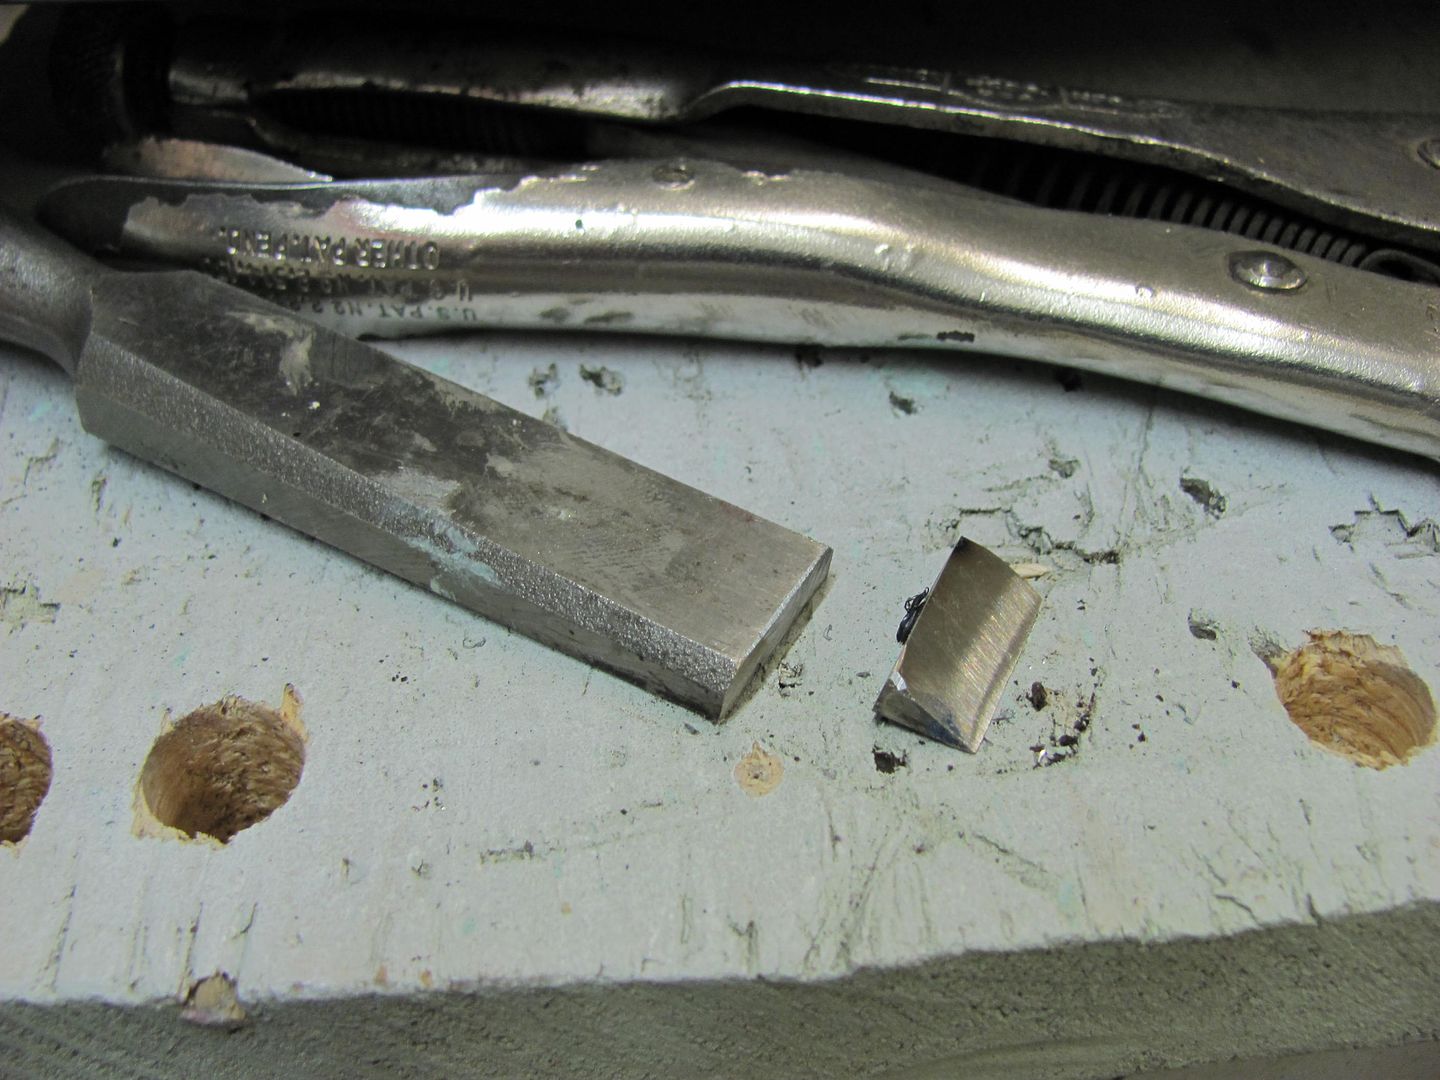
Some welding and grinding, and we have a new body tool..... The blade was aligned to be centered in the groove of the lower jaw.
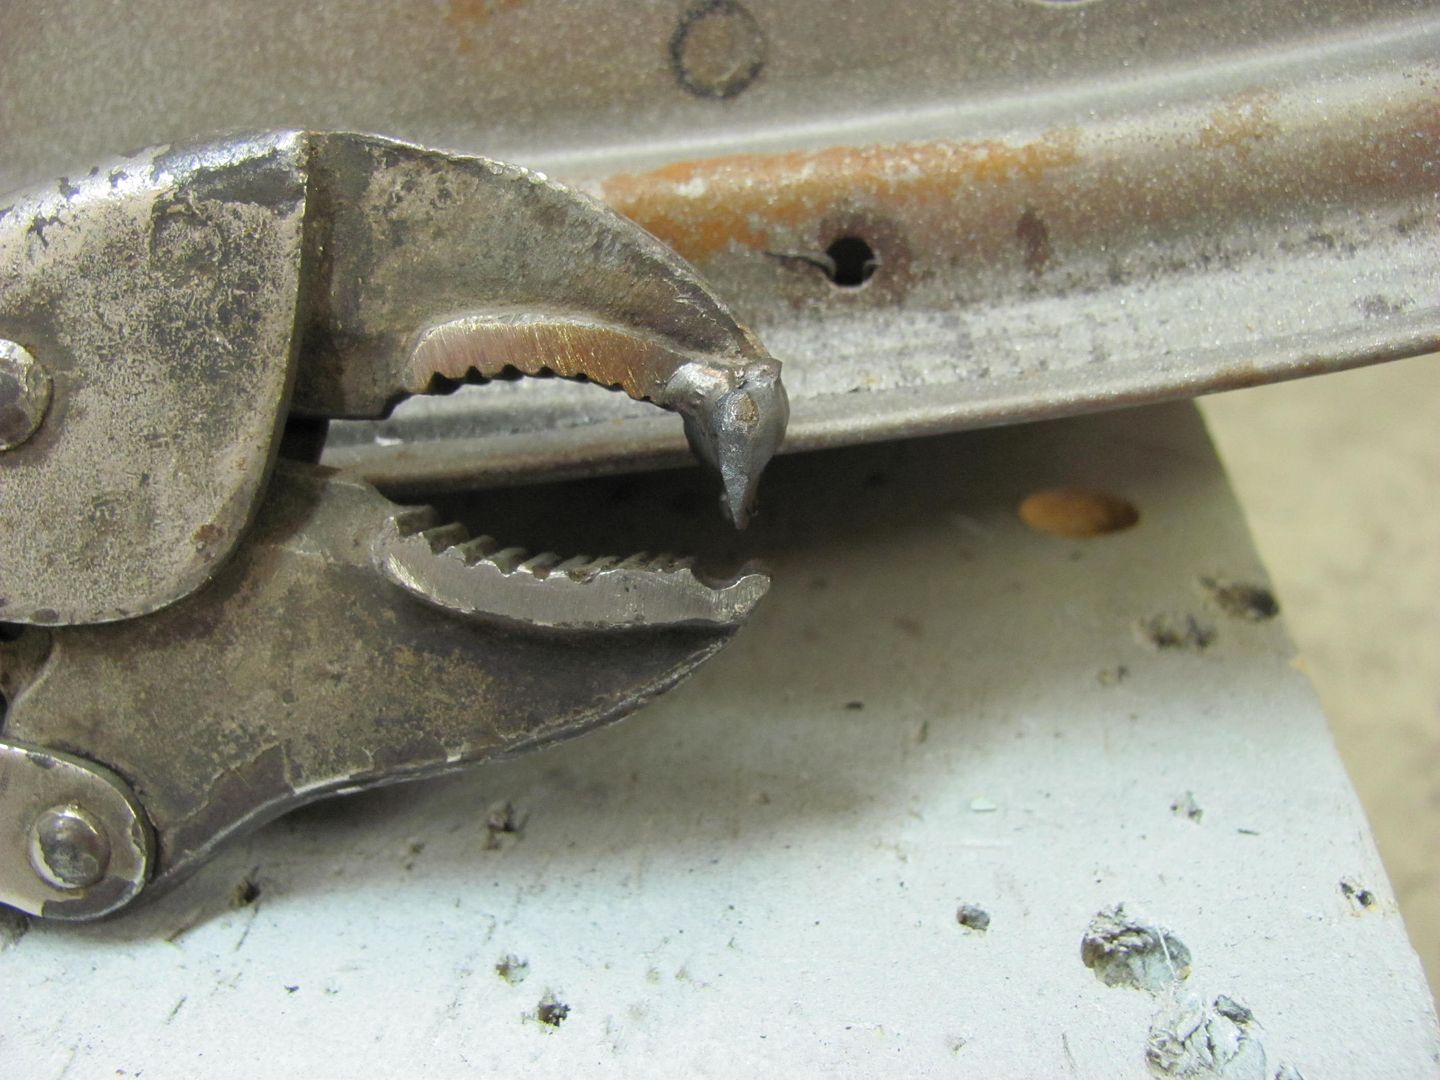
Starting at the corner, a diagonal slice is made in the inner panel so it will remove easier...
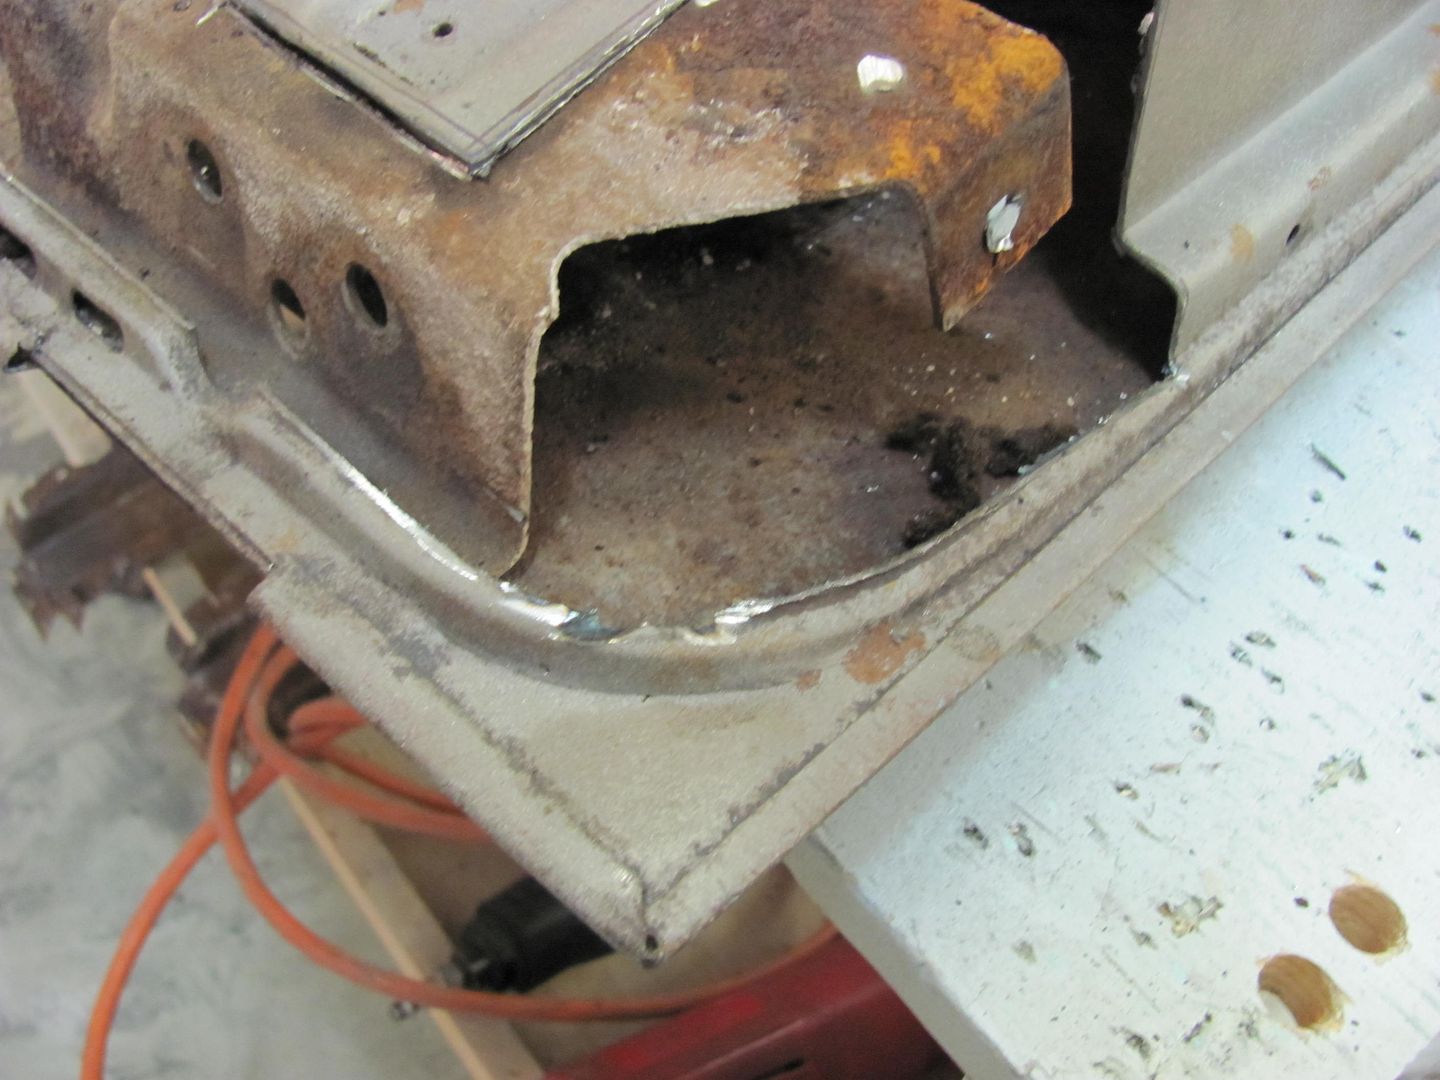
....and the tool is used to gently pry up on the flange of the tailgate skin.....
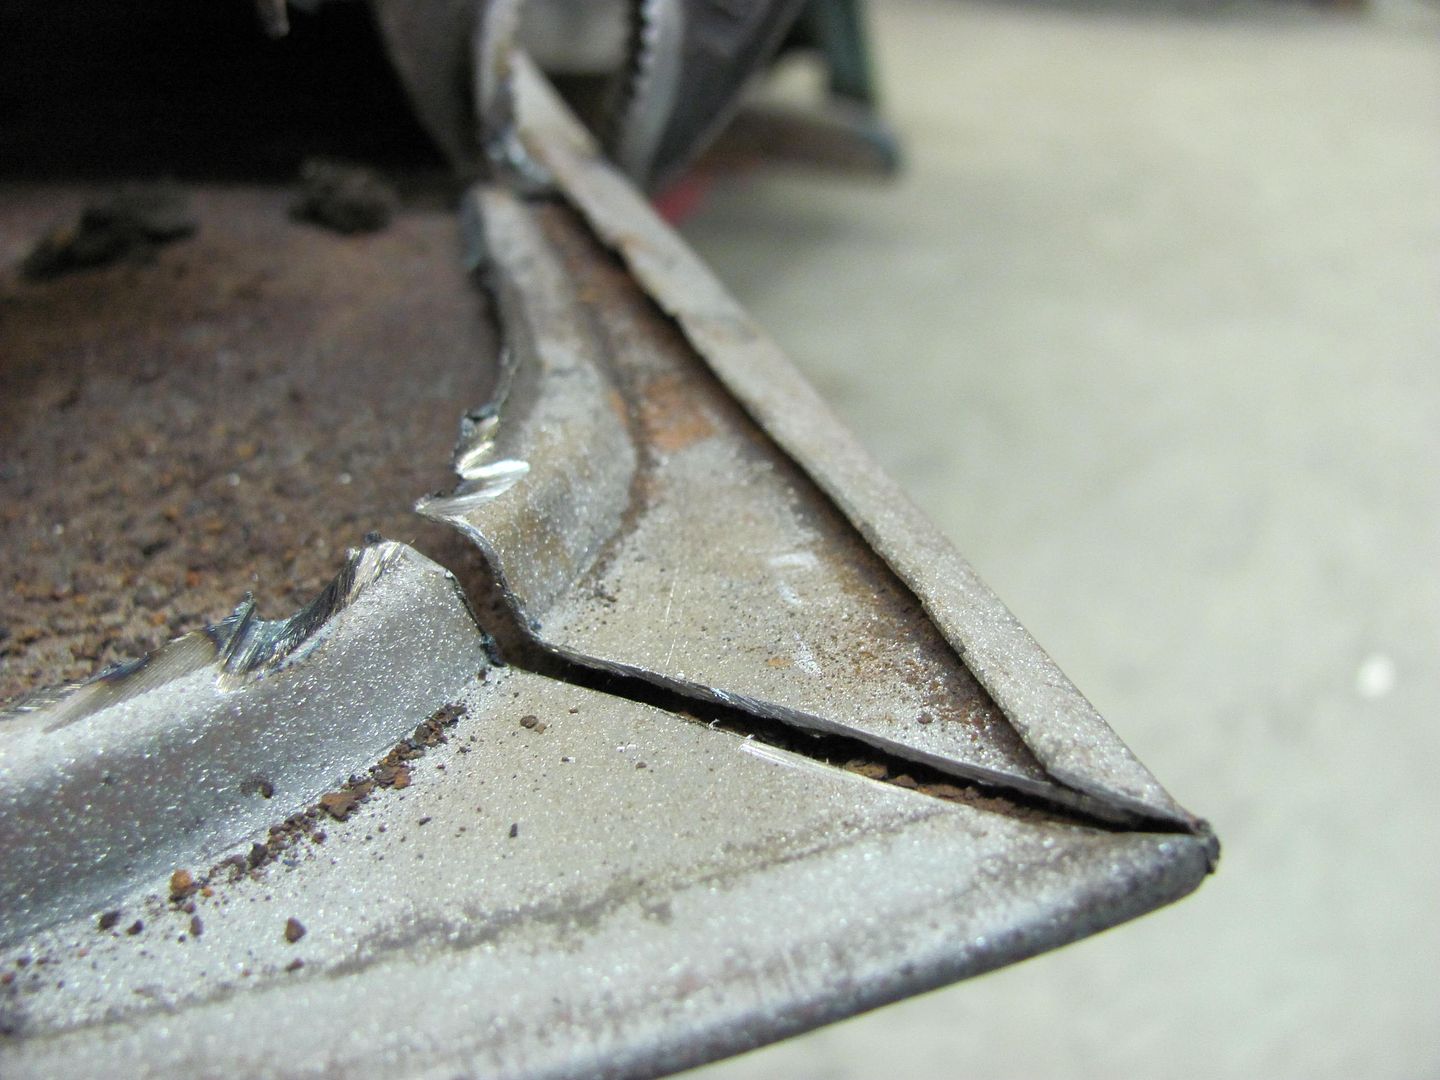
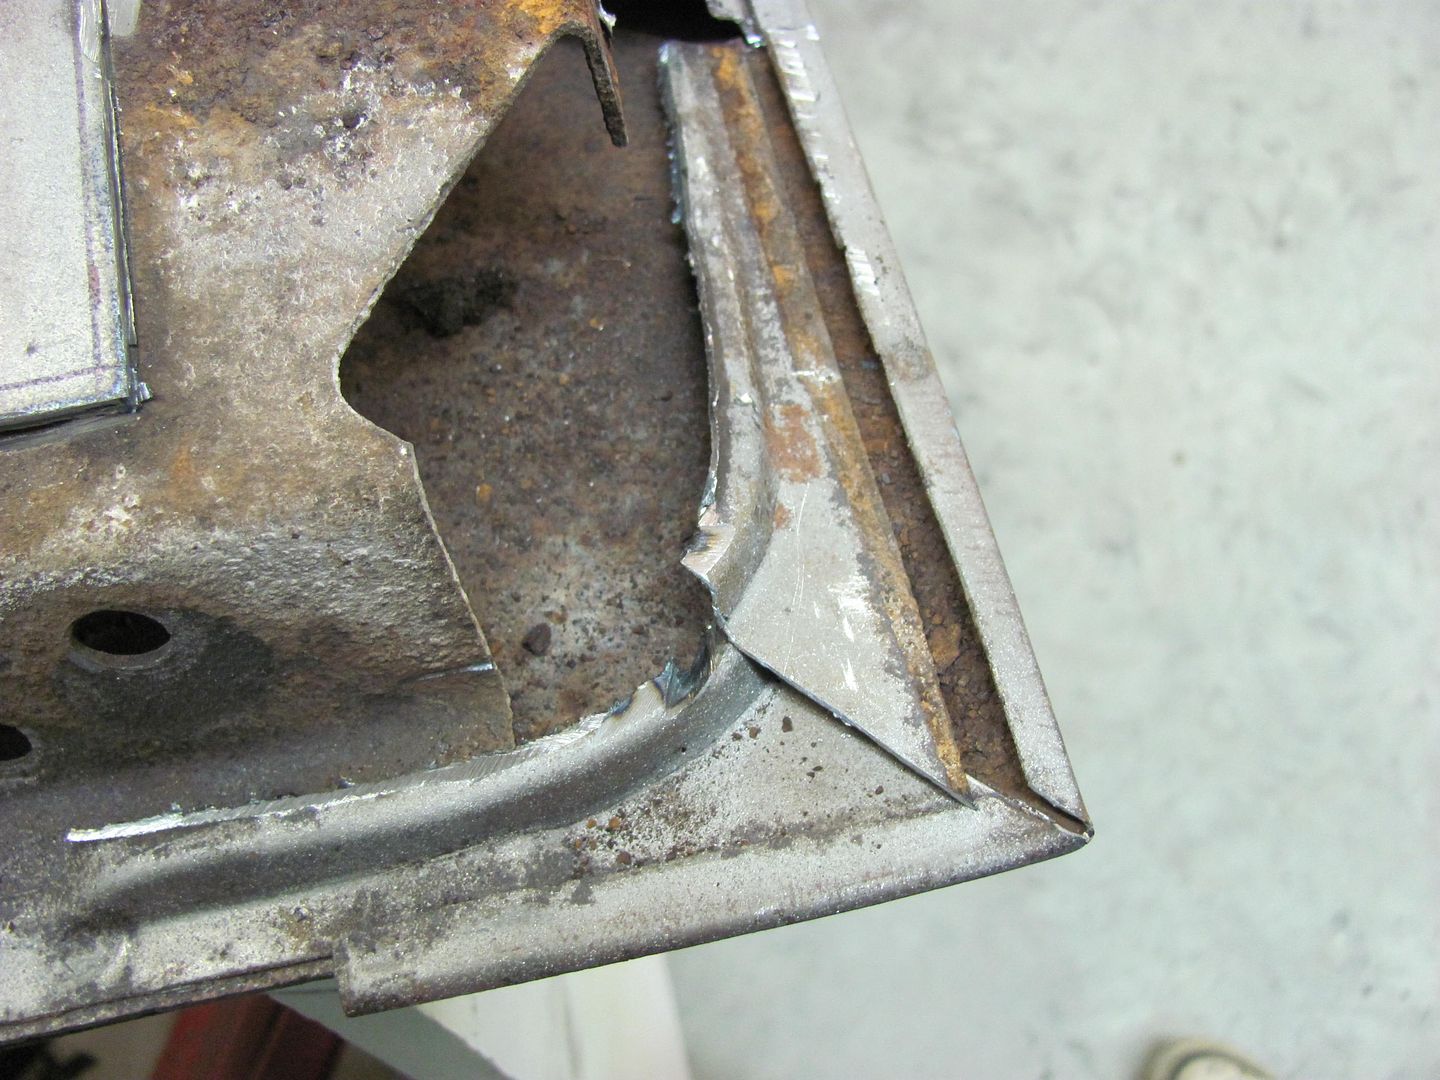
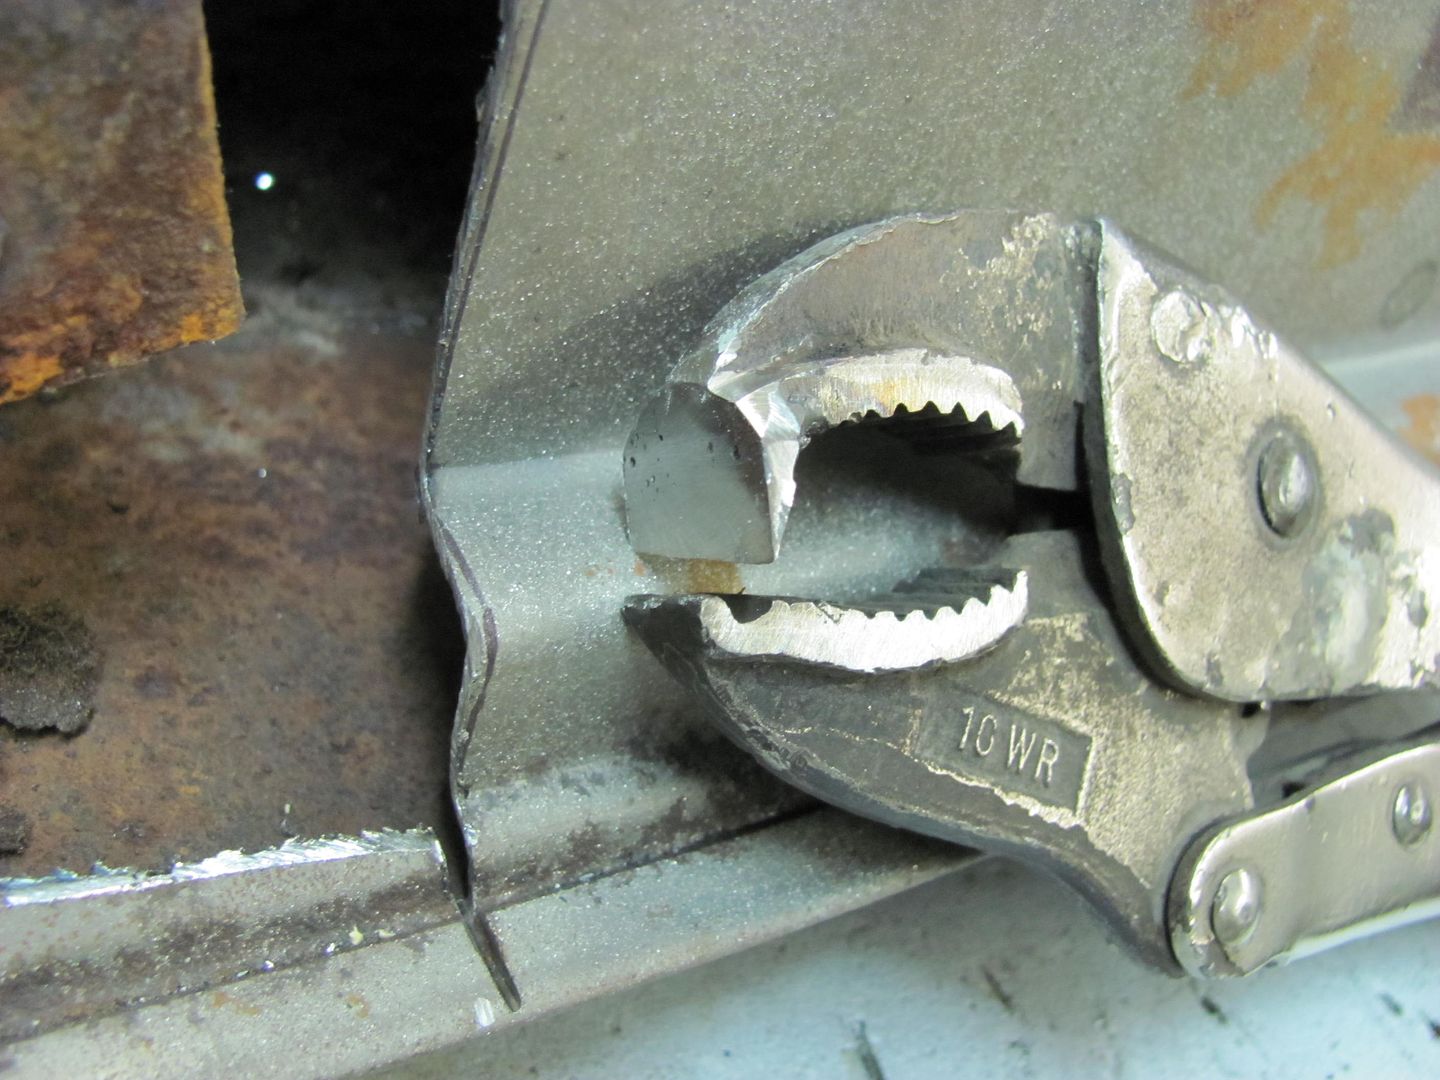
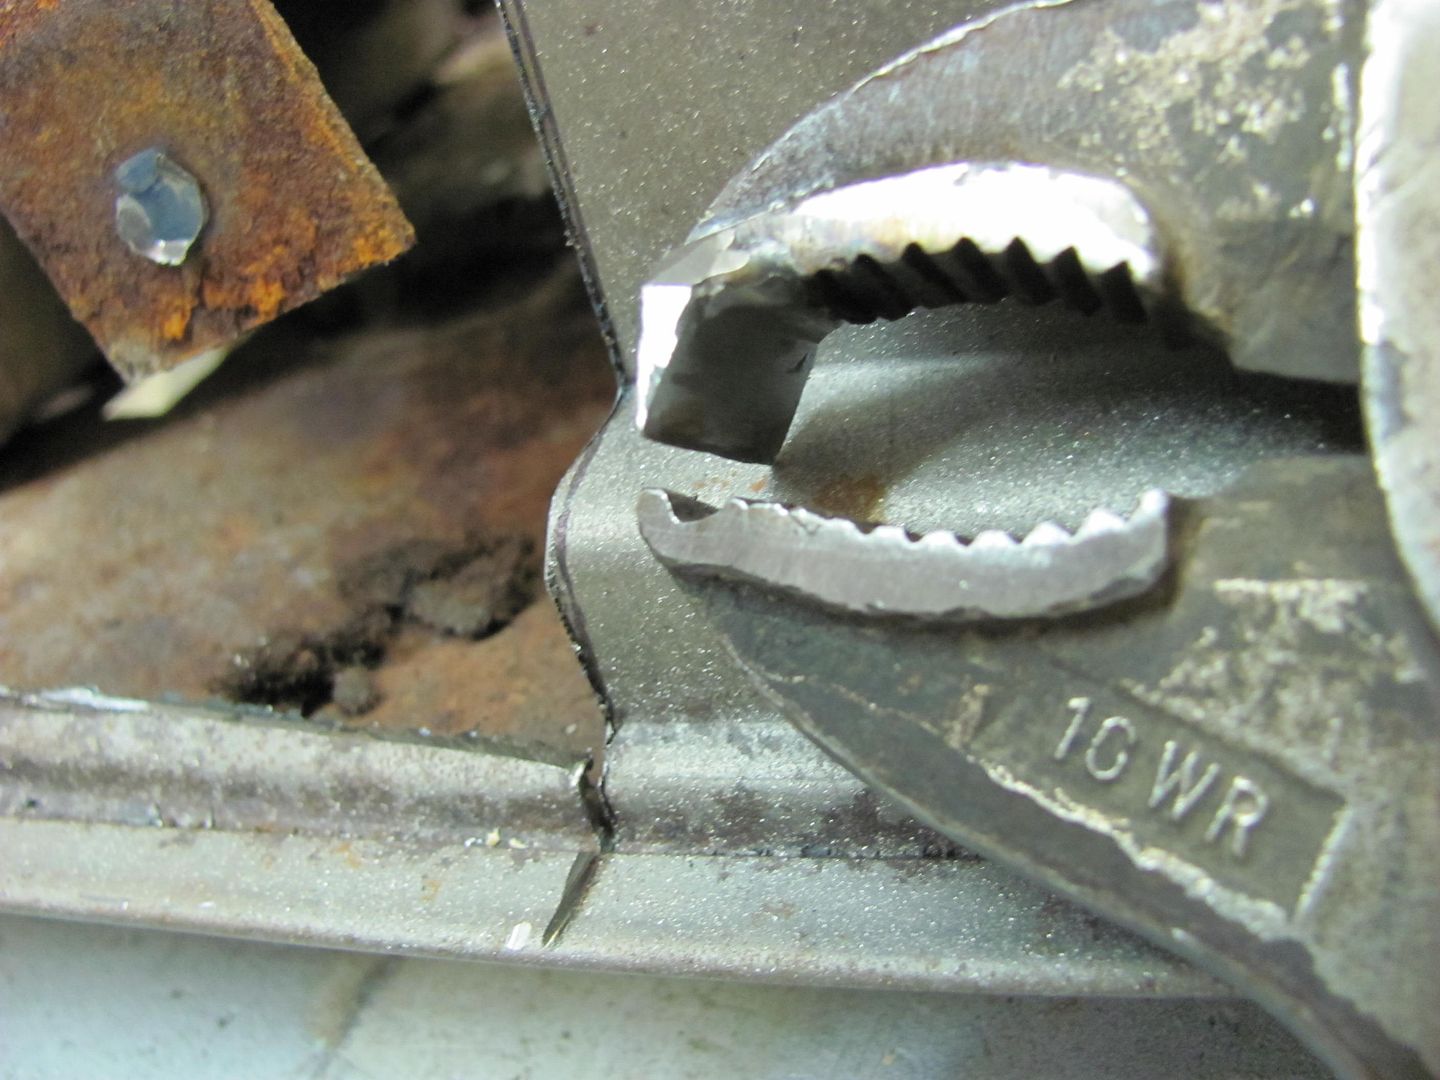
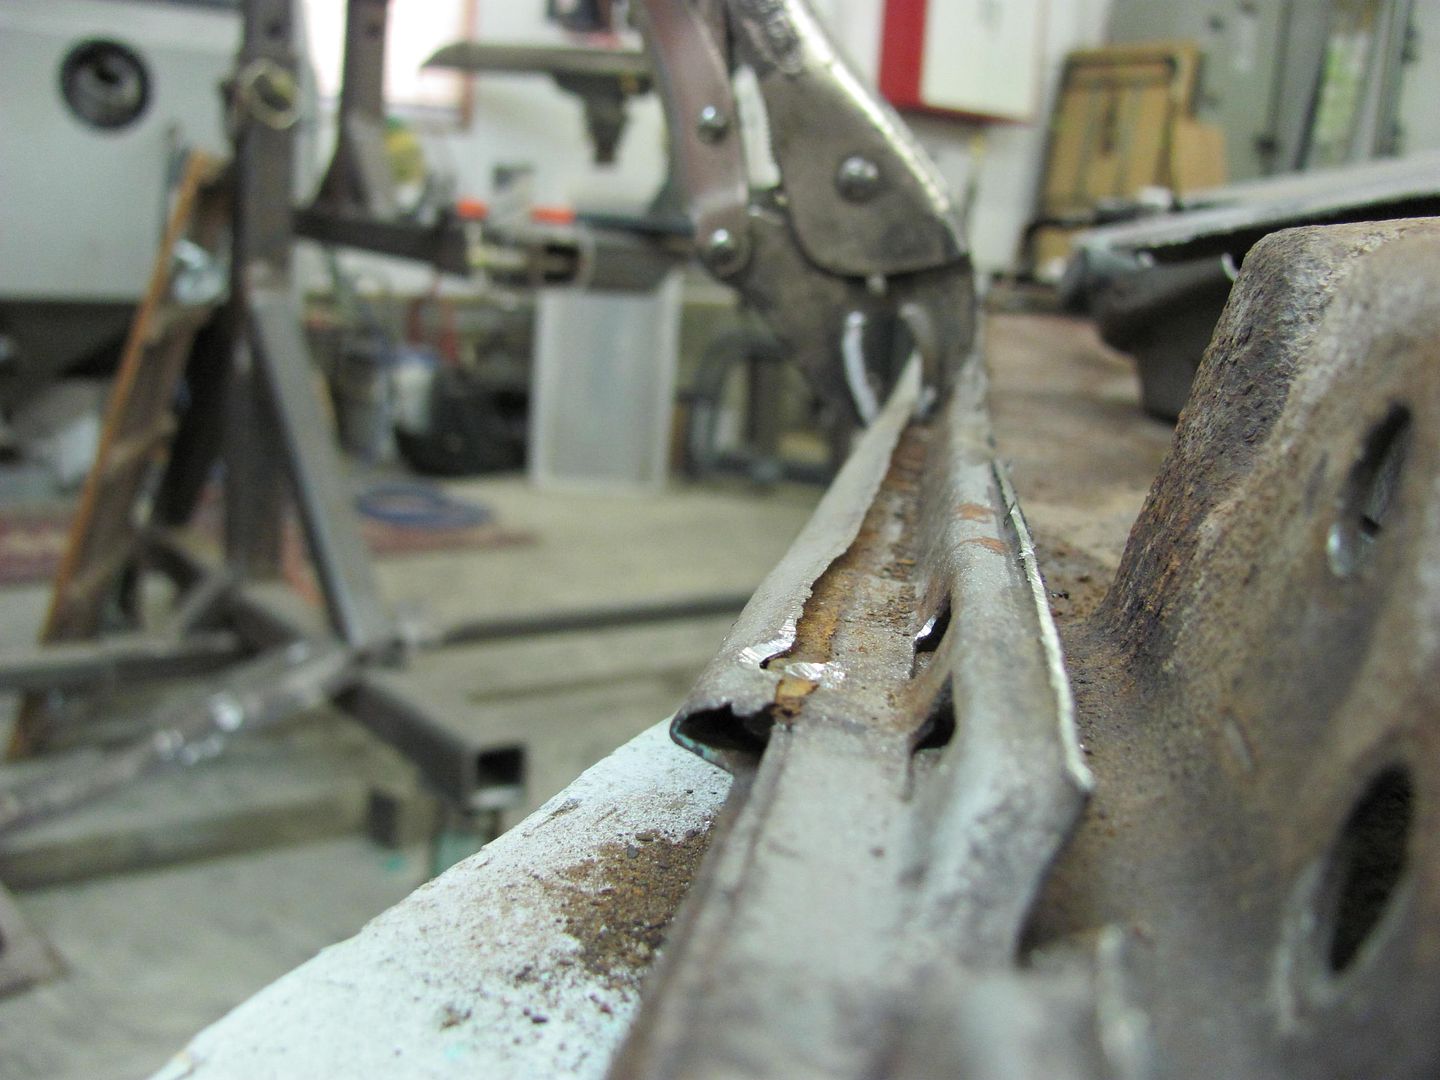
In the case where you may be reusing the outer skin and only replacing the inner, spot welds can be removed by a rounded end burr grinder, in an attempt to keep the damage (and hole diameter) to the skin flange at a minimum. Continuing:
The Vise Grip's adjustable tension help to keep the "unbending" consistent across the panel, for an easier "recrimping" if the outer will be reused.
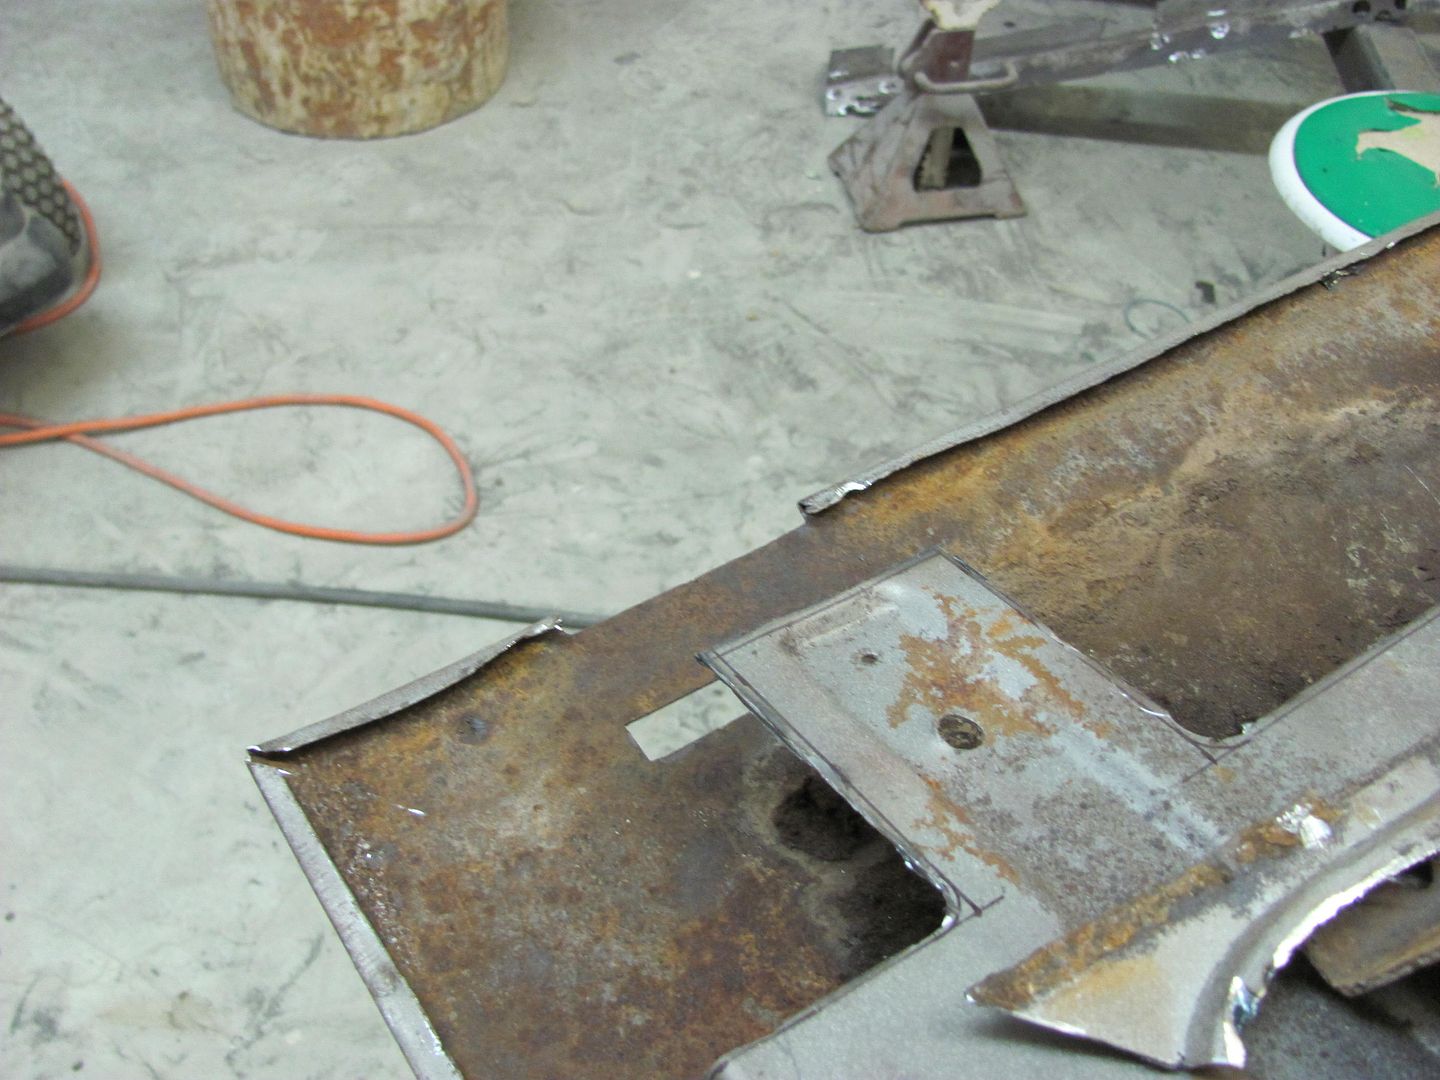
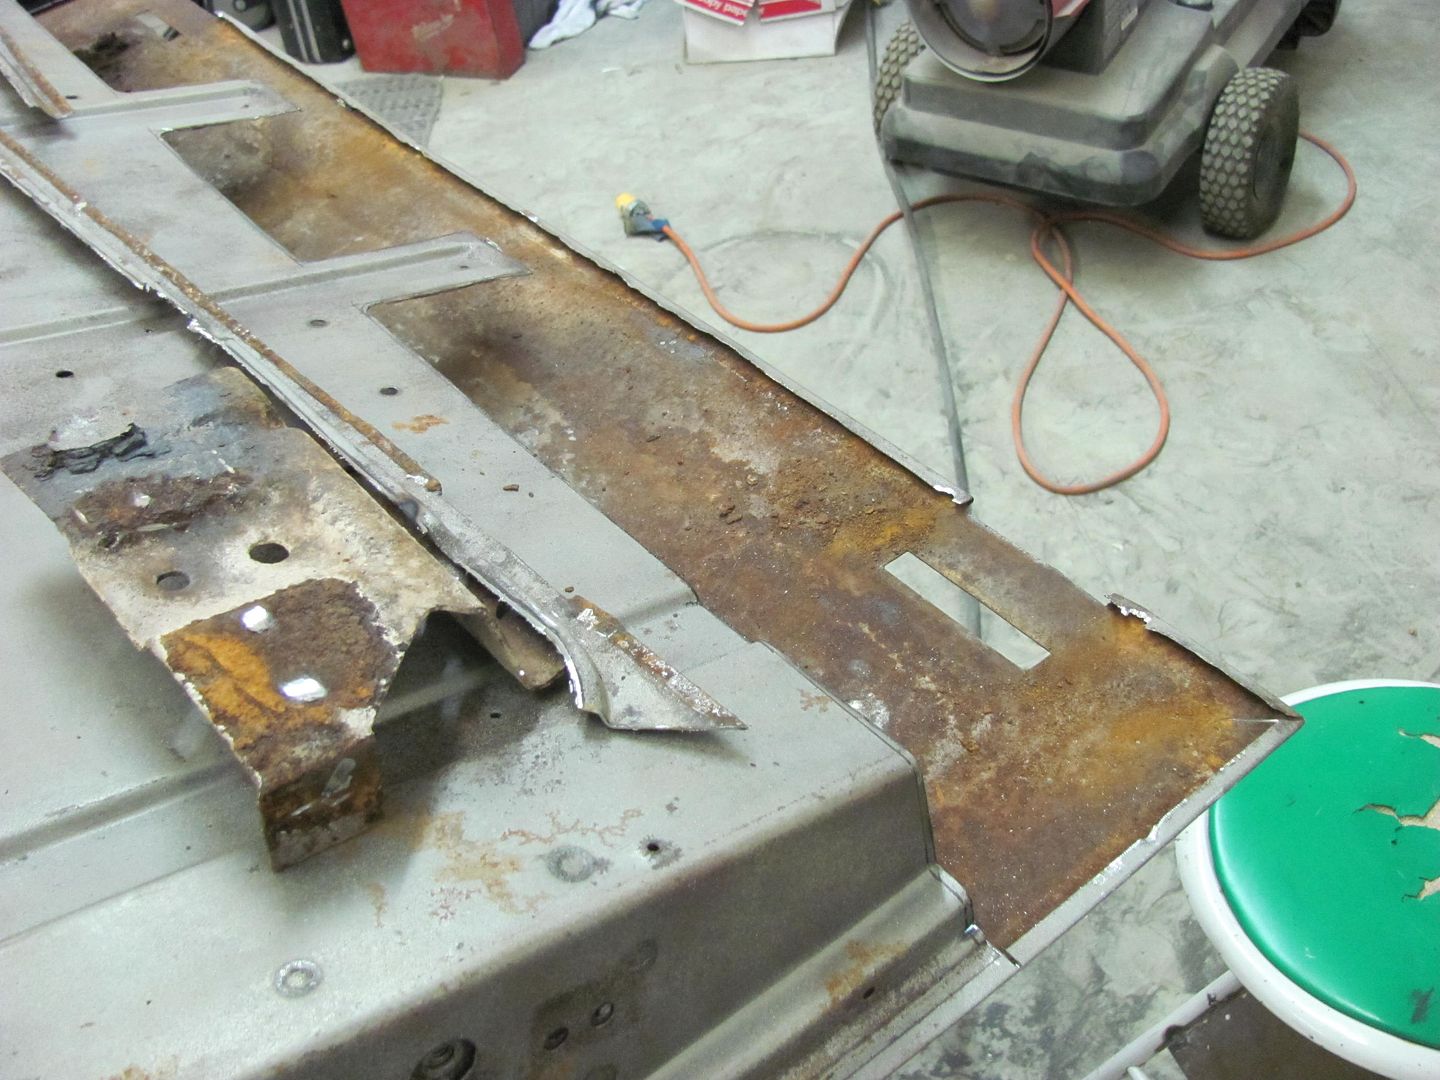
All ready for replacing the inner.........Last edited by MP&C; December 7, 2012, 03:14 PM.Comment
-
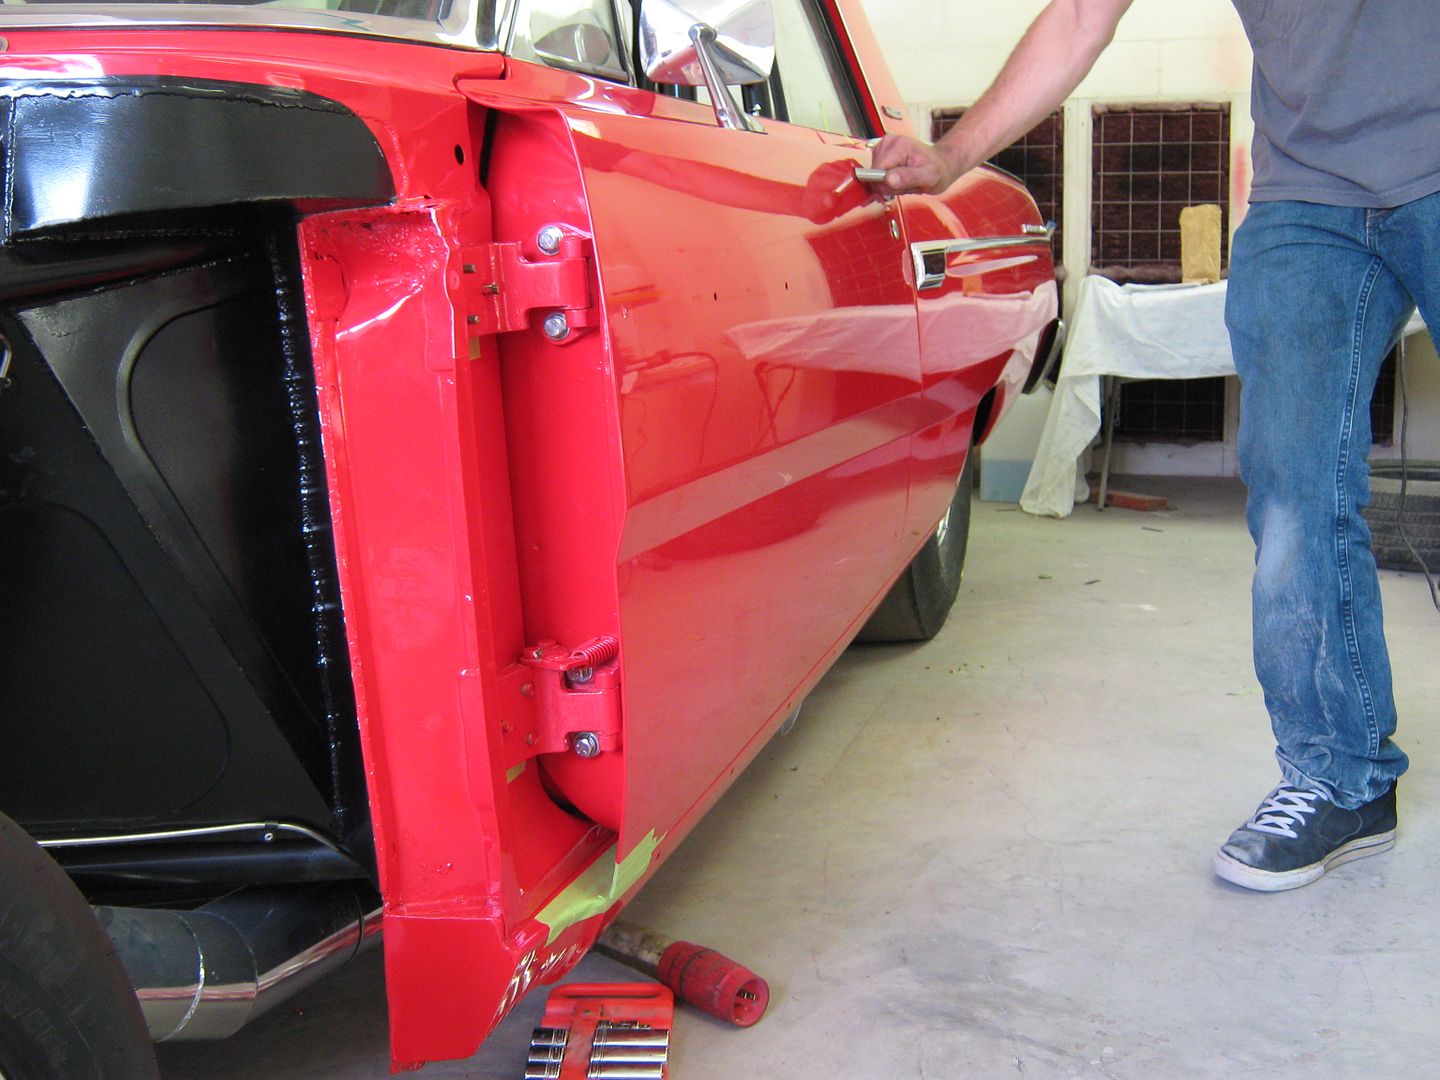
During the "restoration" of a '65 Fairlane, while re-assembling the car I came up with a door installation fixture as the doors were quite heavy and we didn't need any paint chips....
I had seen some of the cradle style door lifts that you could add to your floor jack, but I have a problem how the cradle supports the complete weight of the door across the lower edge of a door skin. Too much risk of paint damage in my view. So I came up with another version that would support the weight across a wider area on the inner door, for less risk of damage to any visible area.
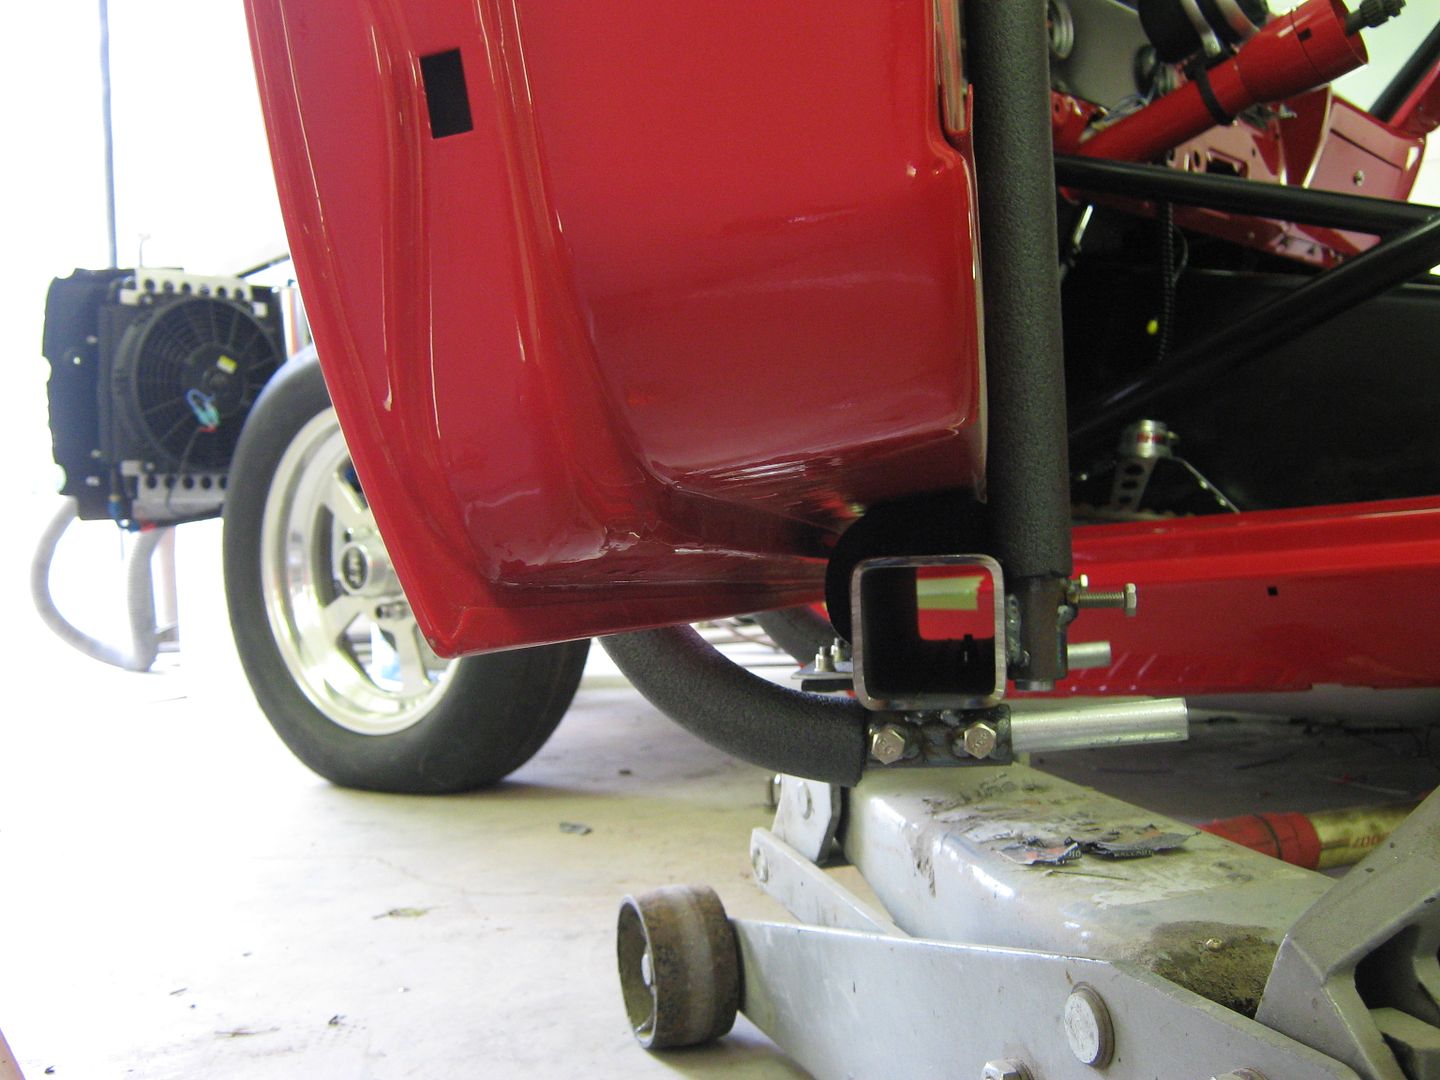
Here's the basic form, with some pipe receivers using set screws. The support braces are bent from electrical EMT and covered in pipe insulation to protect the door's finish, and roll bar padding (we had some left over :thumbup on the bottom support.....
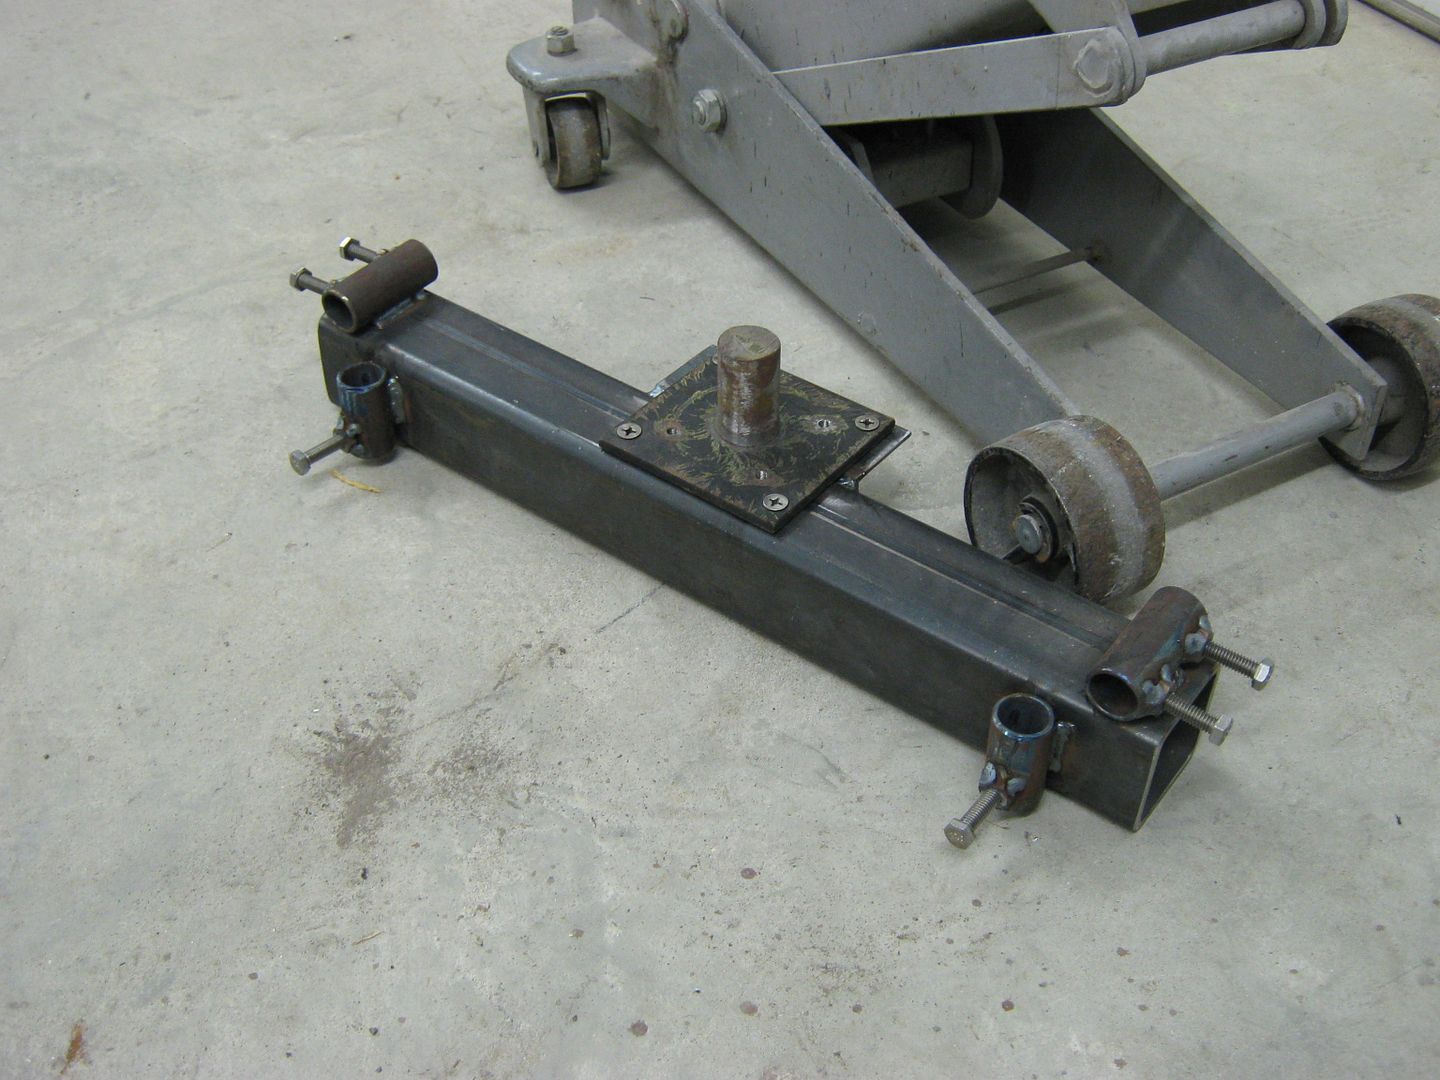
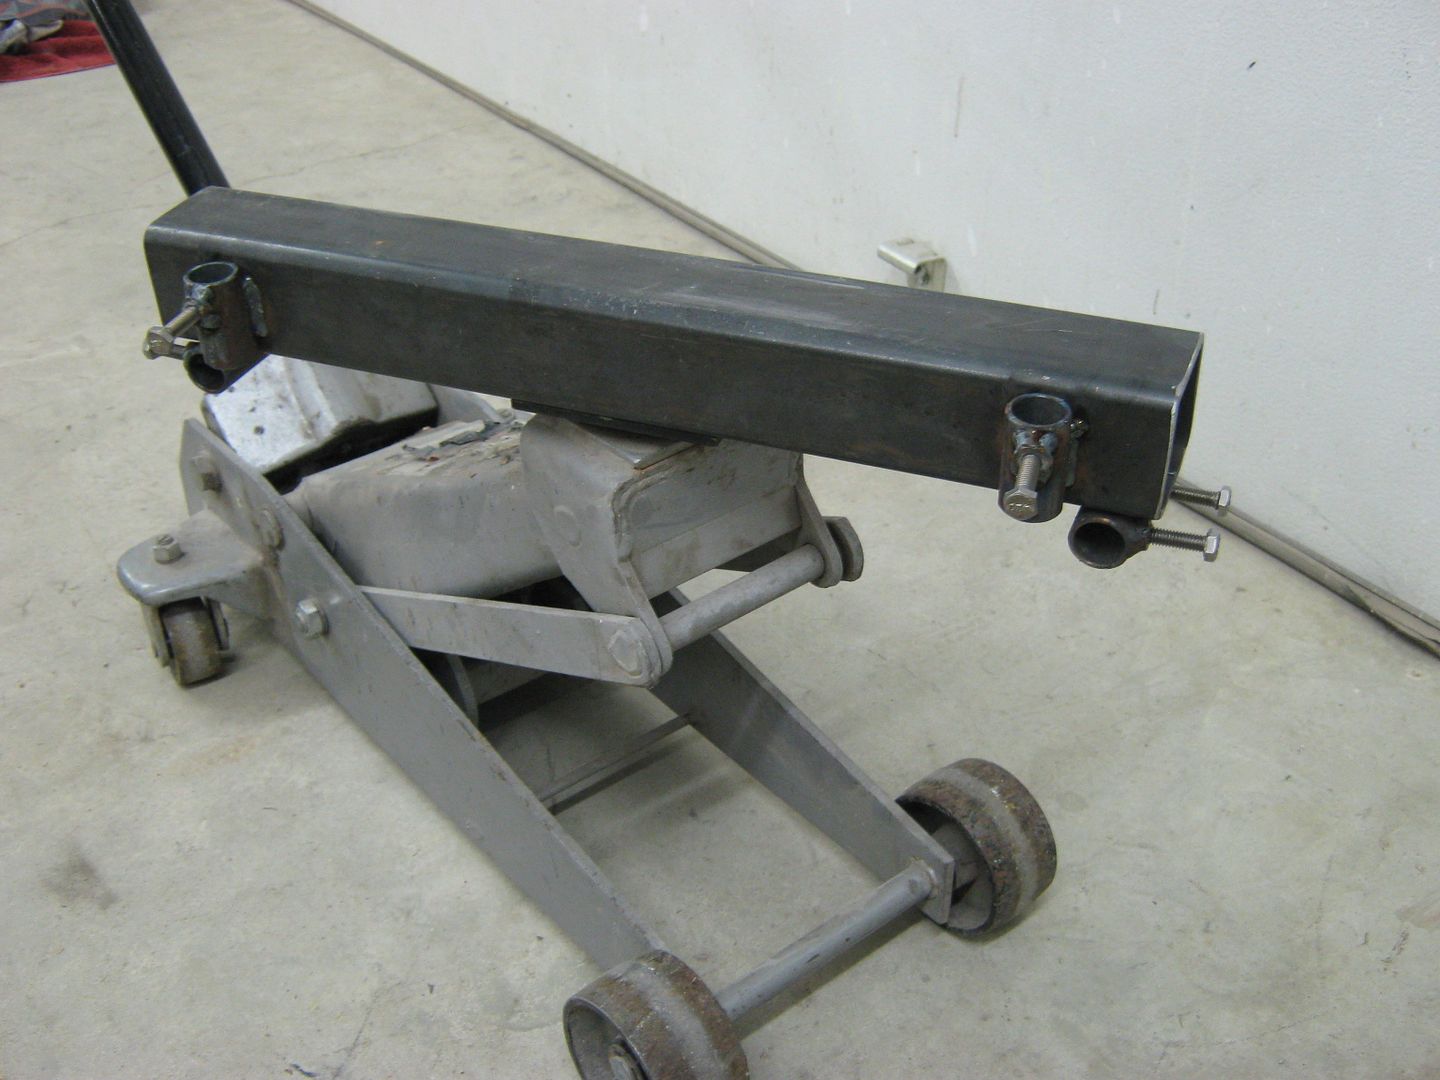
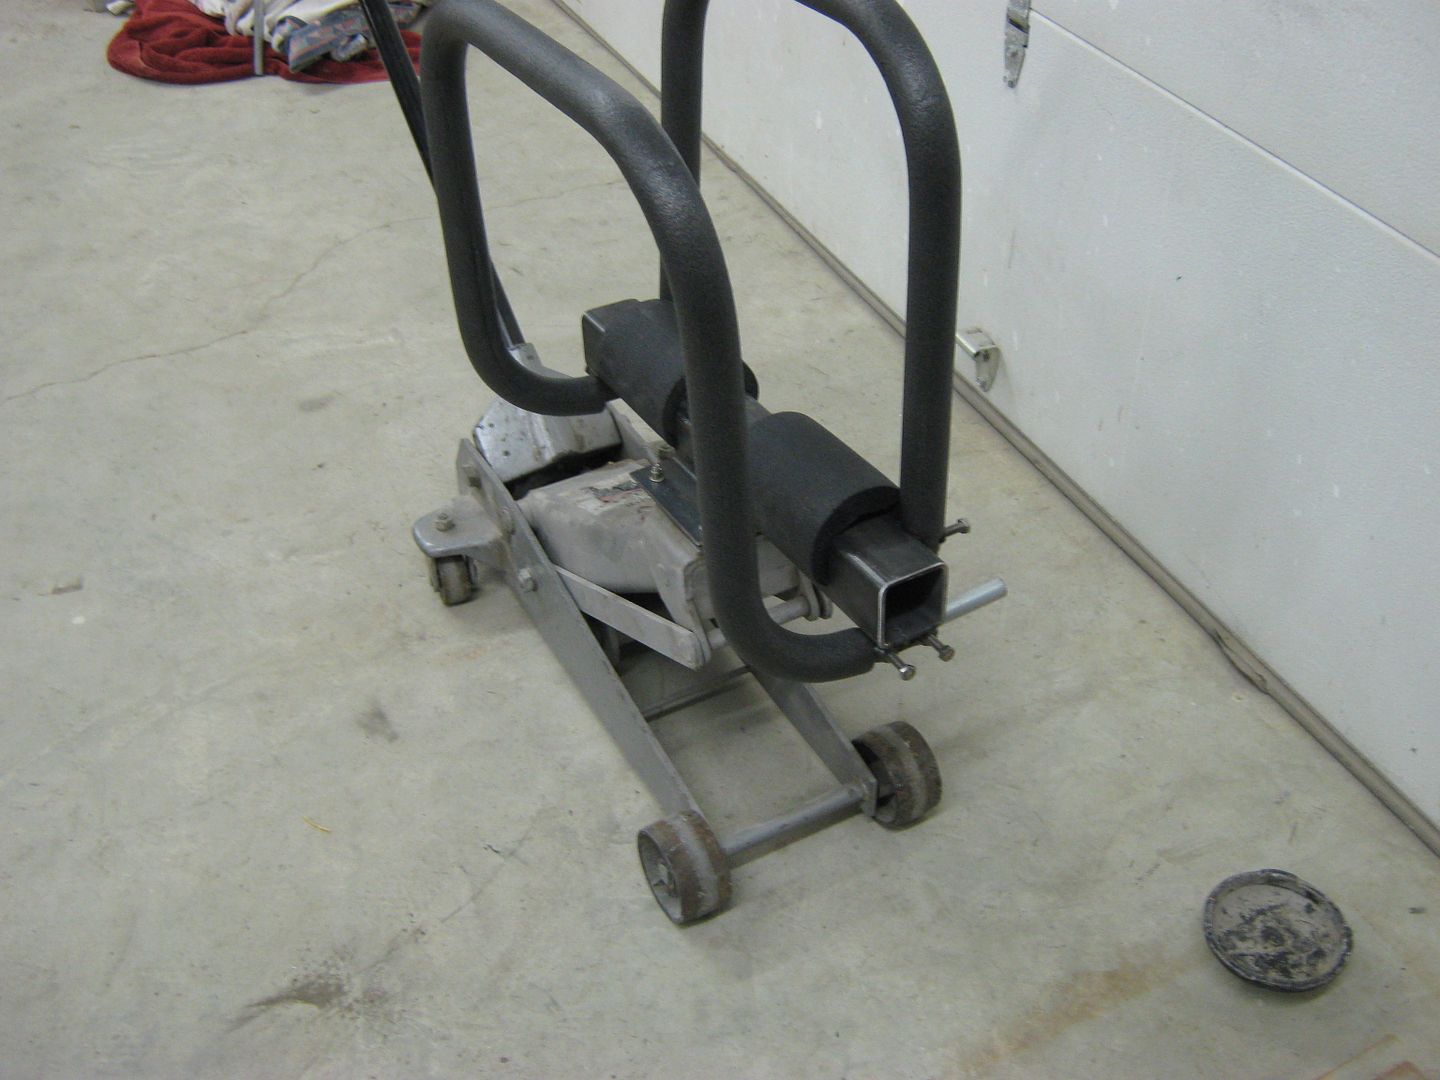
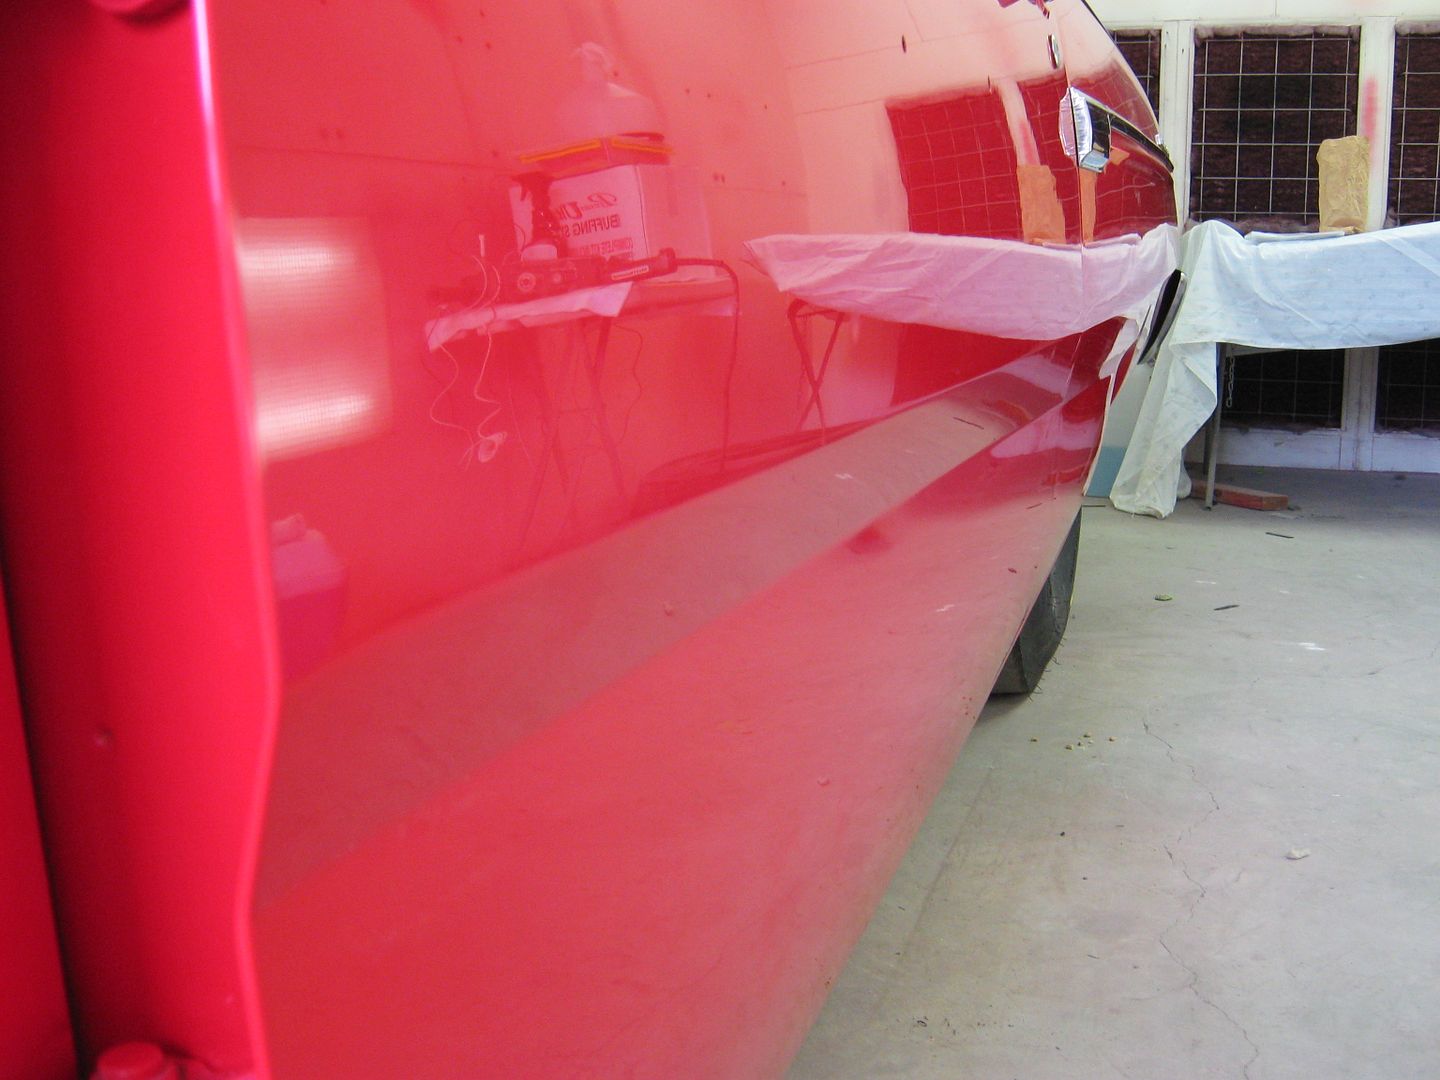
The support braces also help to keep the door oriented in a vertical position, to keep the door from flopping back and forth (as you may experience with the cradle style). This will help prevent paint damage/chips from excessive door movement during the install.
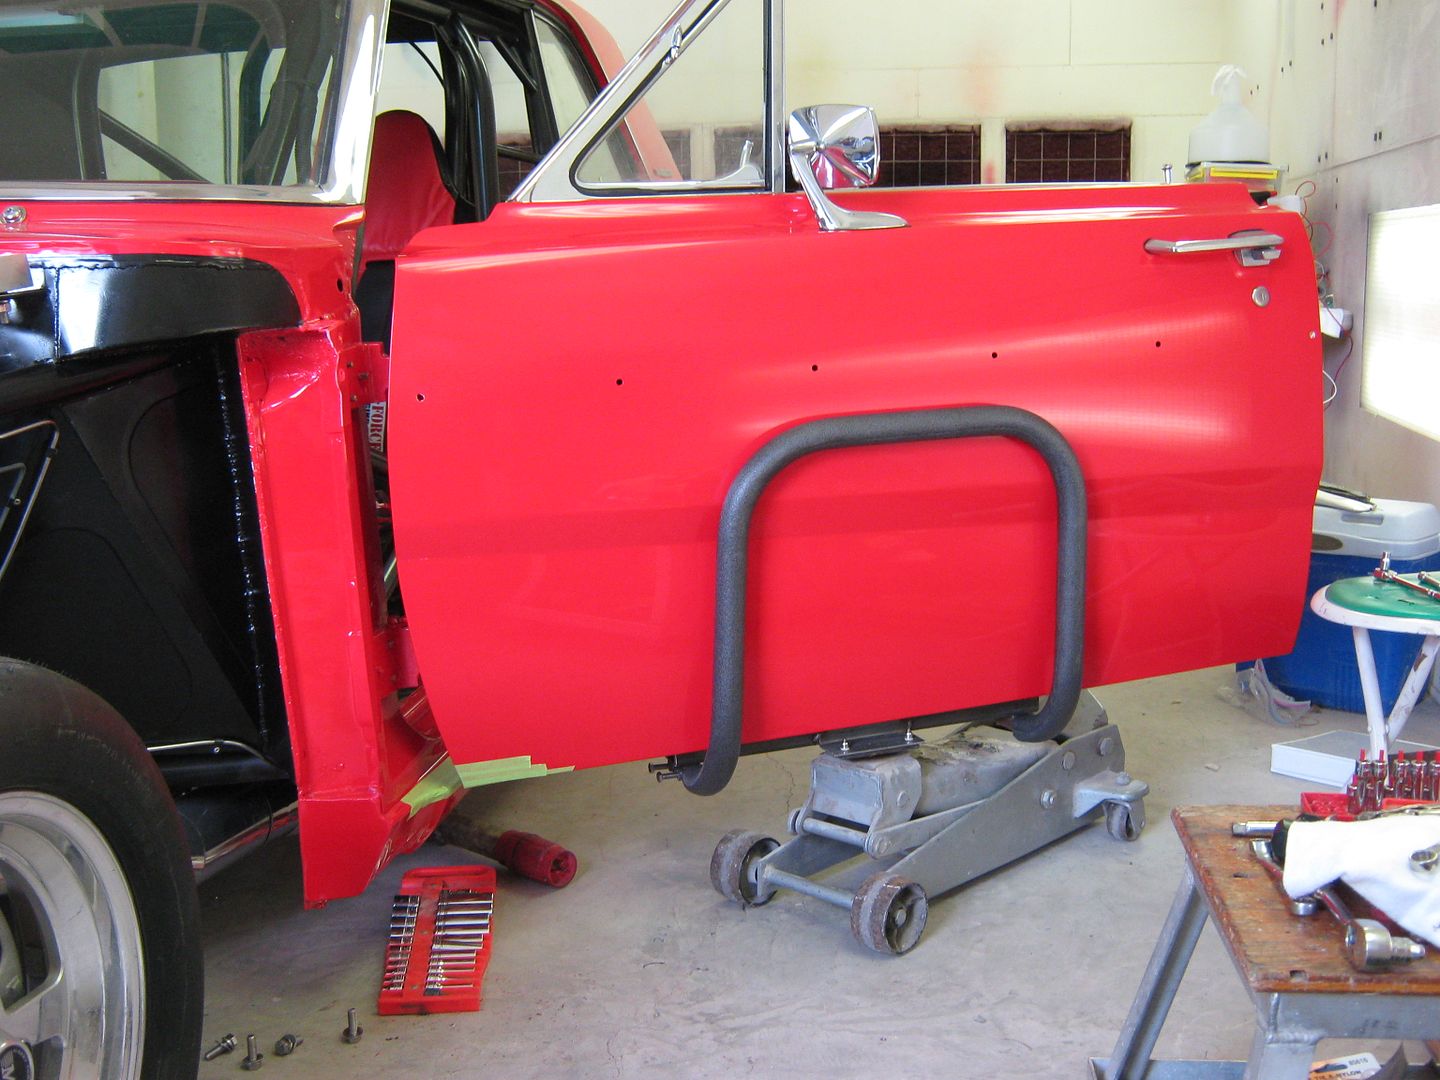
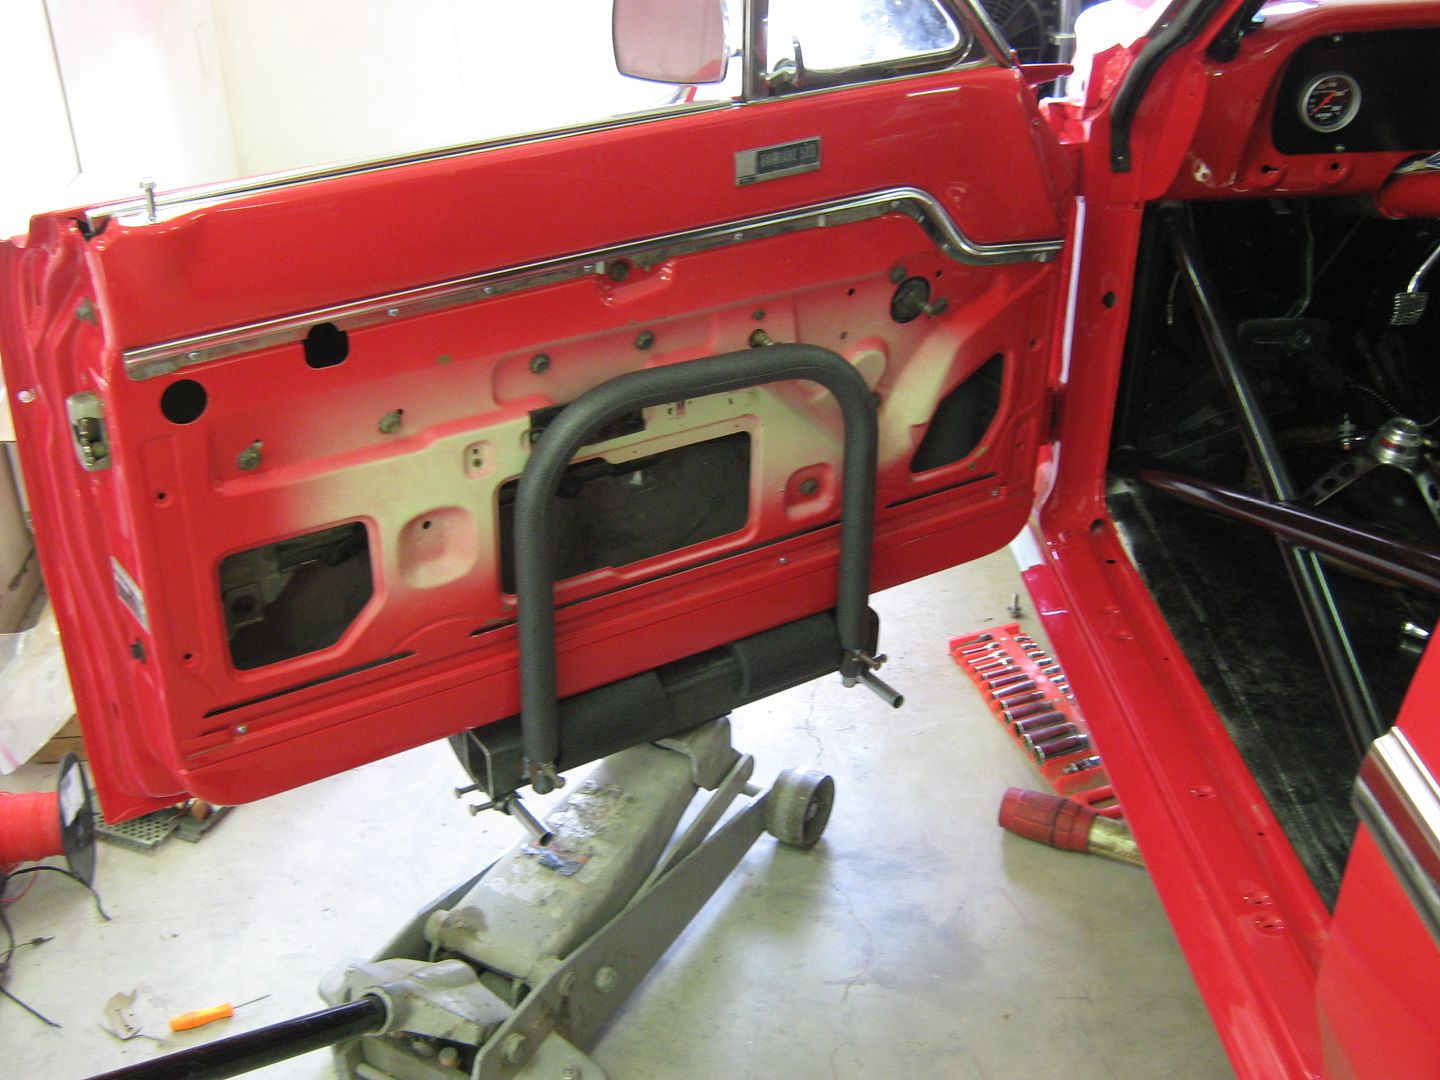
Notice nothing touches the edge of the door skin....
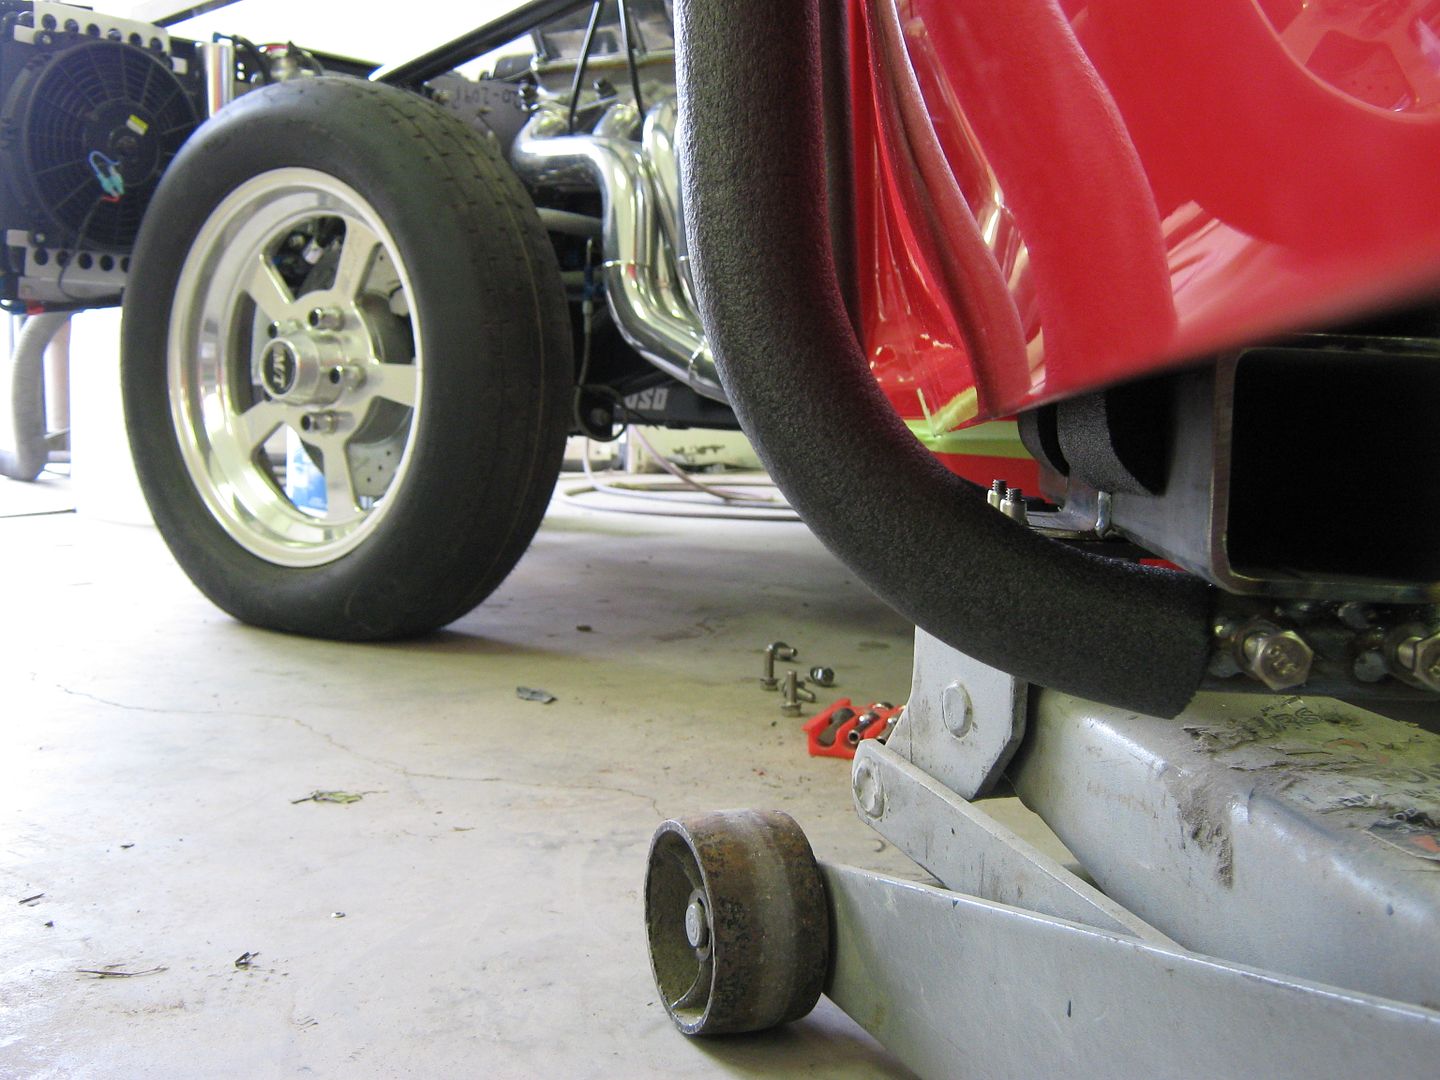
Once hinges are snug, loosen set screws for outer support brace, lower a couple inches, remove outer support brace, and simply pull jack toward rear of car to clear door.
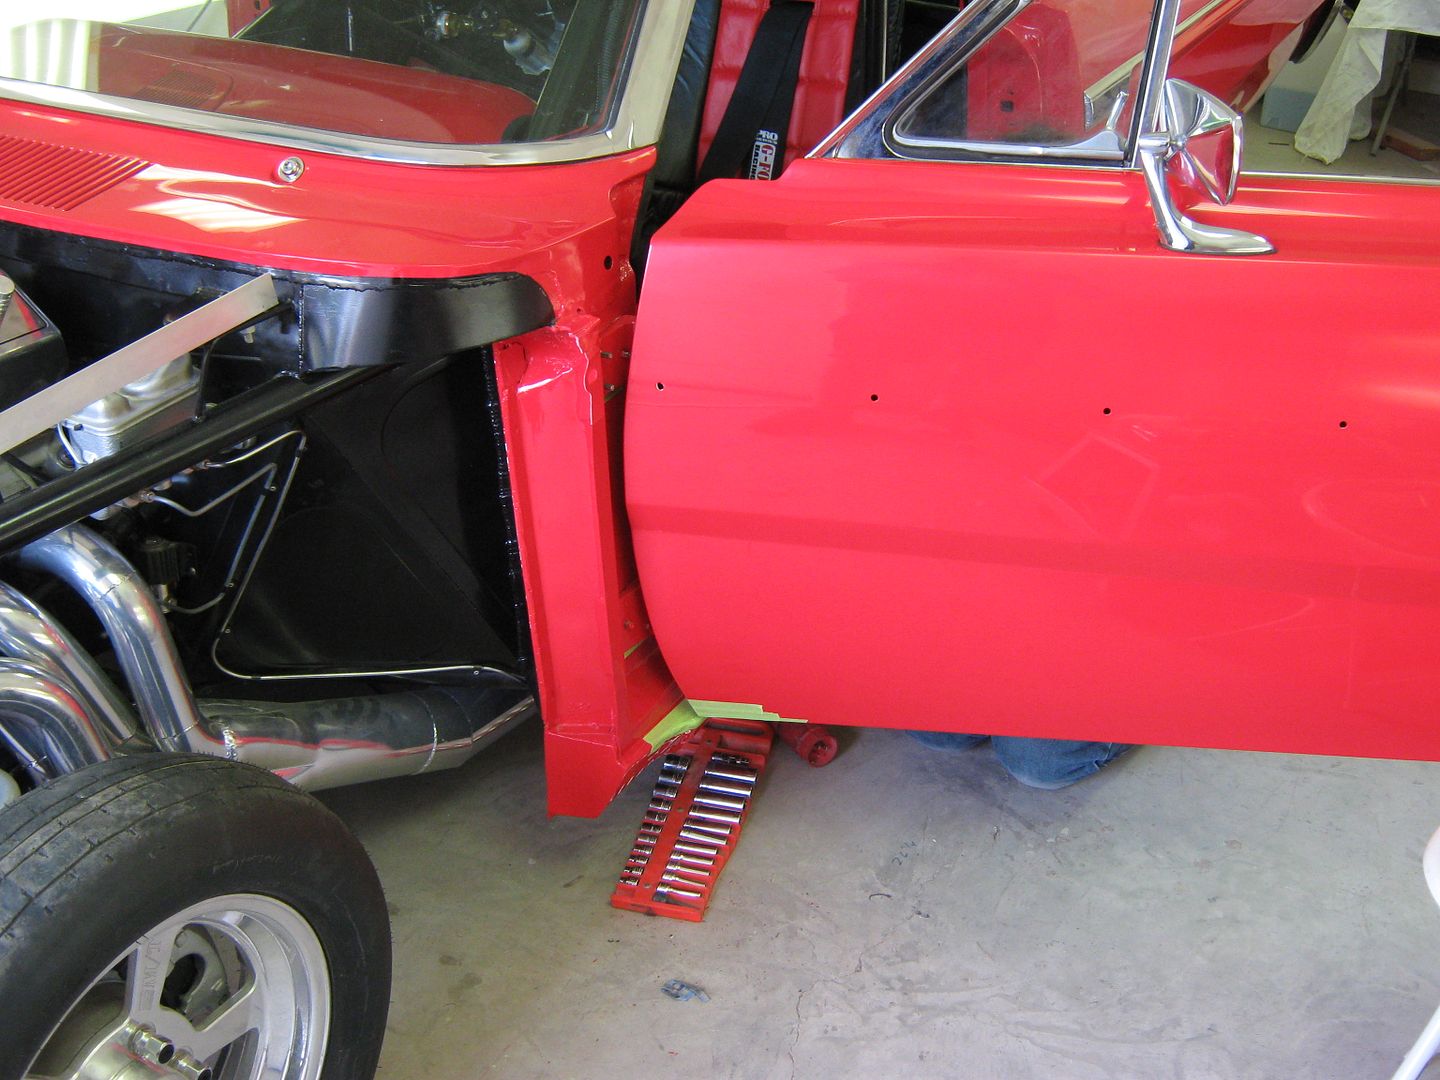
 Last edited by MP&C; December 9, 2012, 05:26 PM.
Comment


Comment