 Tweet
Tweet
I love how when I see your stuff being done it makes total sense, but I would never have thought of it. After seeing it, I'm usually thinking "Why don't I think like that?" That's a good thing for me, y'all's work is inspiring.
-
Flying south, with a flock of bird dogs. -
Thanks for the comments guys!
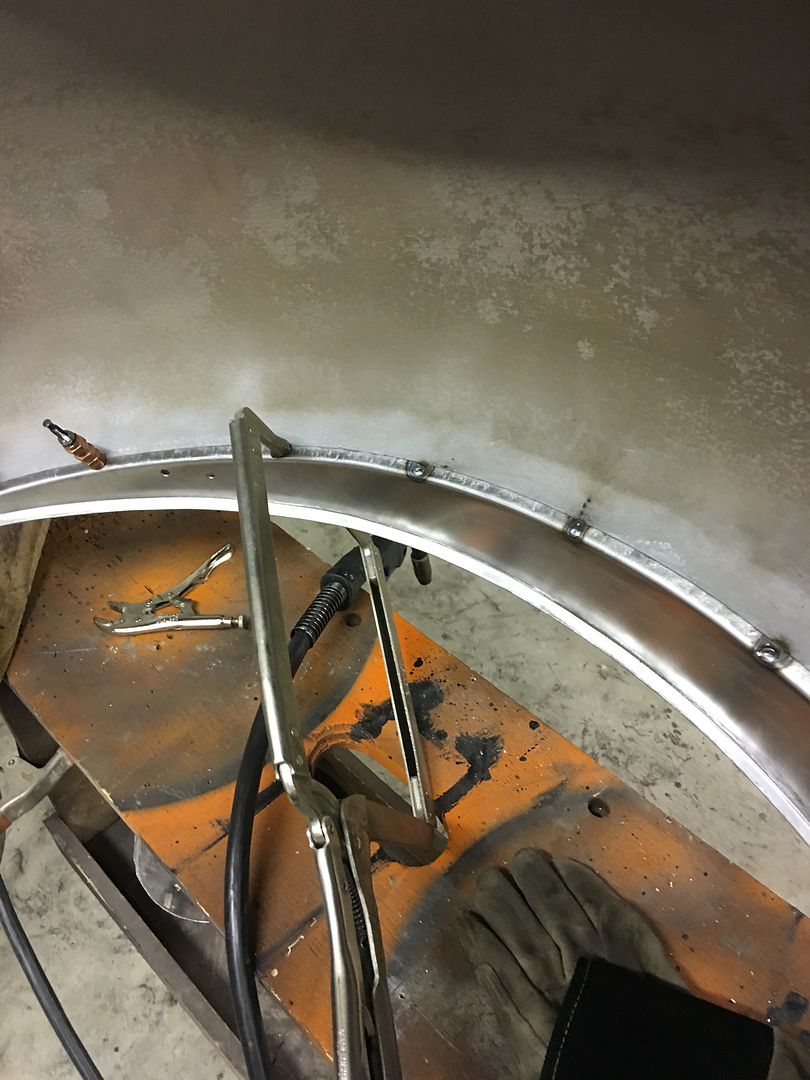
The flanges were TIG welded in place, welds dressed, and then worked to remove the remnants of the old filler panel. The old spot welds were removed using a cut off wheel in a die grinder. When the upper panel gets thin, the heat turns it blue. When you see shiny metal again, you have found the second layer, so stop grinding!

This video explains the process a bit better...
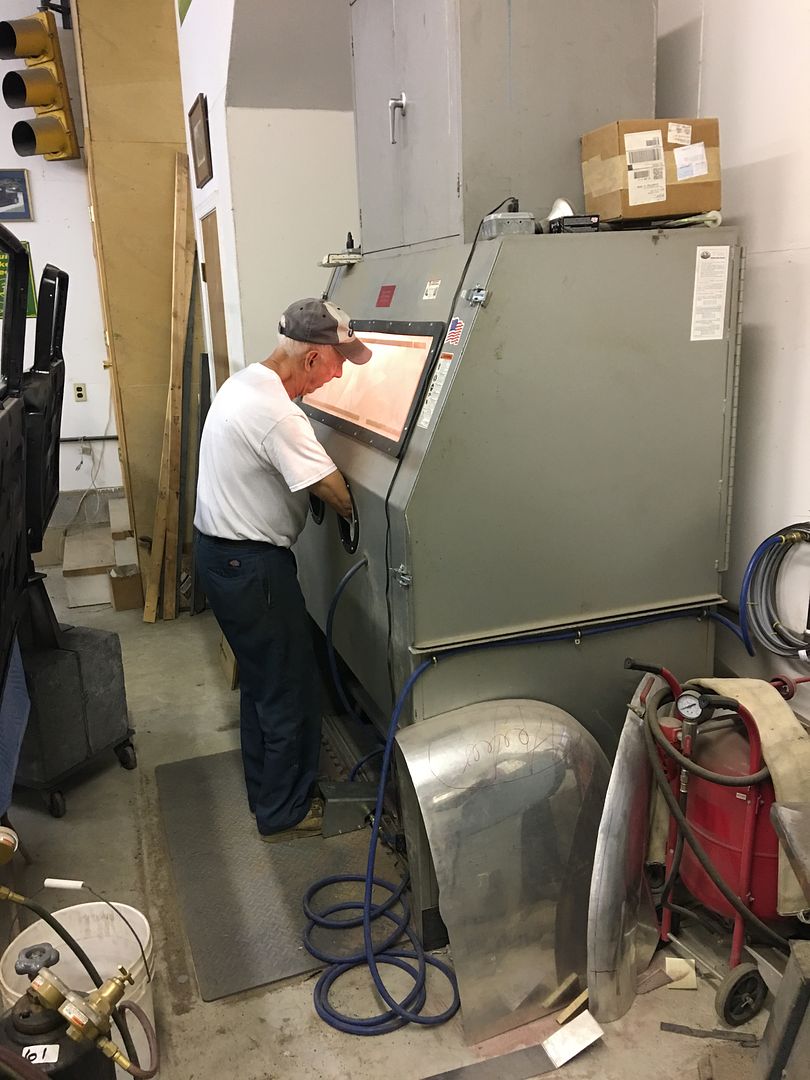
Next to clean all the rust that was hiding between the layers. A tight squeeze!
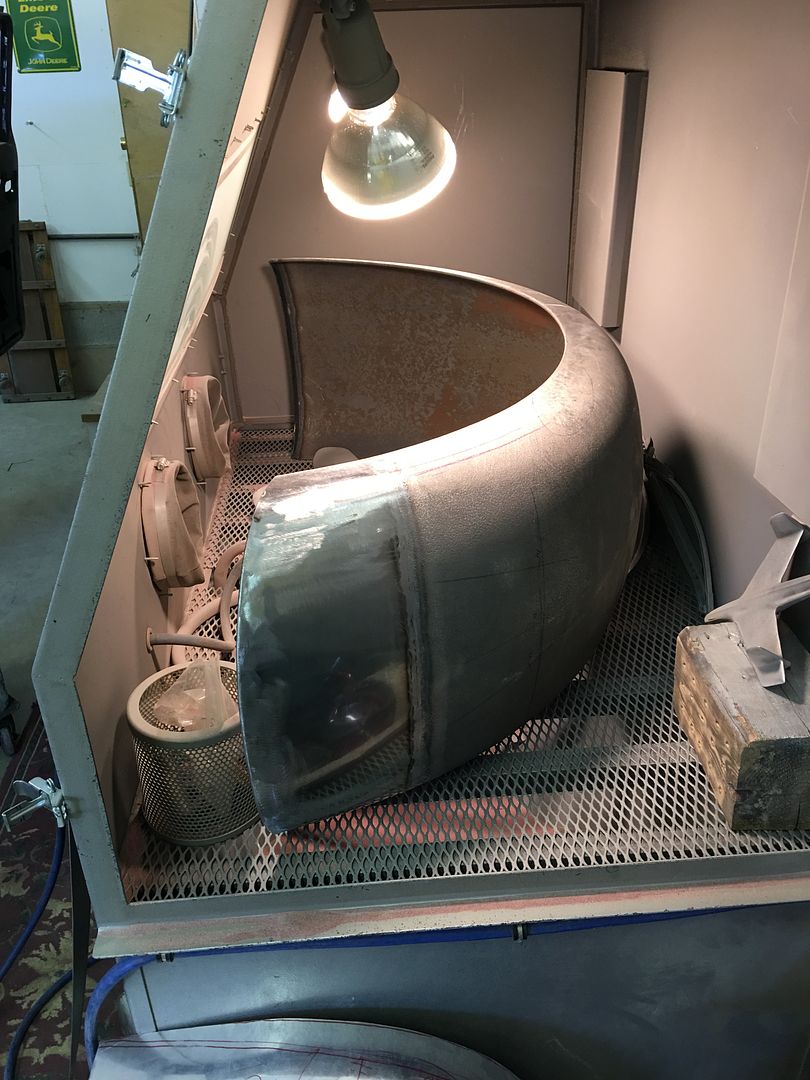
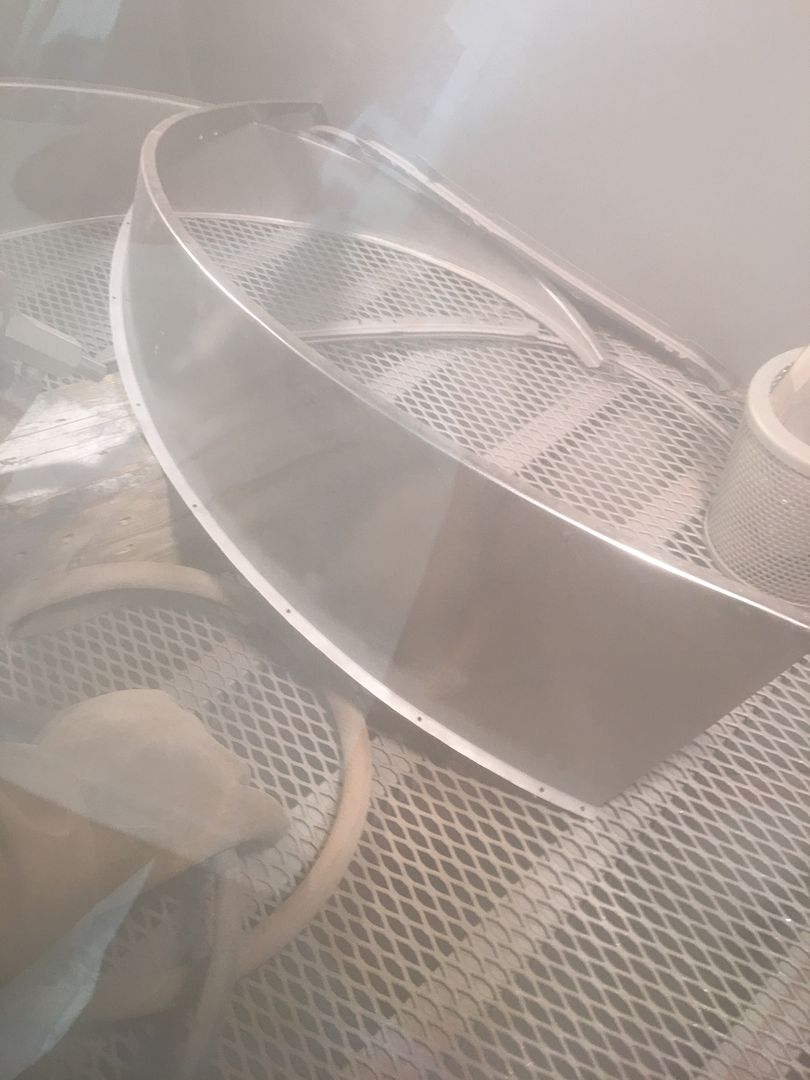
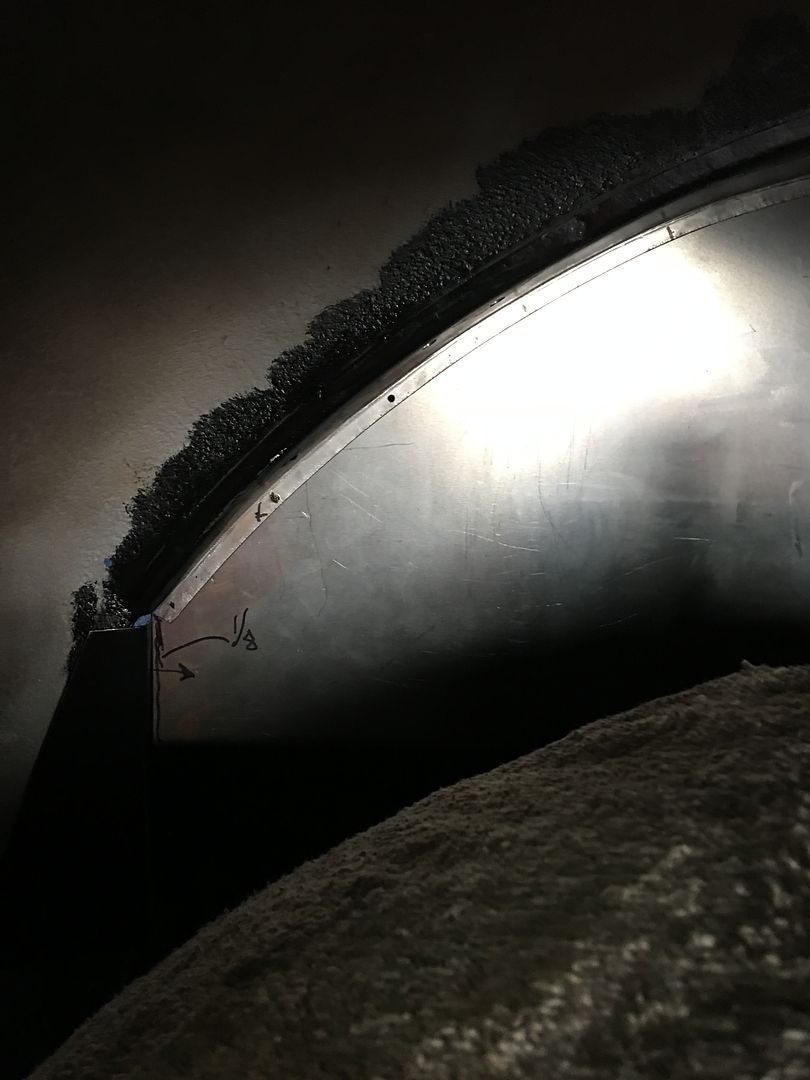
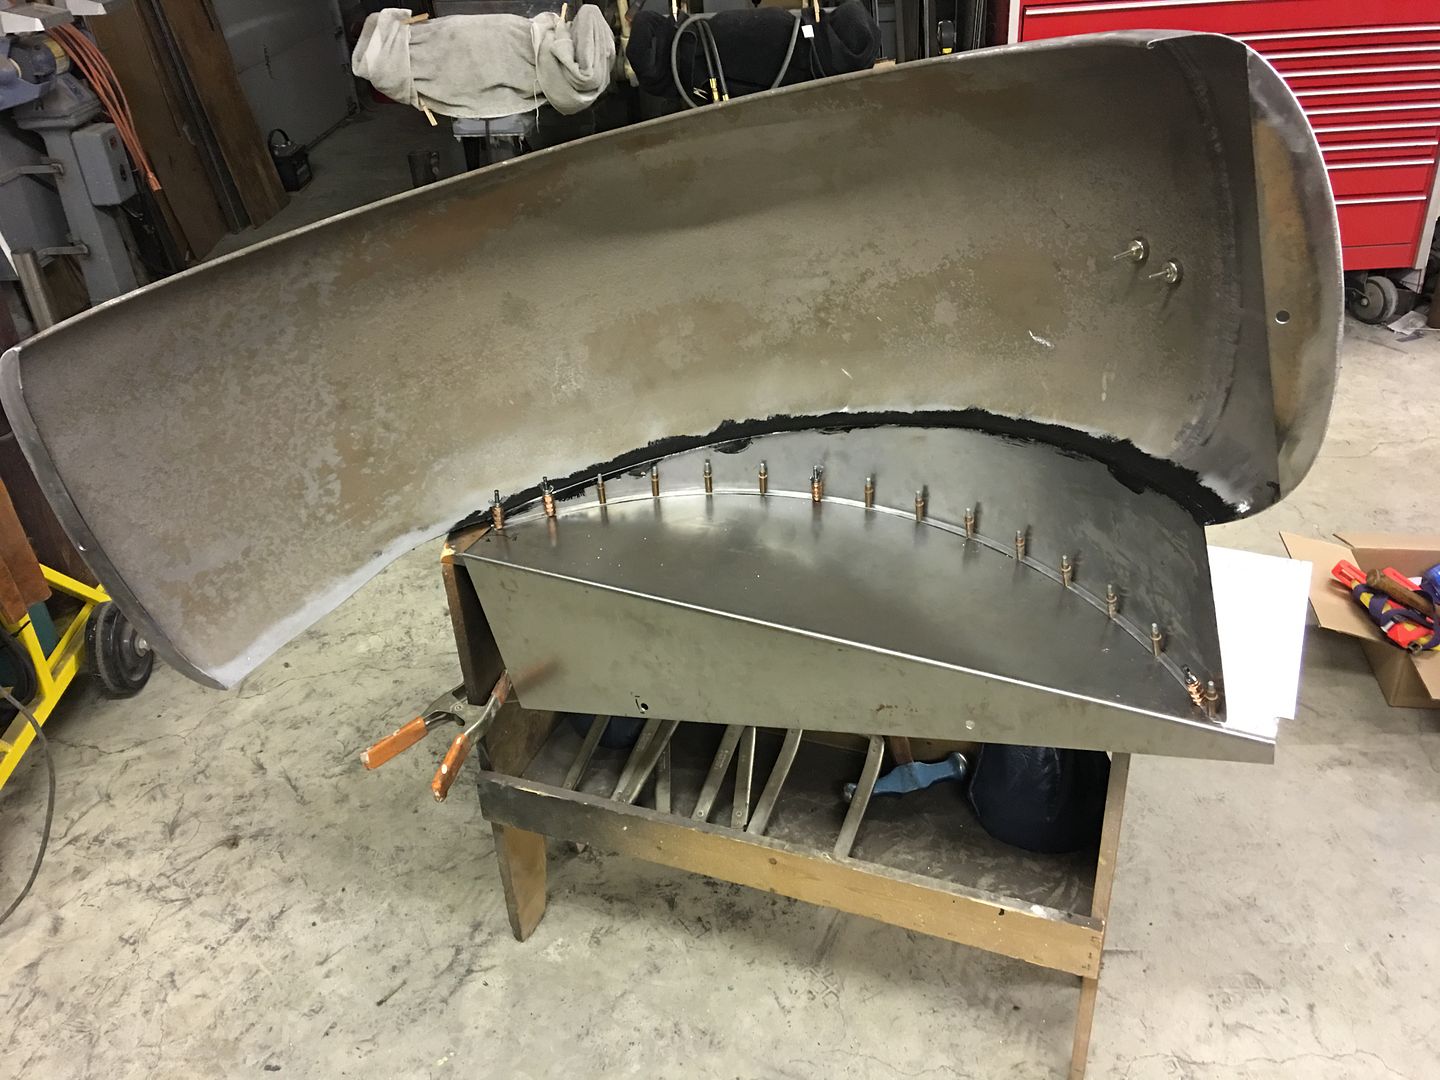
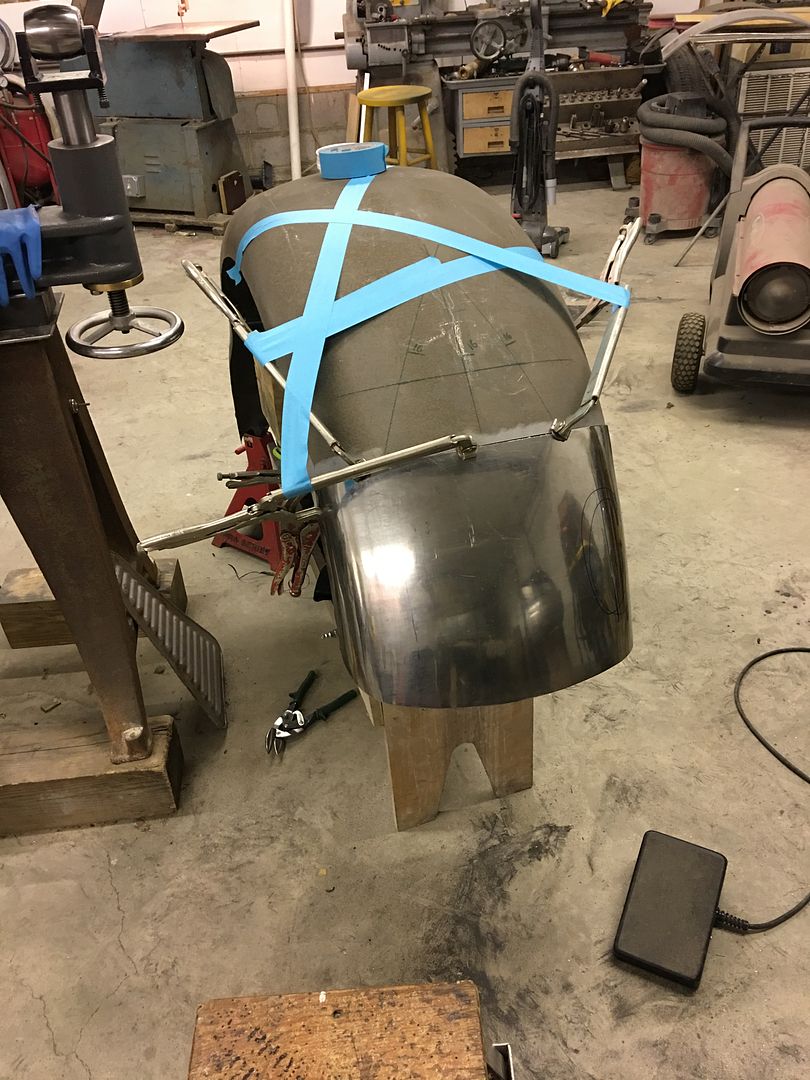
The filler panel we fabricated was positioned, and drilled for some 1/8" cleco's. Then another test fit:
Comment
-
Been away for a bit across the pond, finally back to some metal work.
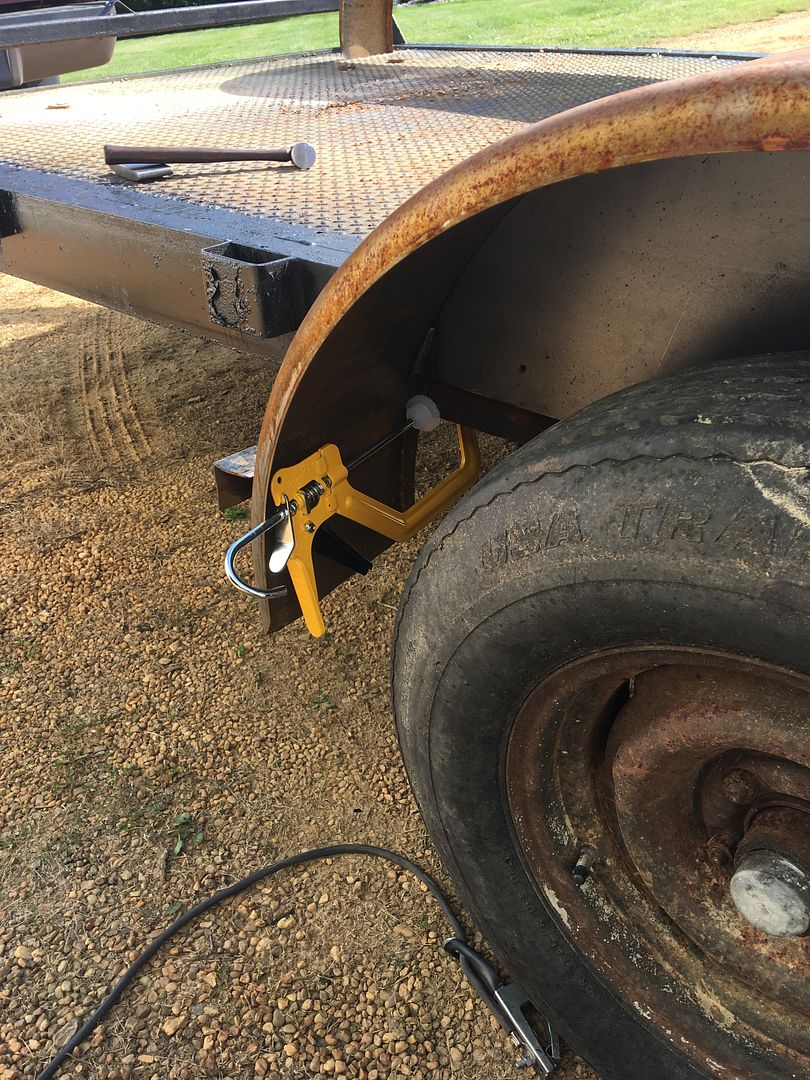
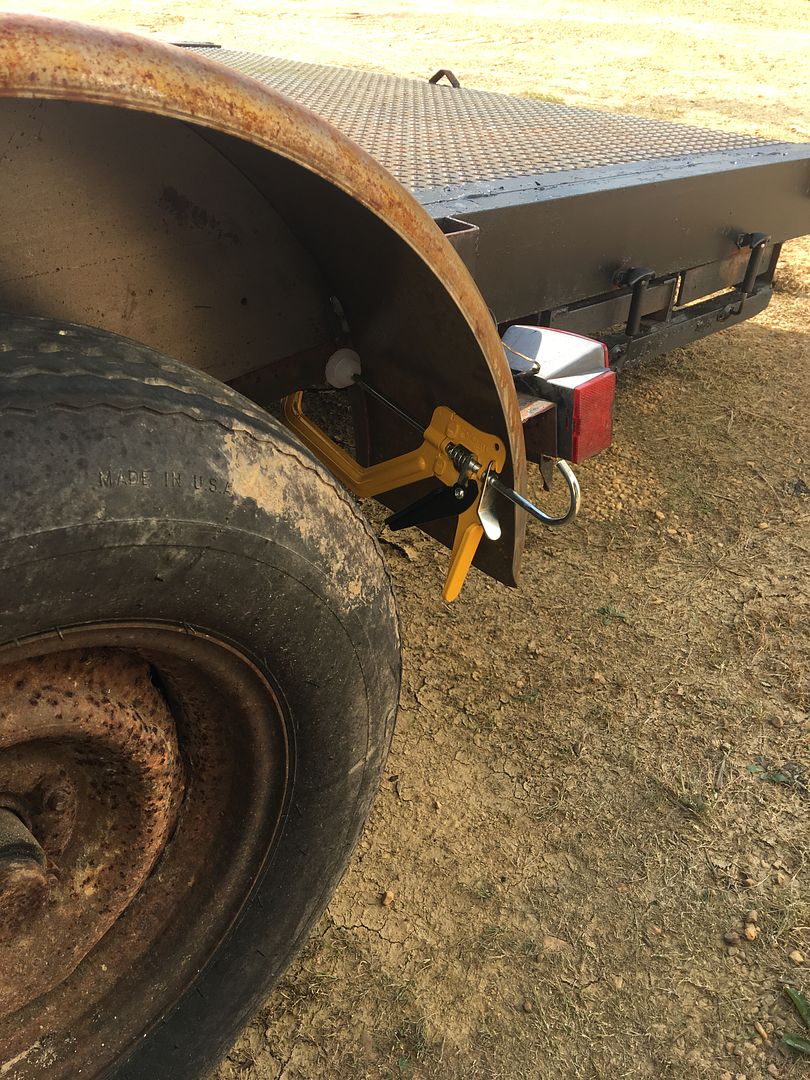
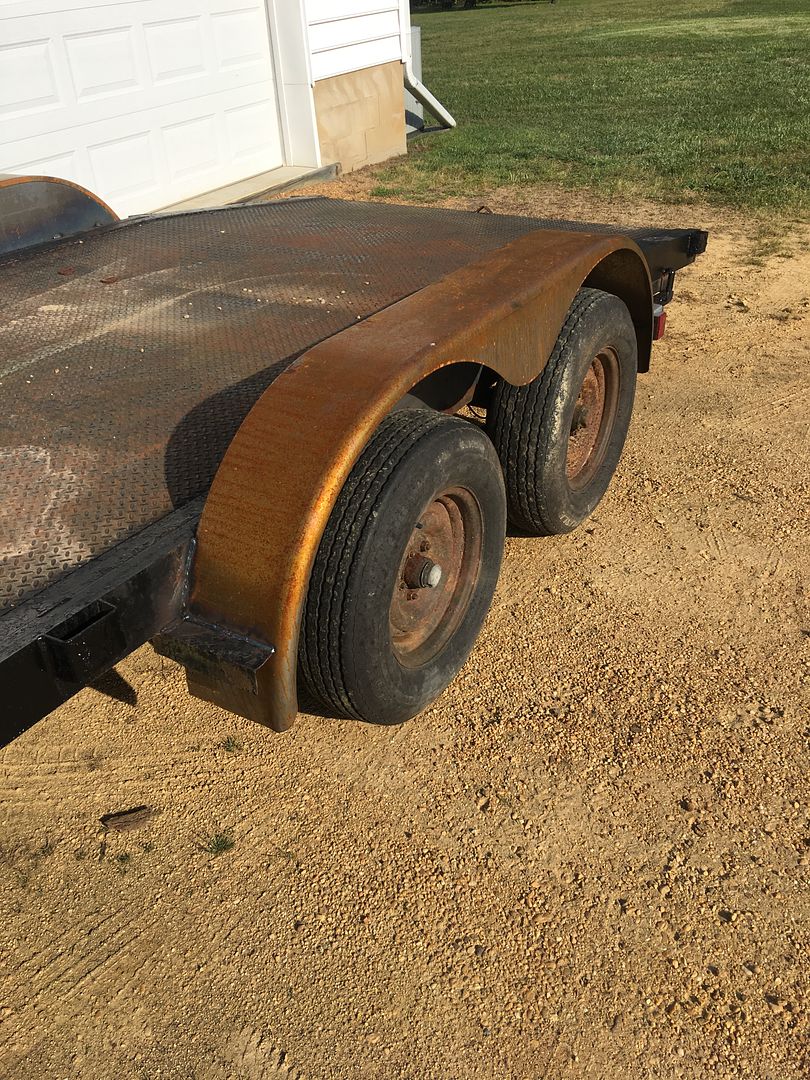
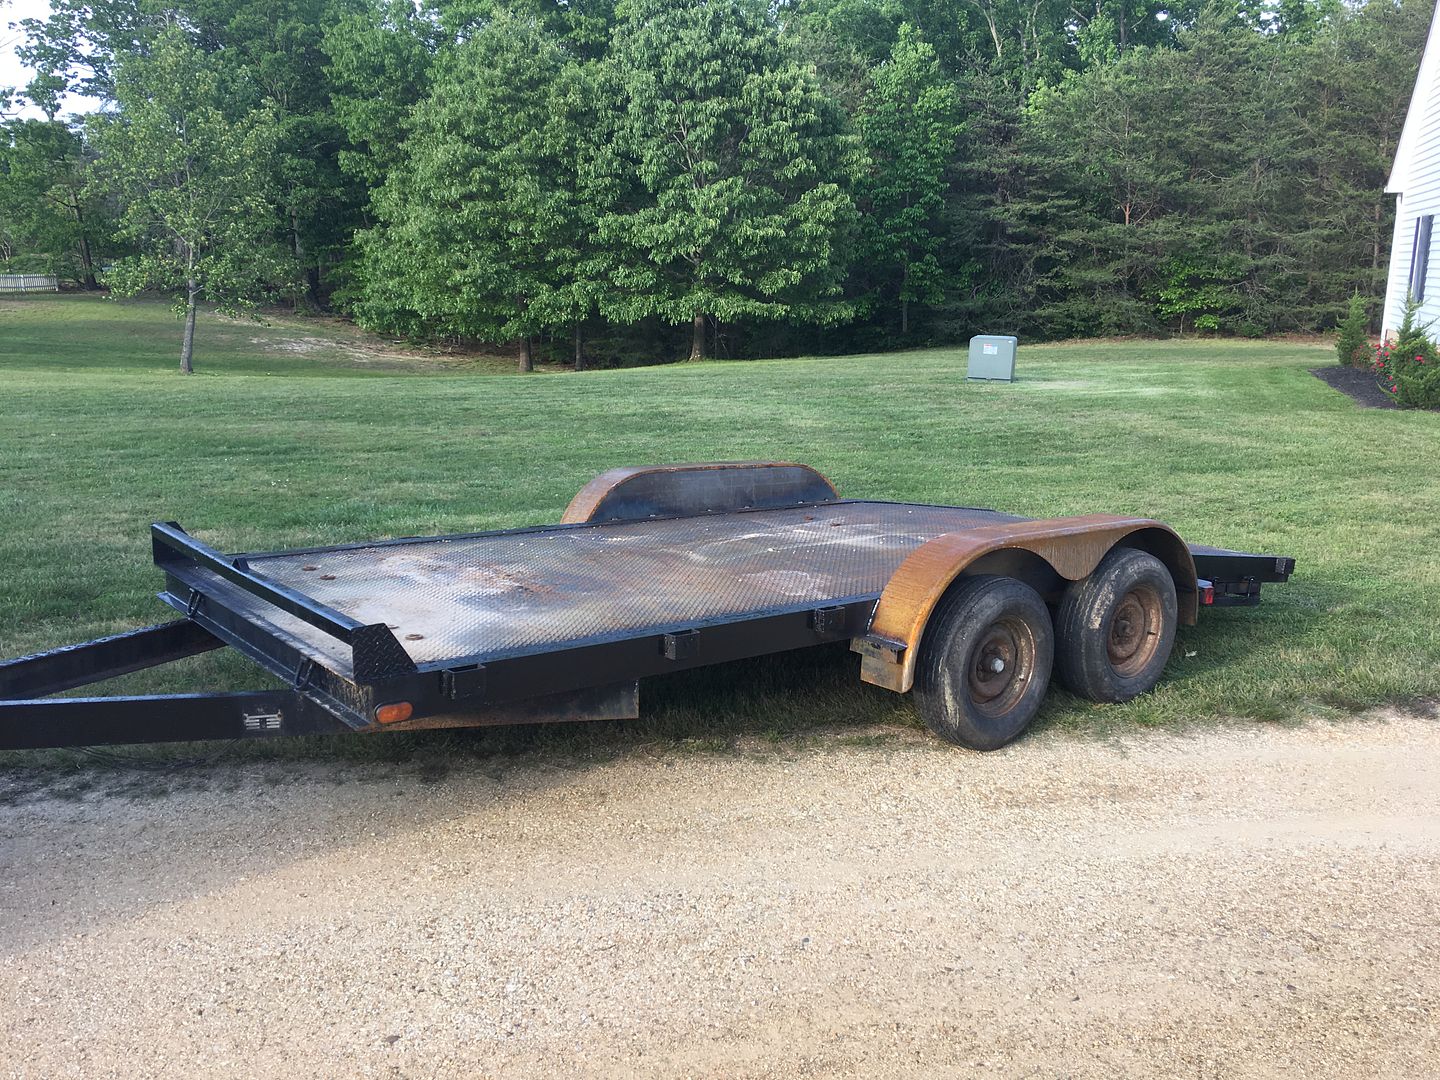
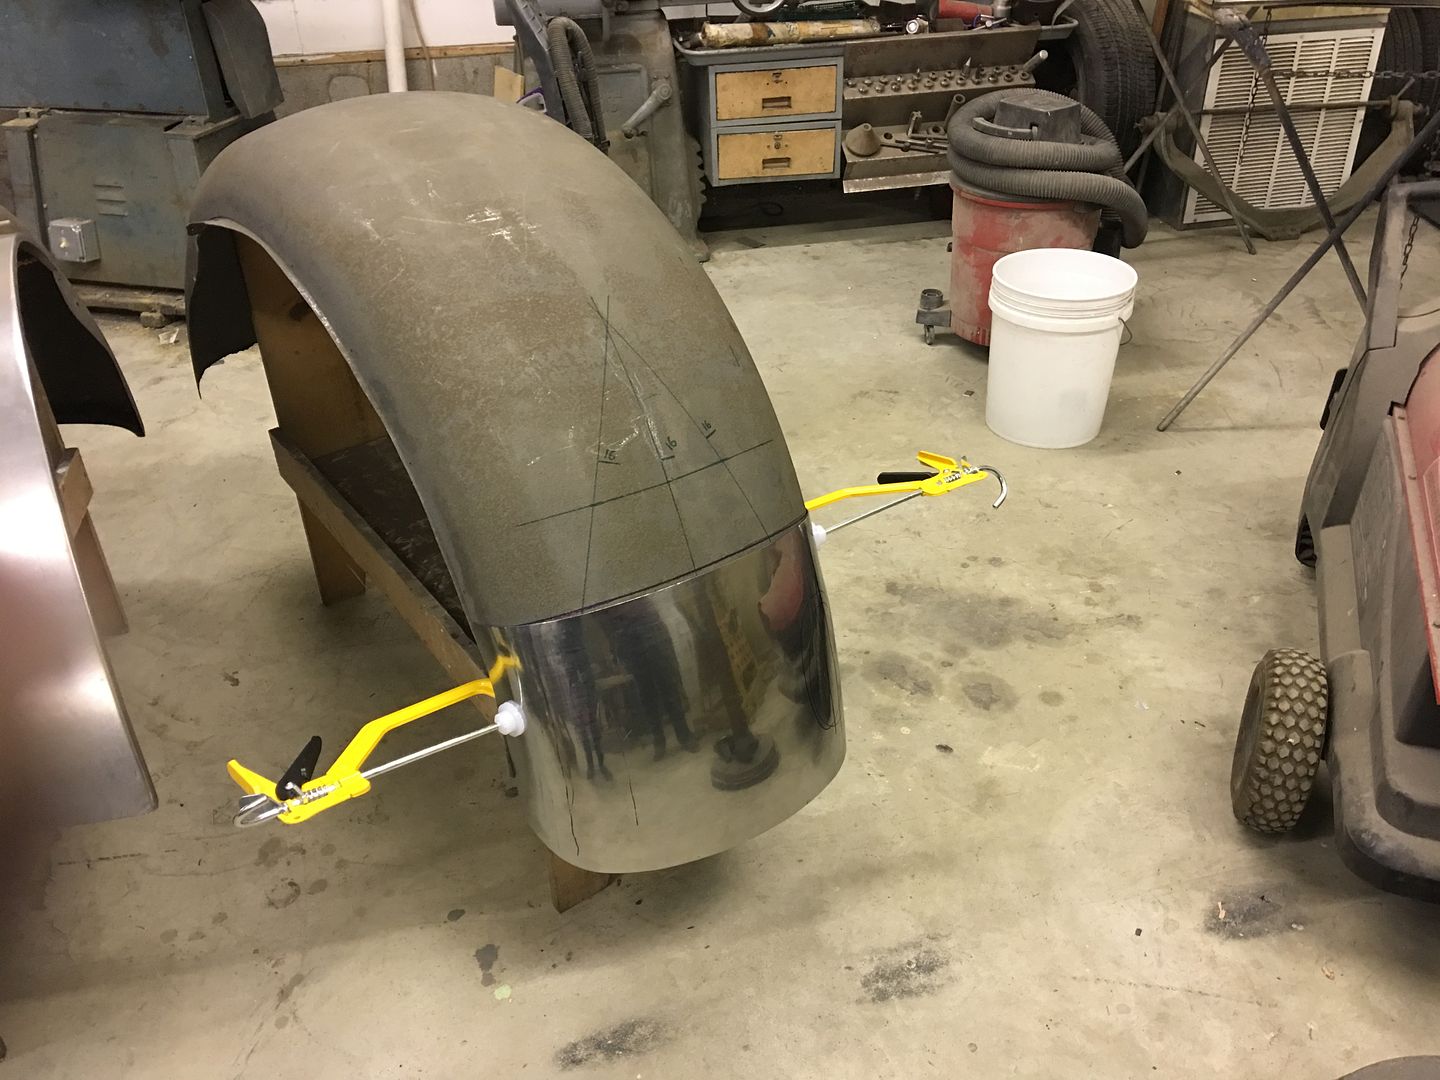
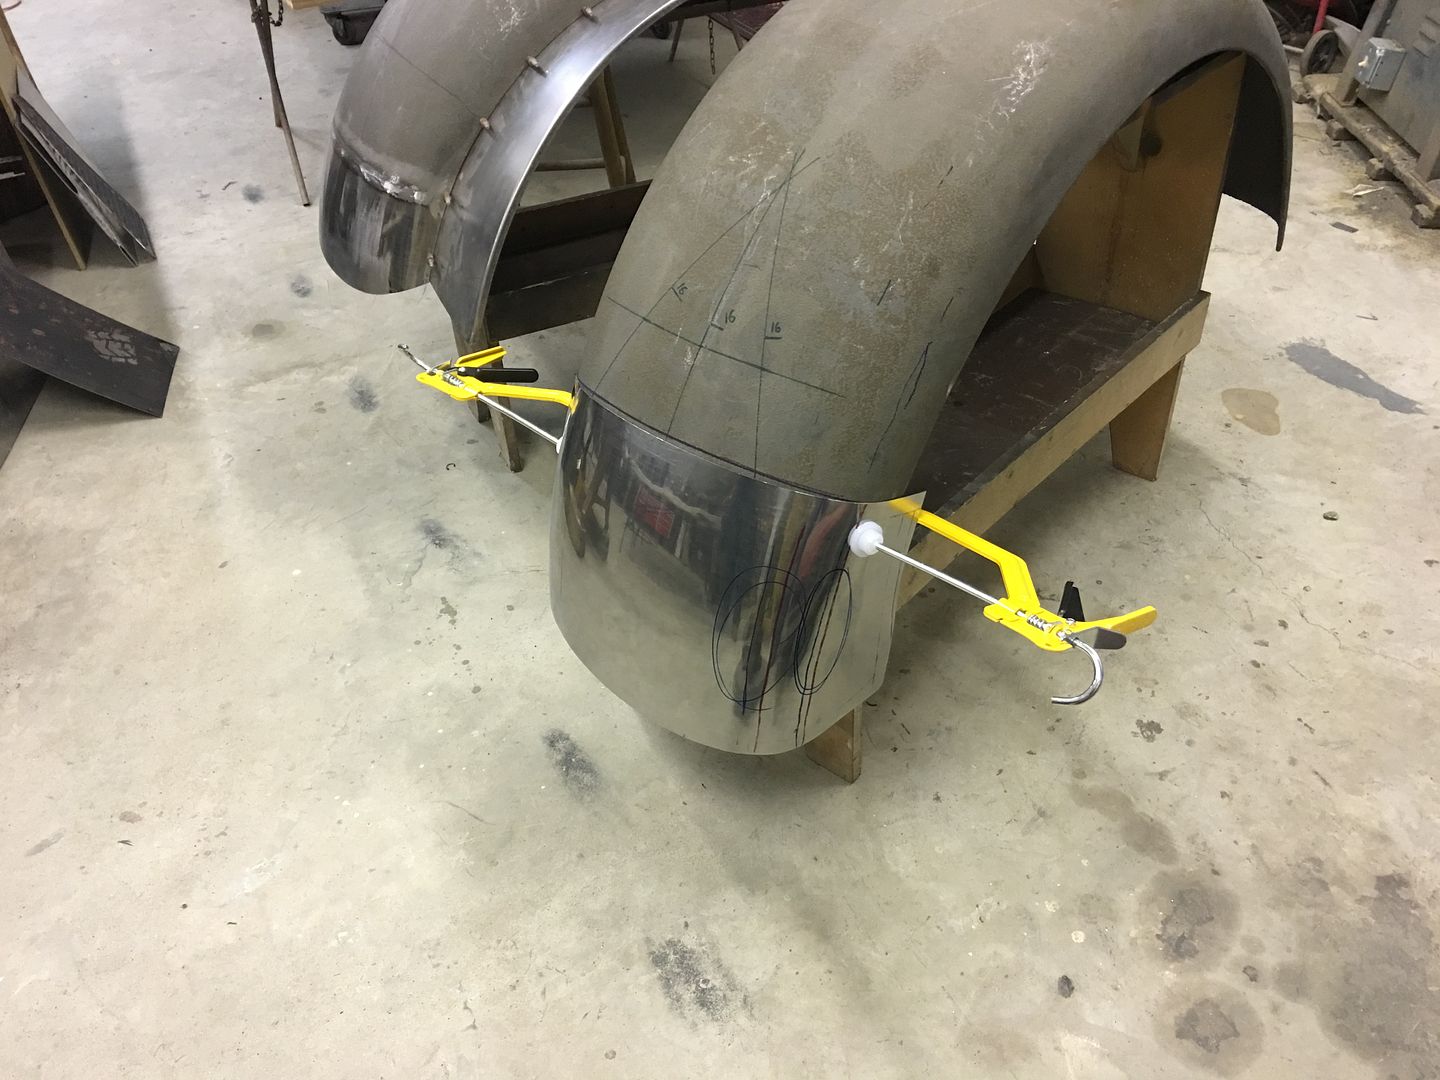
Had a fenderless trailer showed up at the shop Wednesday night, needed some welding... Good time as any to try out the new clamps. Two held the fender nice and tight to the frame.
Last night we worked on the fender patch #2 for the Biederman truck, 16 gauge fun!
Missed the in process pictures, I'll try and do better next time..Comment
-
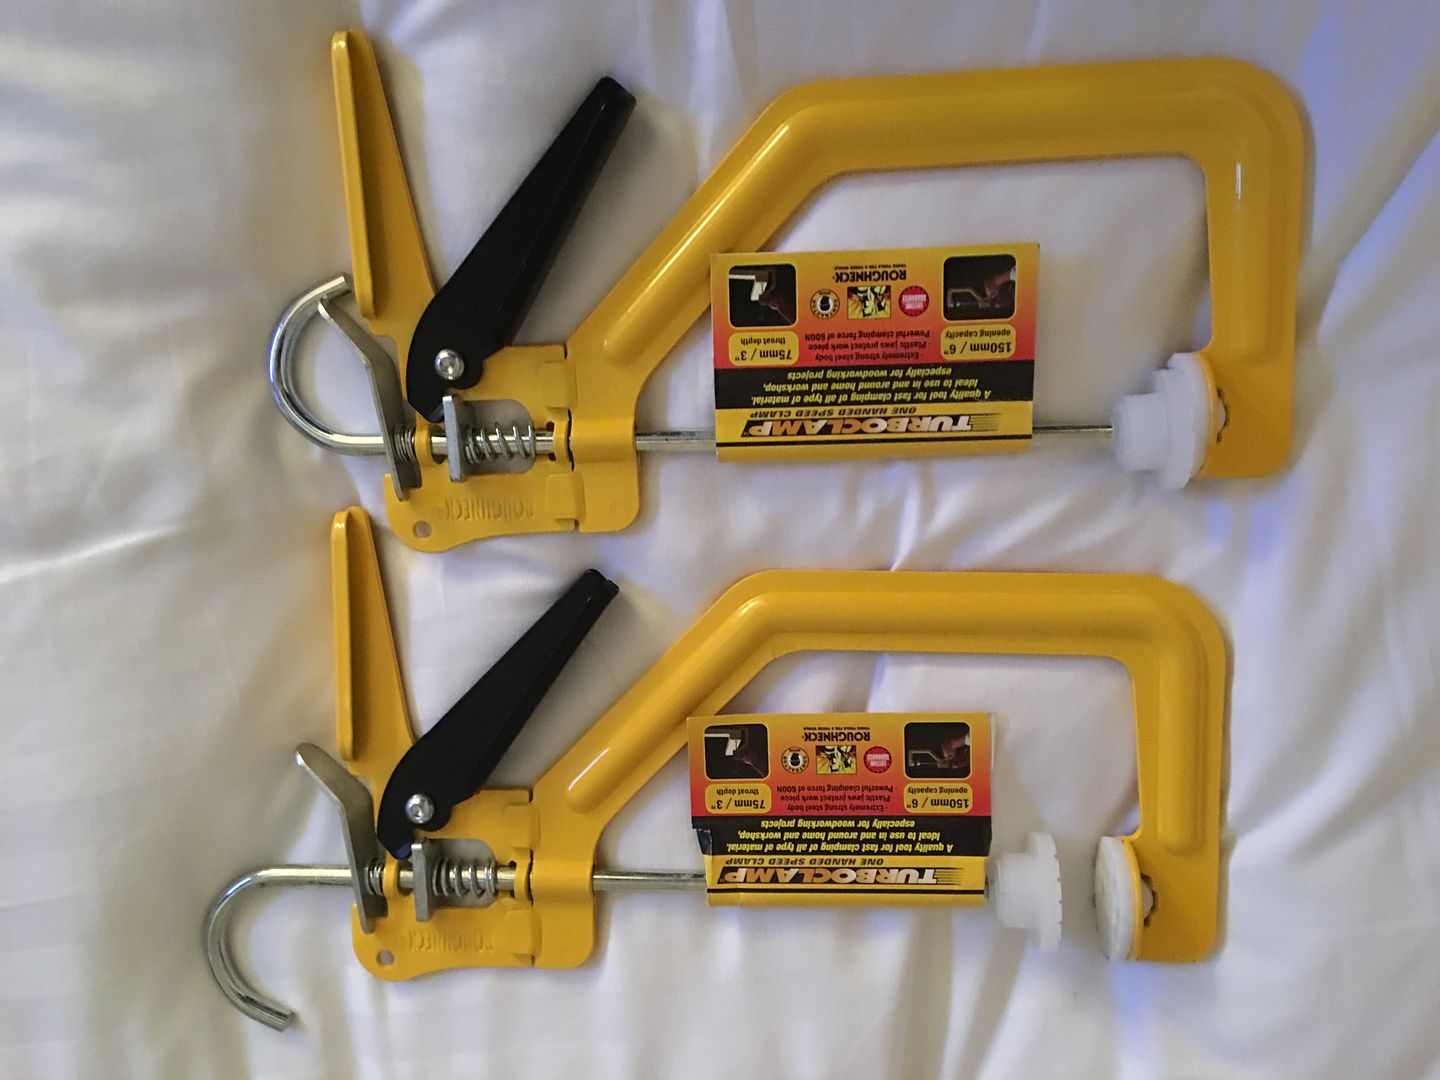
Nifty clamps. Where did they come from?
DanComment
-
Made by RoughNeck, I picked up a few when I was just in UK.
Comment
-
Some more progress on the Biederman fenders, here's where we left off last time...
On the passenger fender, we removed the cleco's holding the filler panel and John (the owner) media blasted the flanges where the panels overlapped..
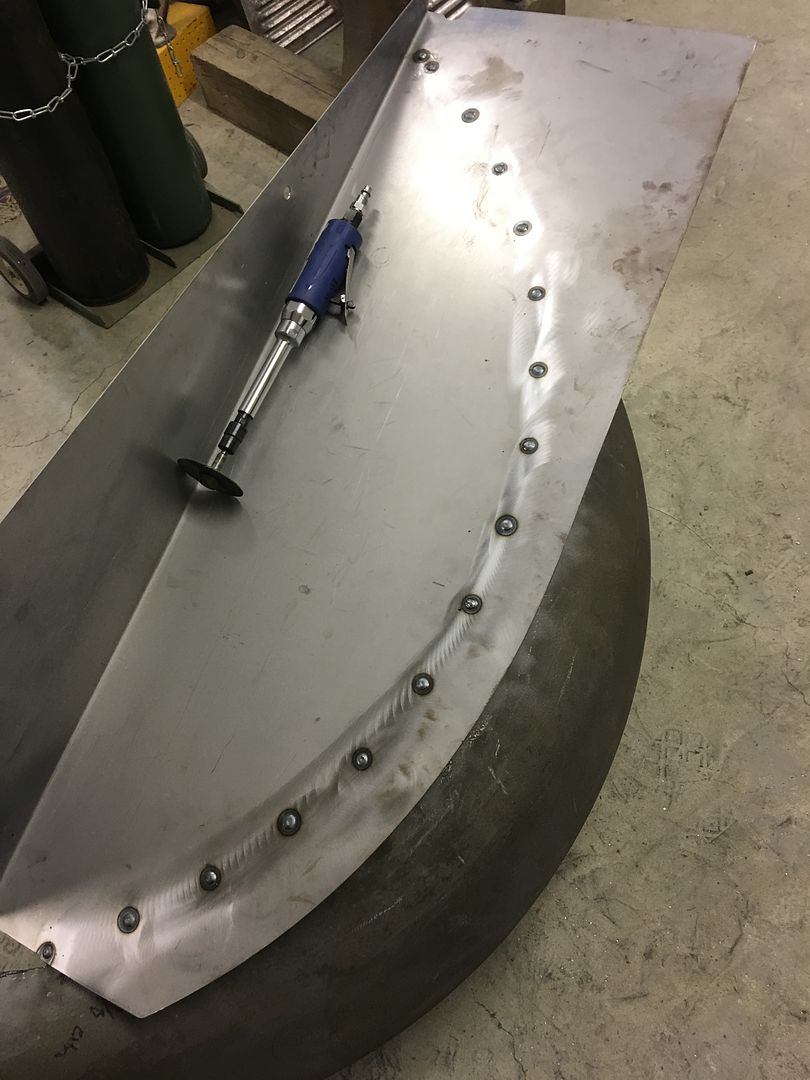
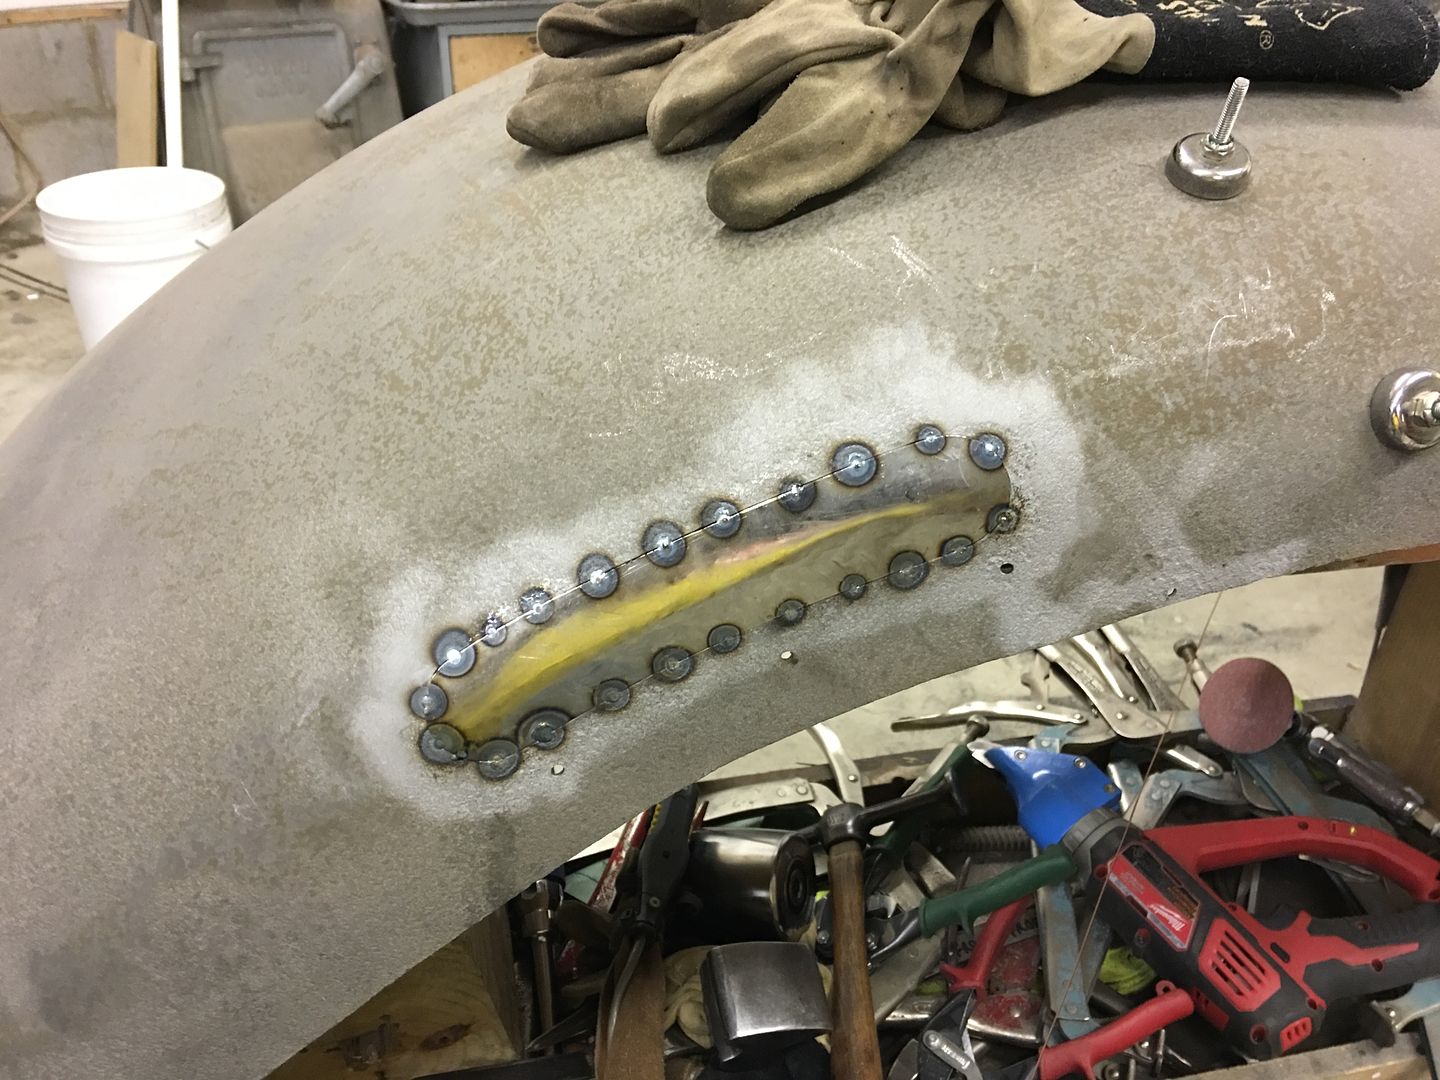
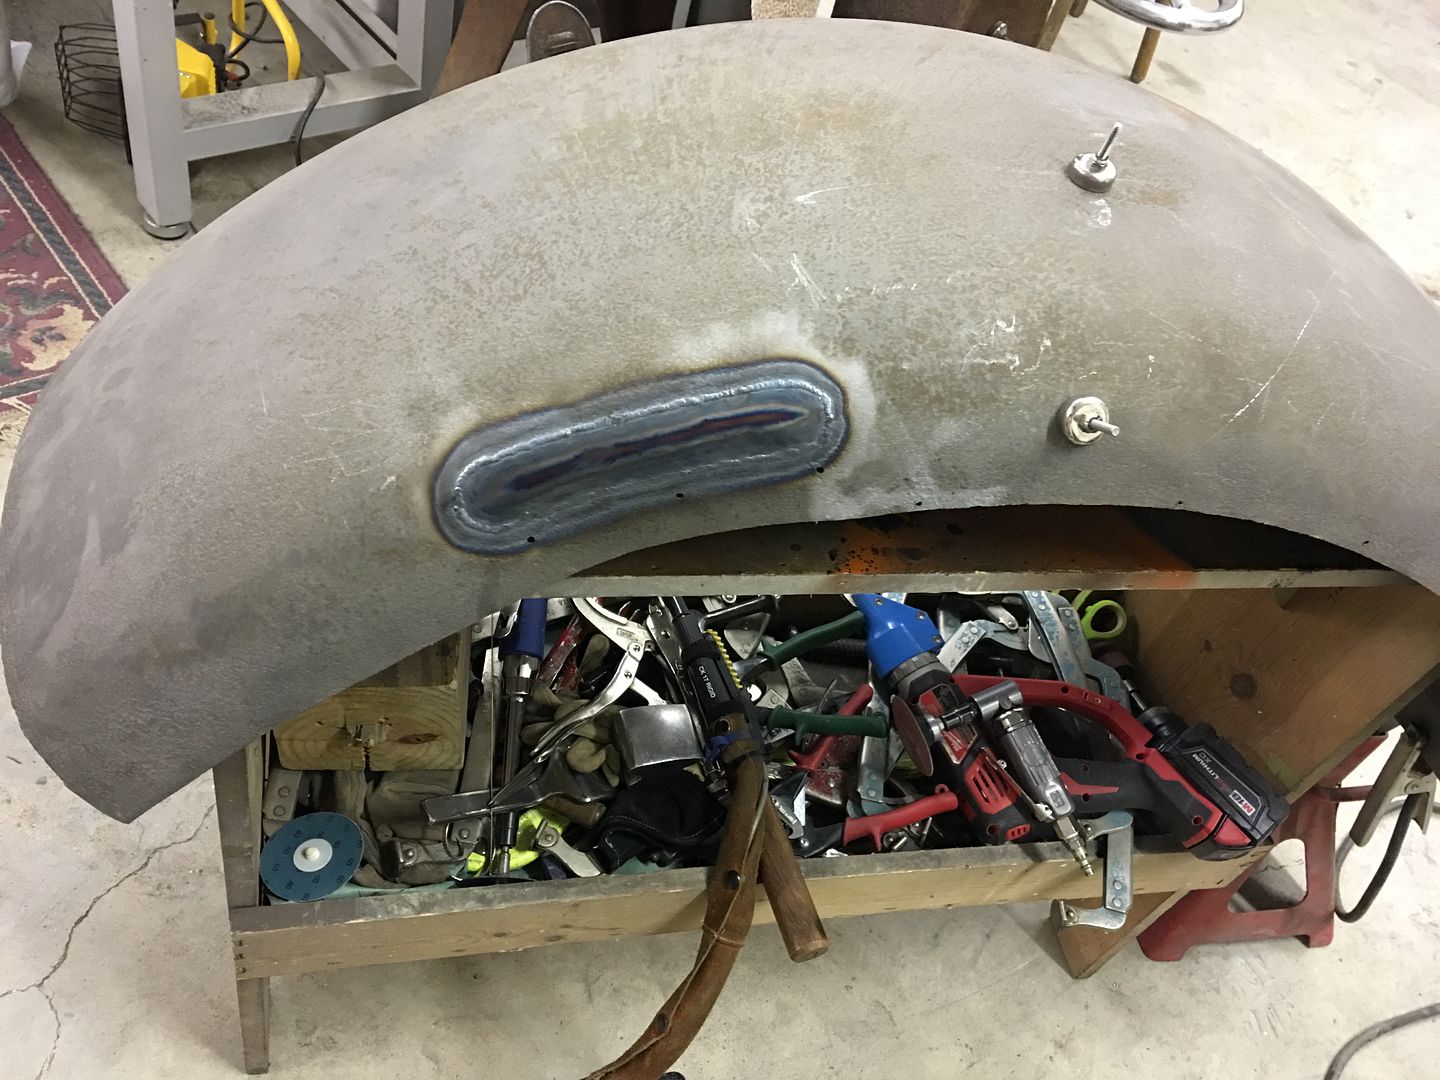
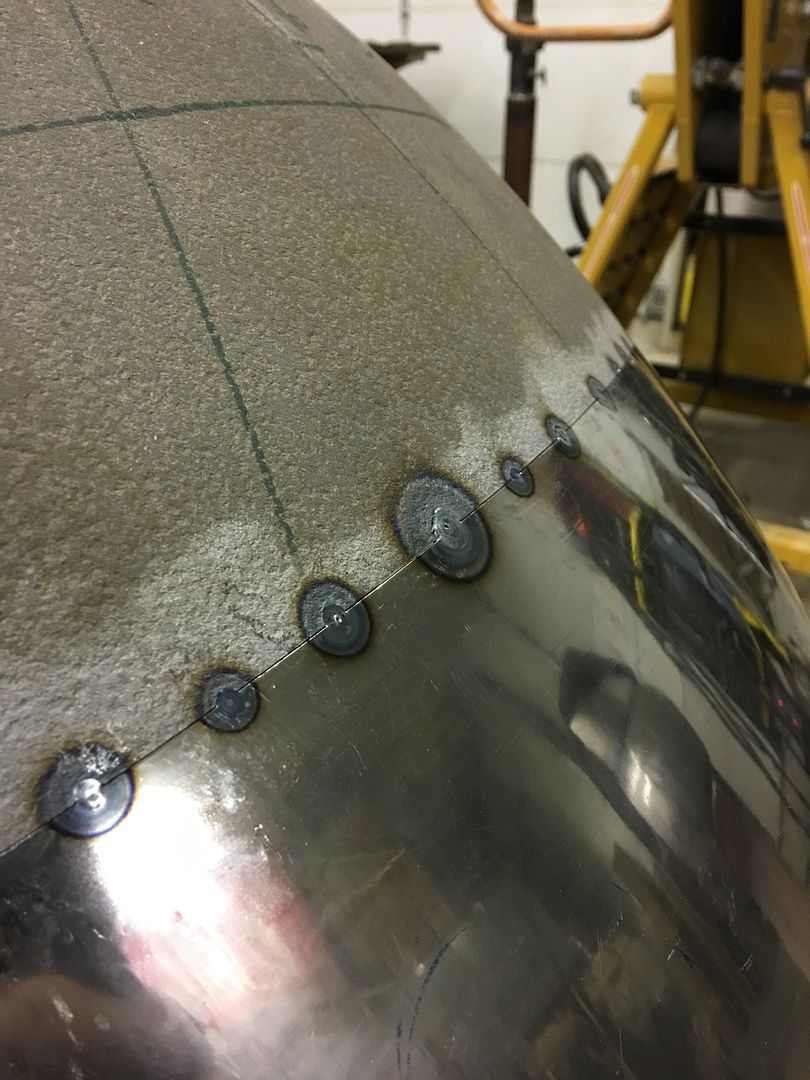
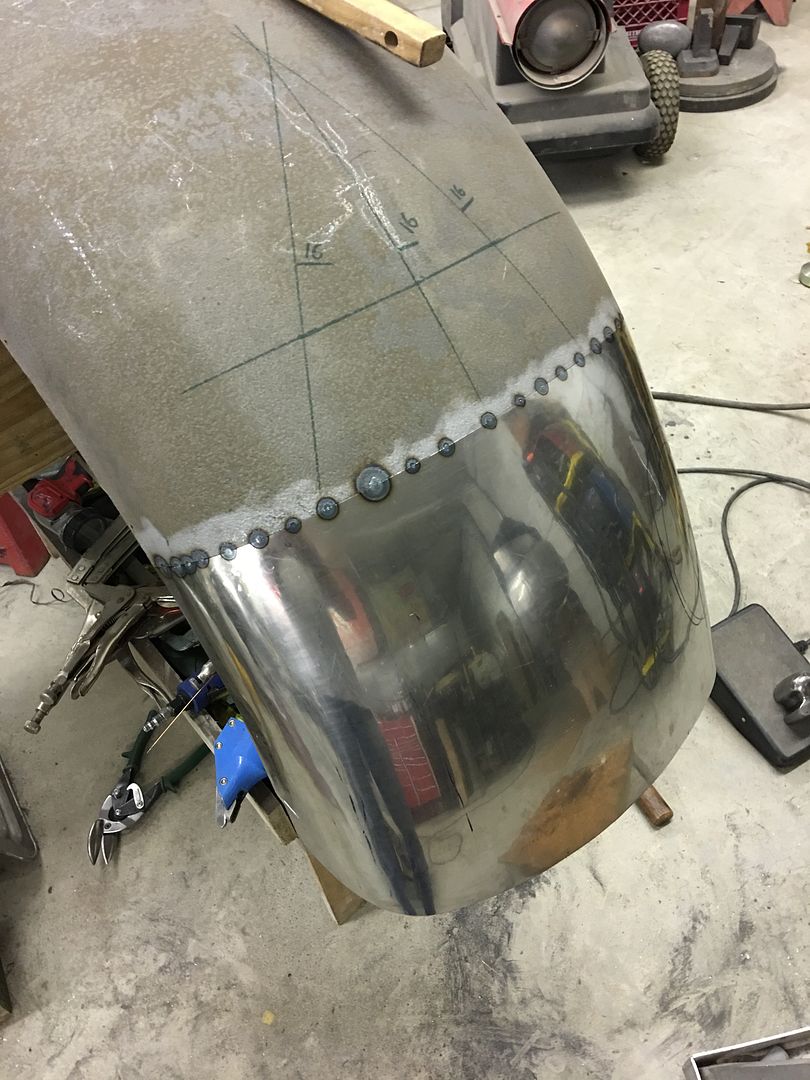
Cleco holes were enlarged on the filler panel flange to accommodate plug welds and the two parts welded together...
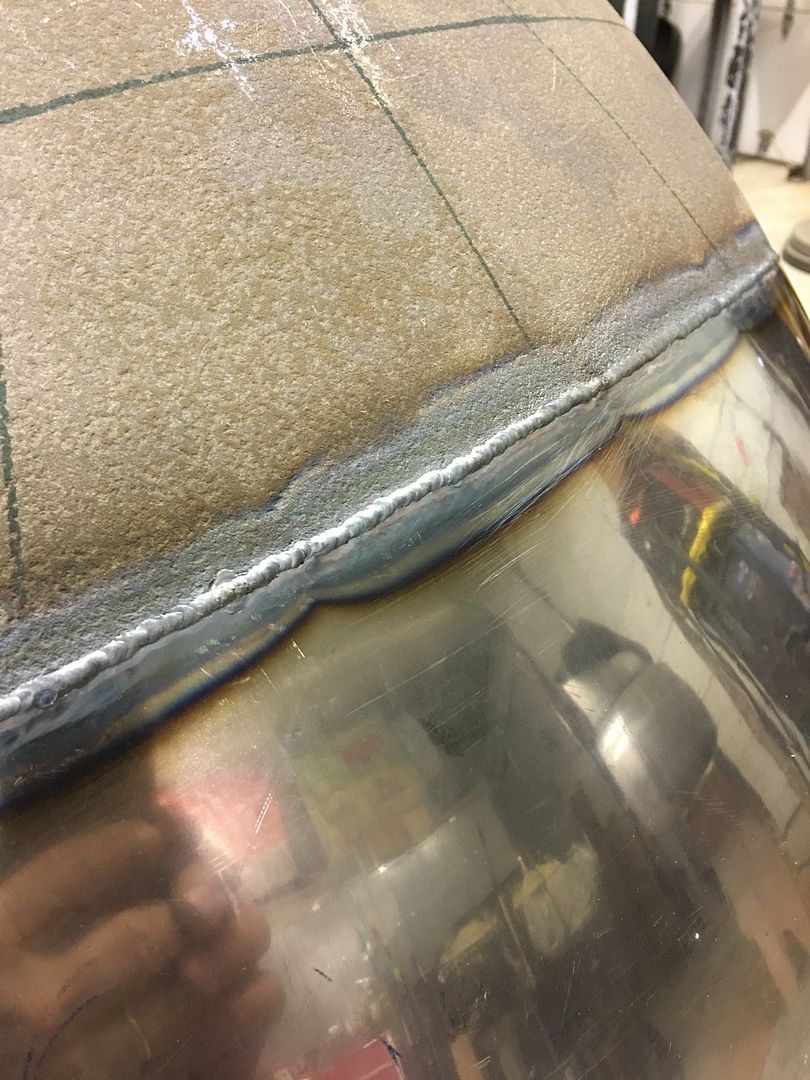
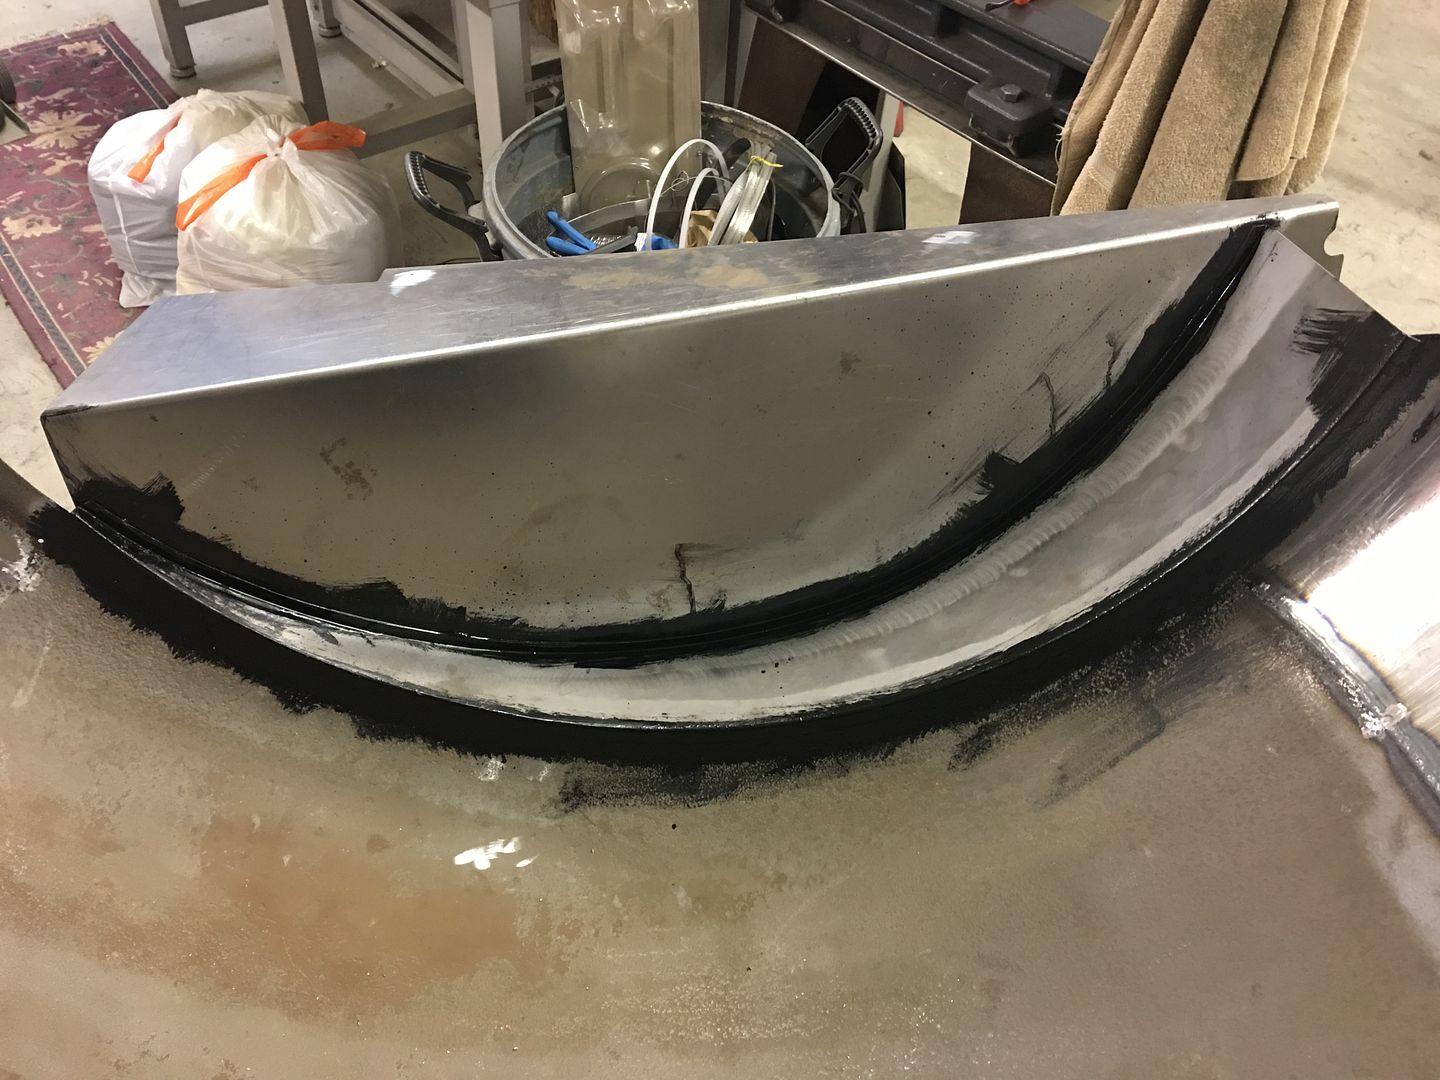
After grinding the welds, John brushed some SPI epoxy in the lapped panels to seal them up..

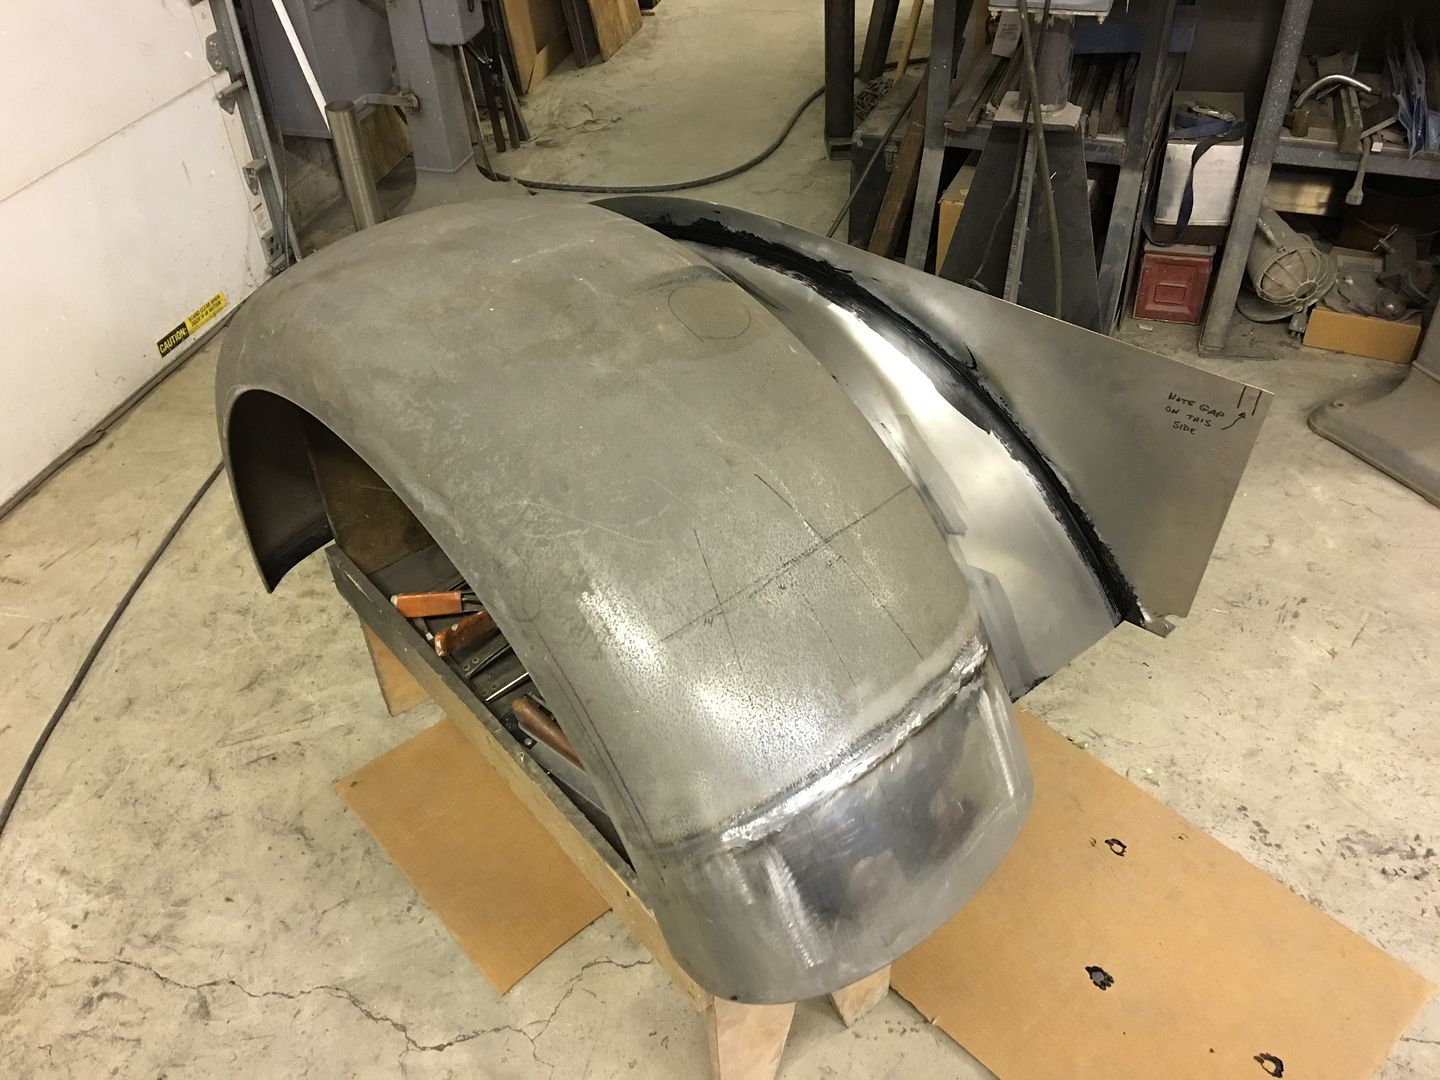
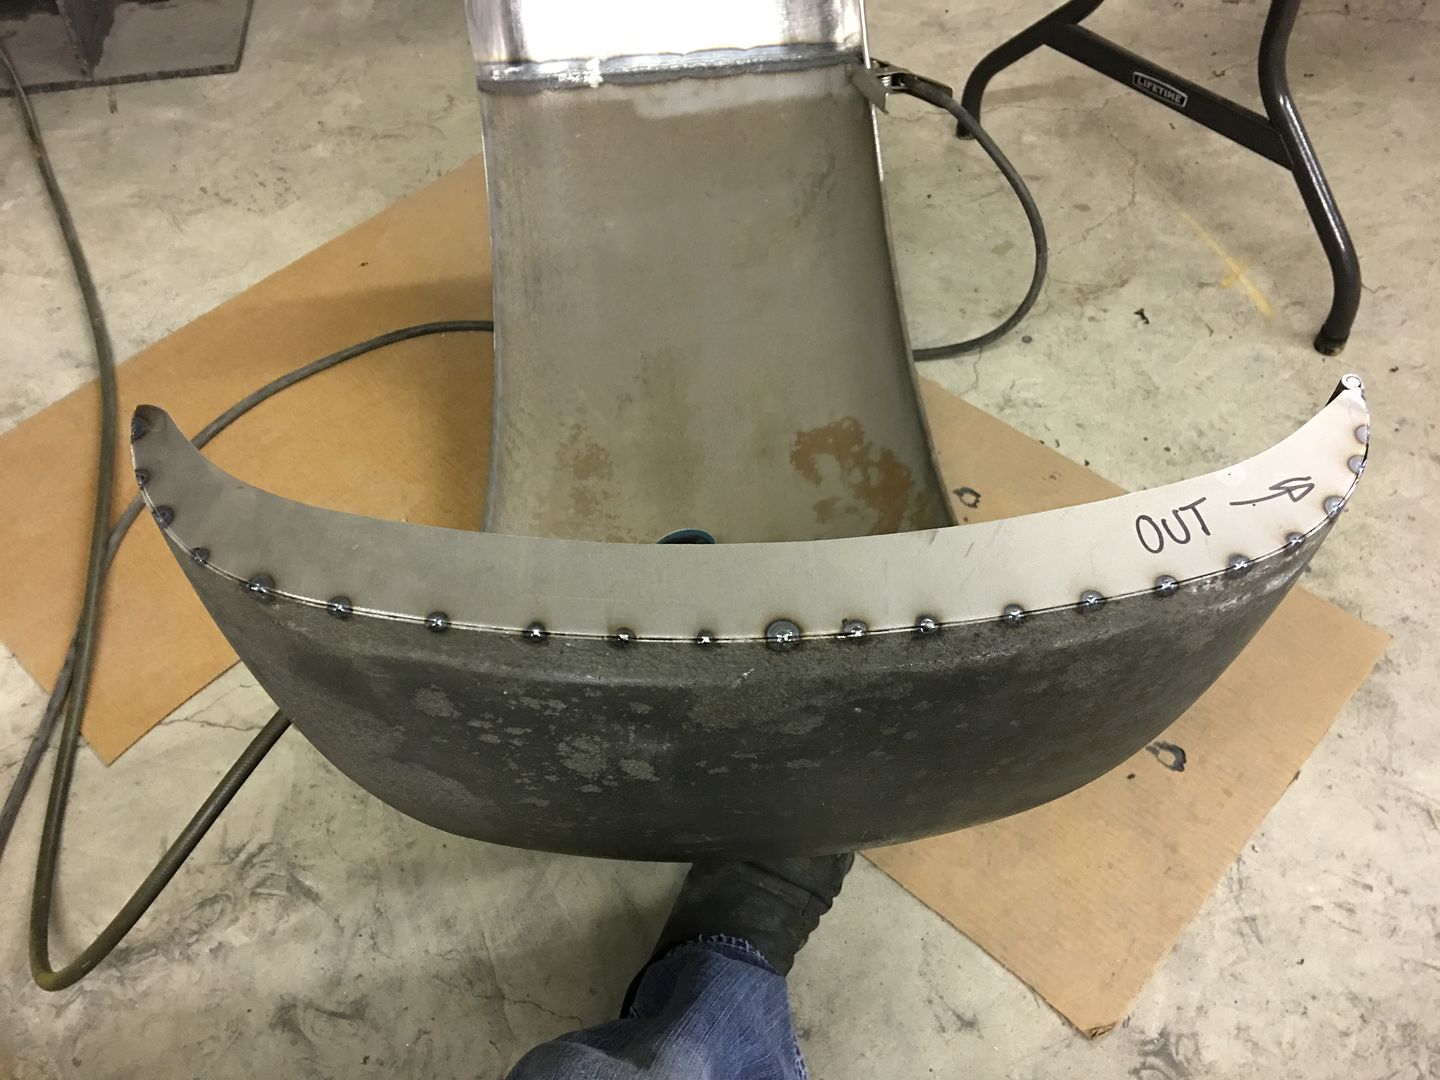
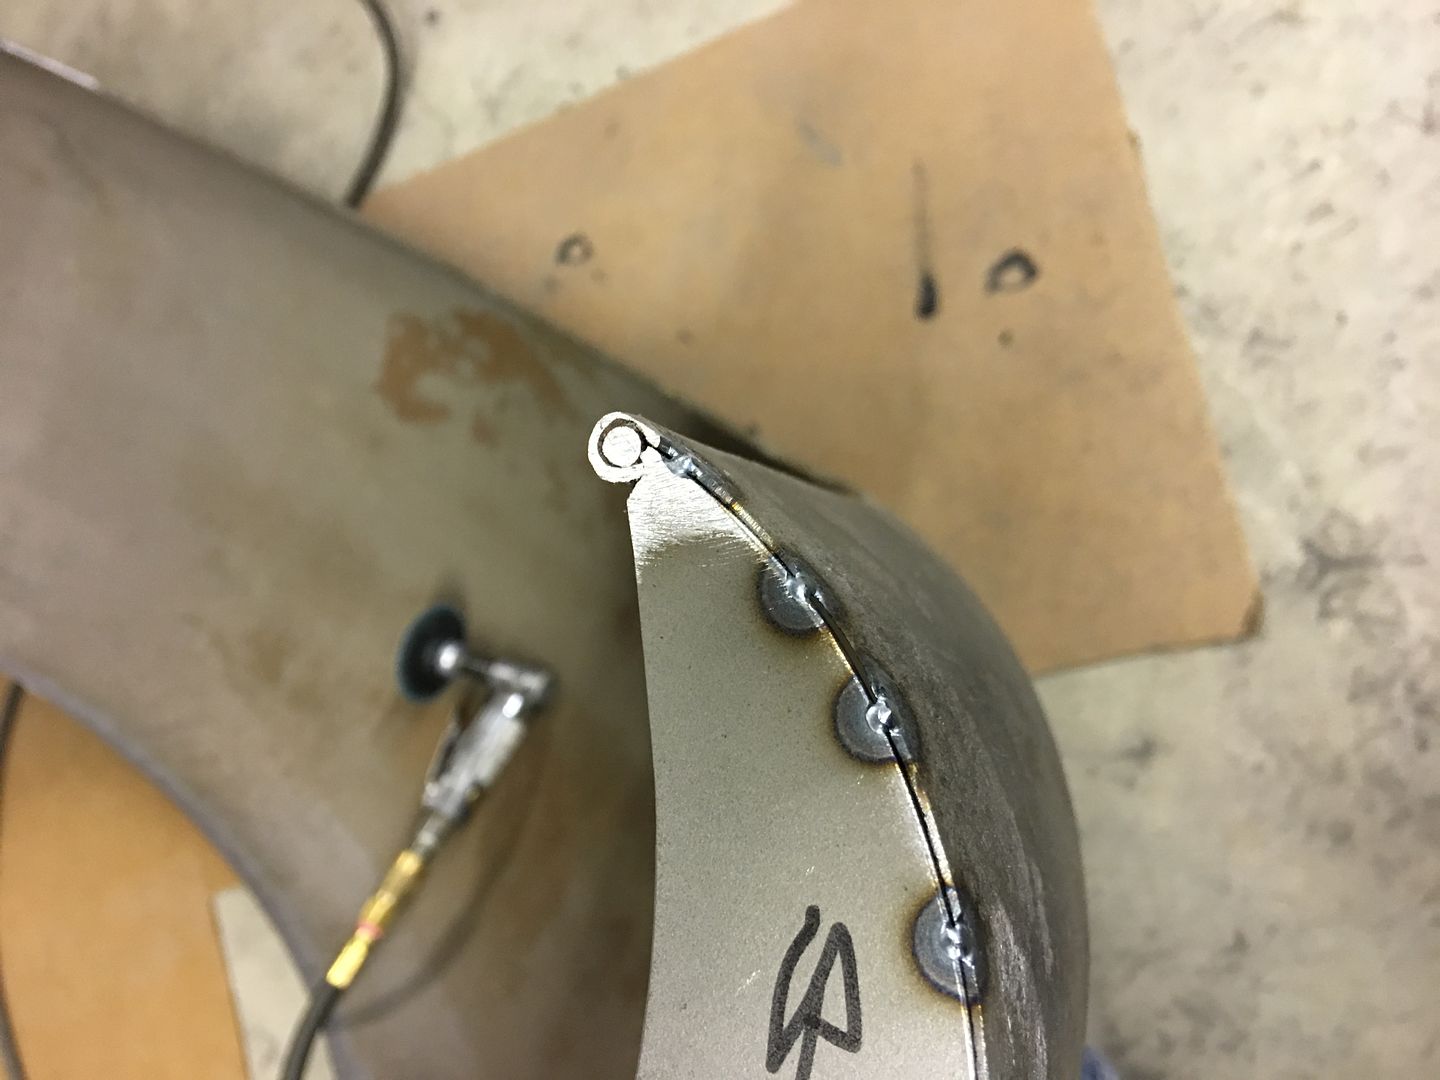
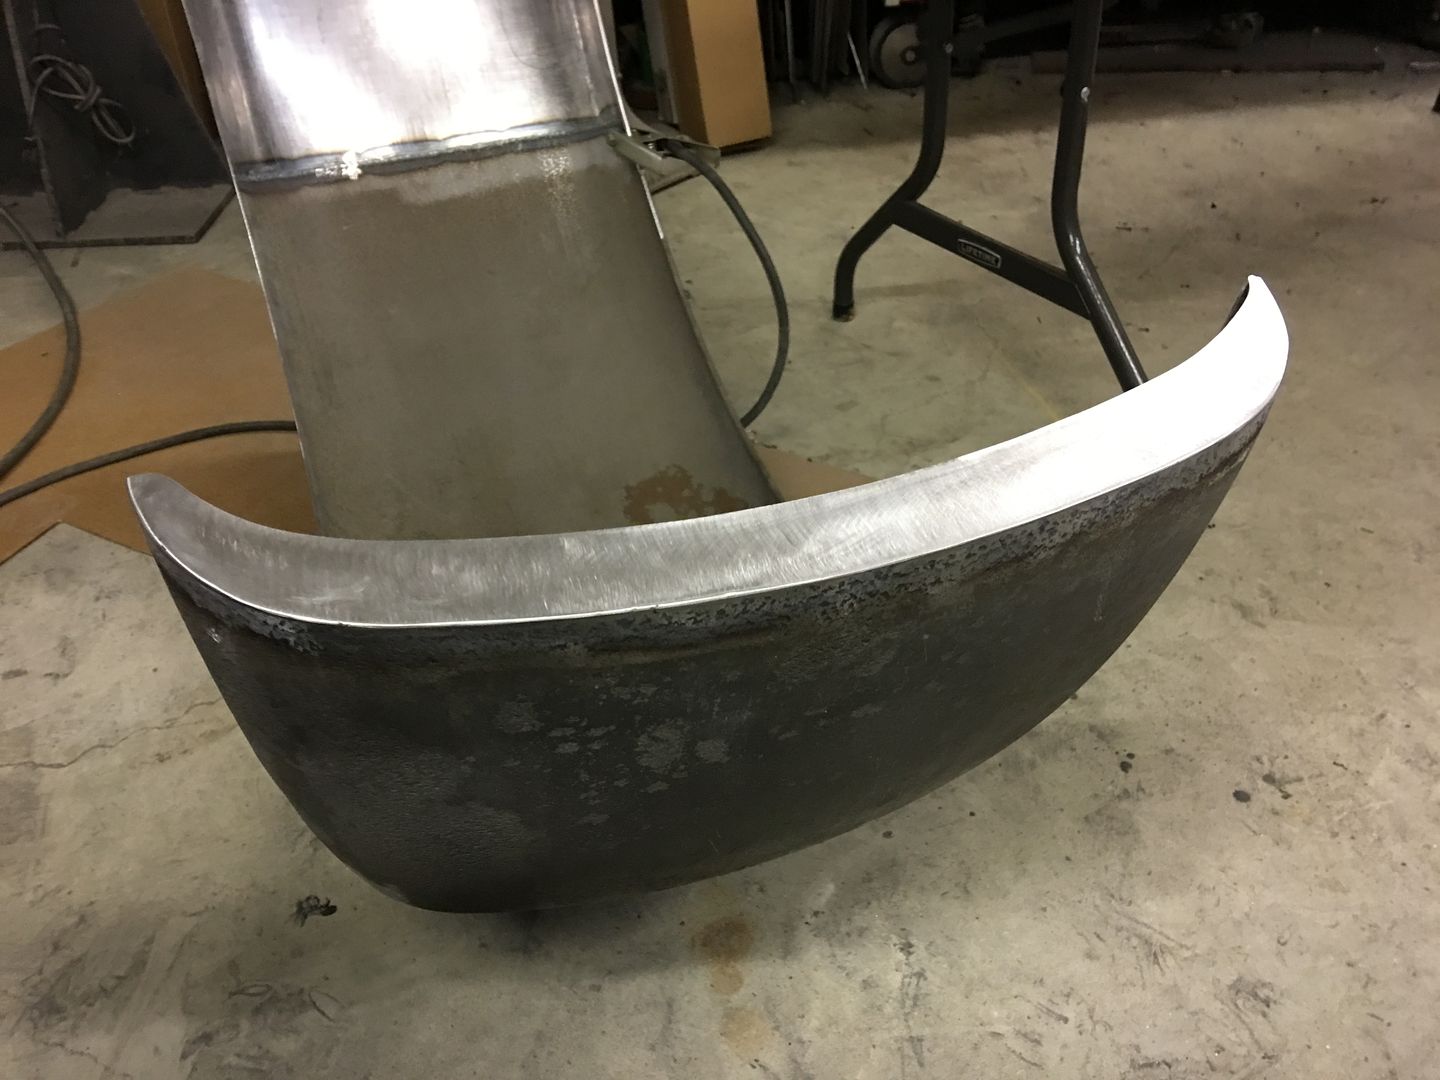
Back on the driver's fender, time to trim off the rusted and bent front edge....
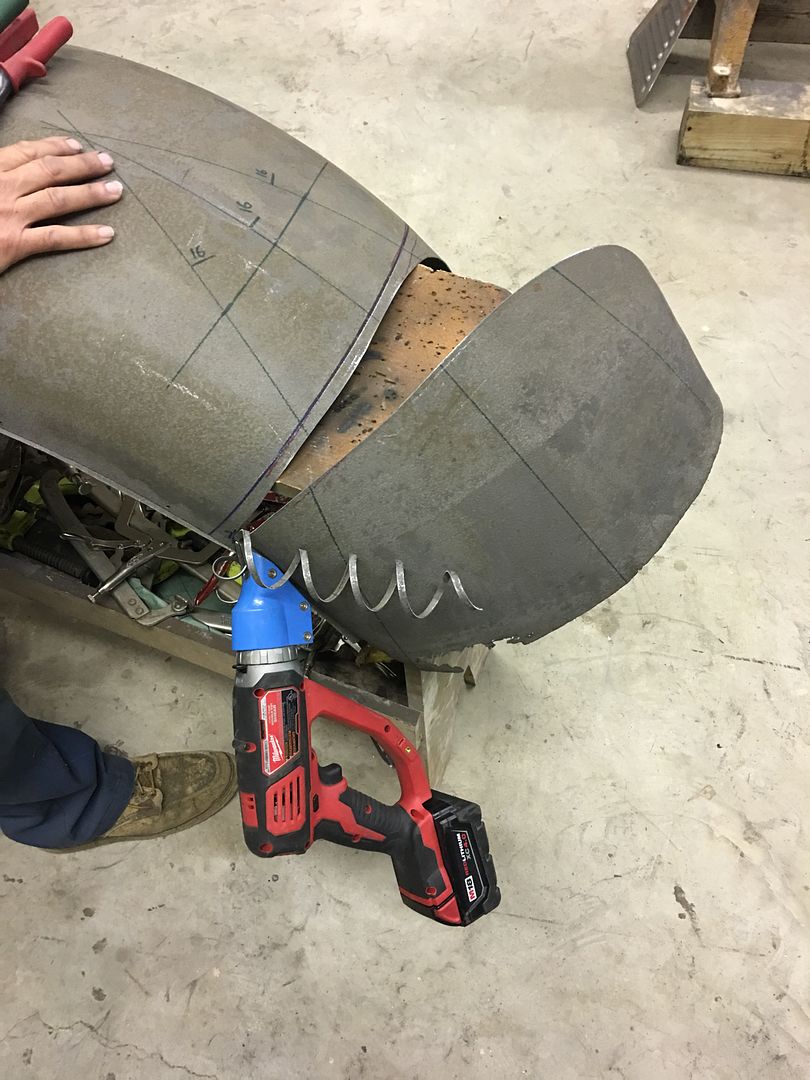
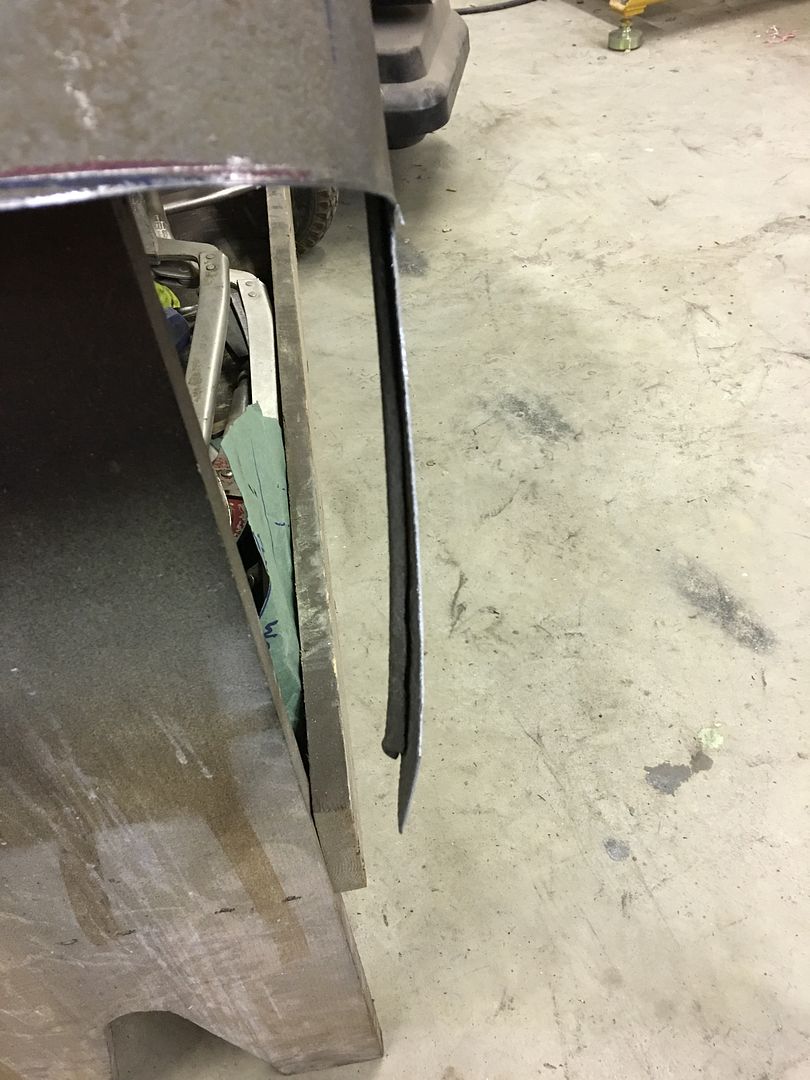
The door skin removal tool is used to unwrap the wired edge...
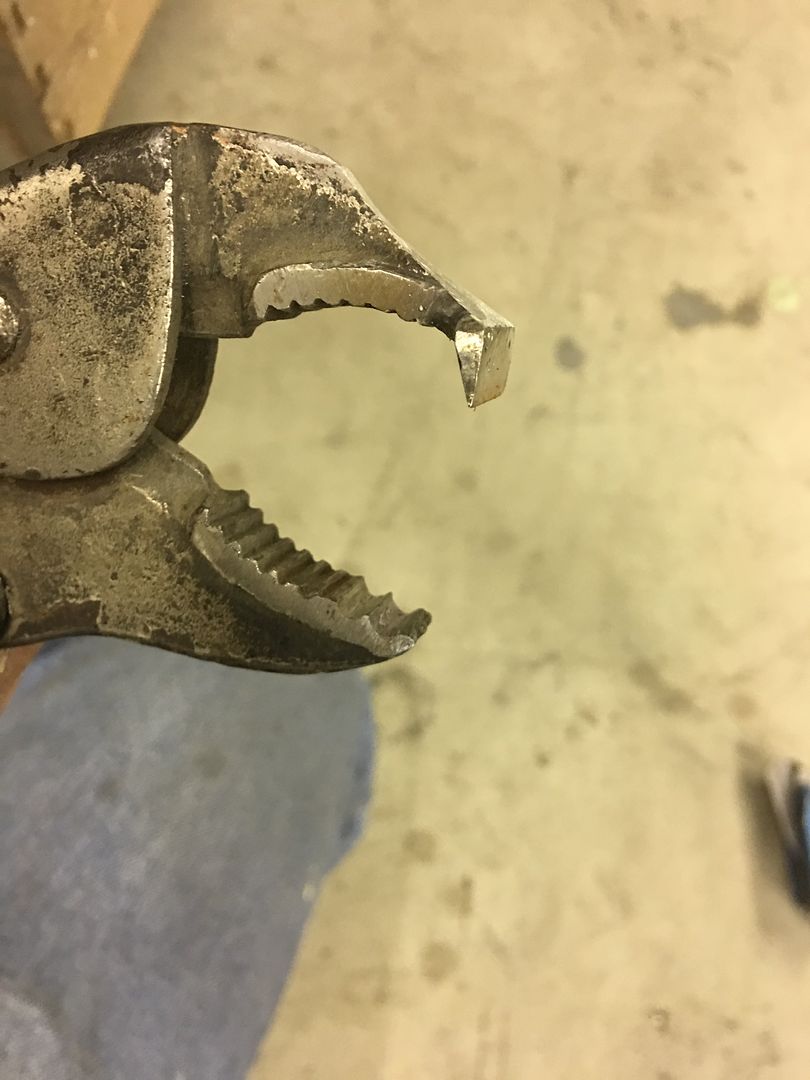
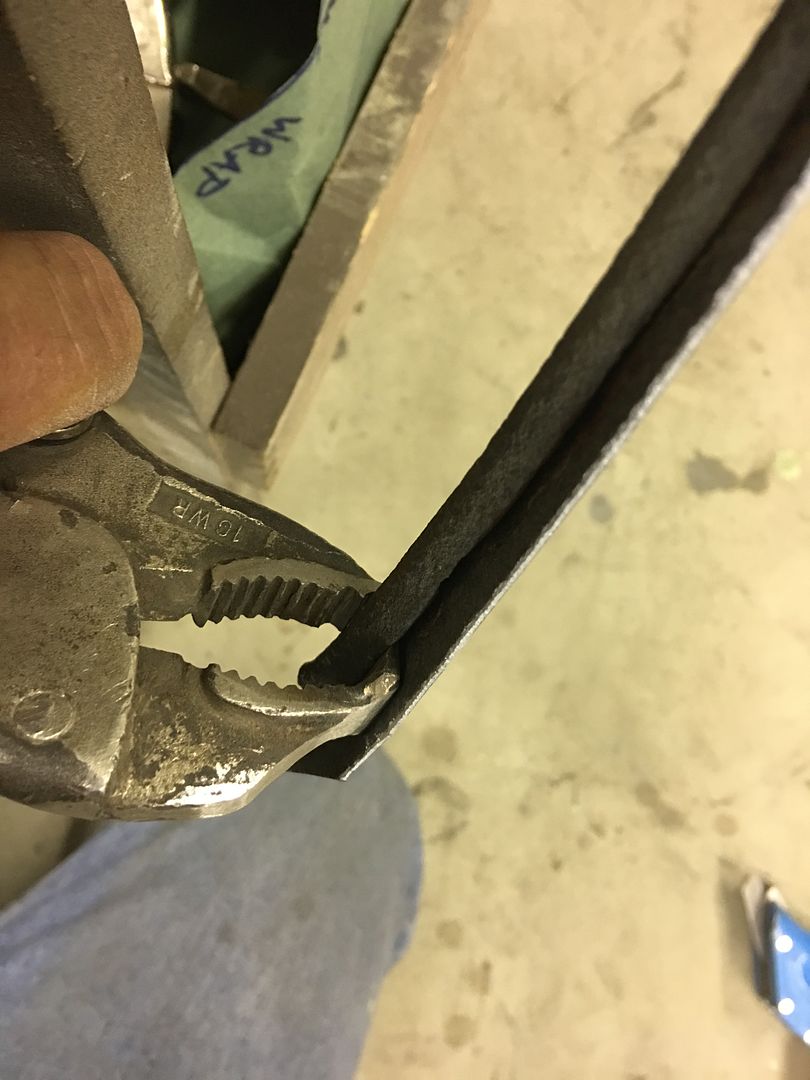
Once the wrap is broken free, the top is scored with a cutoff wheel and then peeled around. No cuts on the wire as this may weaken it..
Trimmed and clamped in place for a test fit..
Comment
-
Just wondering when you are going to get a chassis and build your own body for it like they did in the old daysComment
-
Yeah, that's basically how the Biedermans were made, the cabs were made by another company. If you look at other trucks from the era (Federal, etc. smaller companies) you may see striking similarities between the cabs...
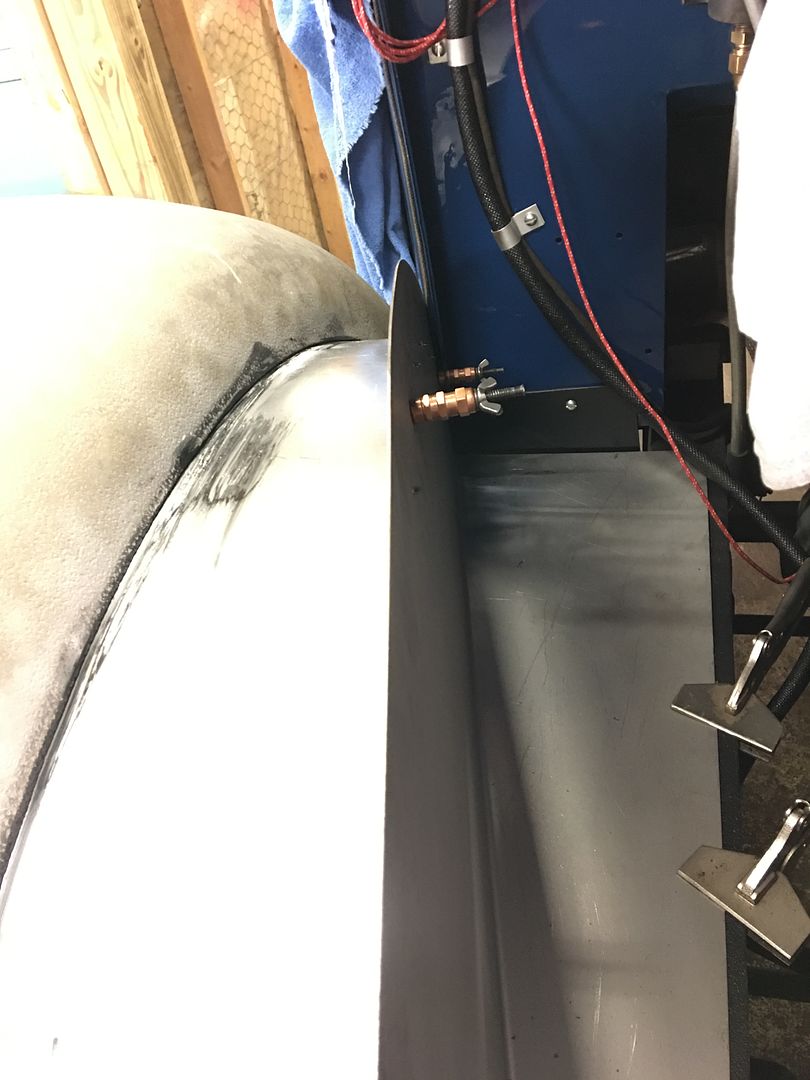
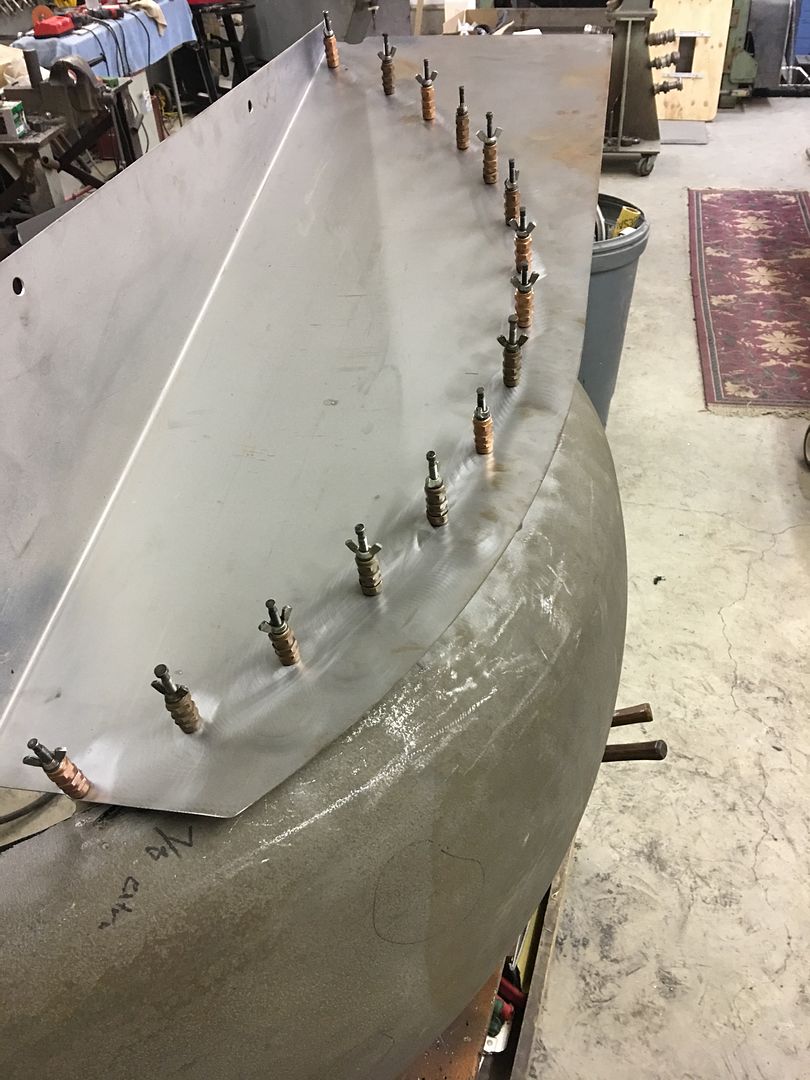
This evening we took the passenger fender over to John's so we could mock it up on the truck and locate/cleco it to the lower hood side..

The wing nut cleco's used in about four spots to hold things good and snug....
Back at the shop, we'll get this plug welded on Saturday..
 Last edited by MP&C; June 9, 2017, 08:32 AM.
Comment
-
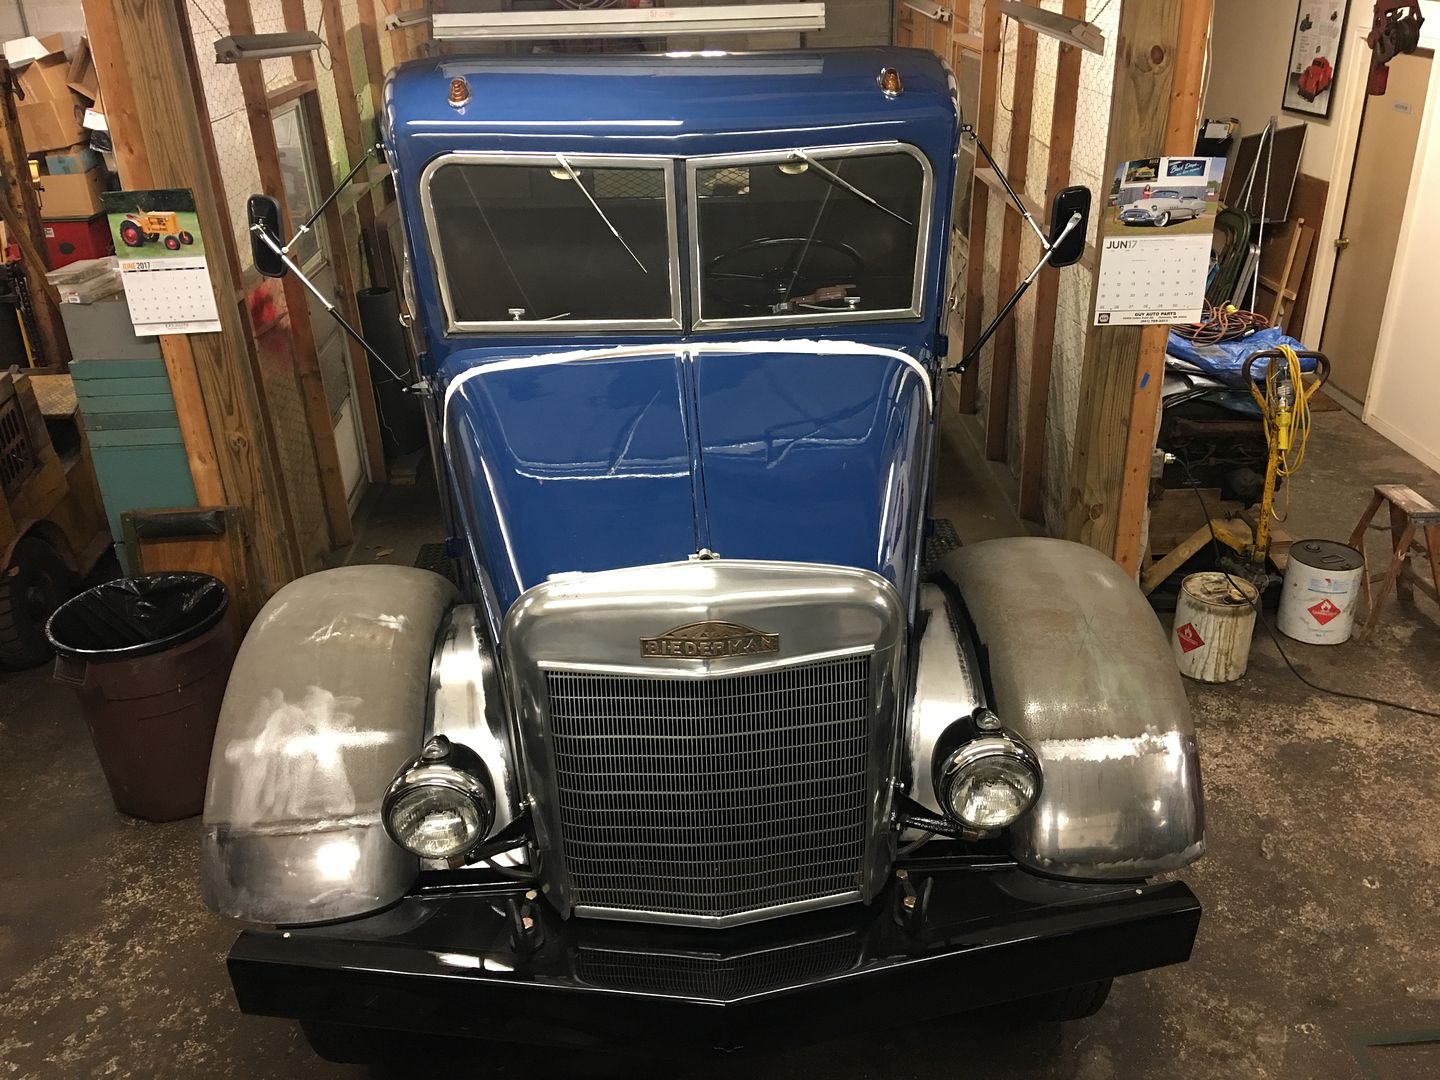
tried to make some headway on the Biederman. John is taking it to the truck show in Macungie PA so we're trying to get the fenders complete so he can bolt them on and answer questions all day about their bare finish..
With the lower hood side cleco'ed to the passenger fender using wing nut clecos to pull things up nice and tight, lets get some plug welds done to join all three parts together...
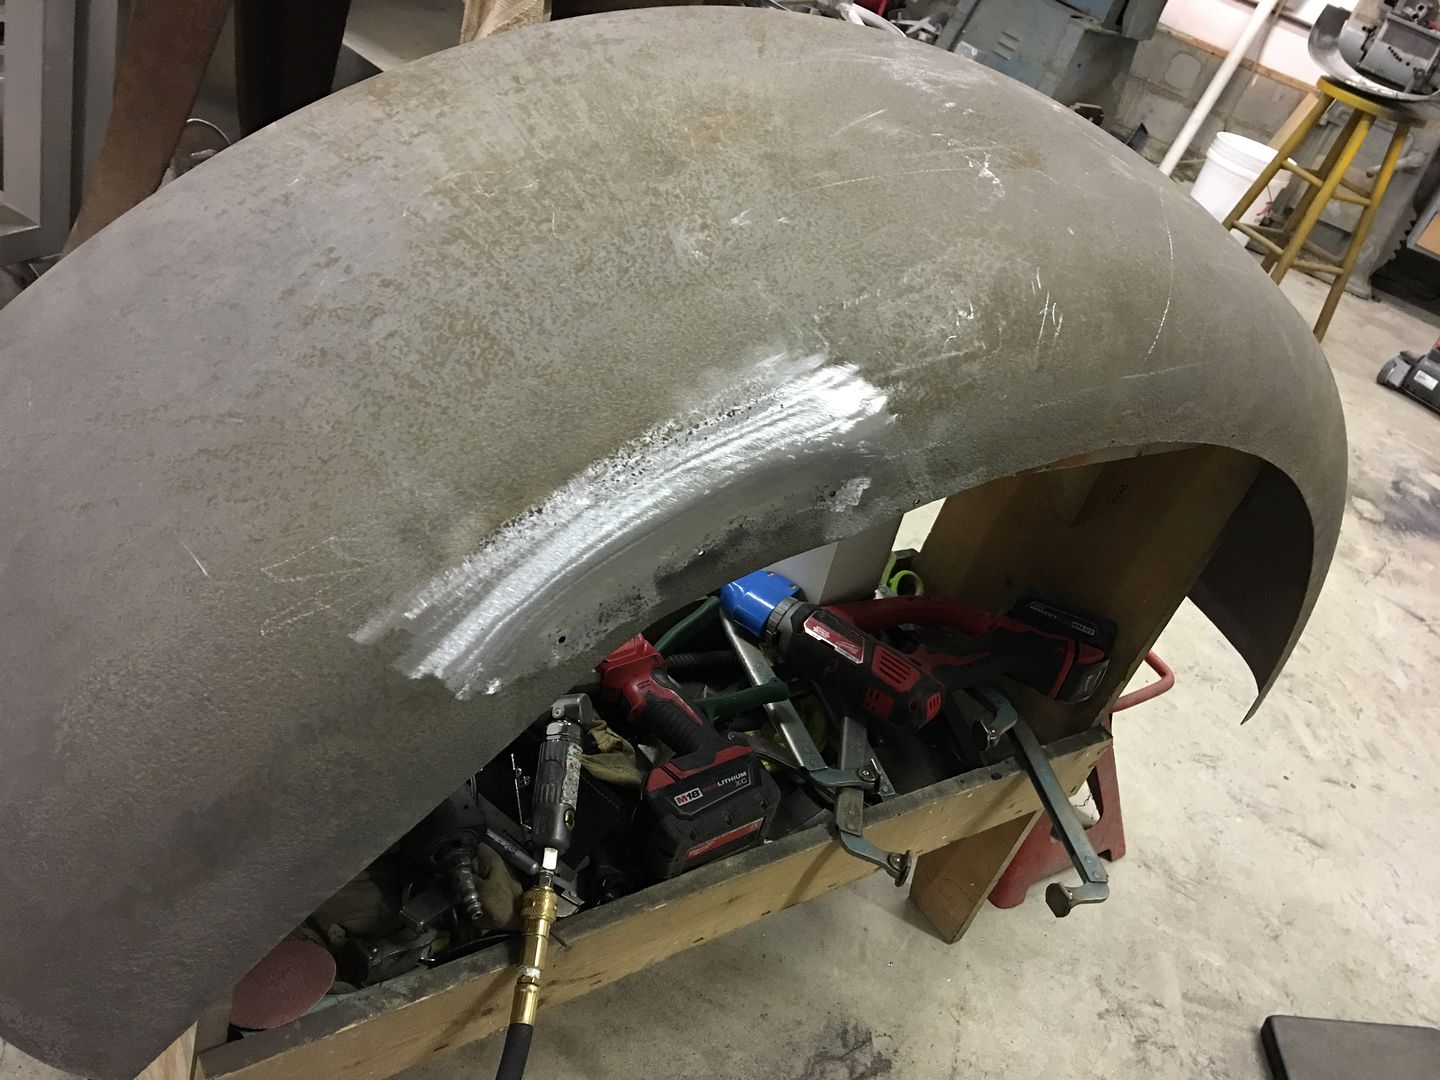
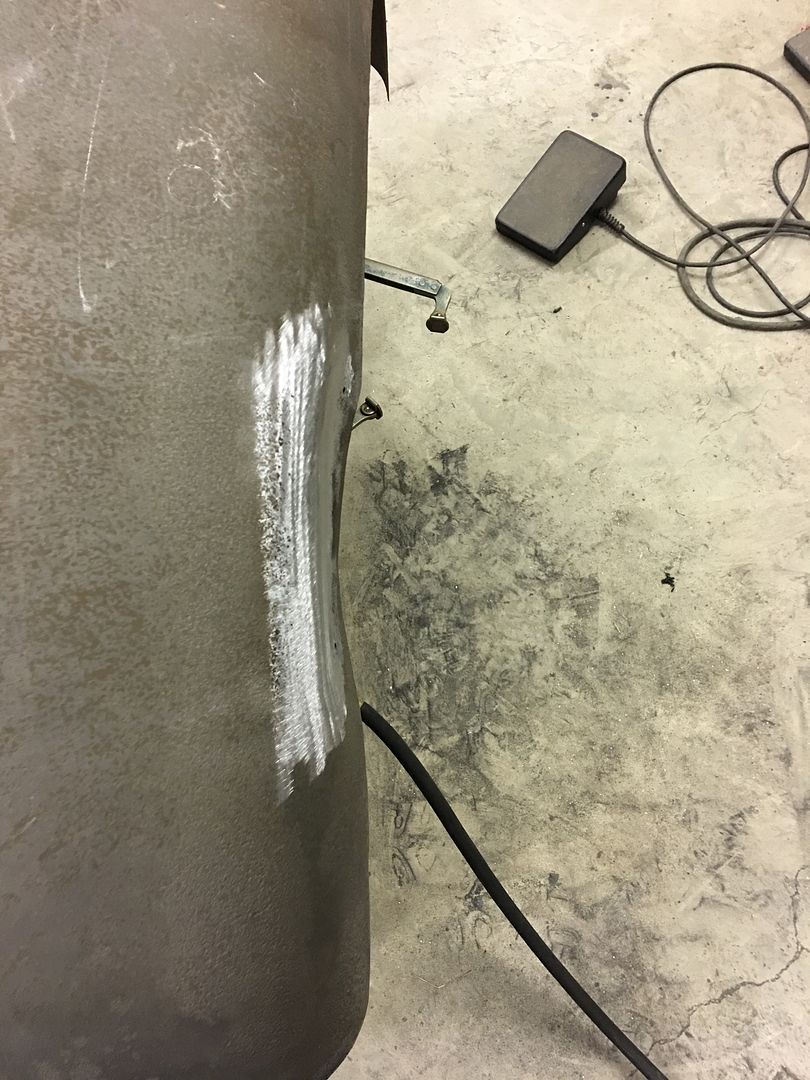
Passenger fender lapped seams then had SPI epoxy brushed in from both sides to seal in case he runs into rain. We he returns they'll be ready for media blasting and paint..
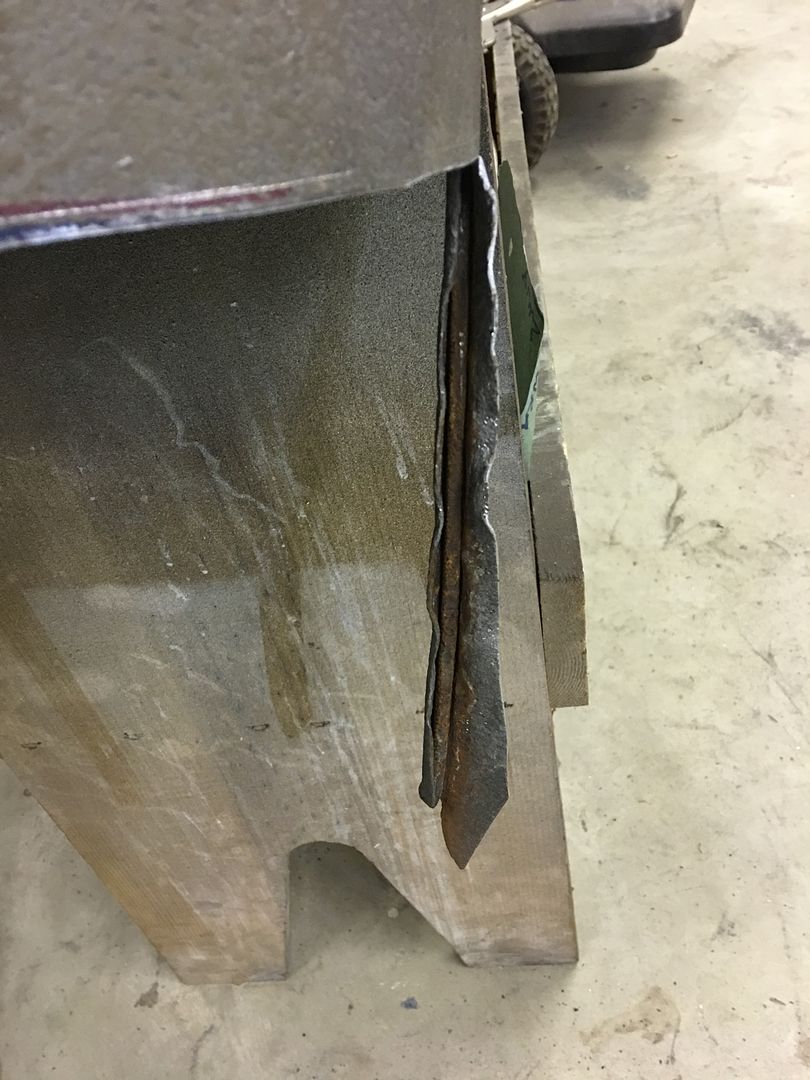
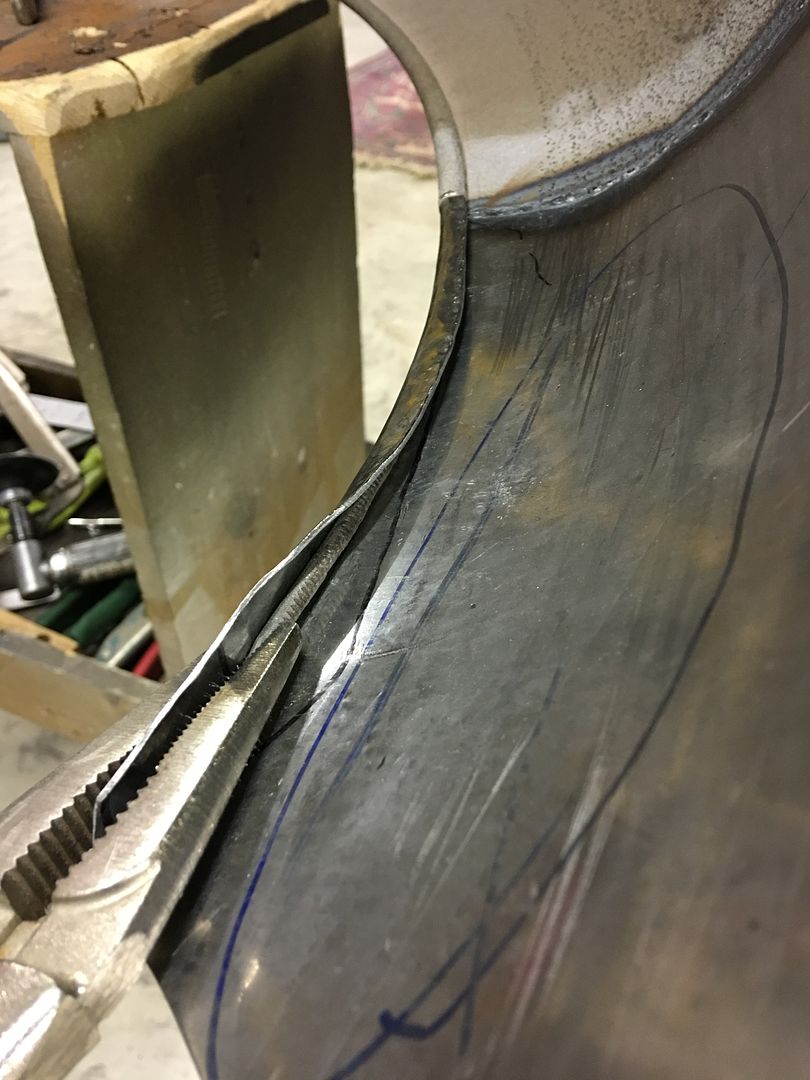
Next onto the Driver fender, the remainder of the flange from the old filler panel is removed, a cut off wheel is used for releasing the OEM spot welds..
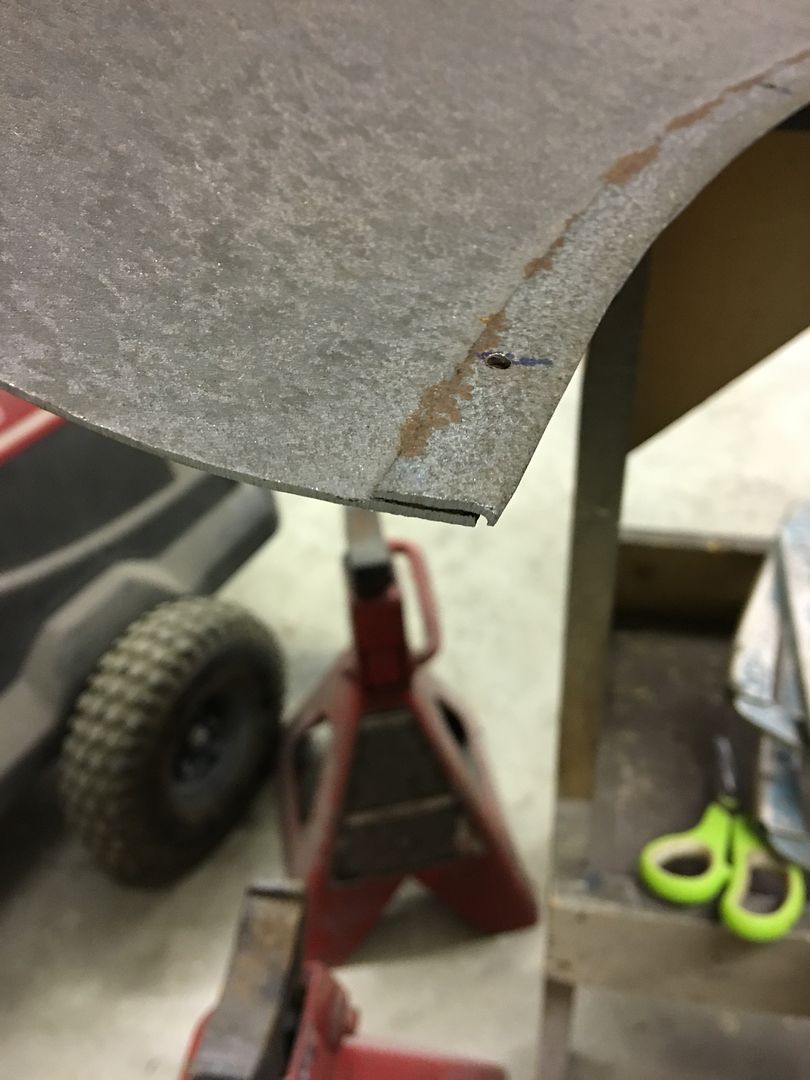
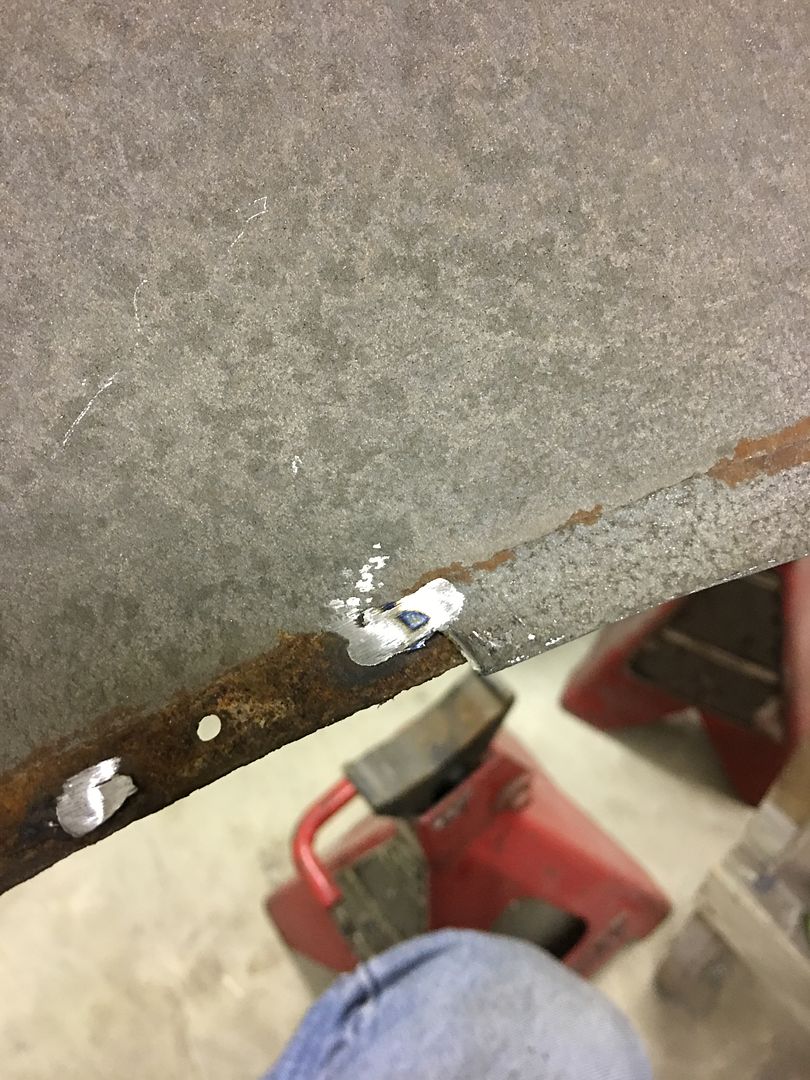
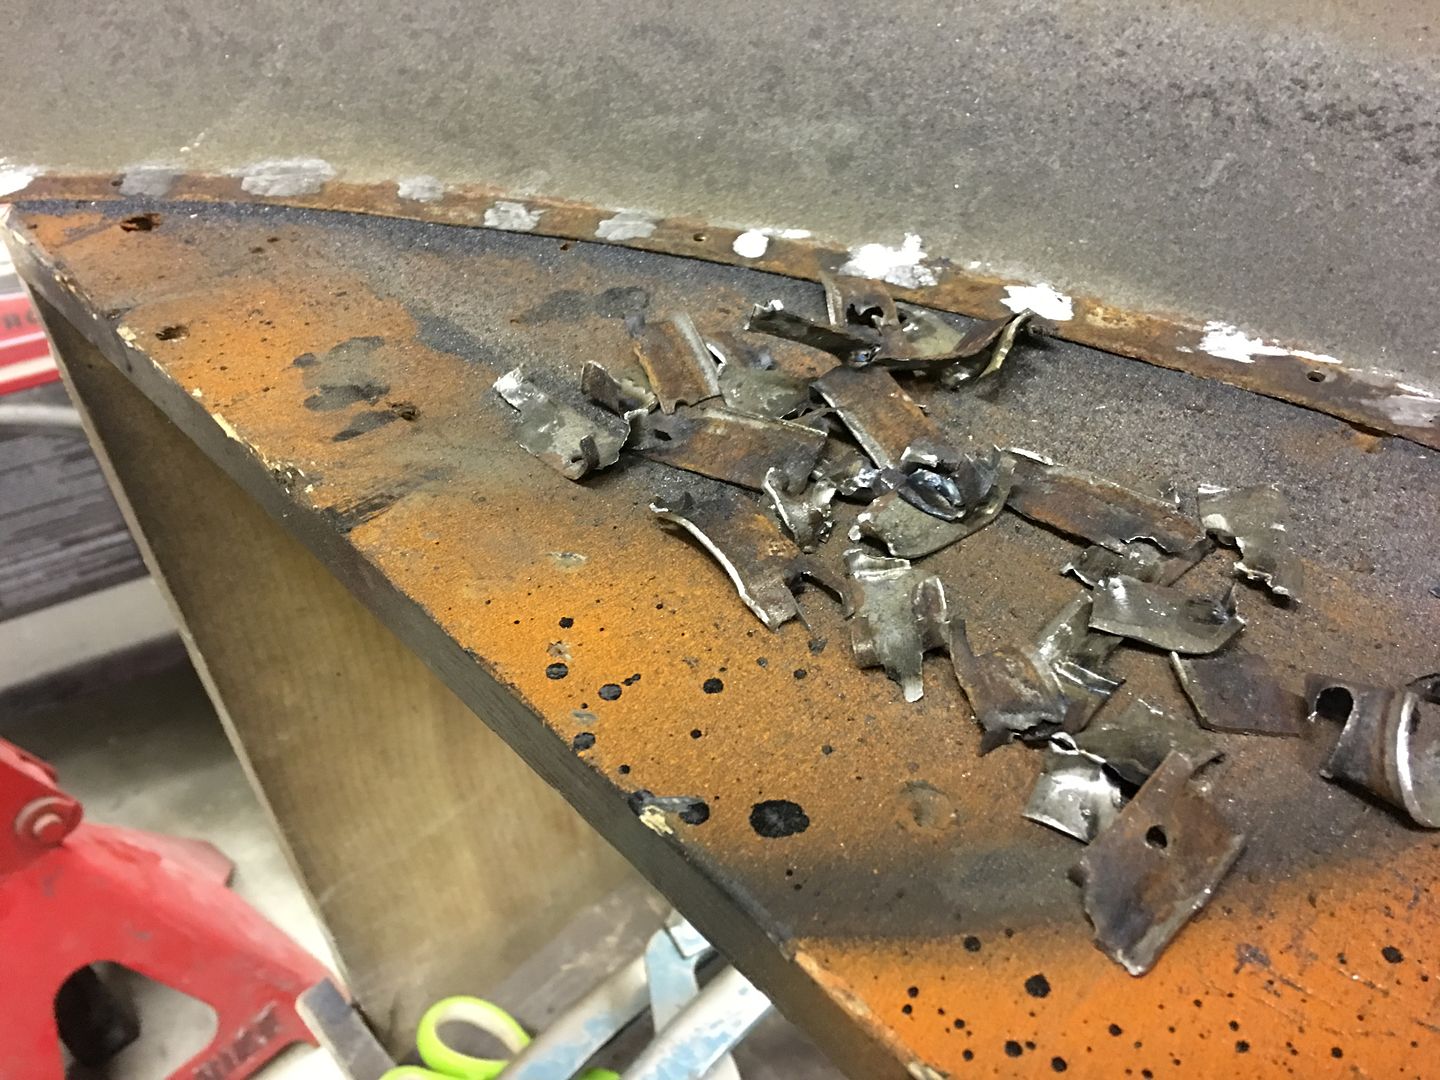
Next, we had a rub issue where the fender was a bit close to the cab....note the flat area, as well as a rust through. So we'll just trim this out and replace..
Comment
-
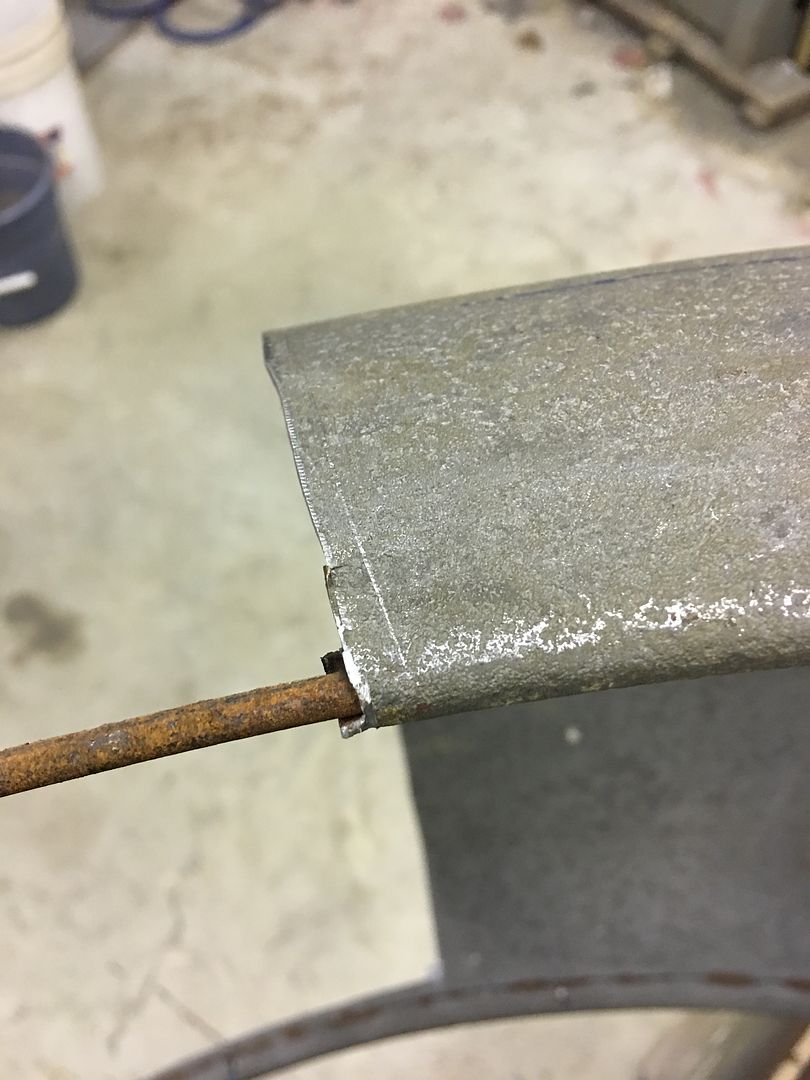
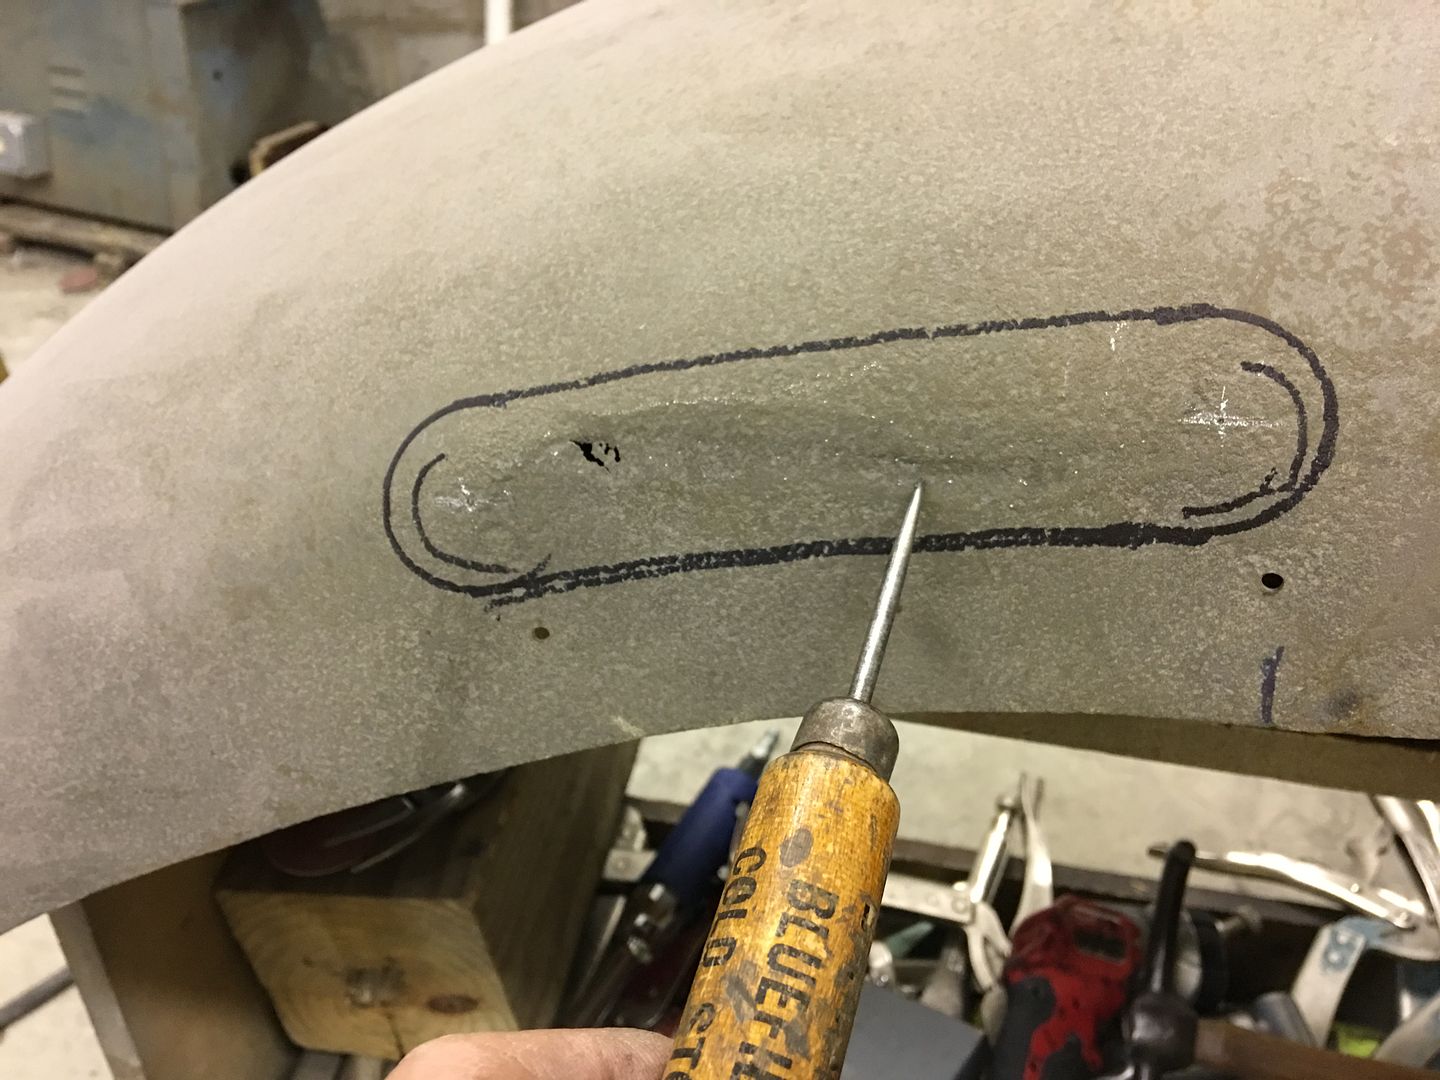
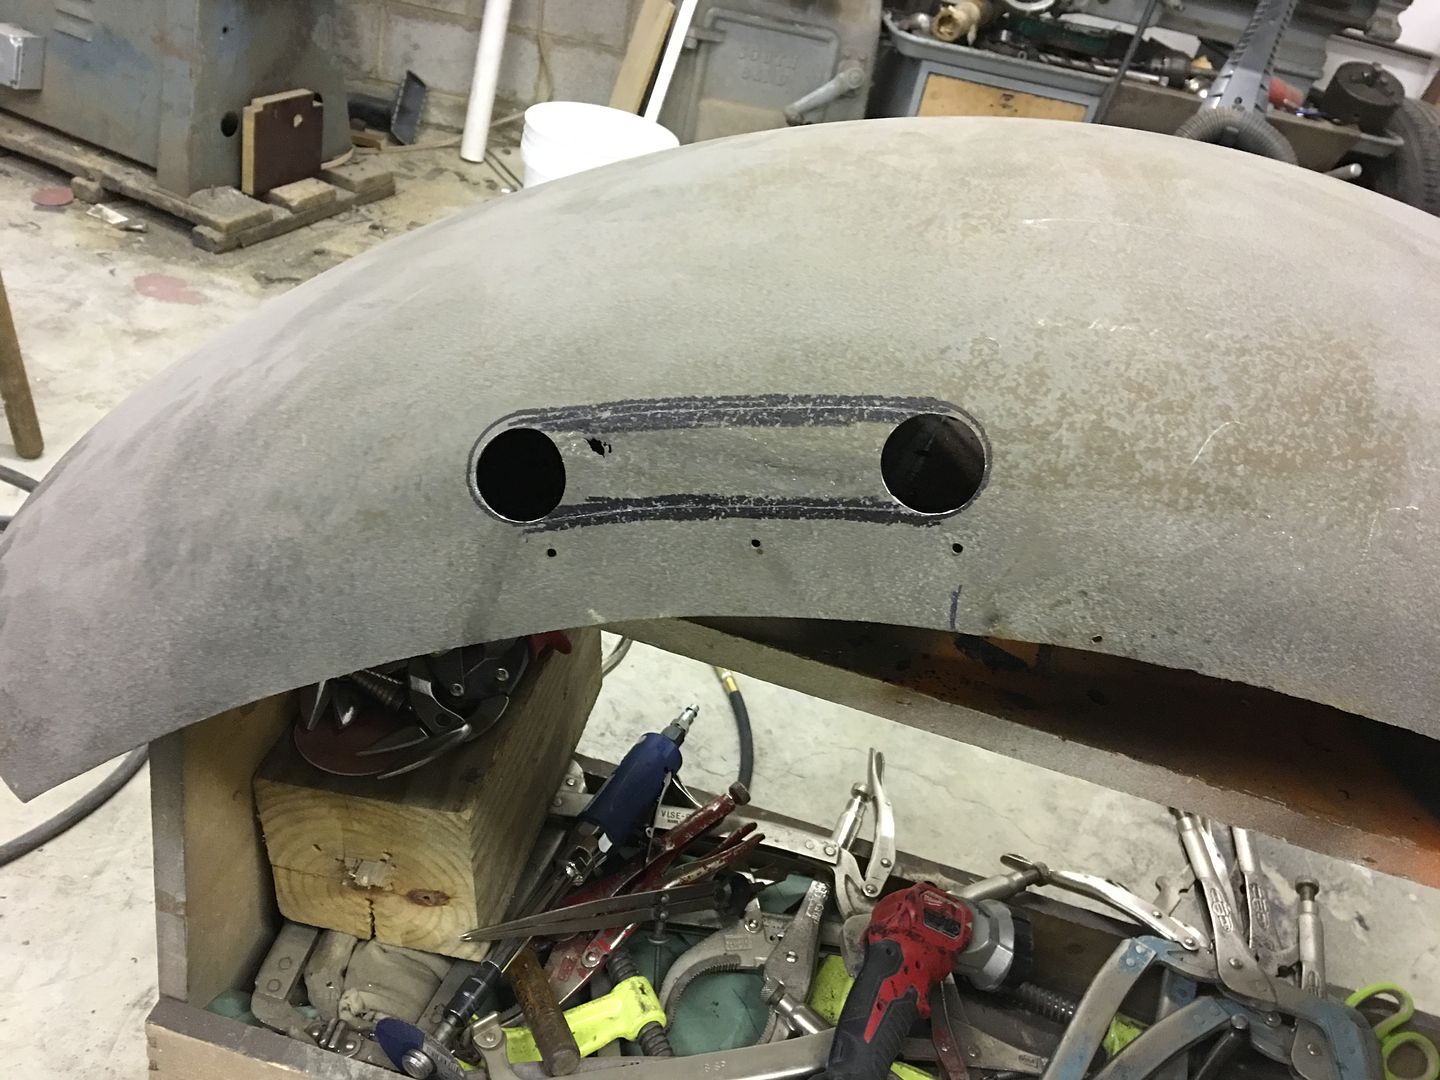
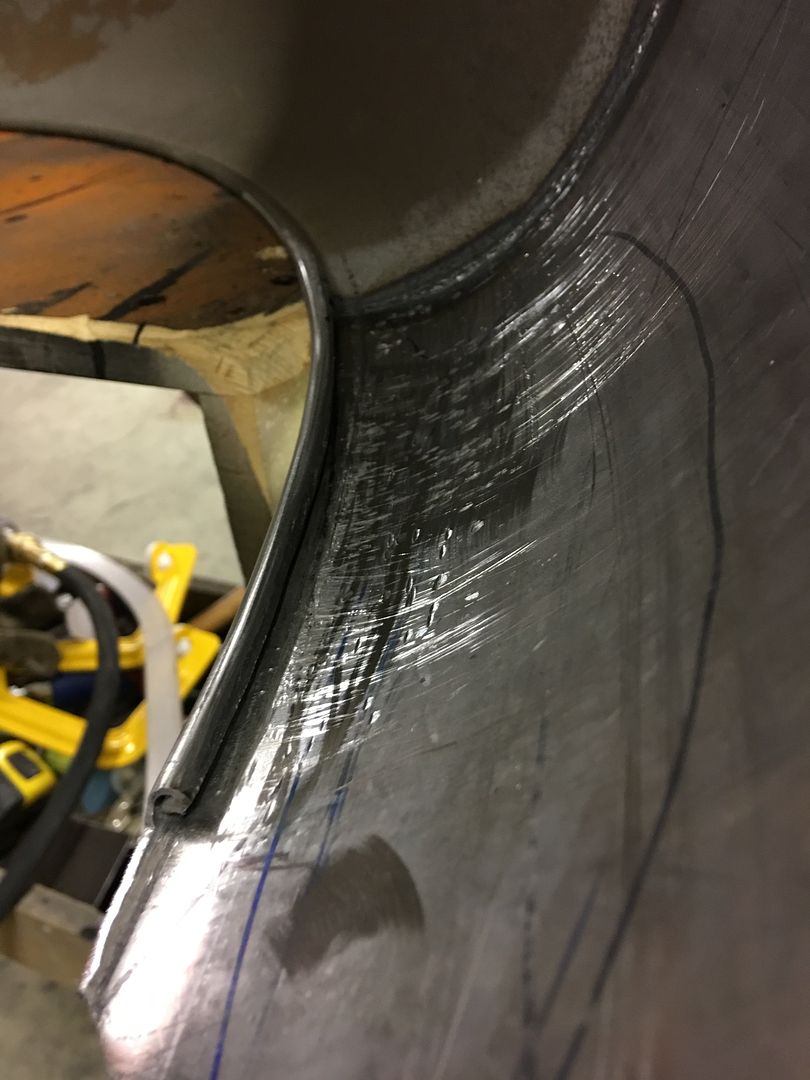
Today I finished up the TIG welding on the rust repair...
This area has a recess so it doesn't rub the side of the cab...
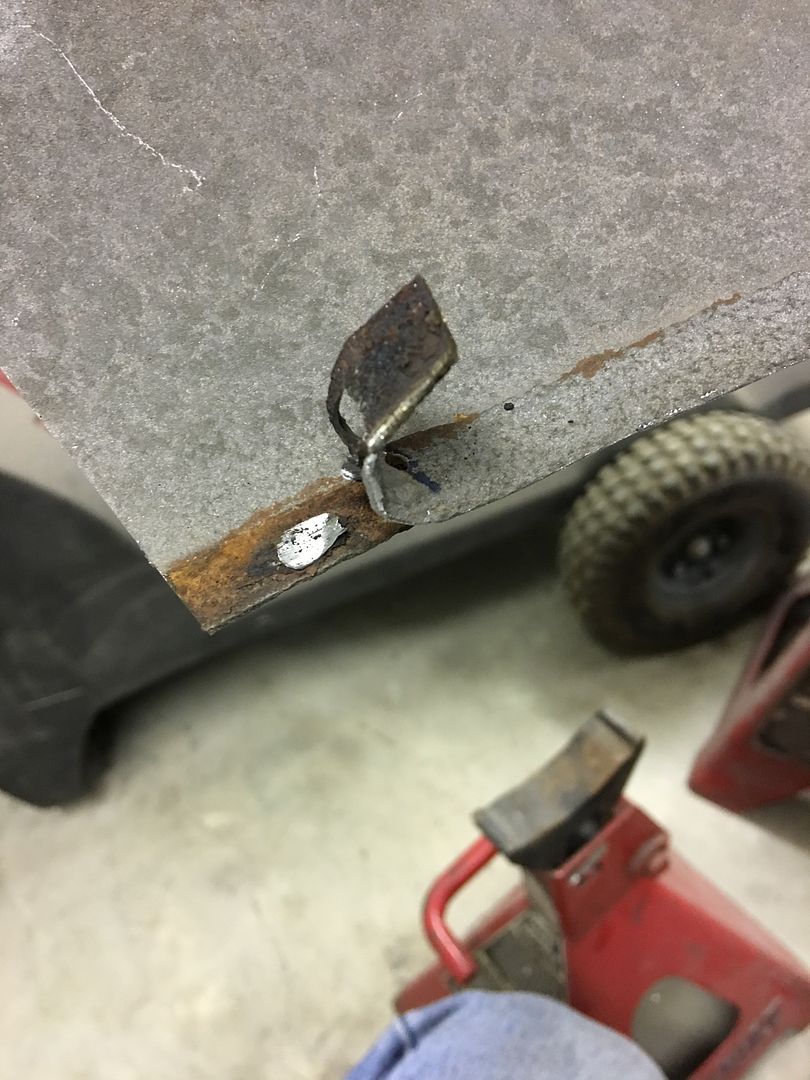
Next to clamp the front repair section, the vise grips tend to rotate after clamped and allow the weld joint to open. So to fix the gravity issue, we broke out the painters tape..
16 gauge sheet metal wiring, gotta love it!
Next time we'll get the filler panel added to the Driver's fender..
Comment
-
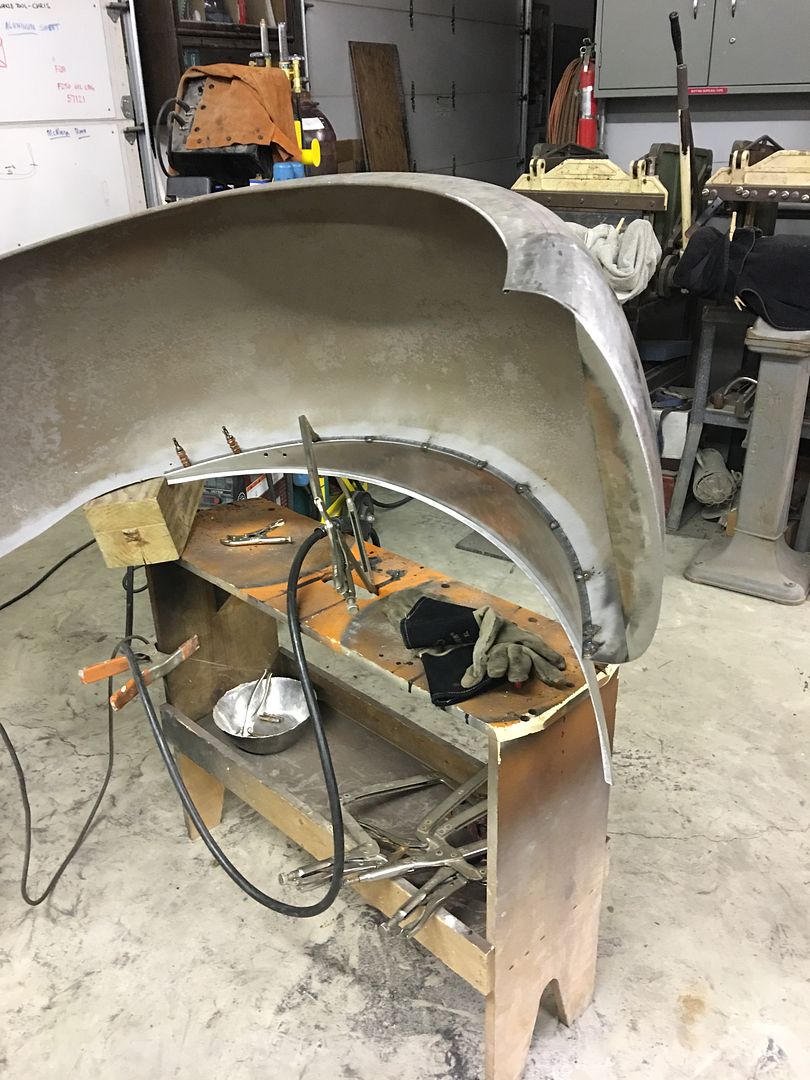
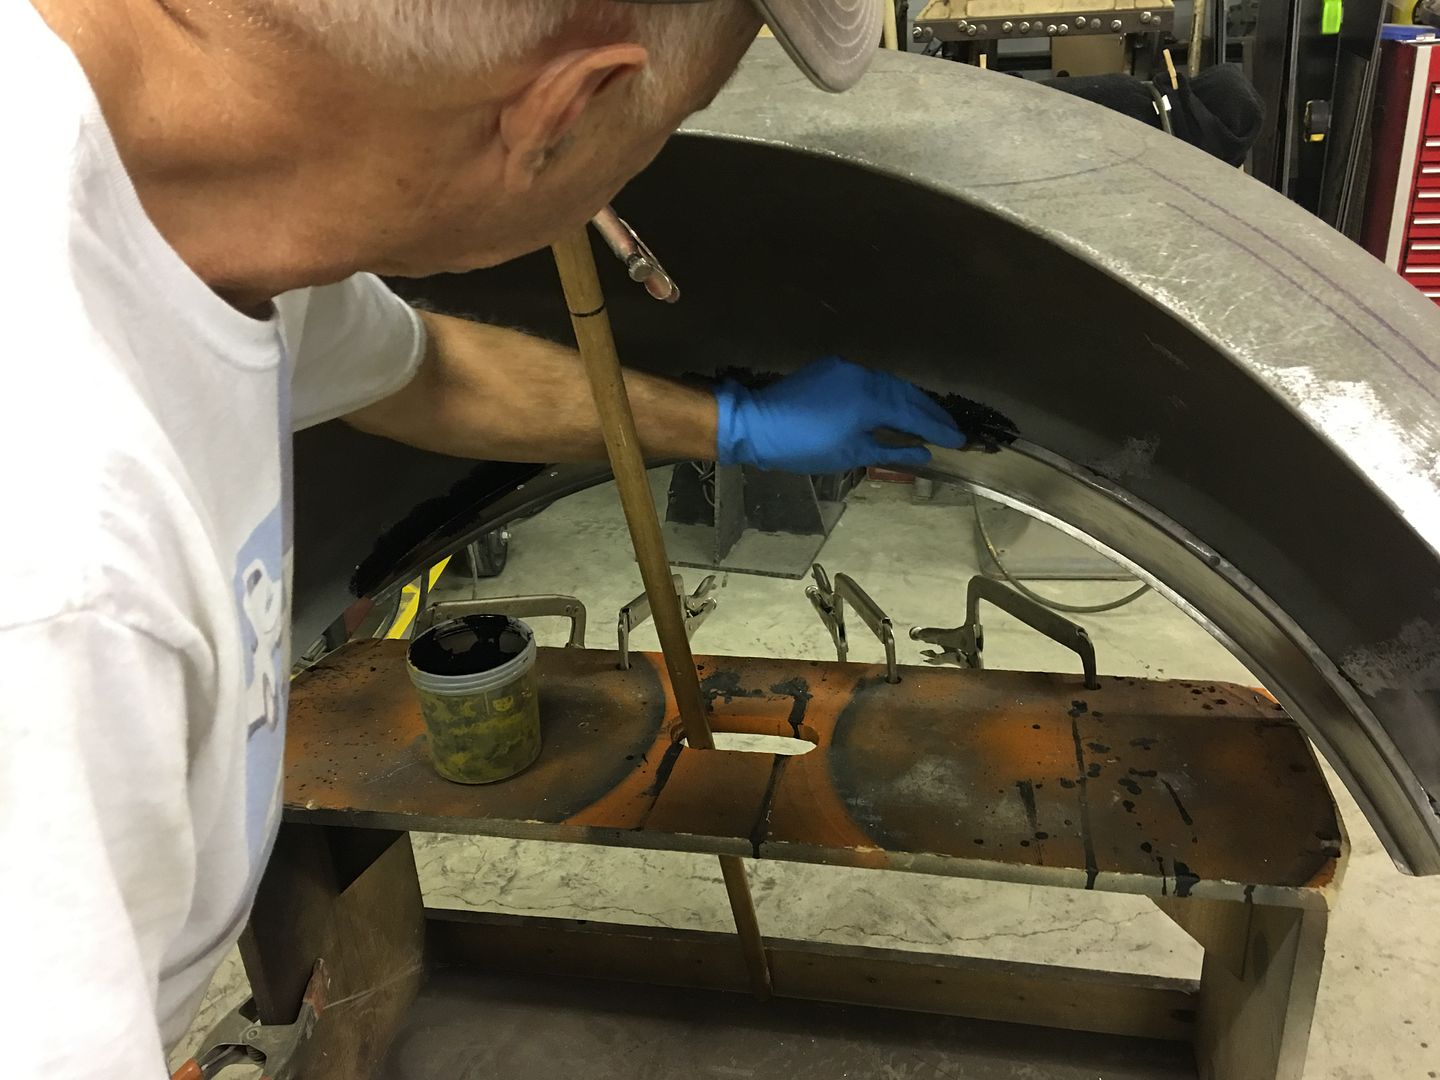
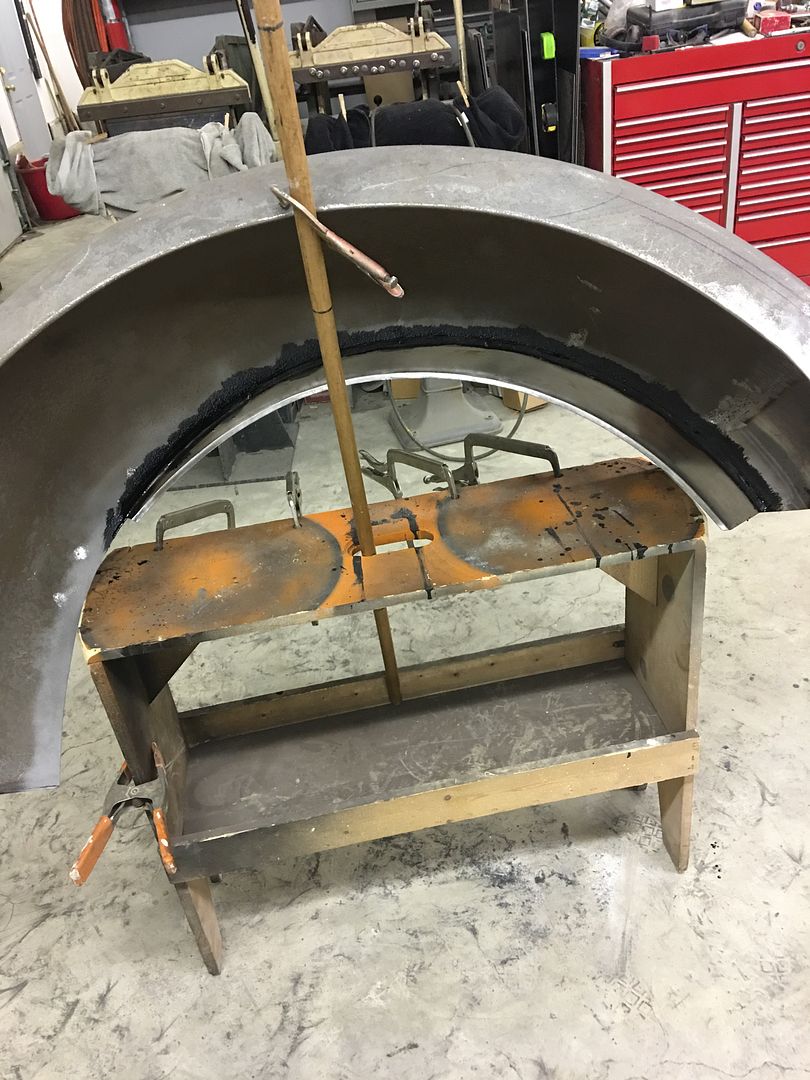
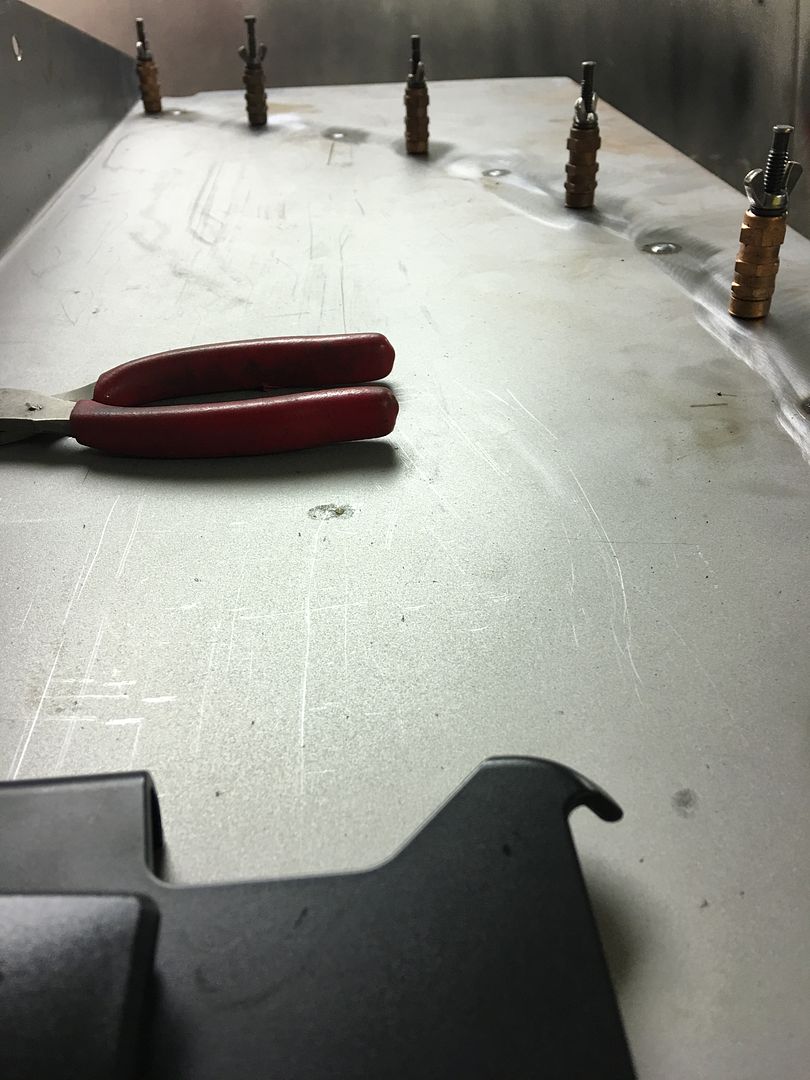
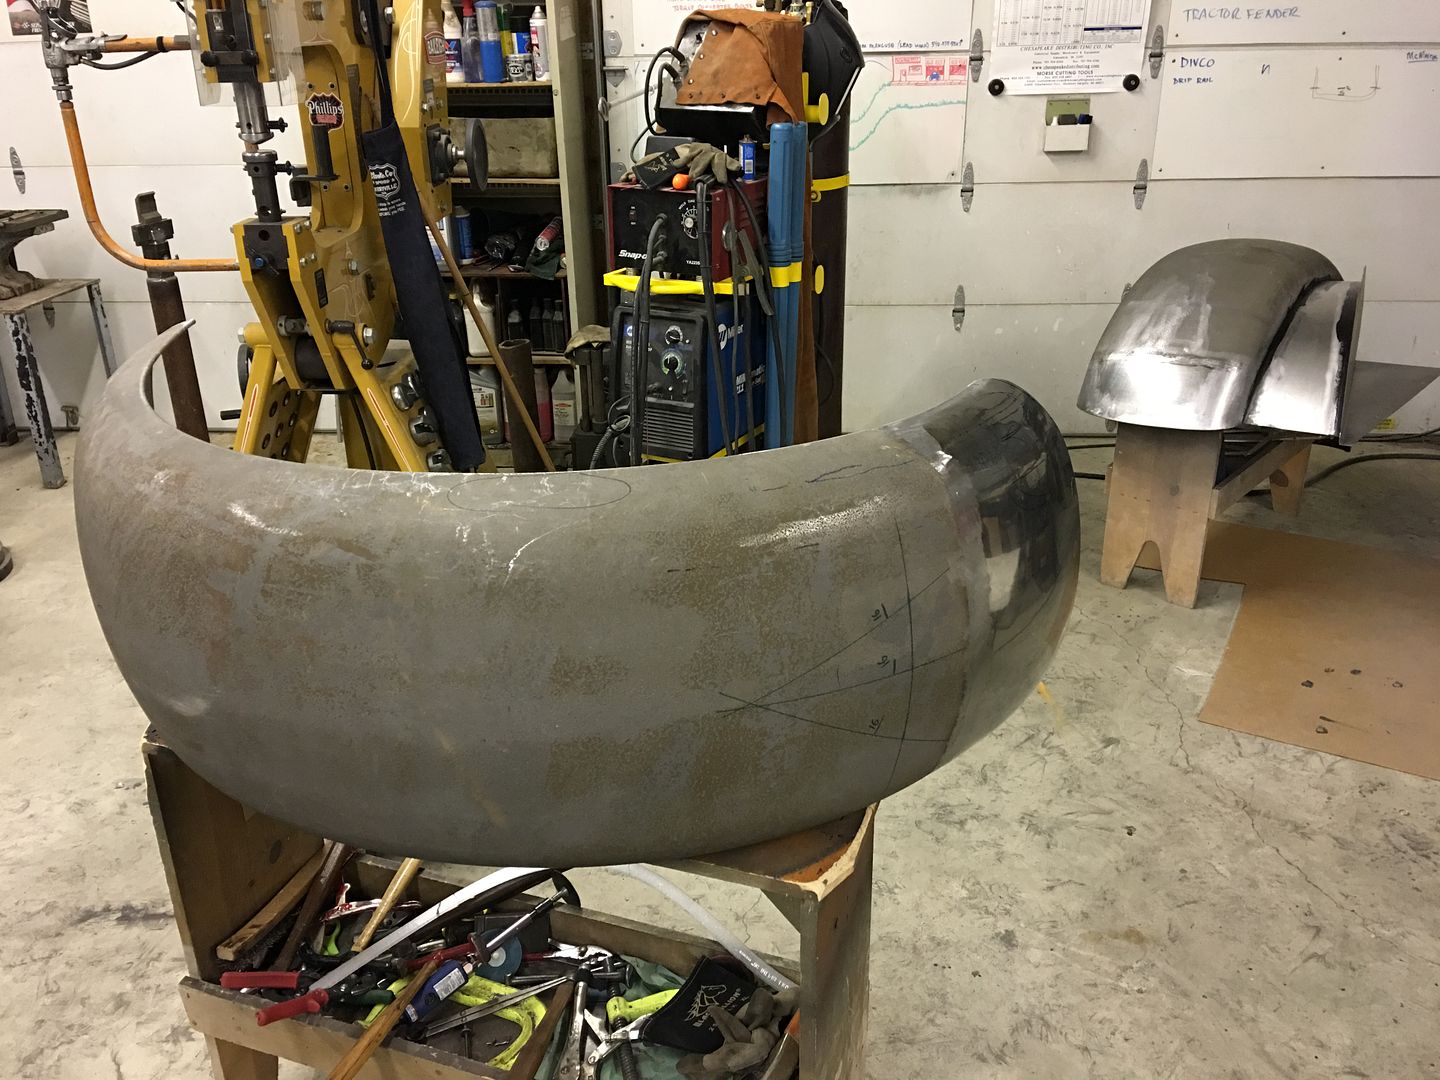
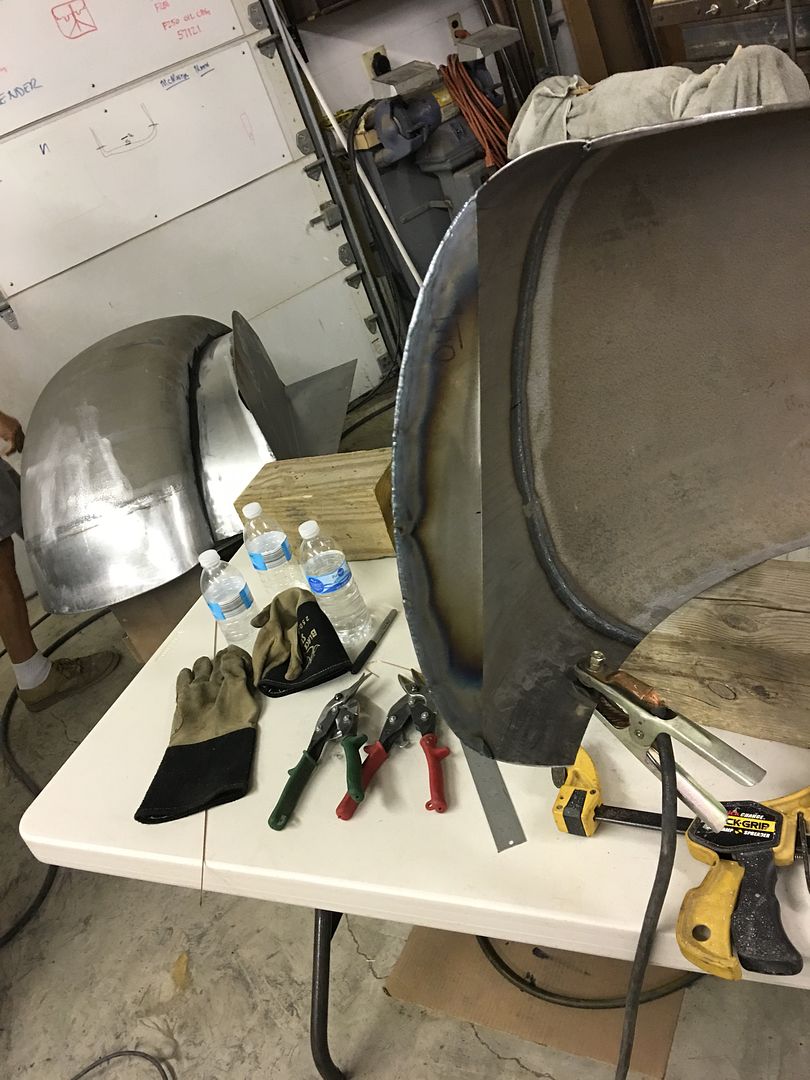
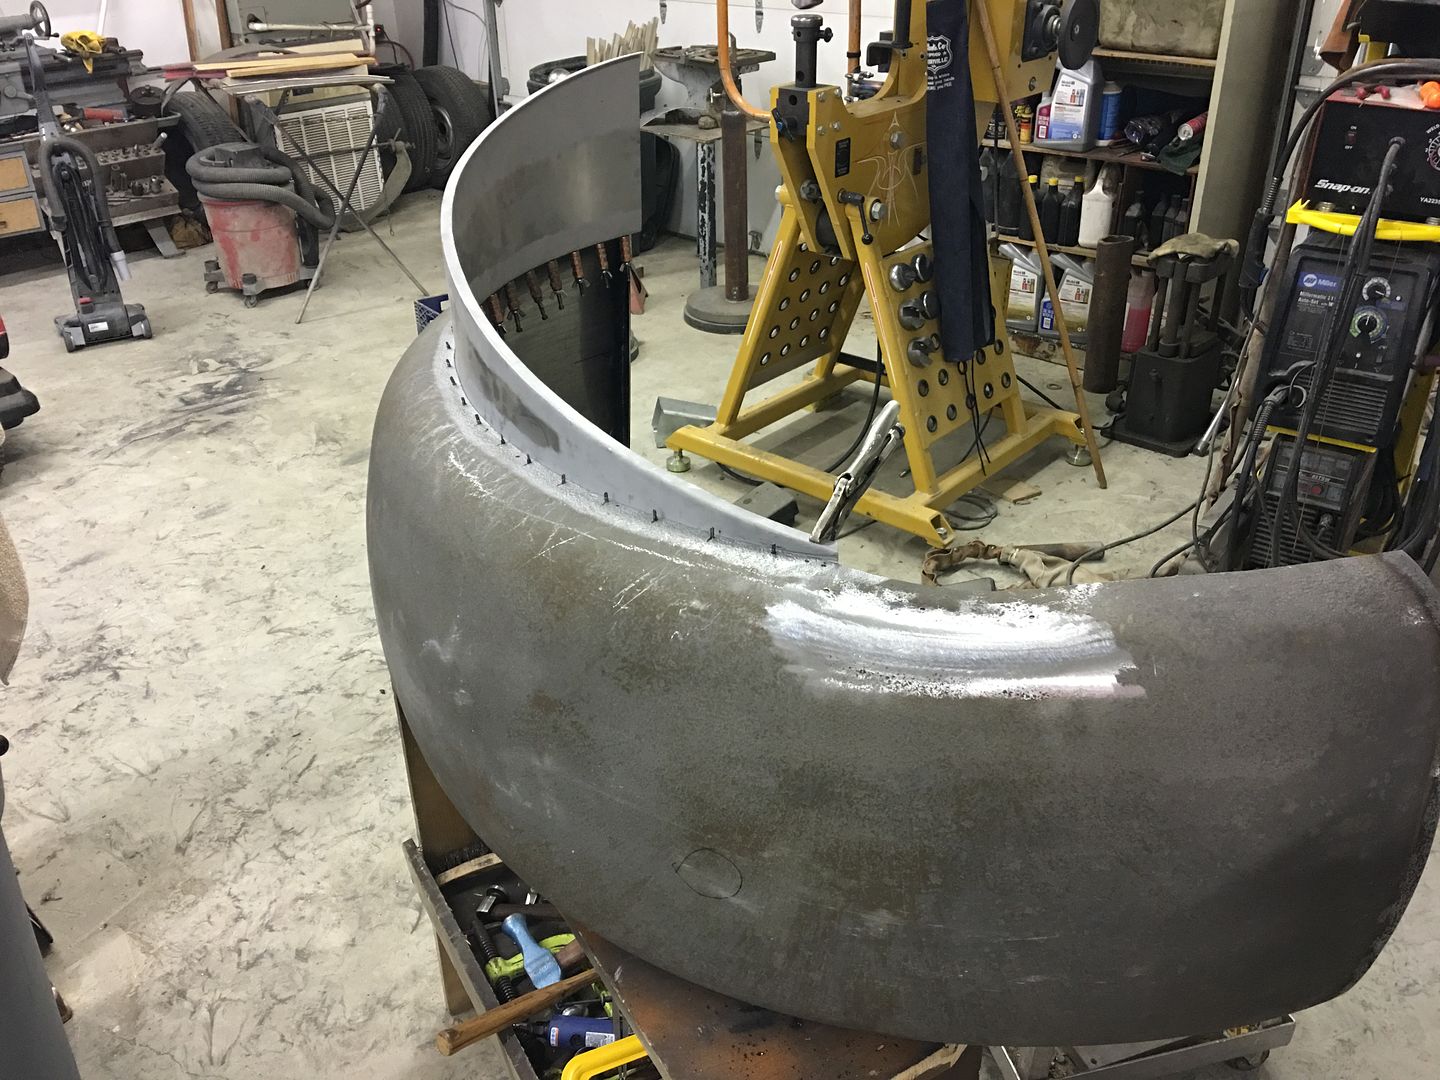
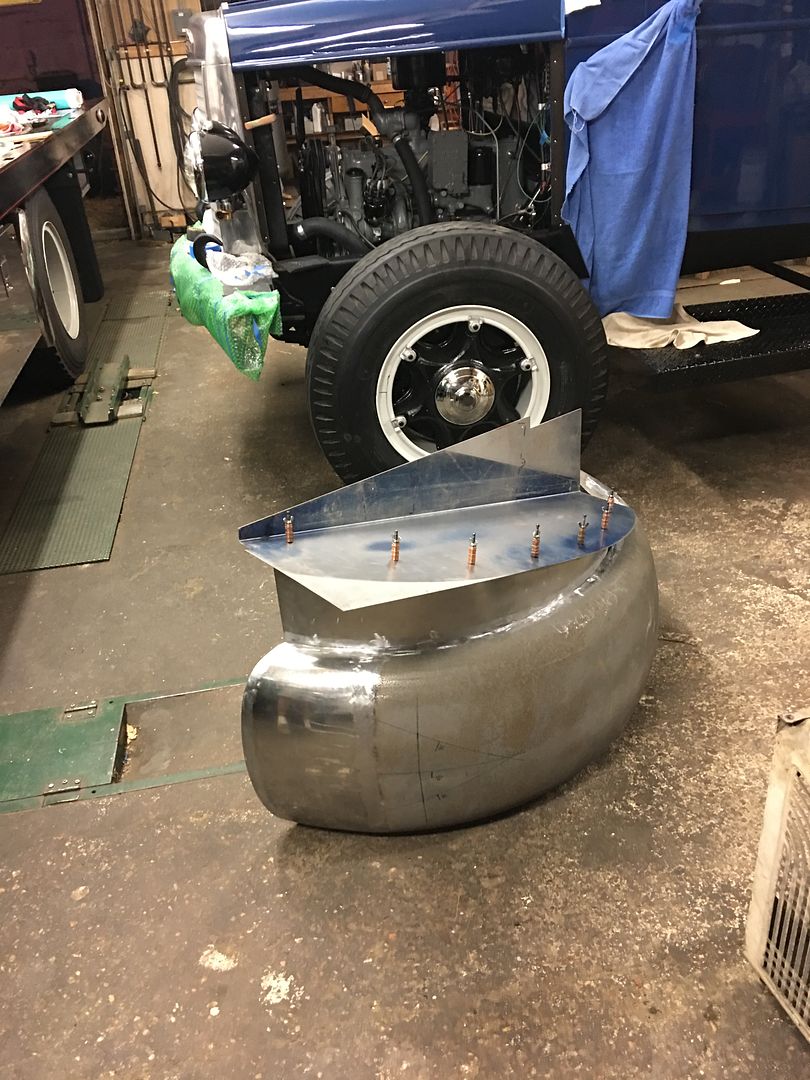
This evening's progress, the bolting flanges were cut out of 12 gauge steel, and tacked in place using the TIG. Then welded and dressed..
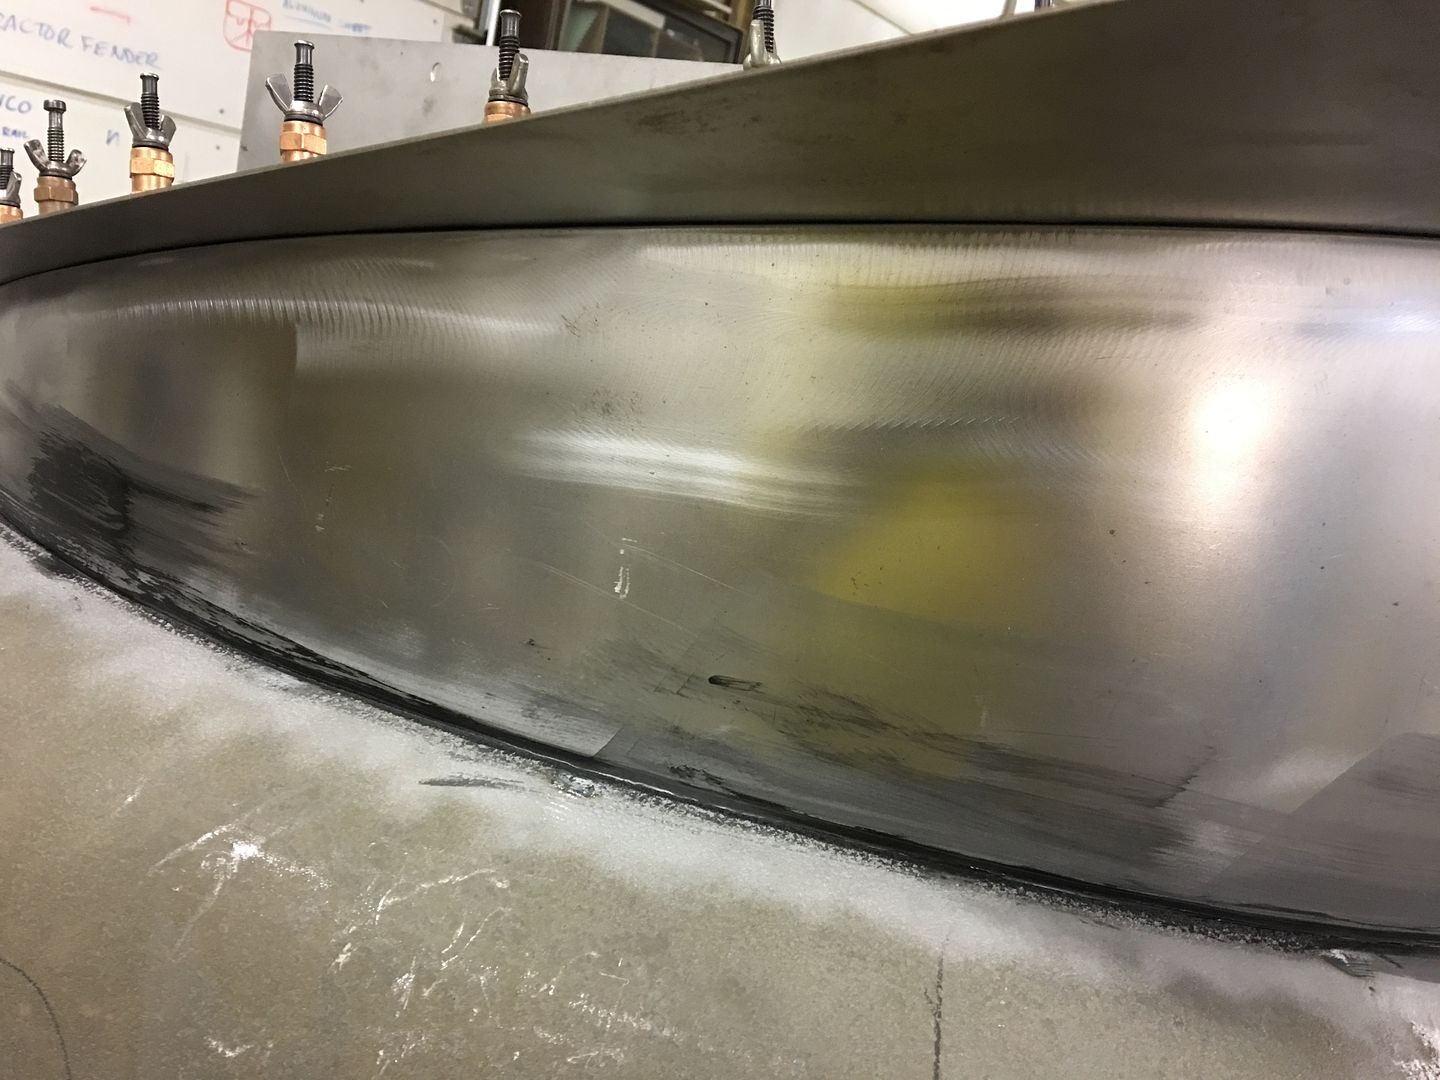
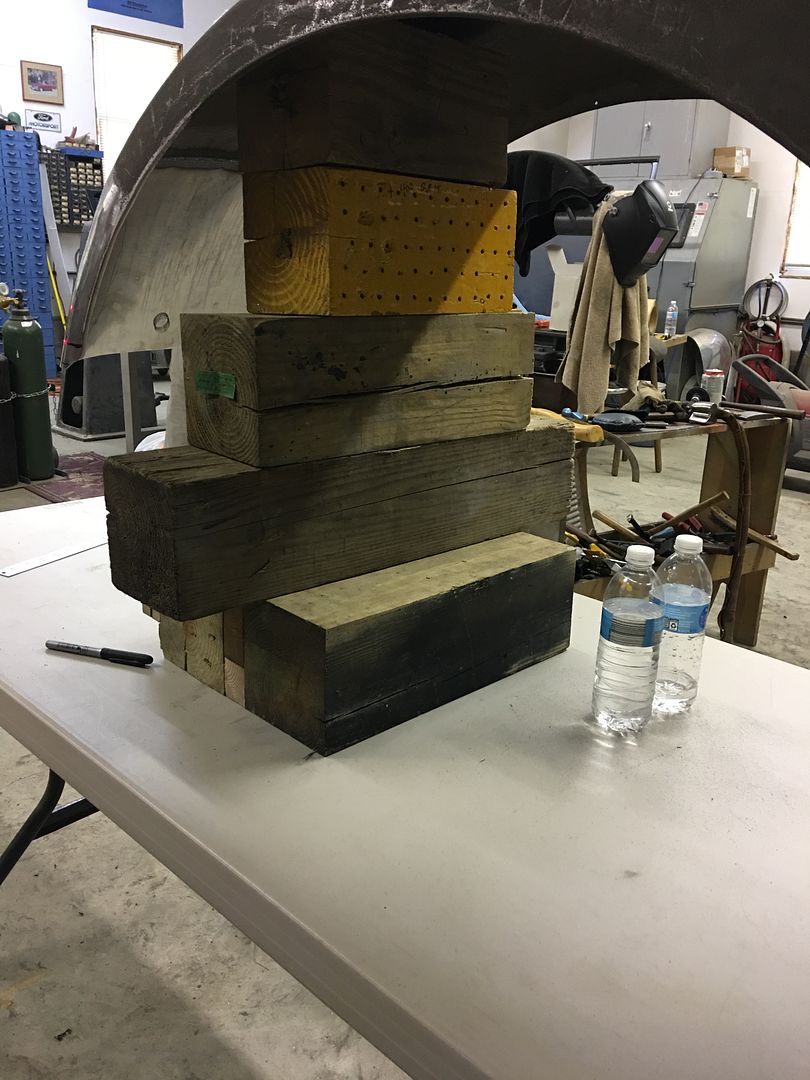
Next to trim the front of the fender, a laser is set up 13-3/4" above the table holding the fender. This is the differential we measured off the truck from the bumper filler panel down to the running board. all four corners on the table are checked to insure the laser is set correctly. Then the laser line is transposed to the fender and trimmed..
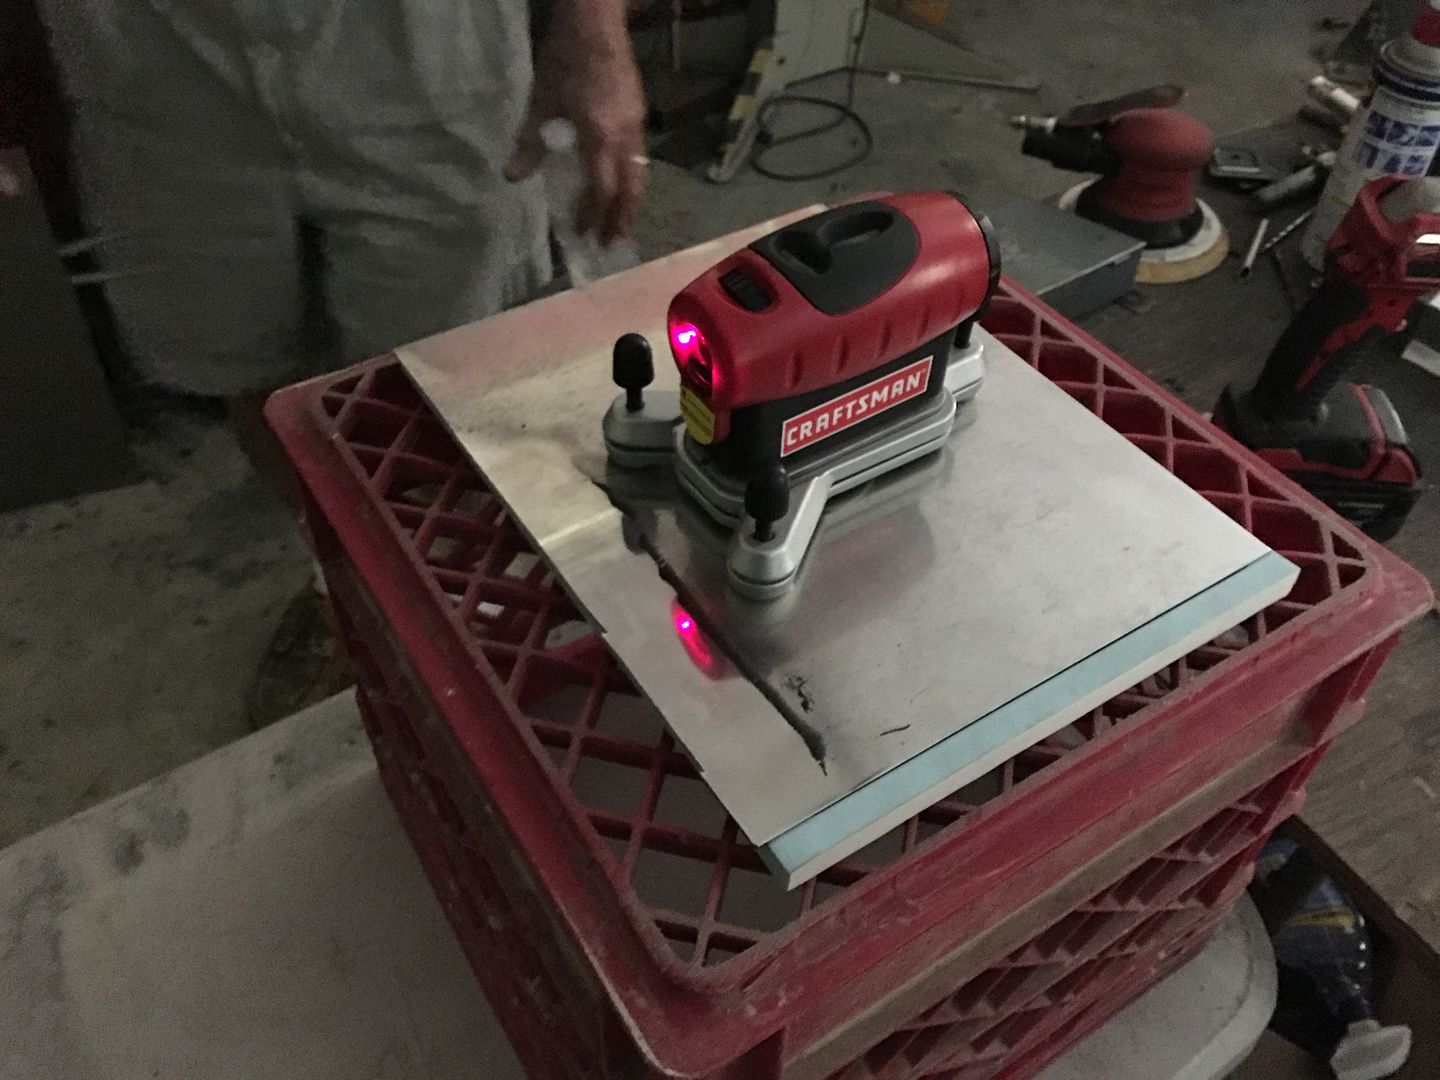
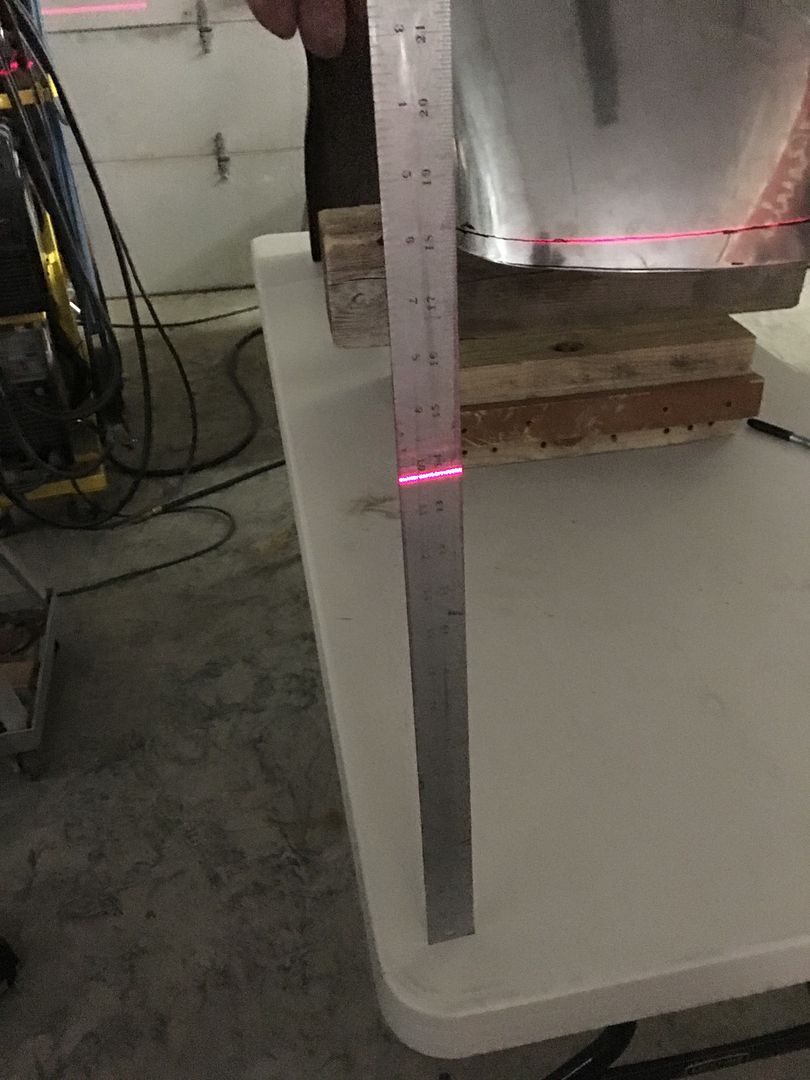
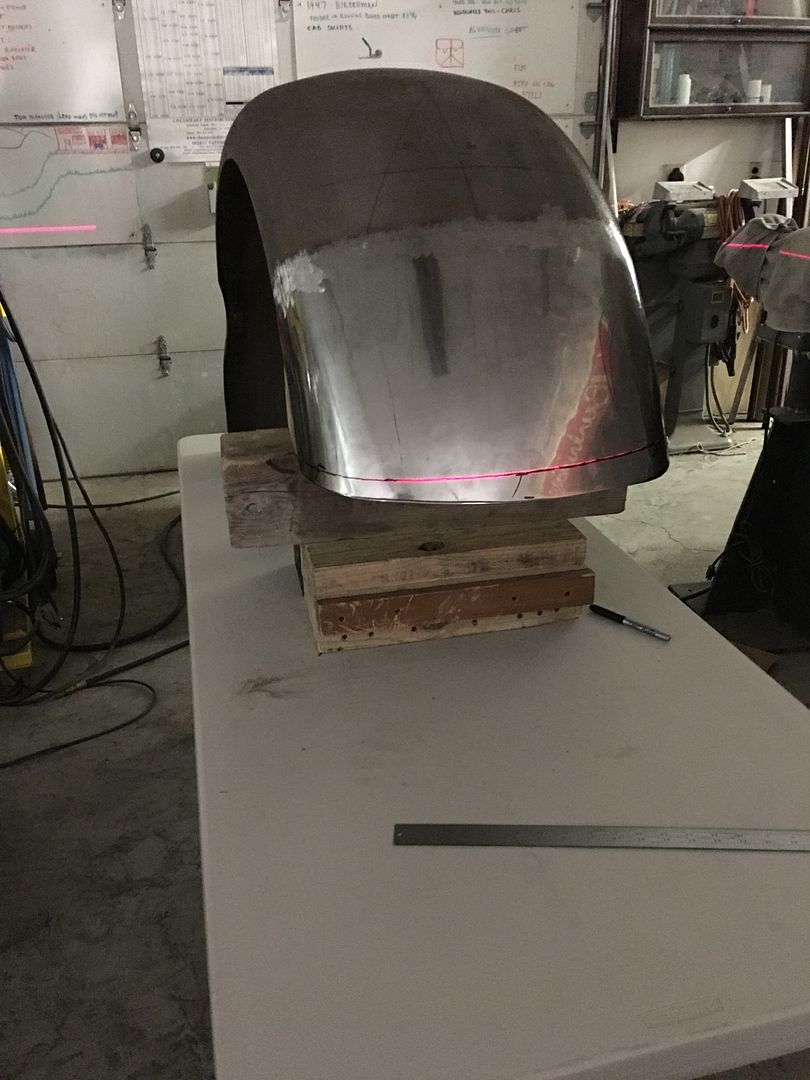
The height was adjusted by sliding the blocks forward/backward in the fender.
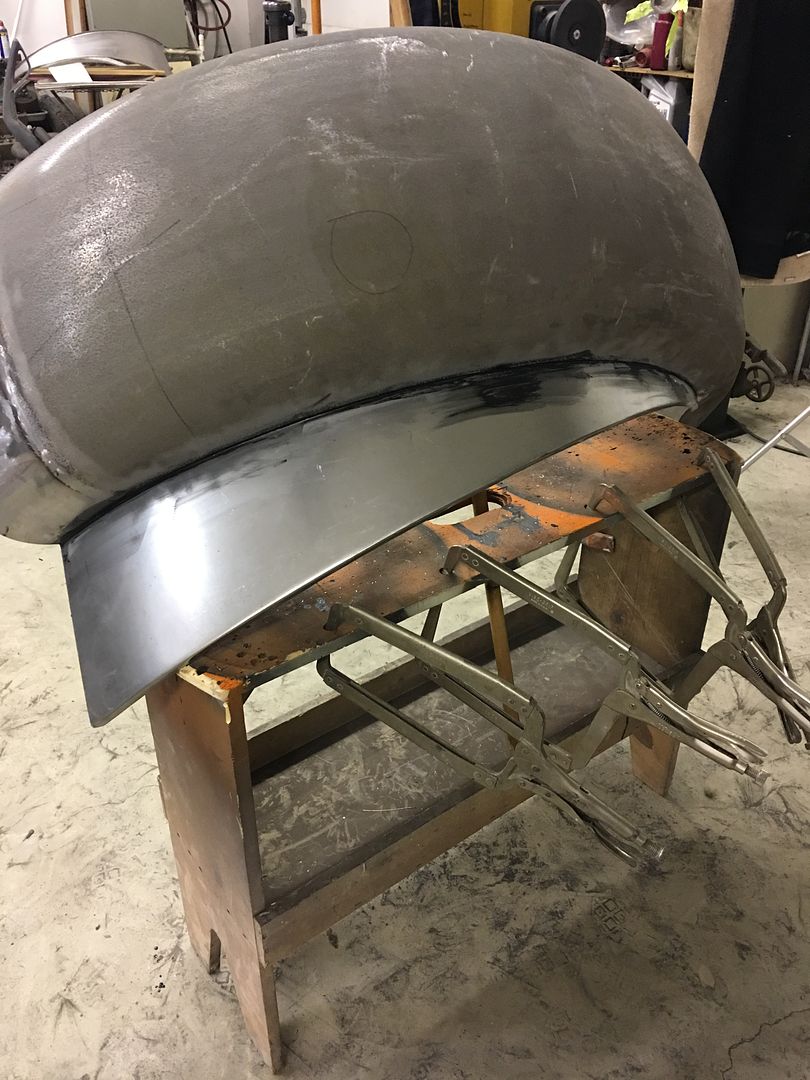
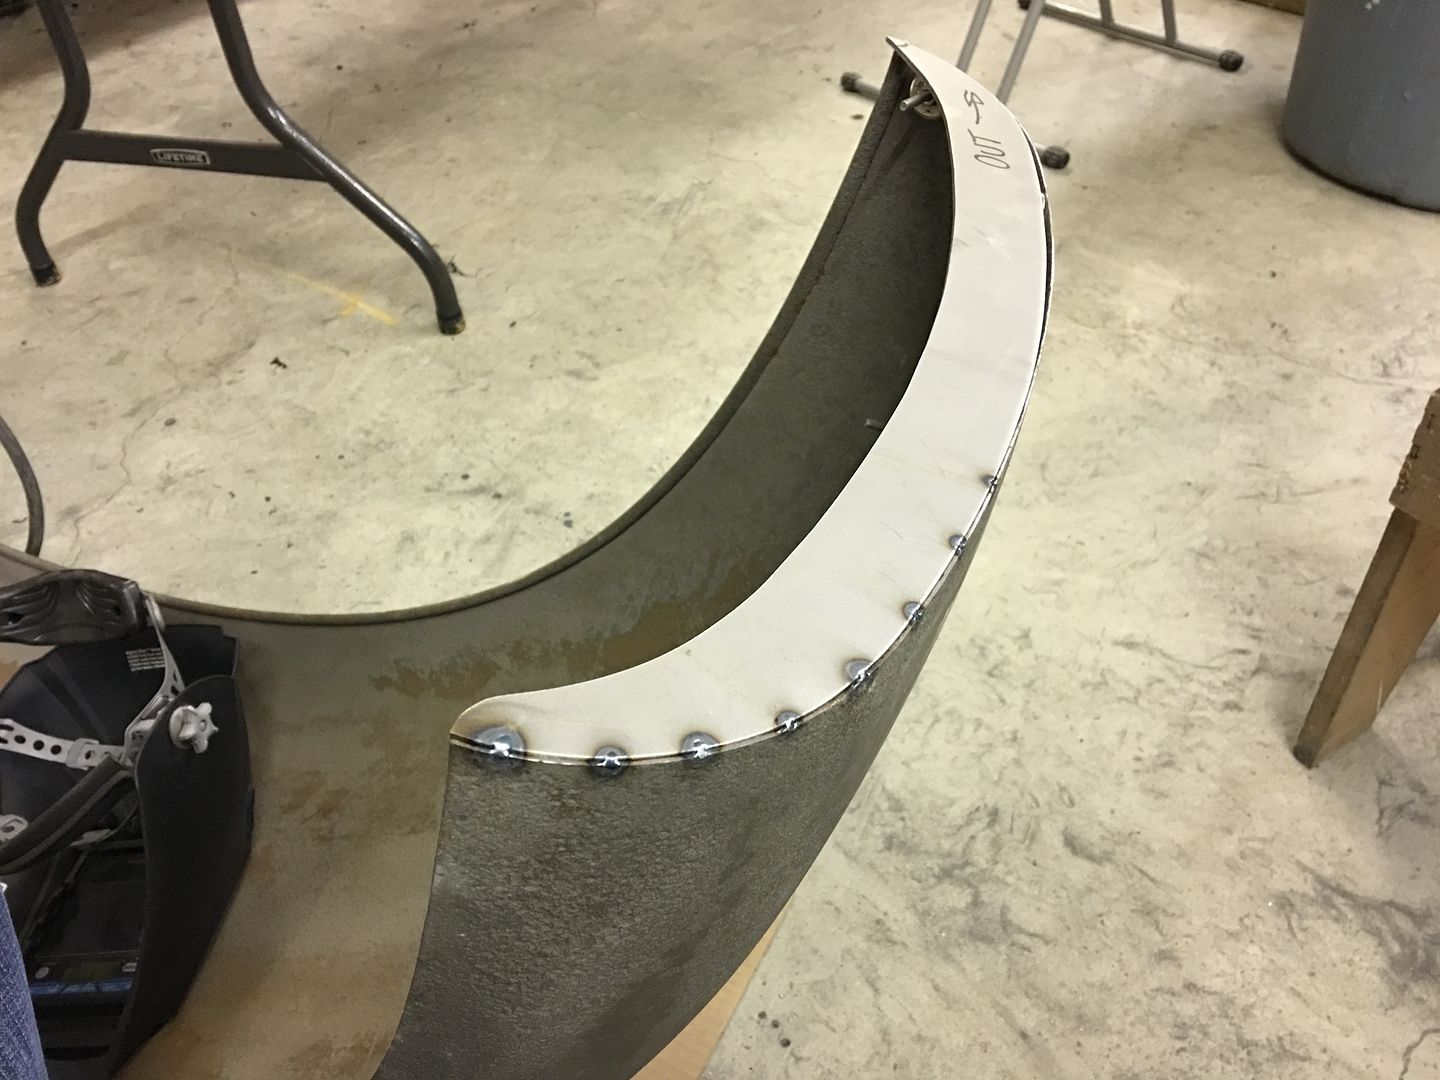
Front mounting flange TIG welded in place and welds dressed..
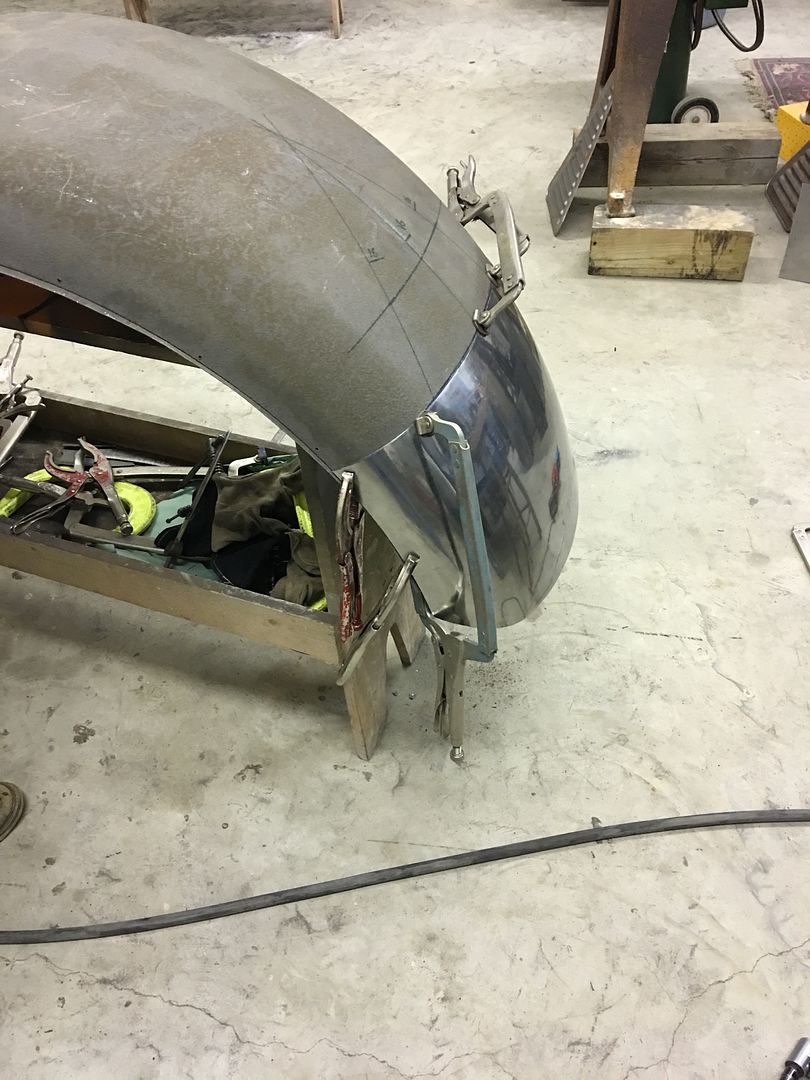
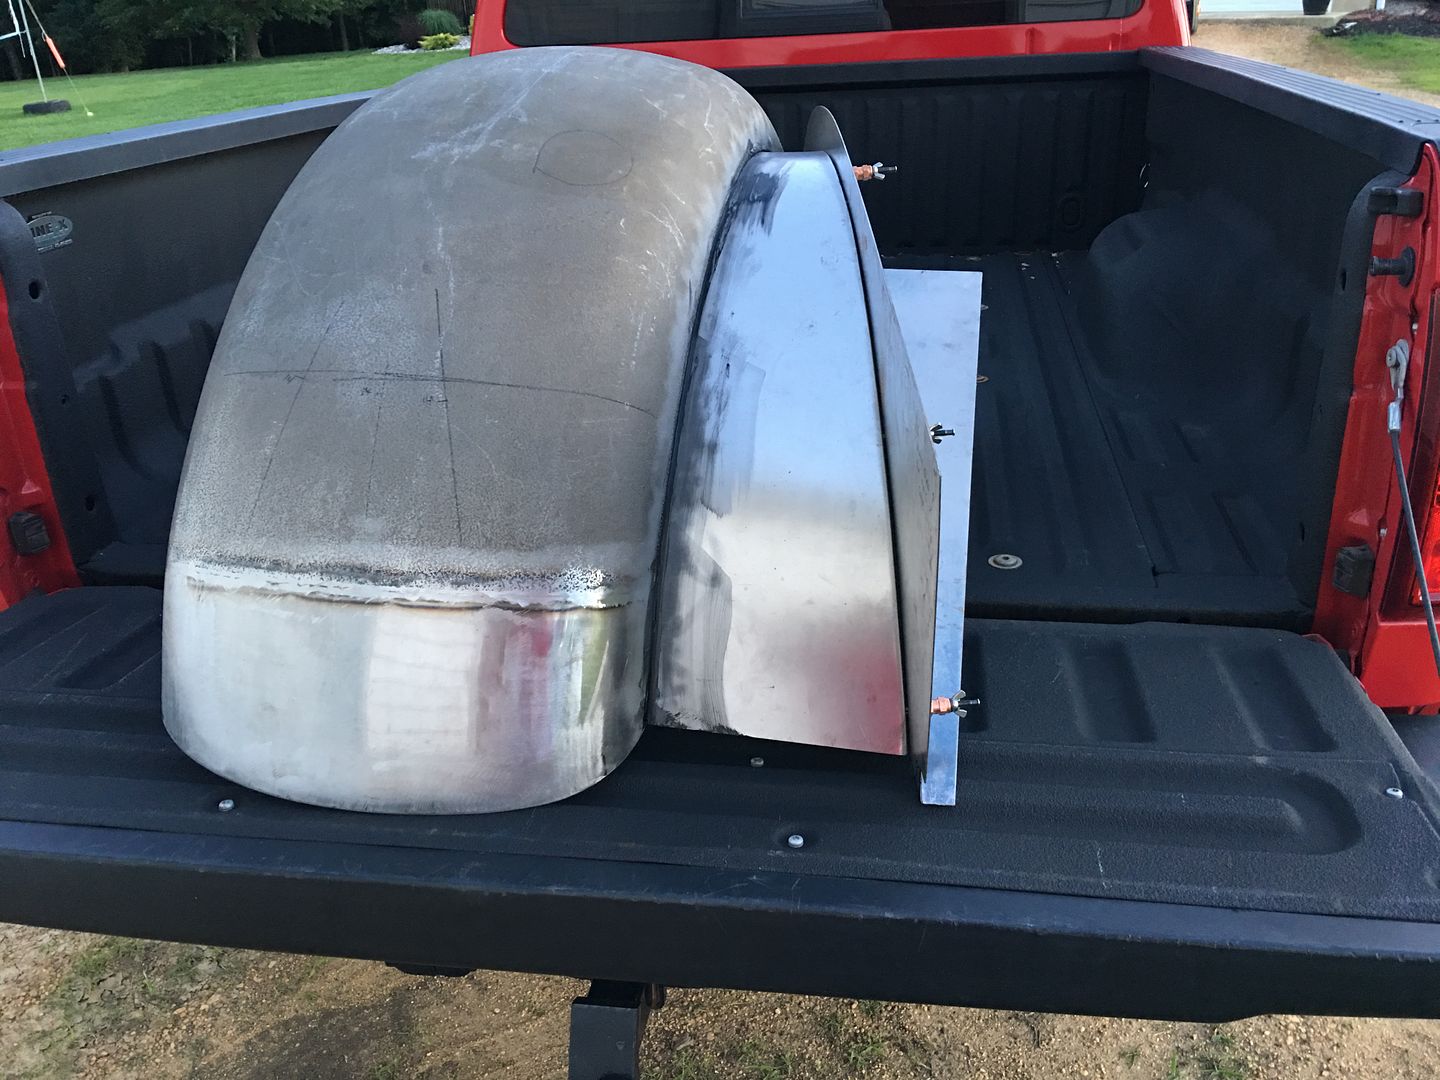
Filler panel fitted to the fender and plug welded...
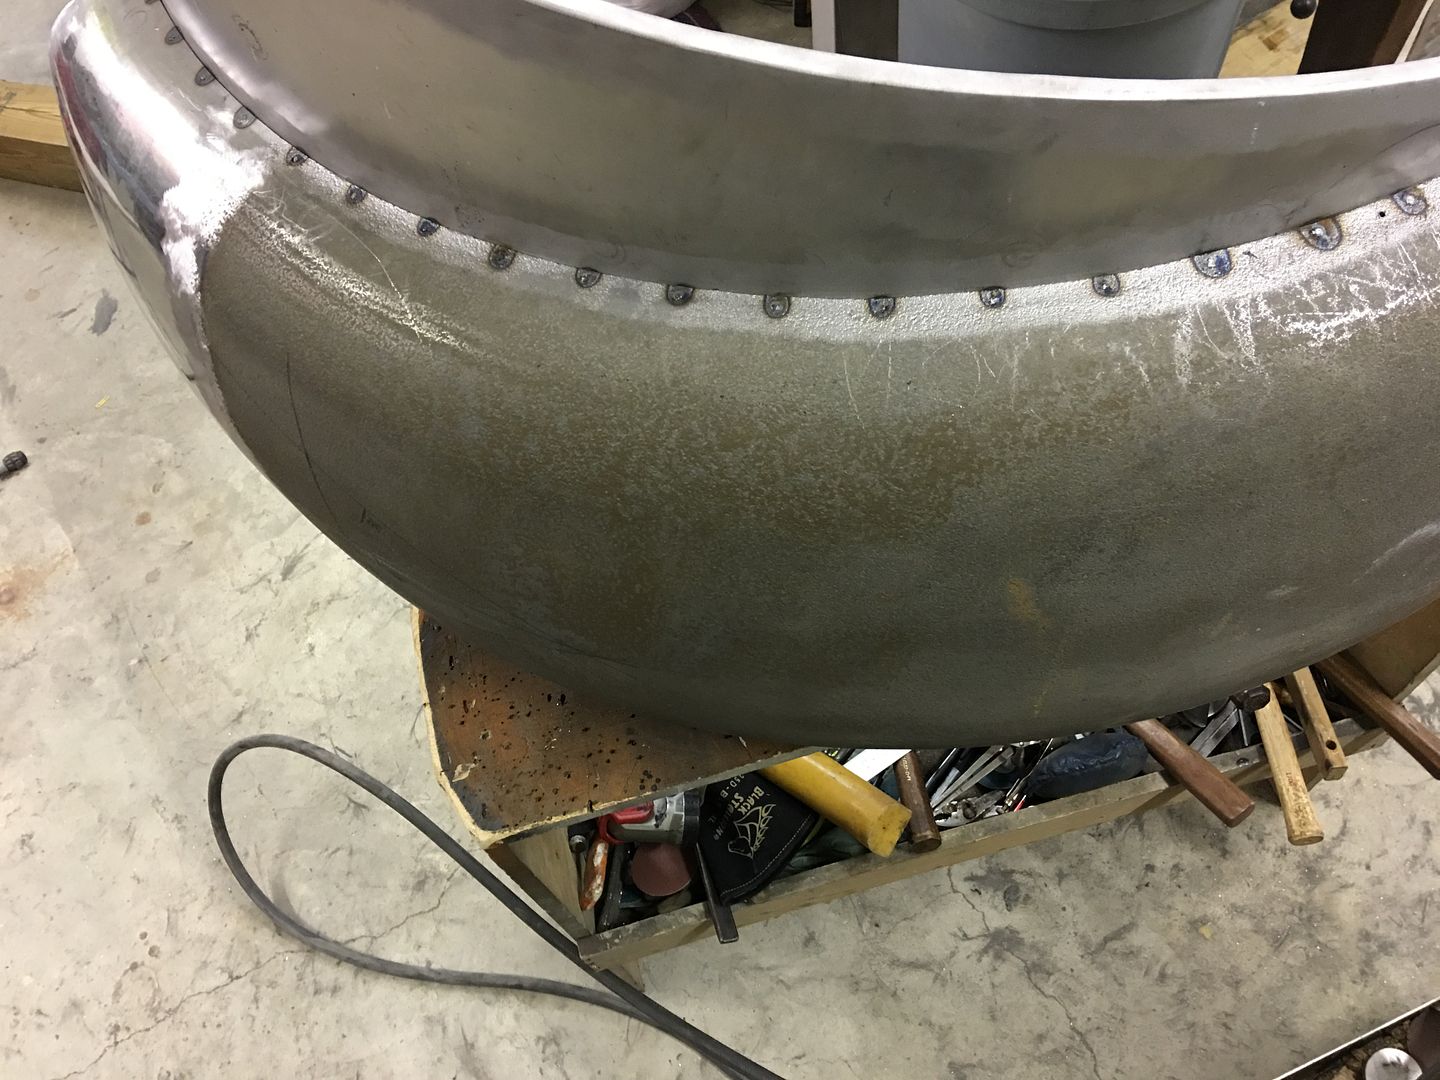
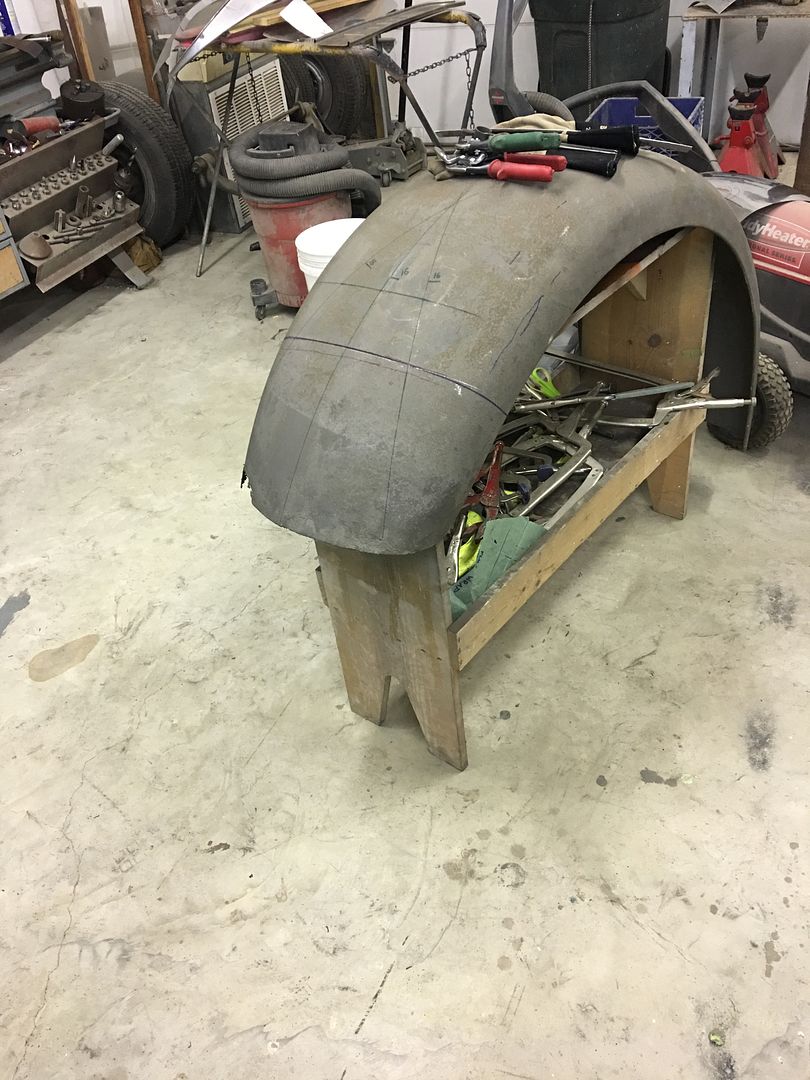
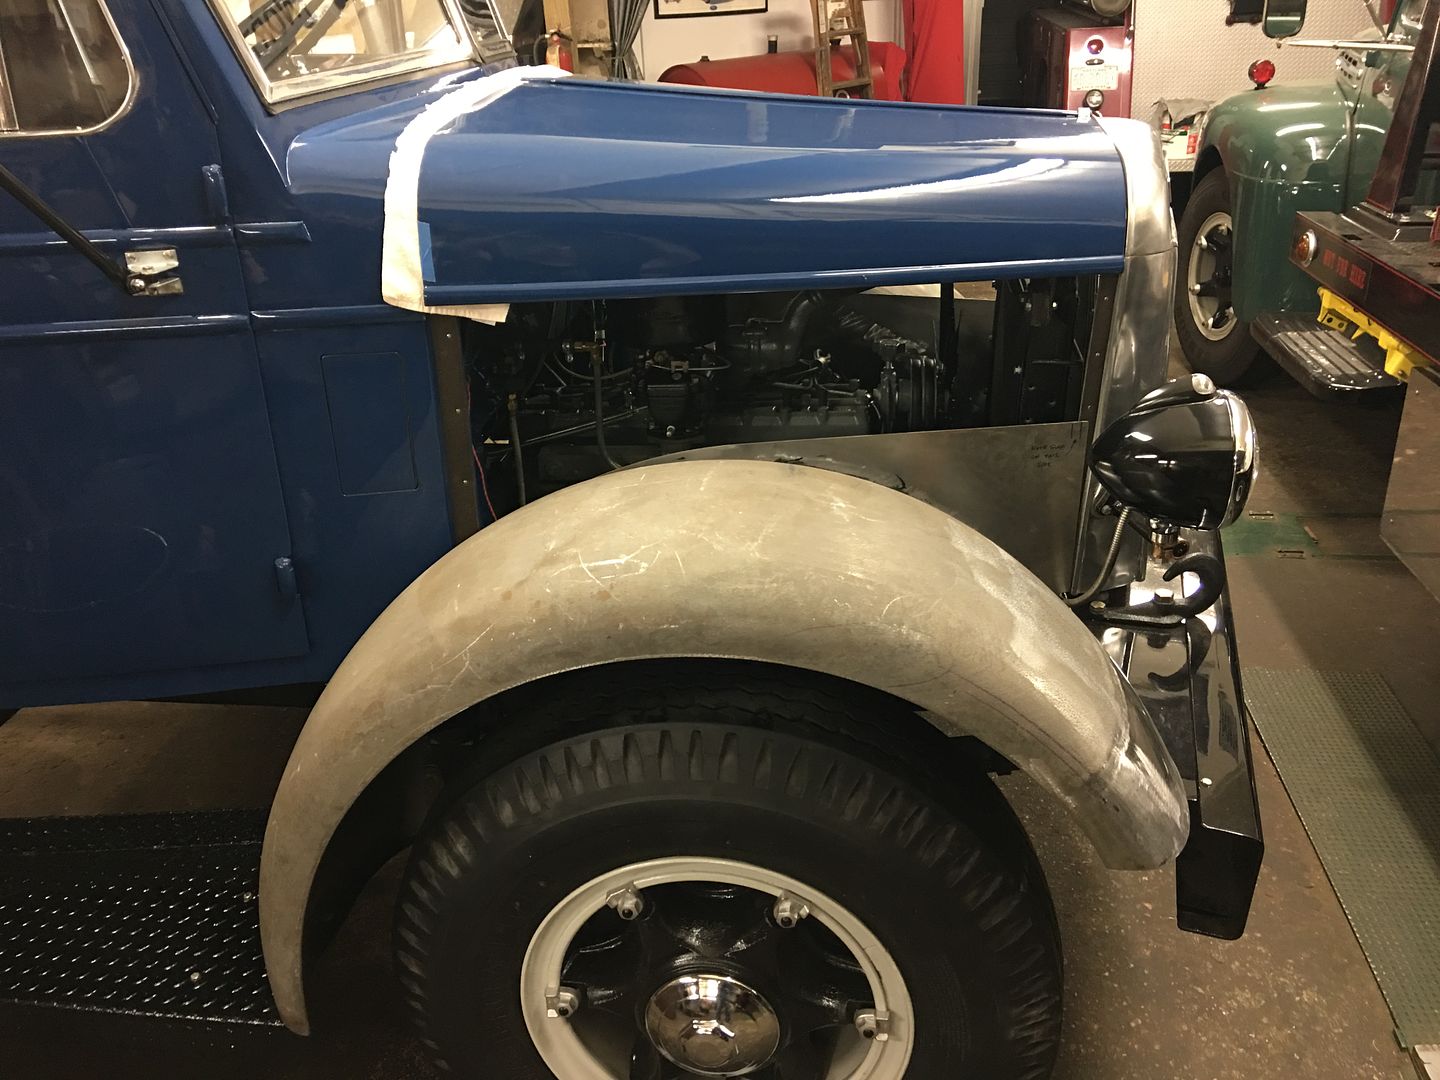
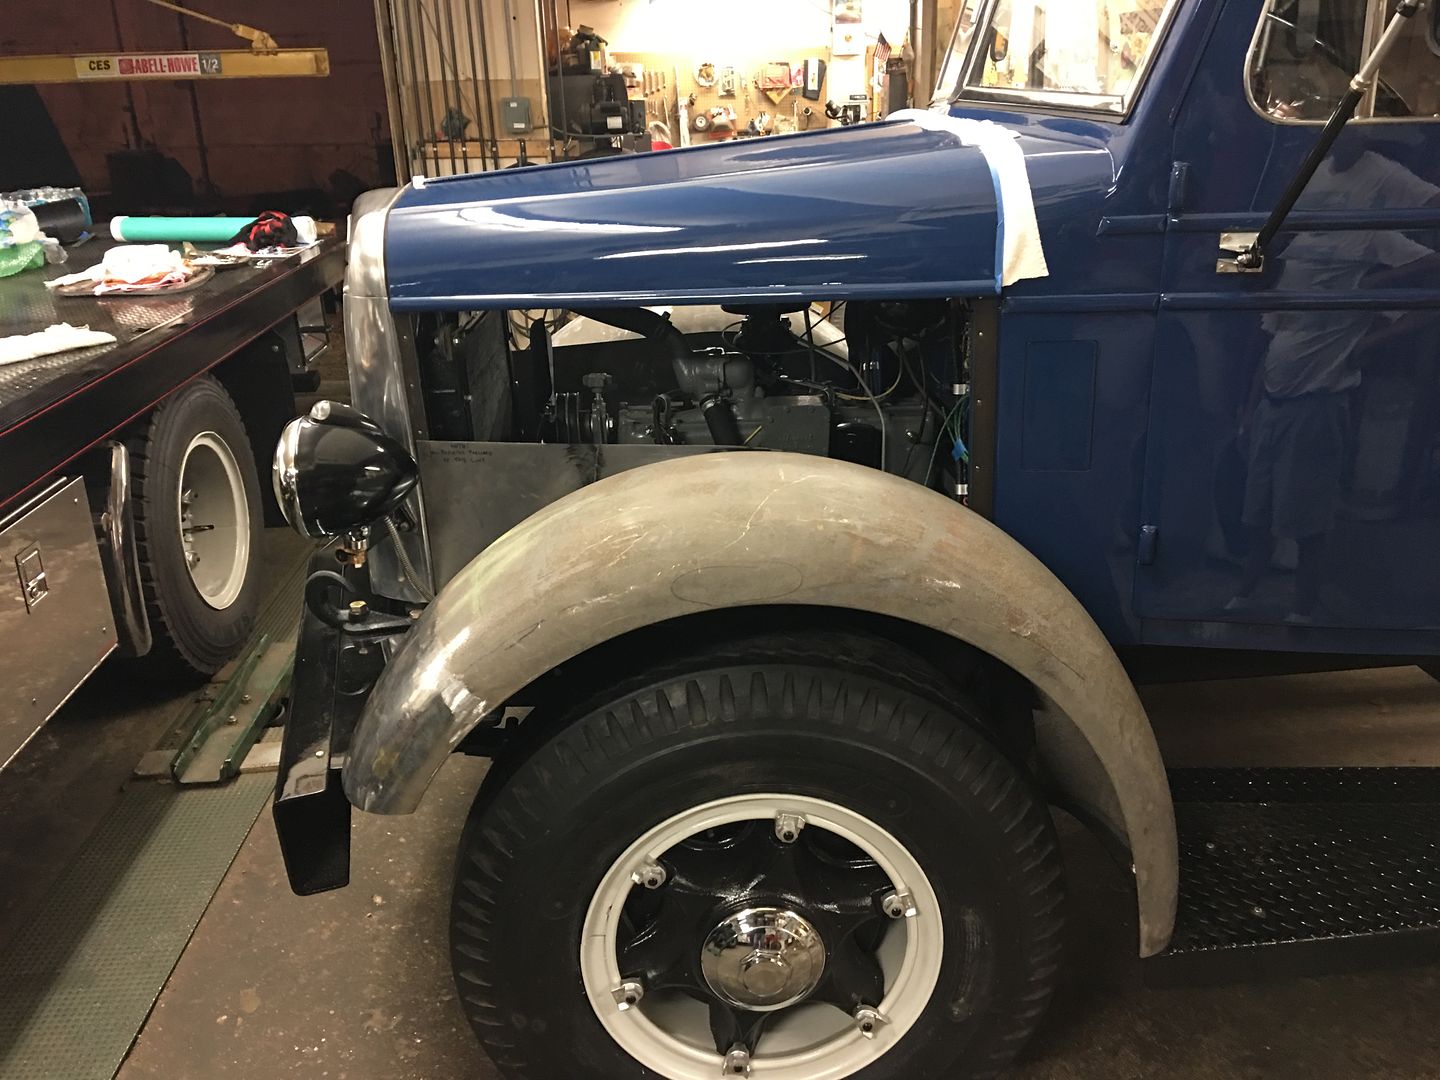
Test fit onto the truck, aligned to the lower hood side and cleco'ed in place.
We'll get the lower hood side welded on tomorrow evening, holes drilled, and fenders bolted up to the truck.Comment
-
Tonight we got the lower hood side plug welded to the driver's fender, then the lapped seams were brushed with SPI epoxy primer from both sides to seal out the elements. John will be taking this to a couple shows with the fenders in bare metal, so we needed to seal those areas.
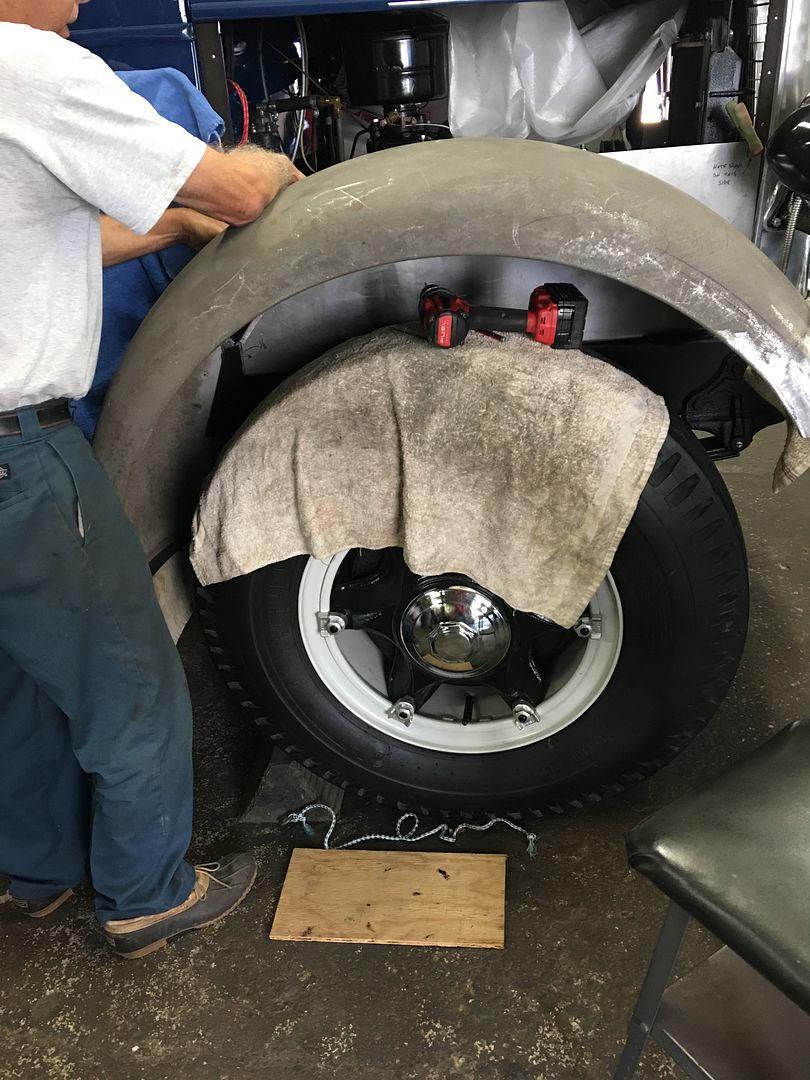
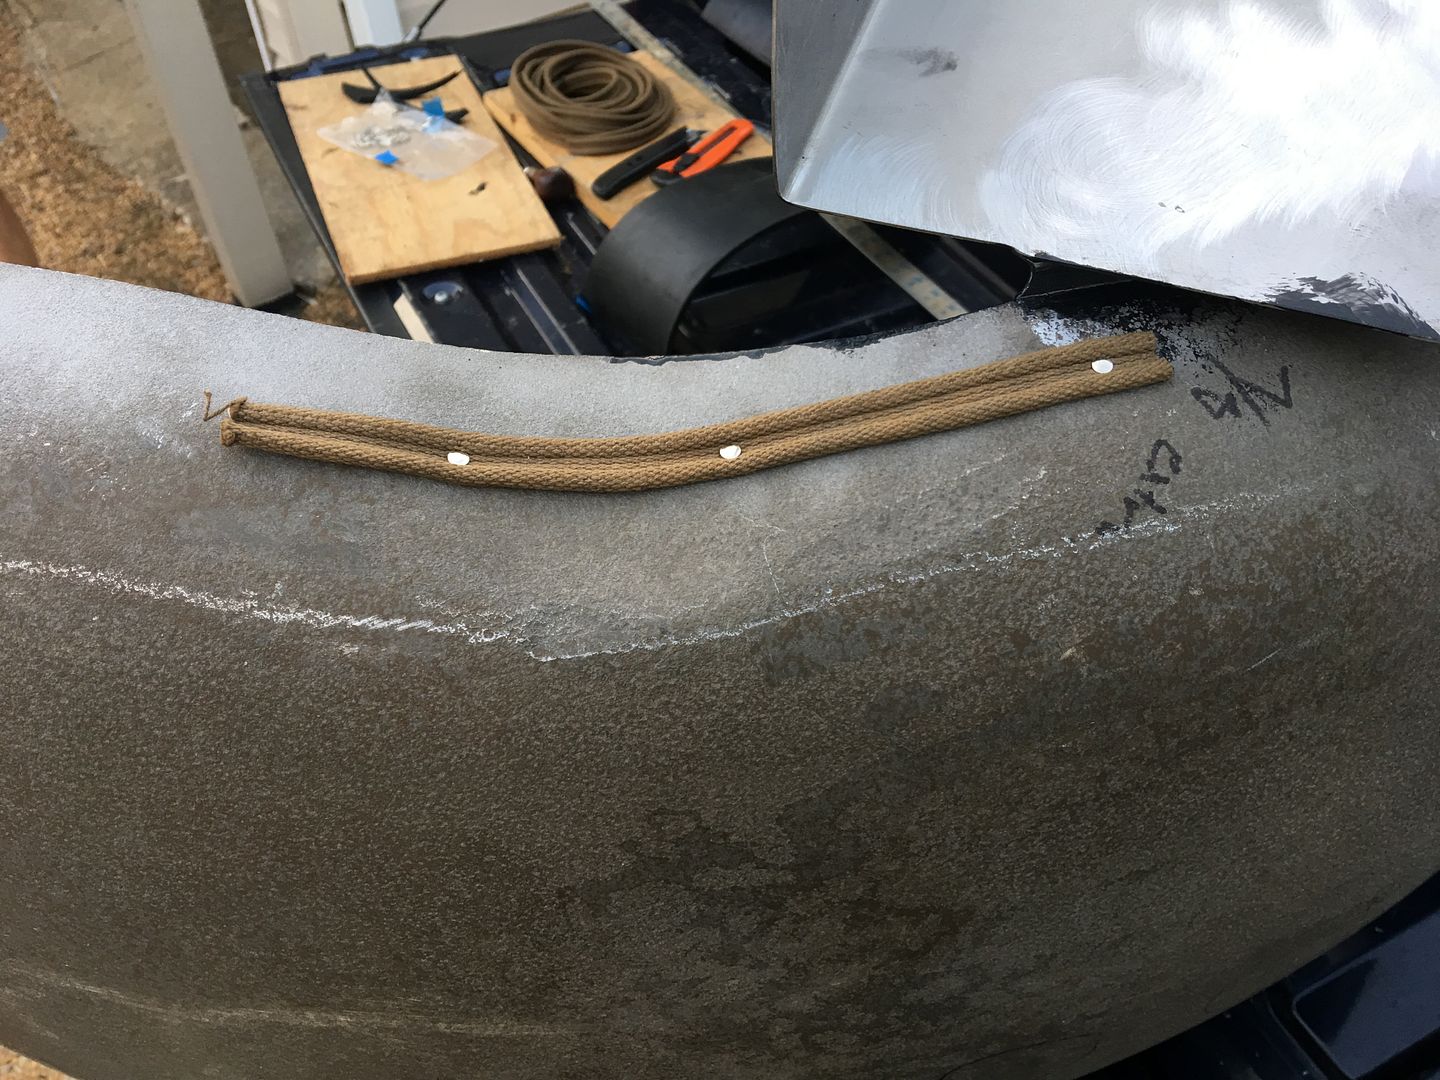
With the fenders all one piece again, we took them to John's shop for re-assembly. First order of business is to add some welting to the fender area adjacent to the cab's lower cowl area...
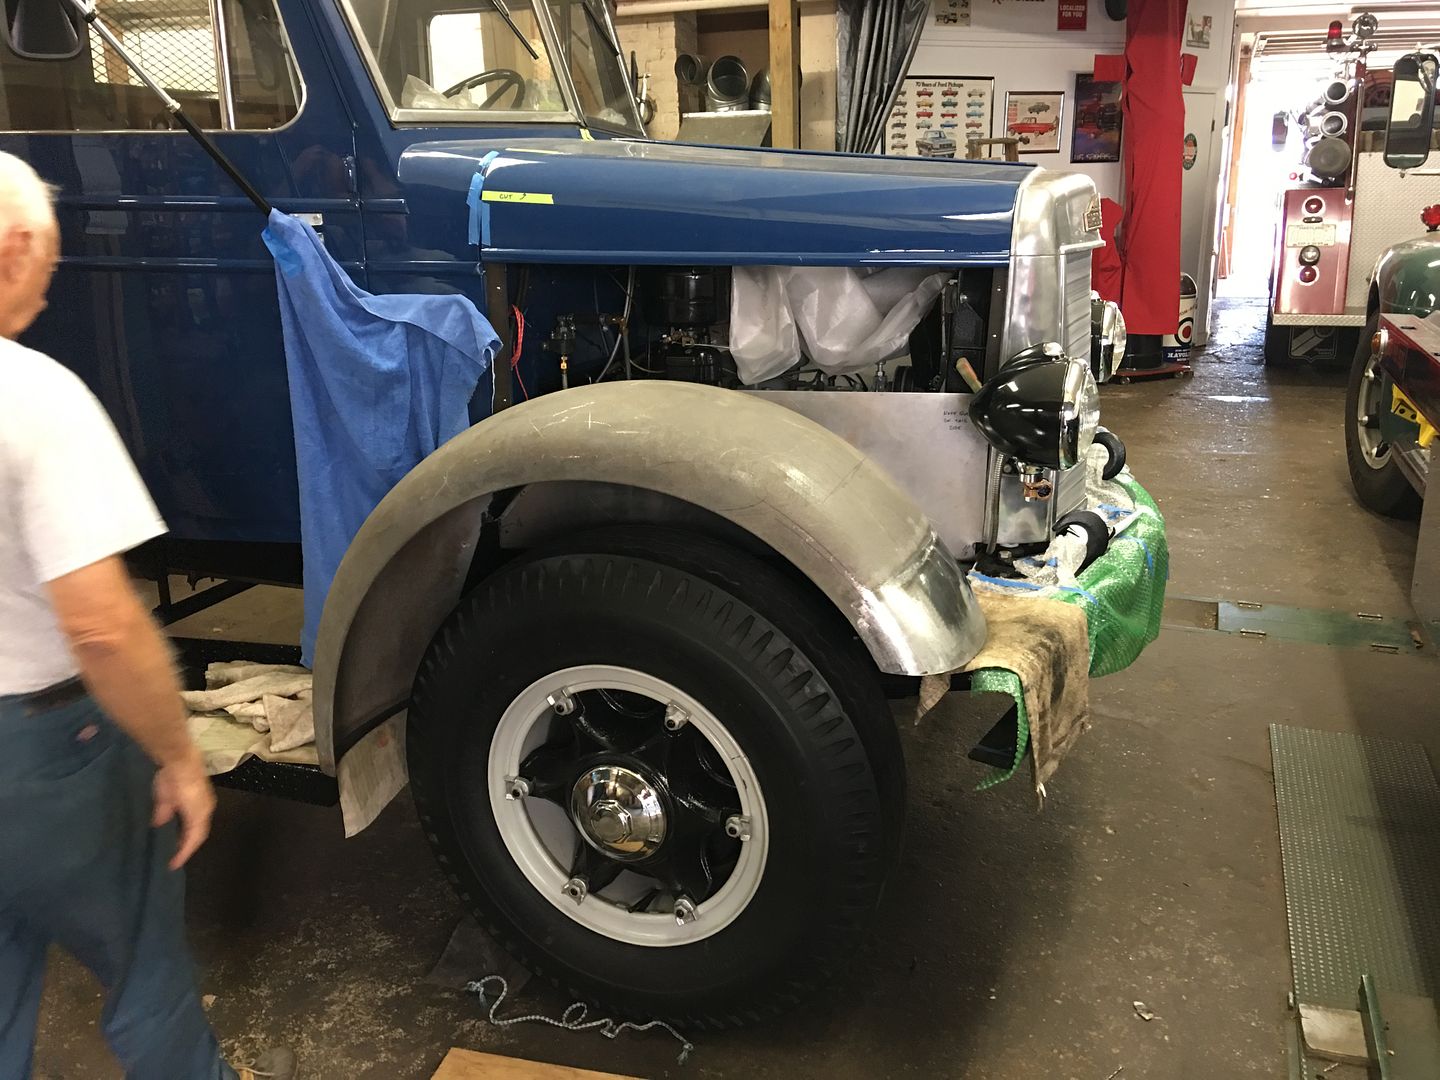
..then bolted up the fenders and battery tray.. This should give John a head start on the finishing touches tomorrow before loading it up for the Macungie Truck show.
Comment
-
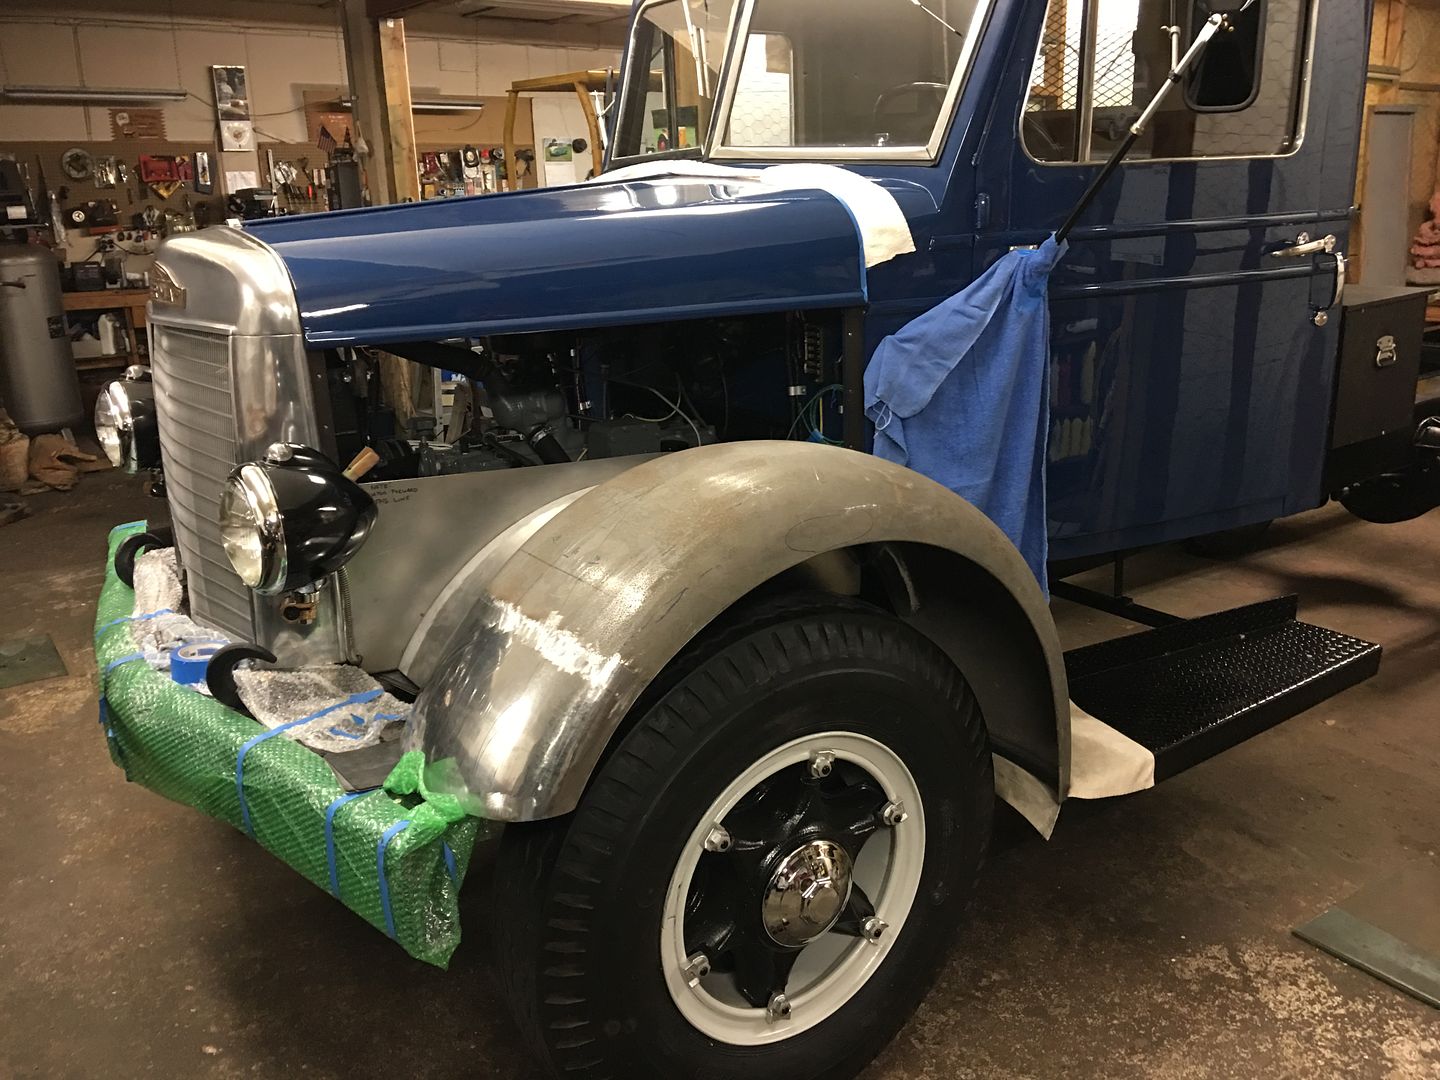
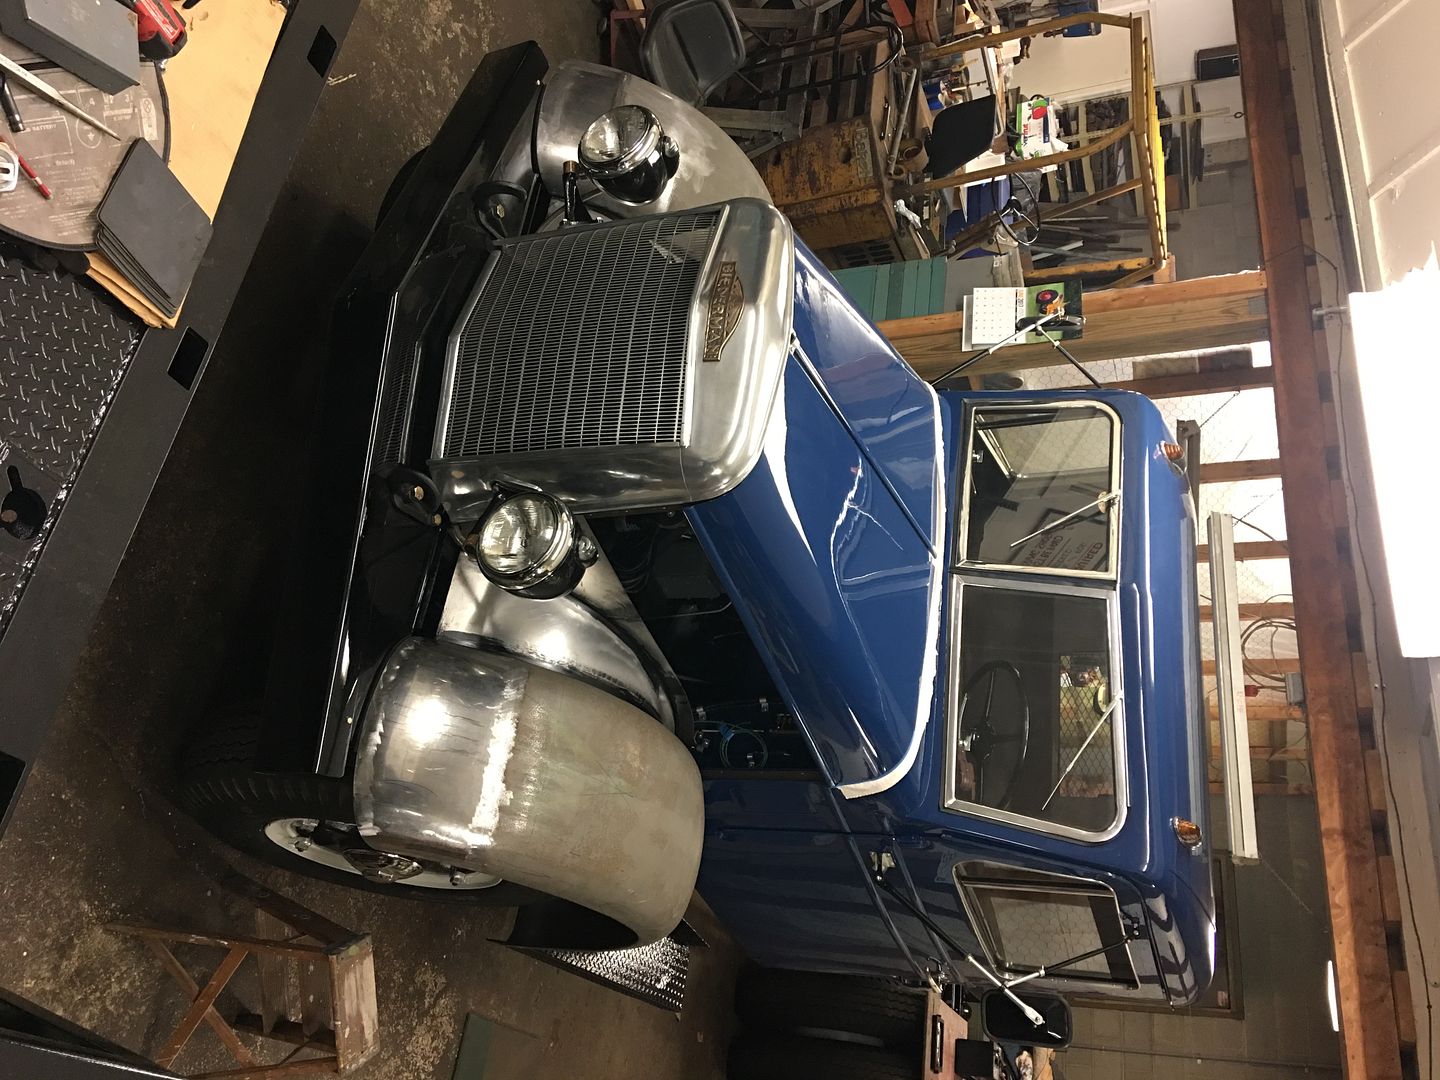
John got the Biederman out into the sunshine Wednesday after a long hibernation, getting it ready to take to the truck show in Macungie PA.

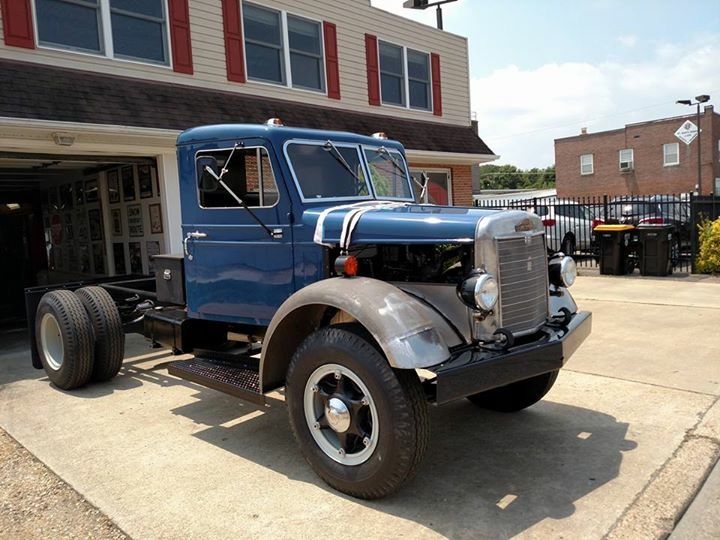
Loaded up and ready to go....
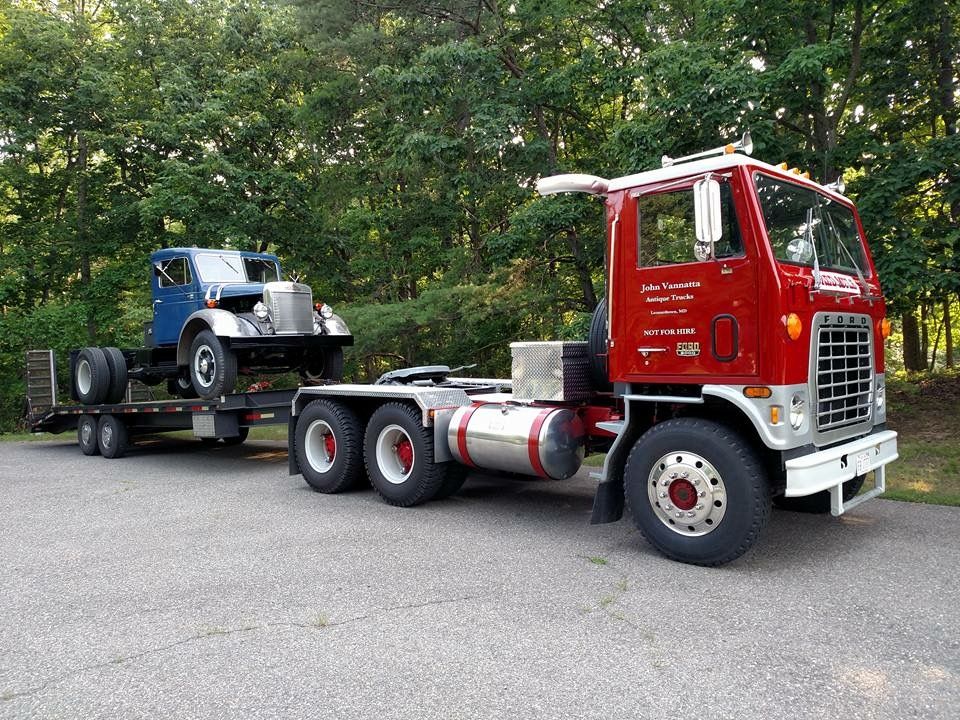
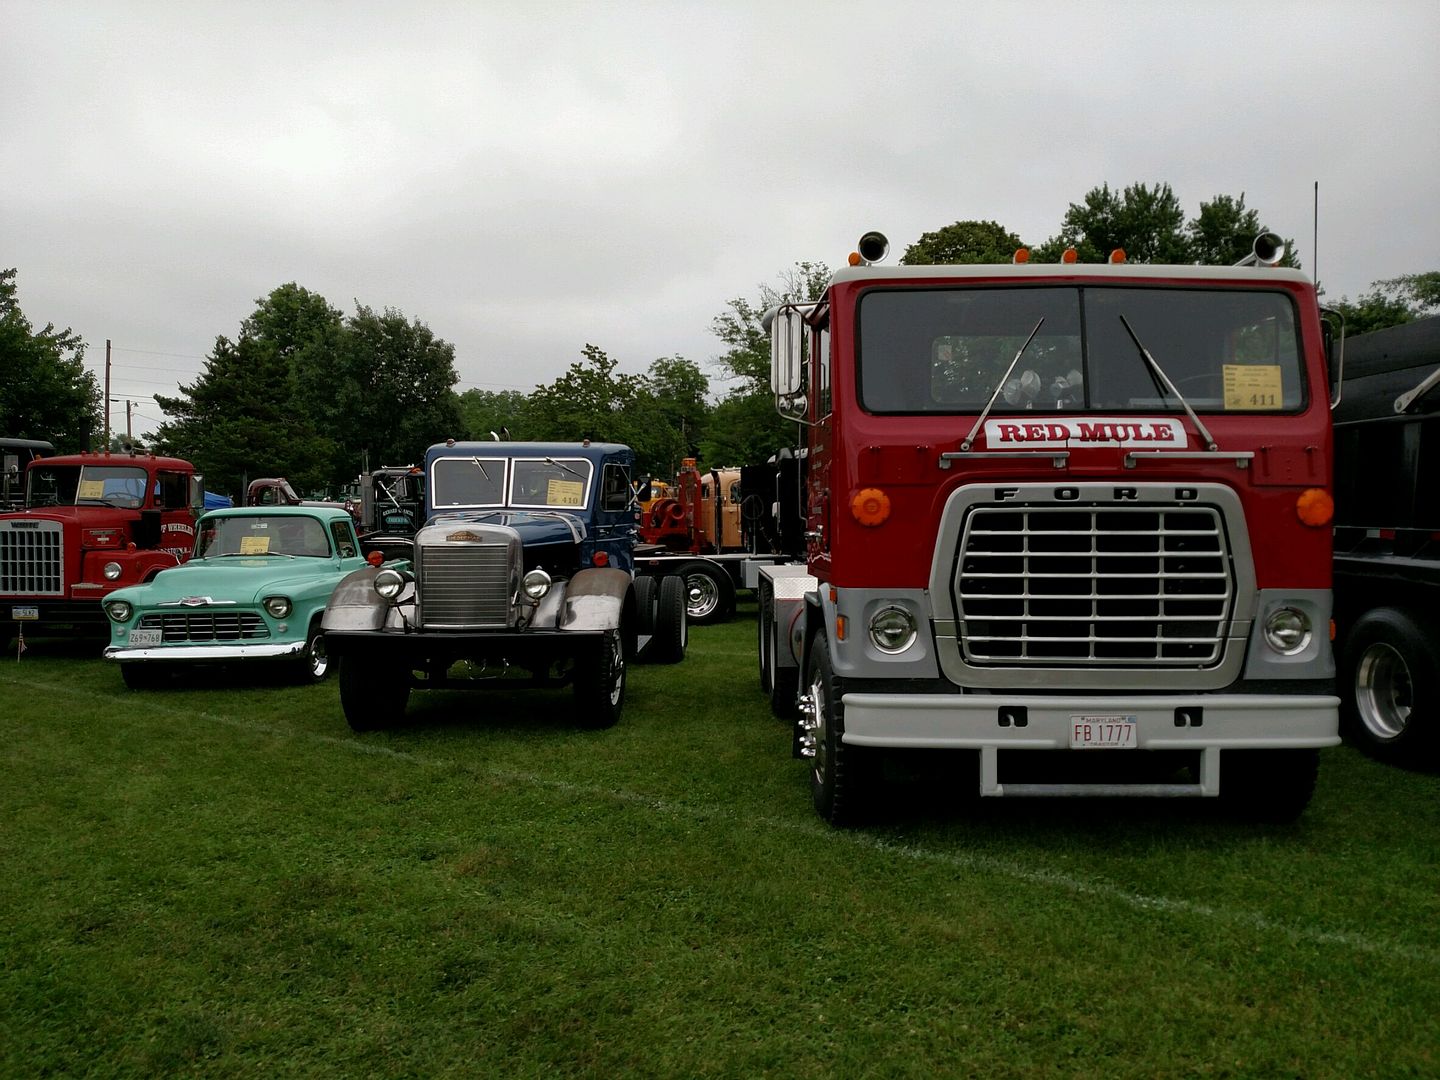
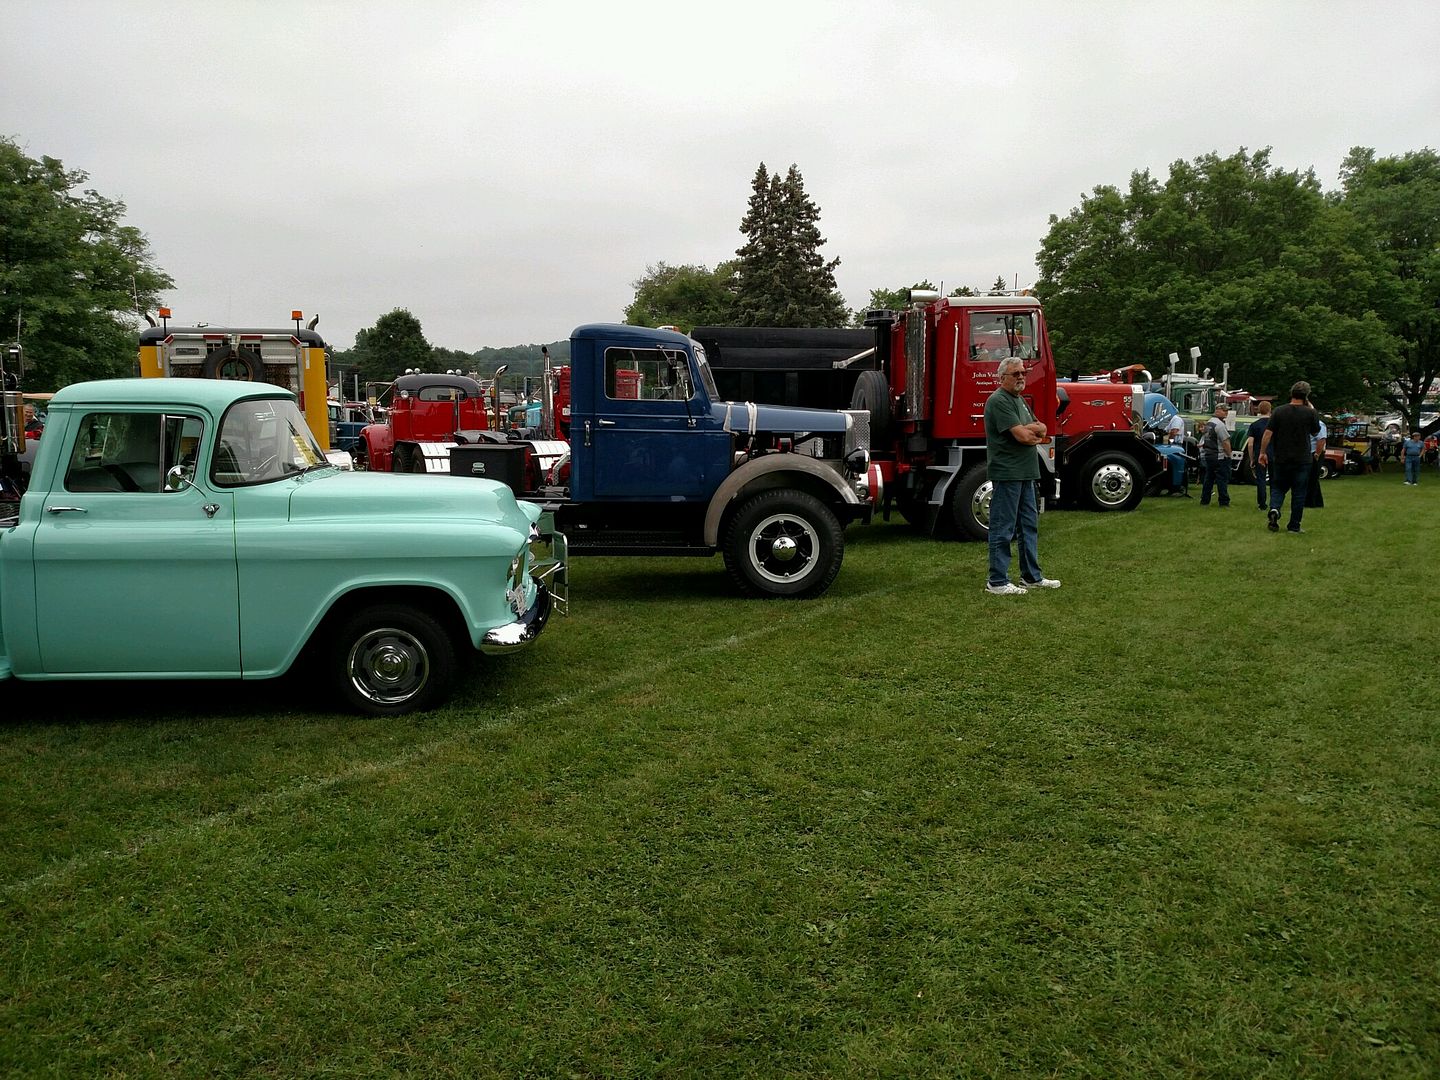
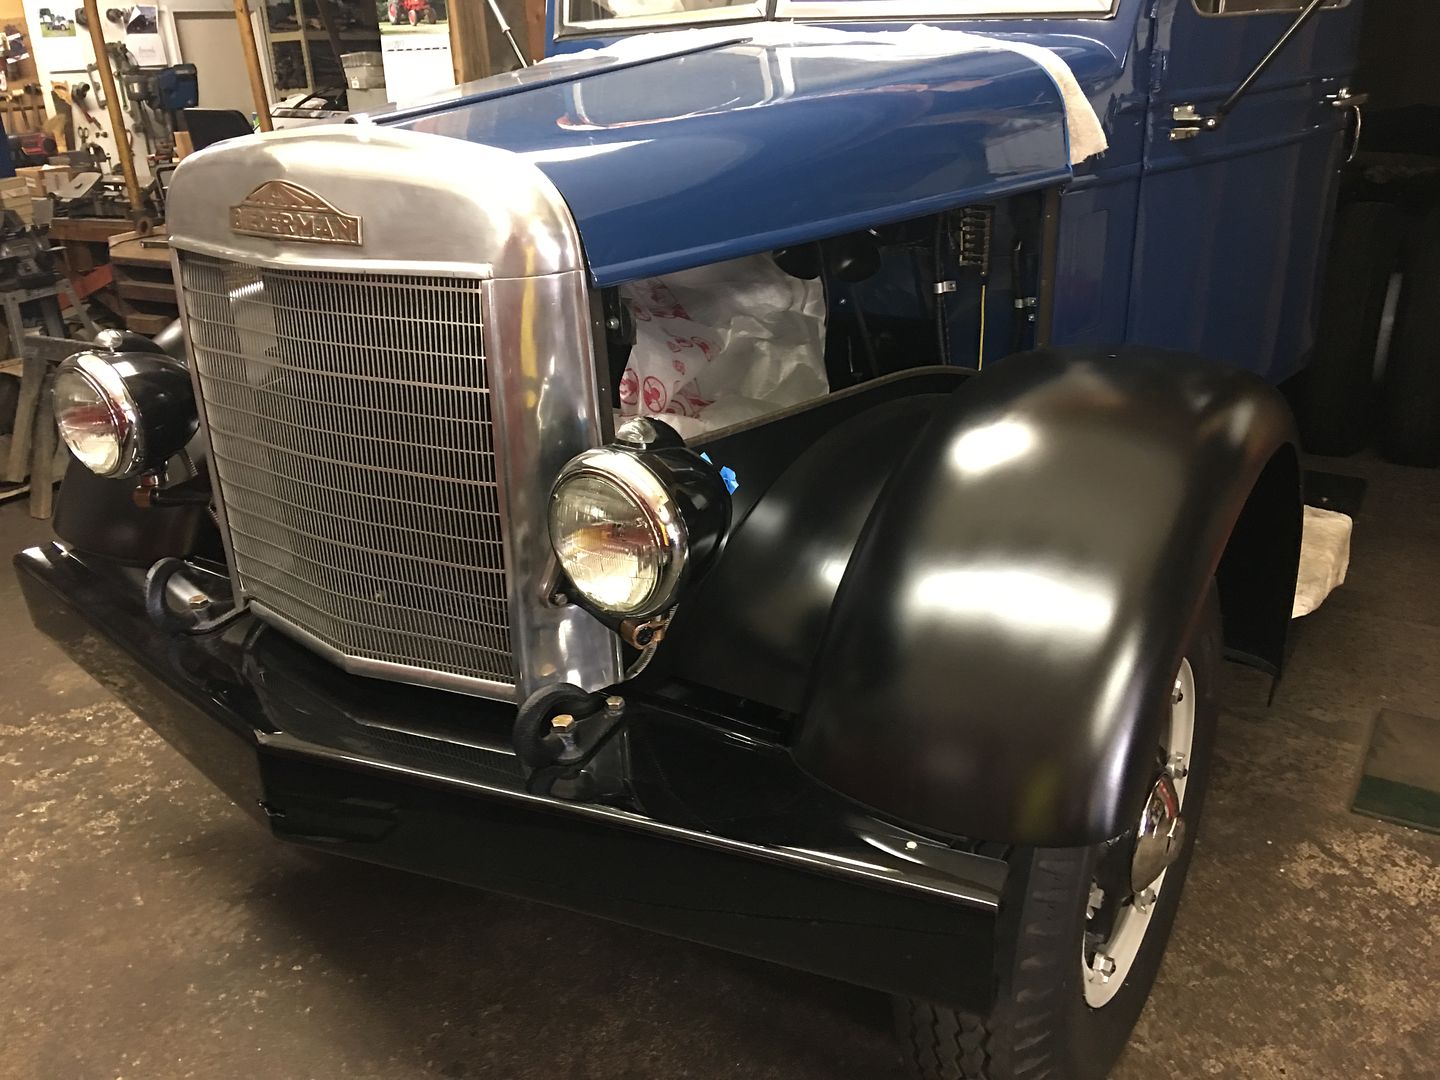
Today's pictures from the show, the Biederman makes its debut. Still needs a bit more paint on the front end, but John said he's had a ton of interest in the truck and the bodywork Guess I should have sent him up with business cards.
Comment
-
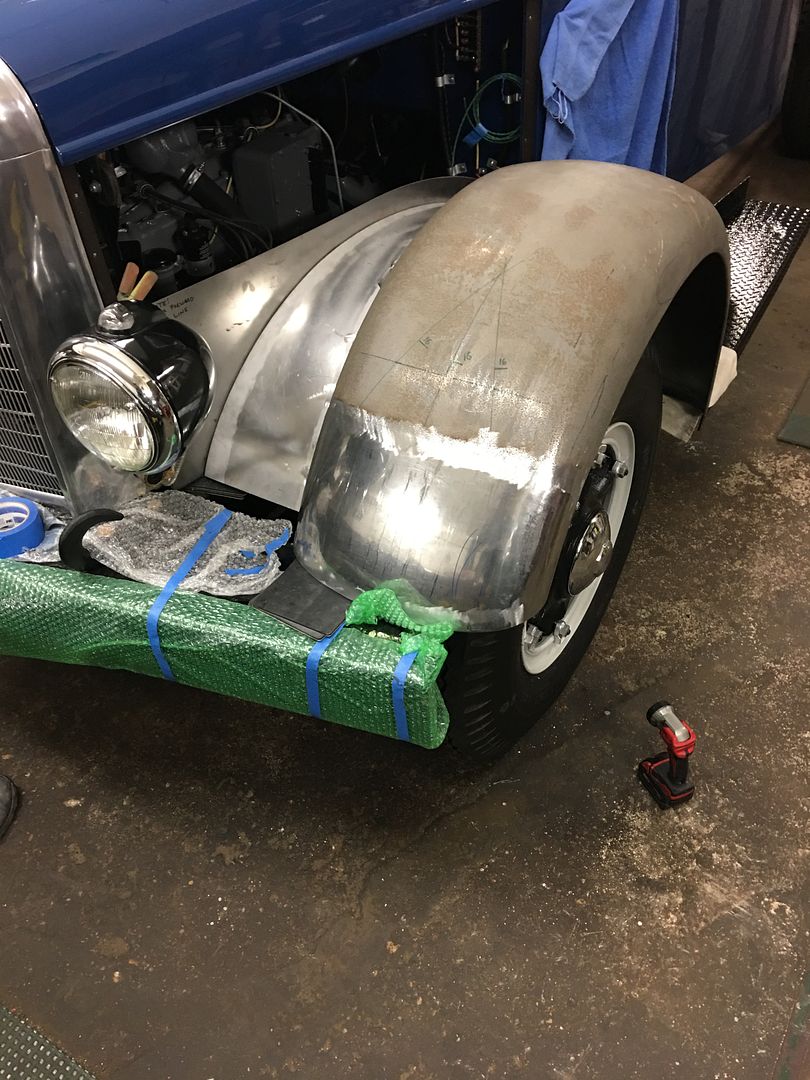
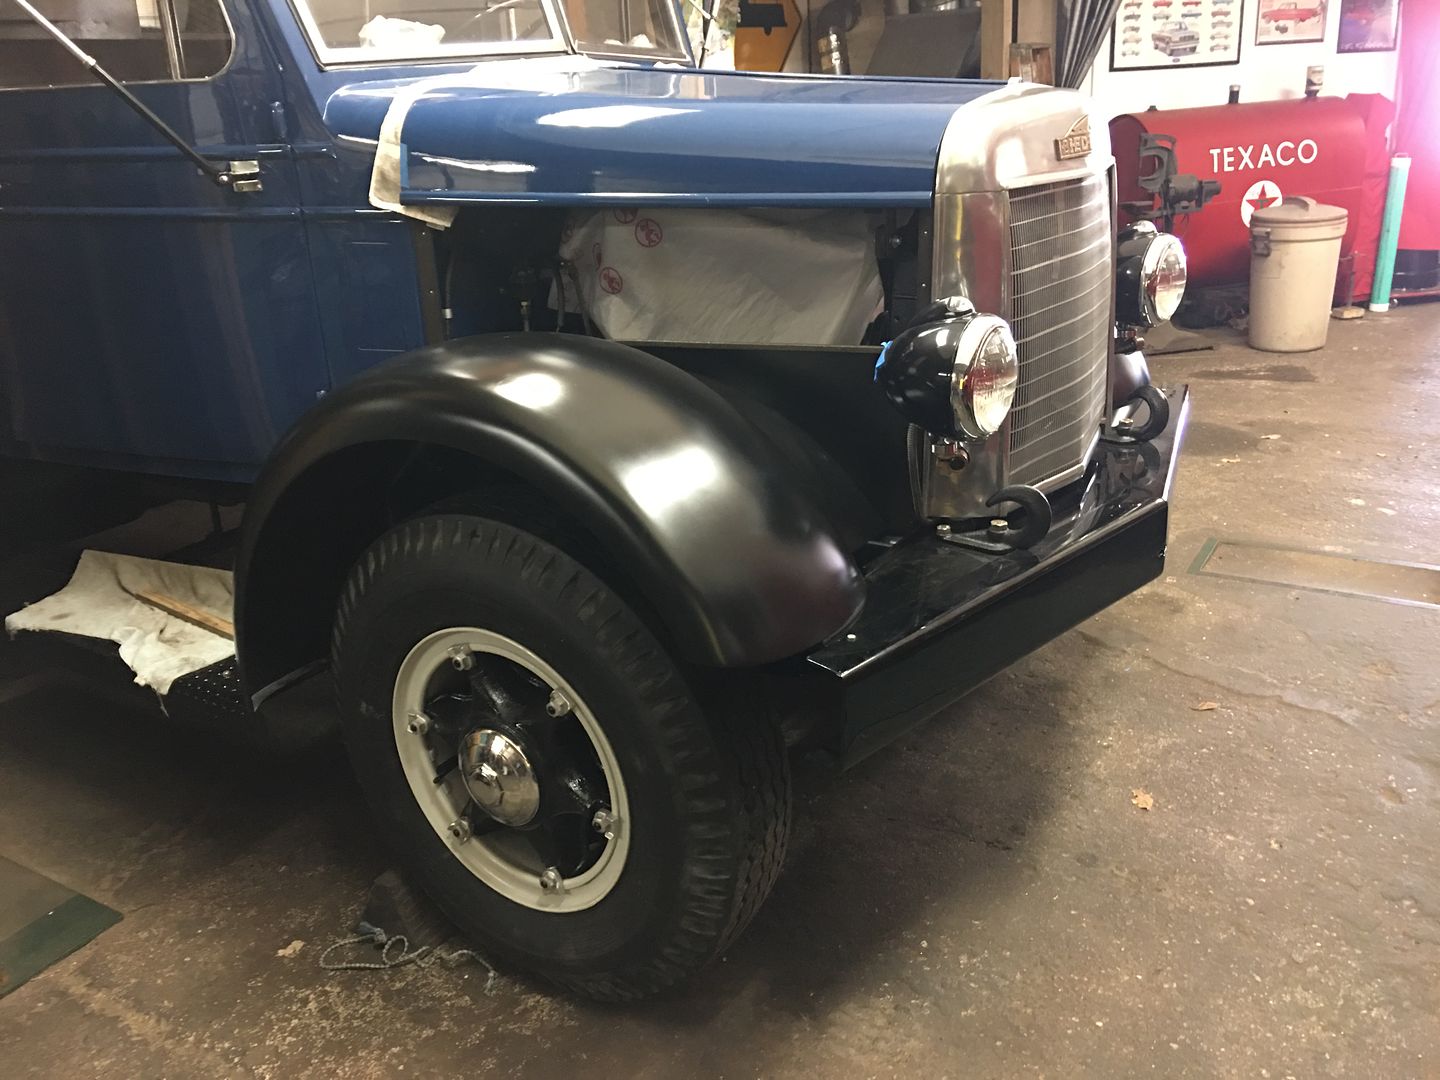
Stopped by John's shop today, he had dropped off the front fenders to his painter after the Macungie show for media blasting and a epoxy primer to protect them until we can get the hood resolved. Then he'll get all the new parts painted blue at one time...
Here's the newly installed fenders with an epoxy finish..
Comment
-
That is the finest looking Biederman truck I've ever seen. Of course, it's also the ONLY Biederman truck I've ever seen. As always, your work is amazing.
DanComment


Comment