Announcement

Collapse
No announcement yet.

55 Wagon Progress

Collapse
X
 
  • Filter
  • Time
  • Show
Clear All
new posts

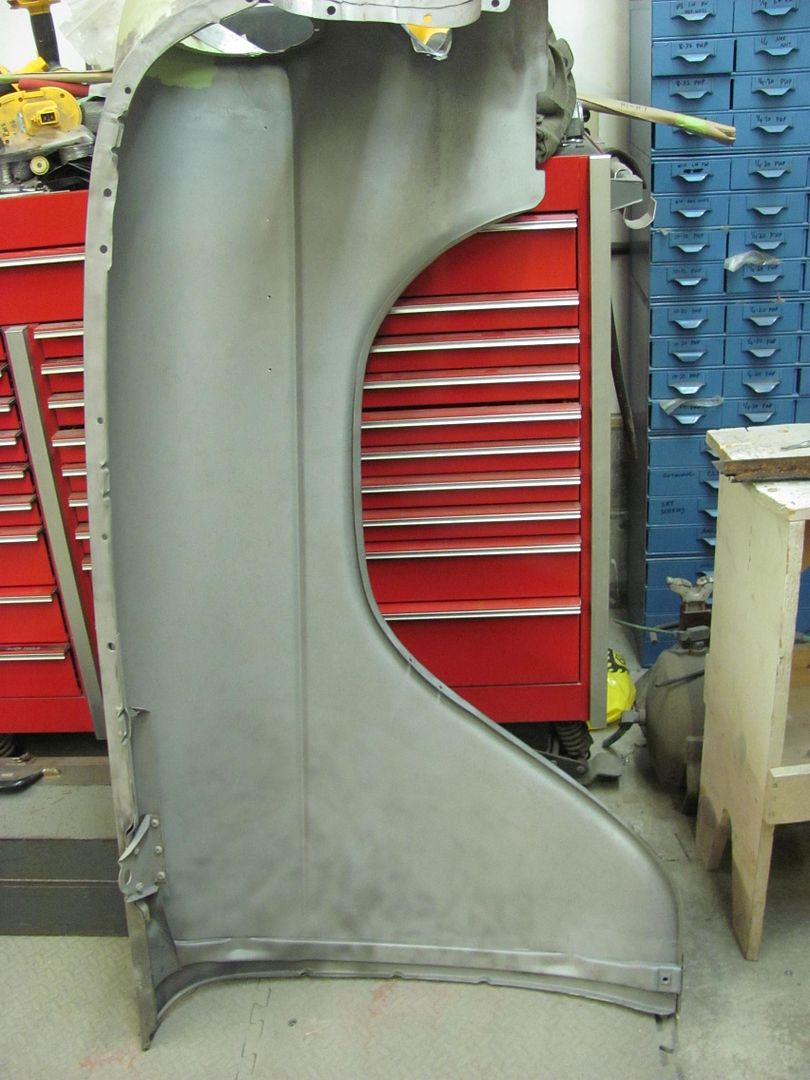
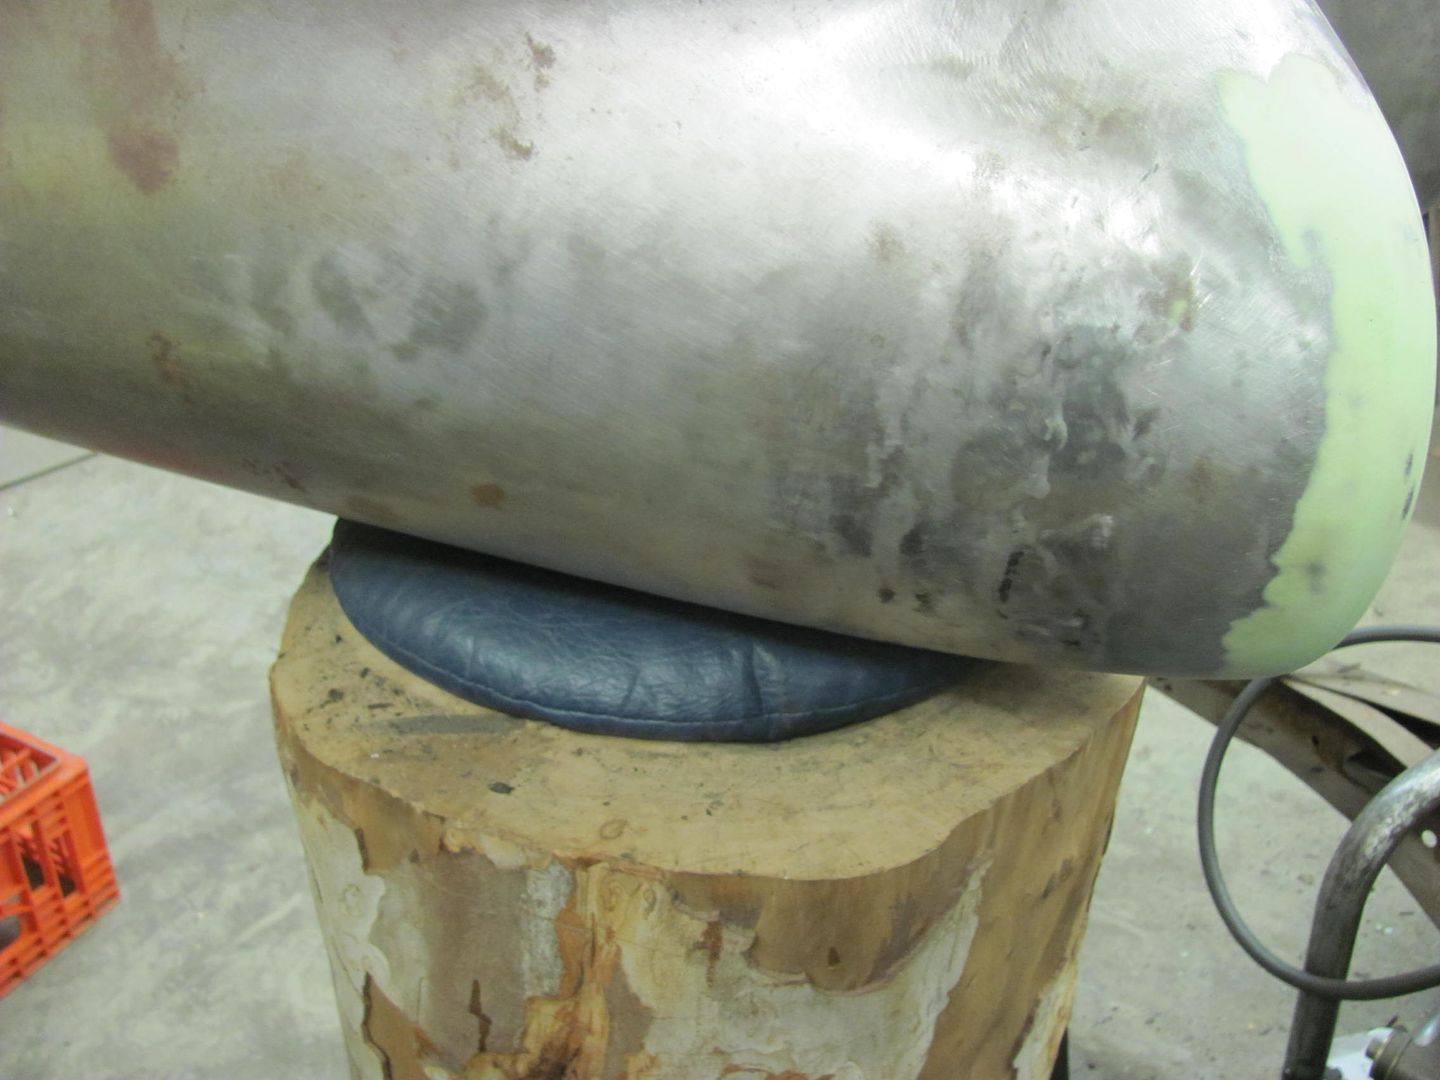
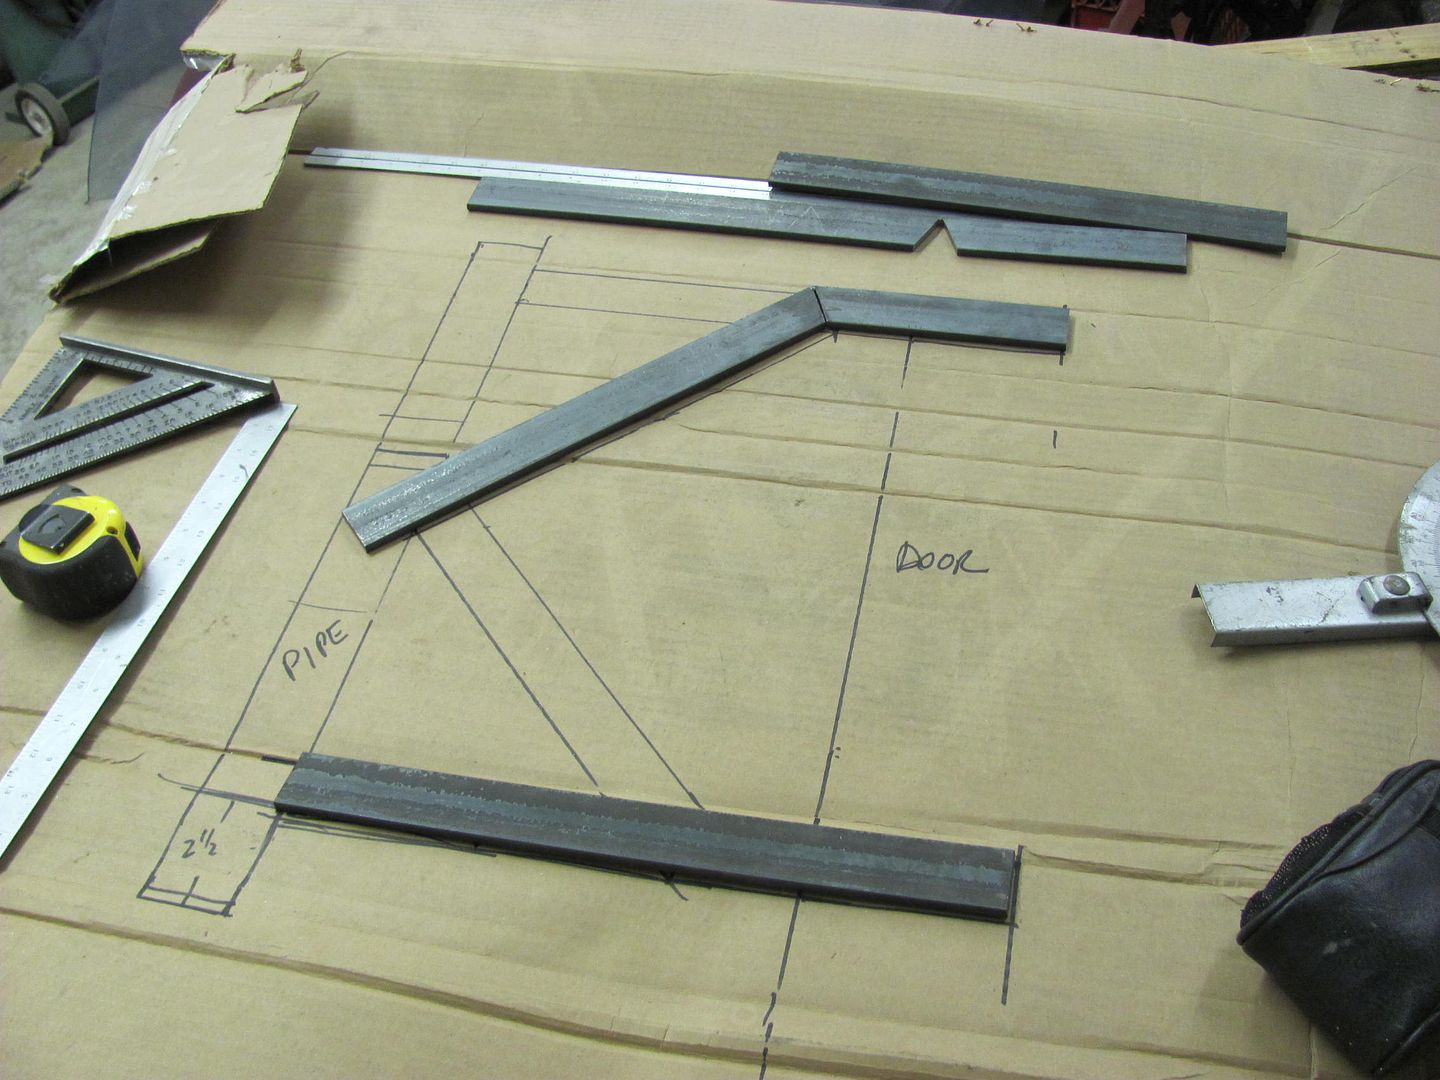
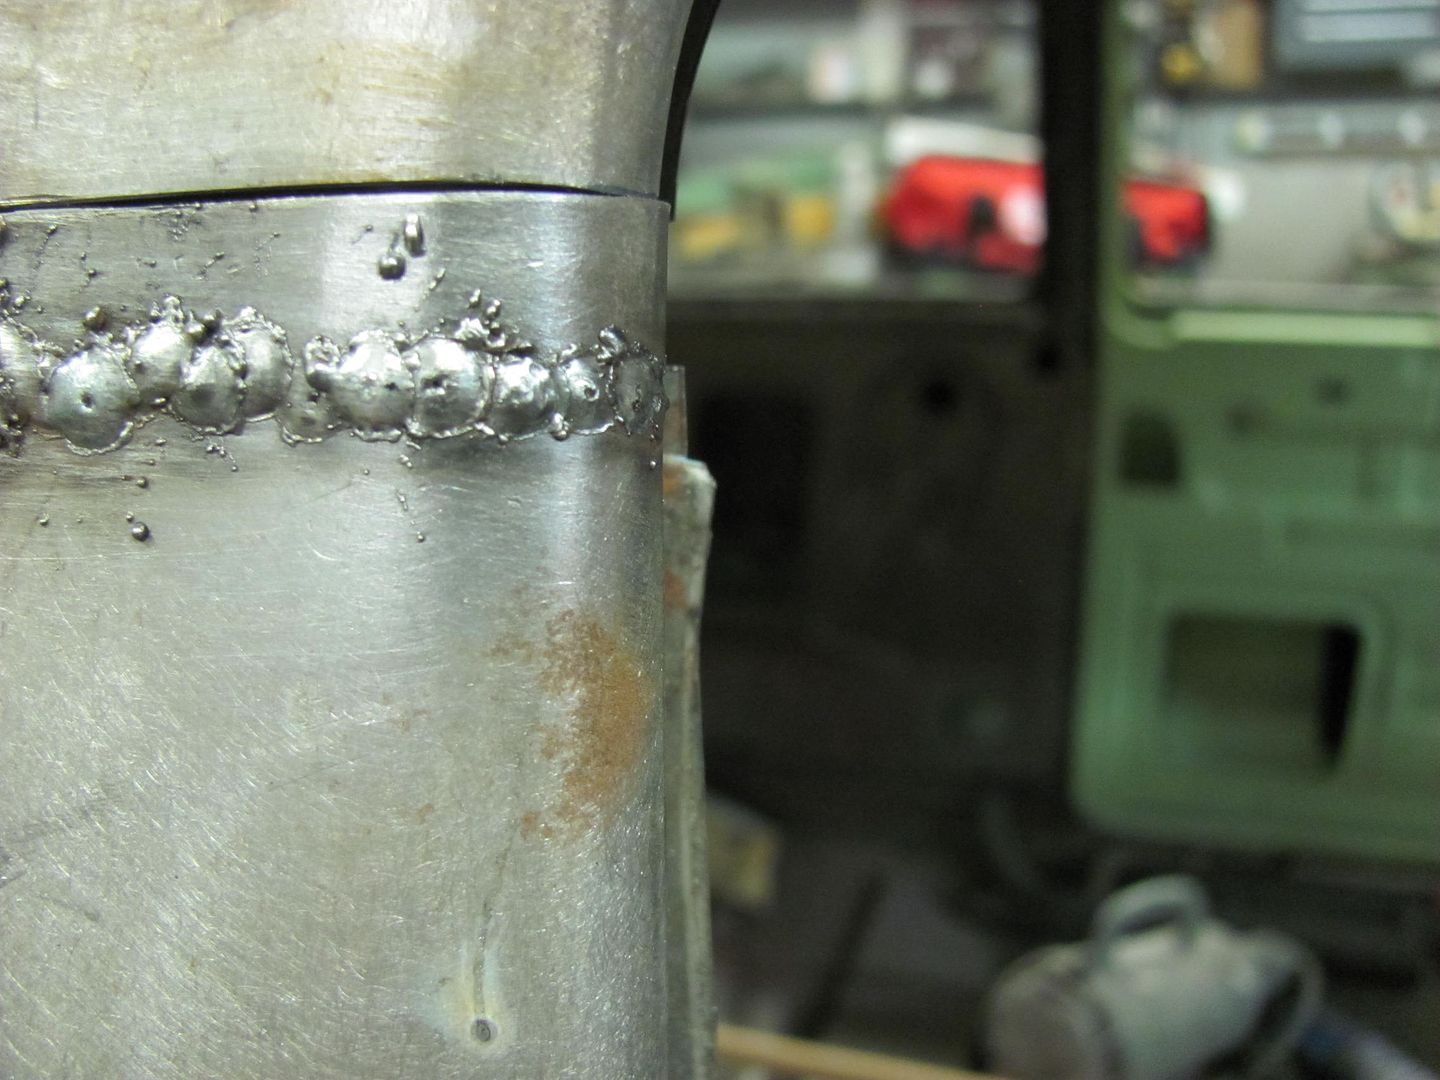
  • While Kyle continued media blasting fenders, I worked on closed up a gaping hole....


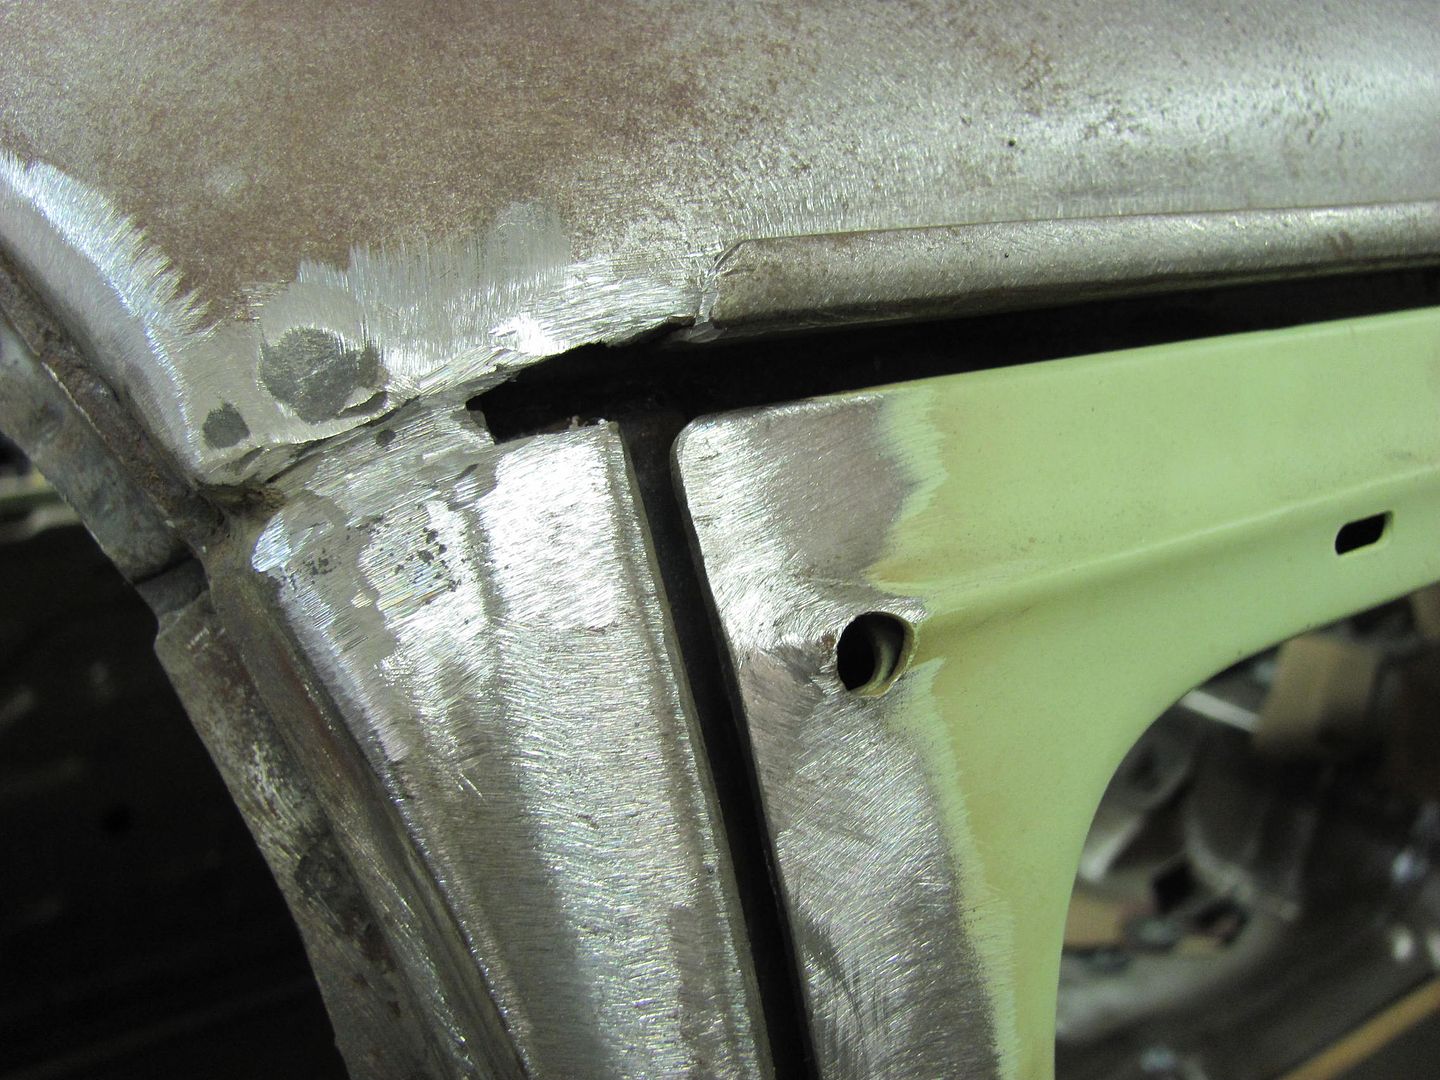
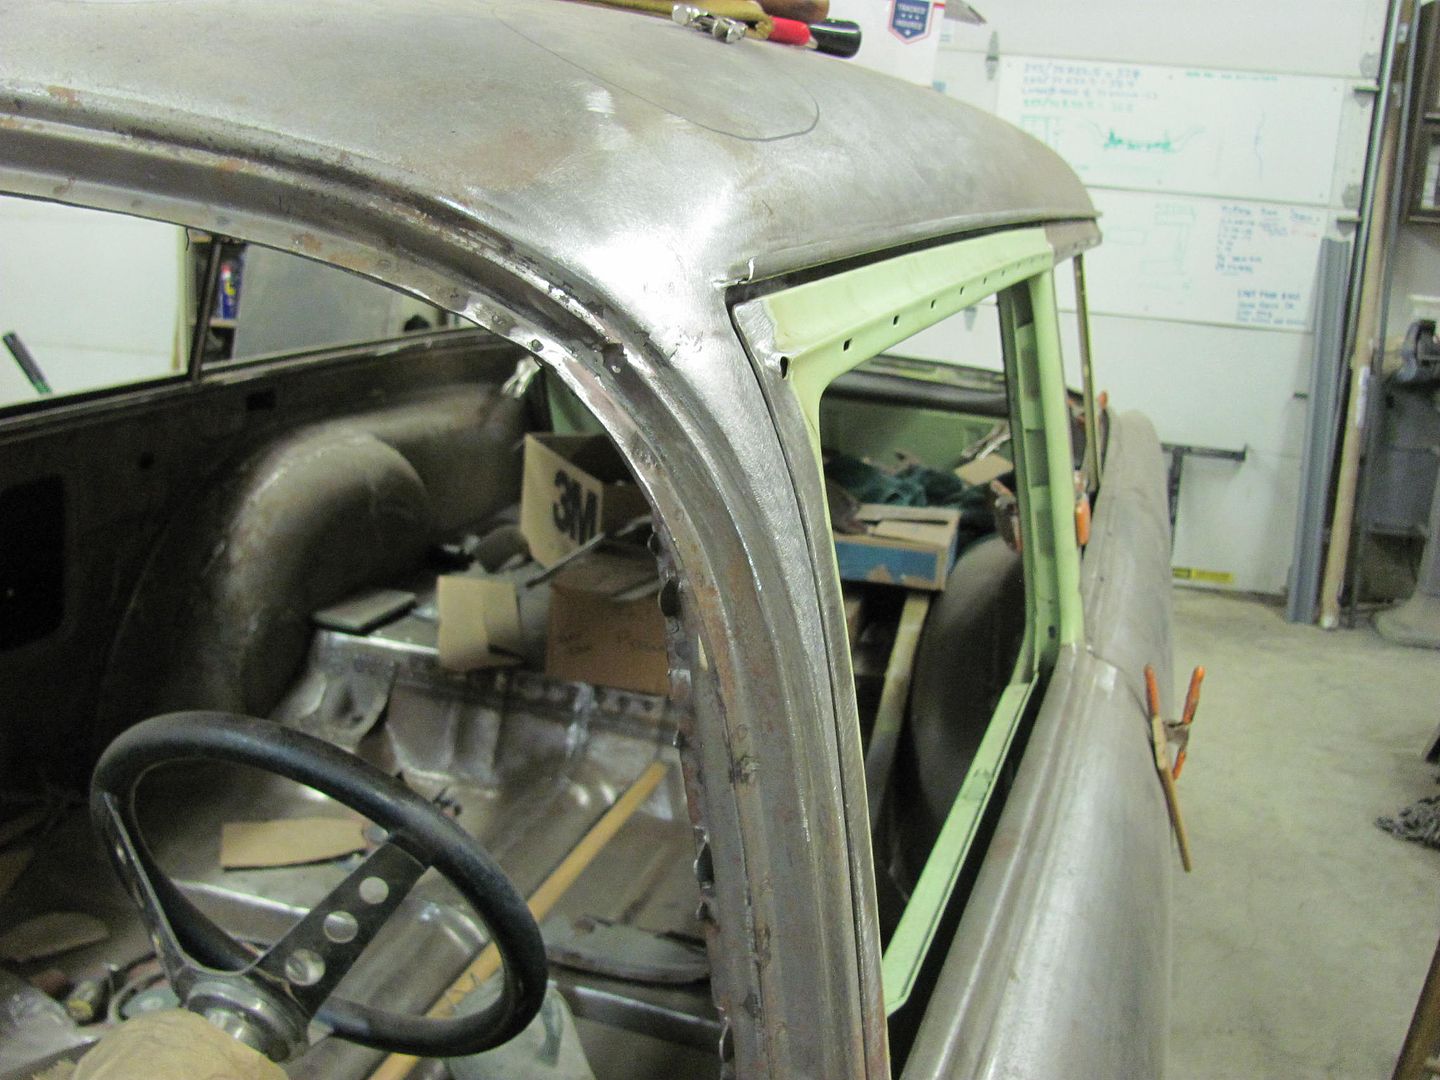
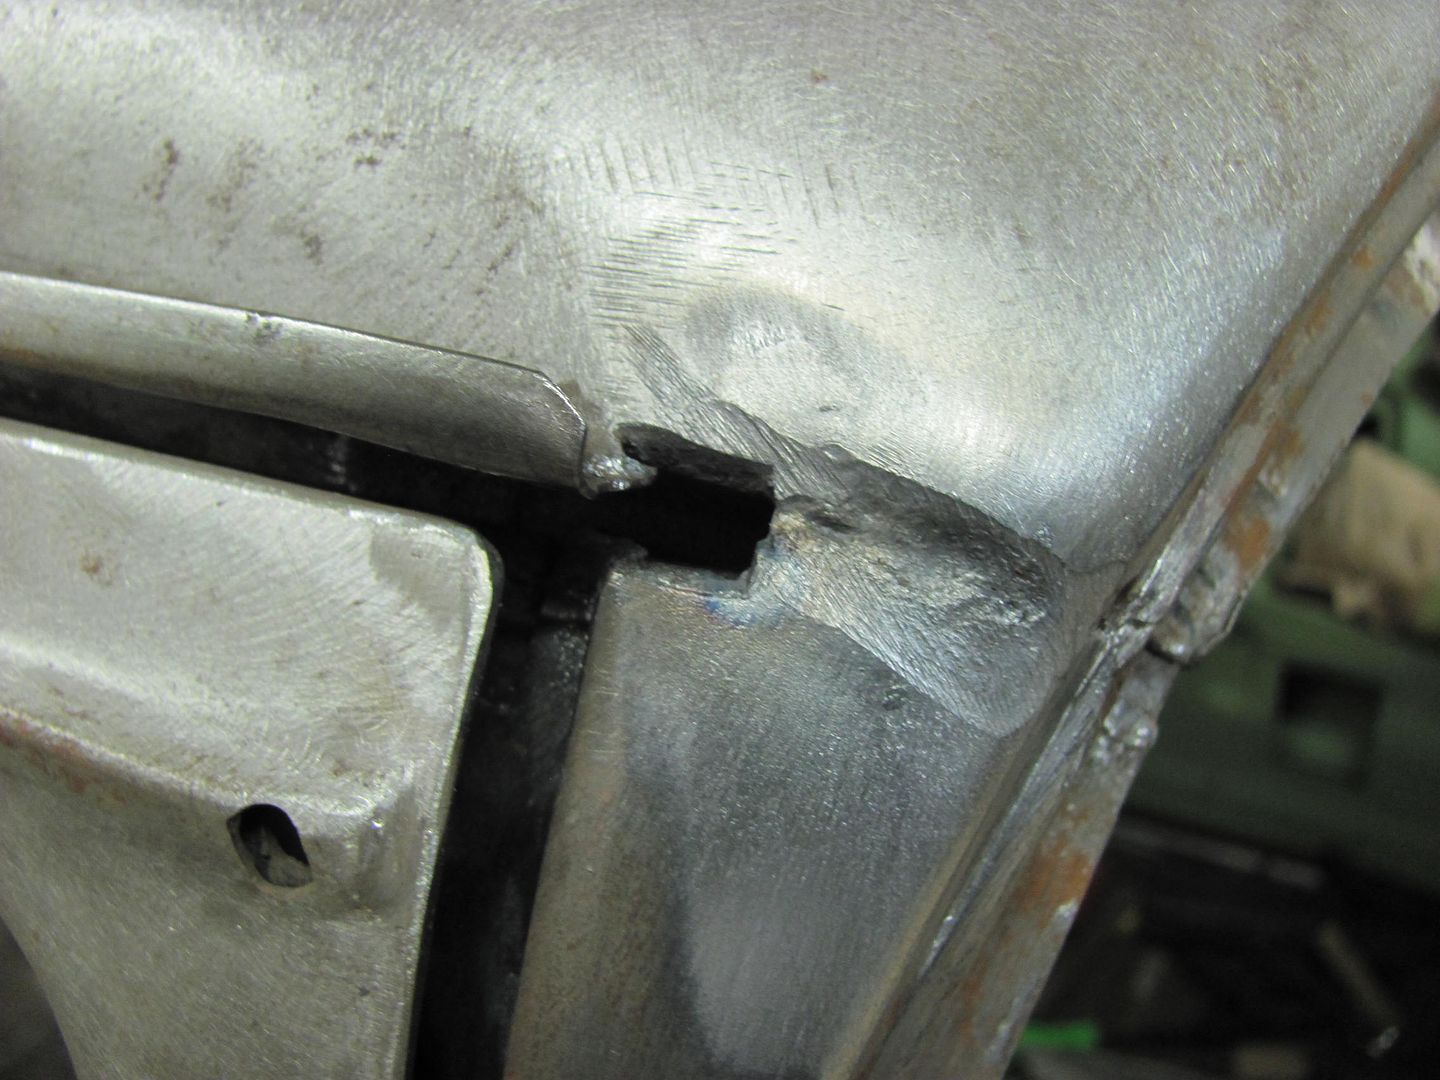
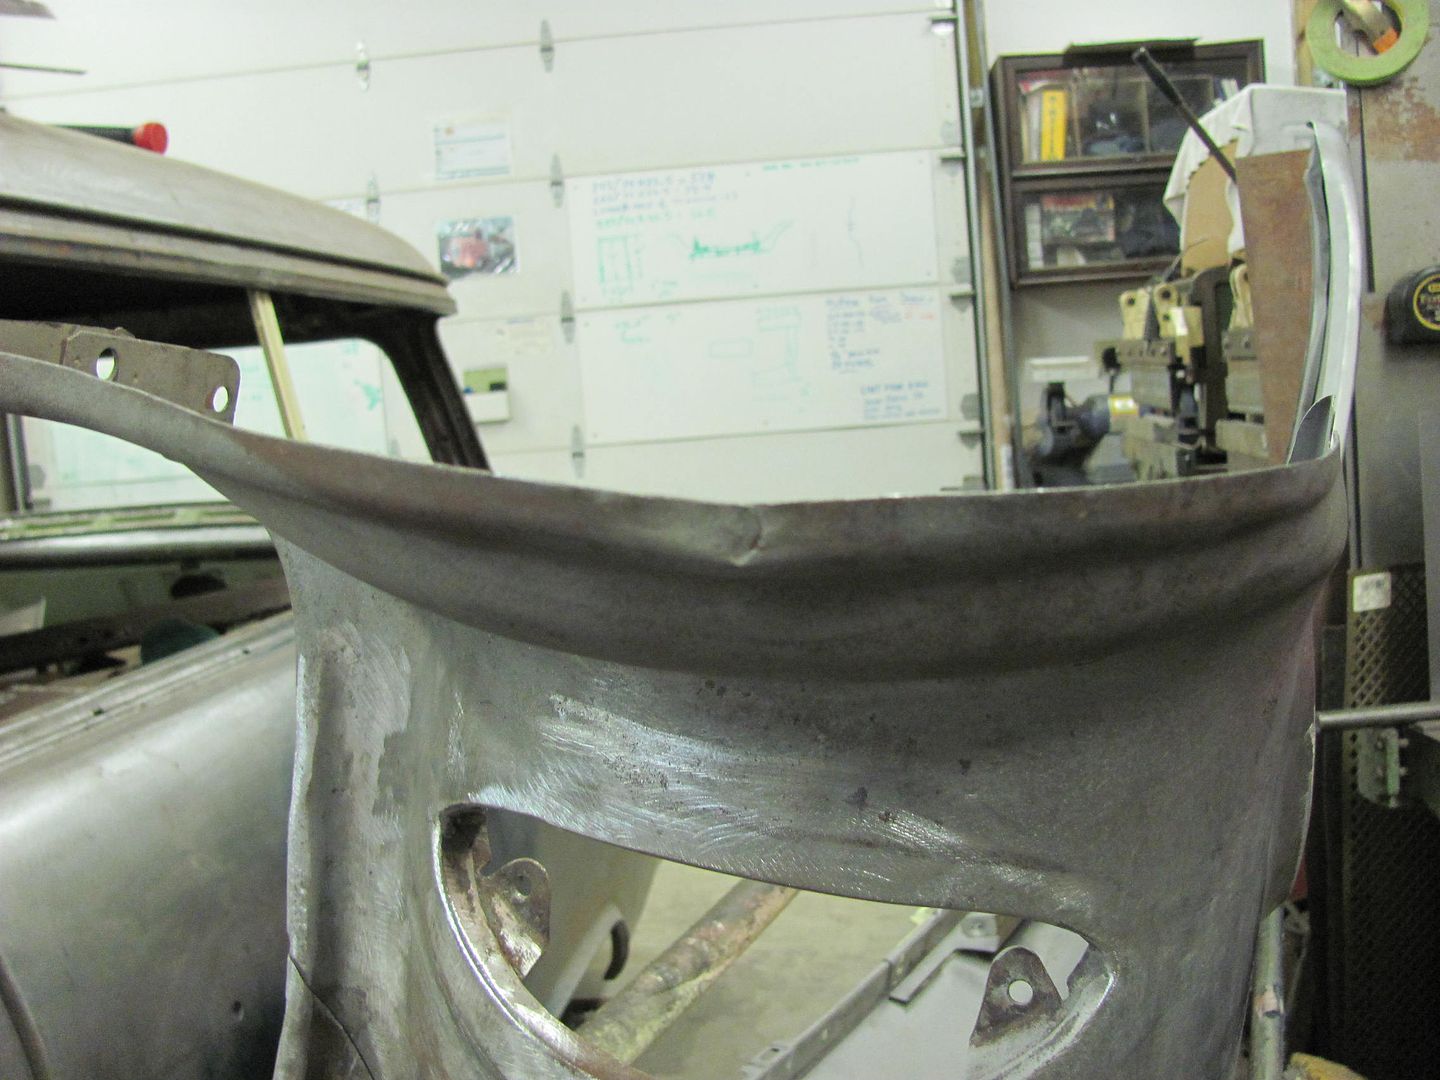
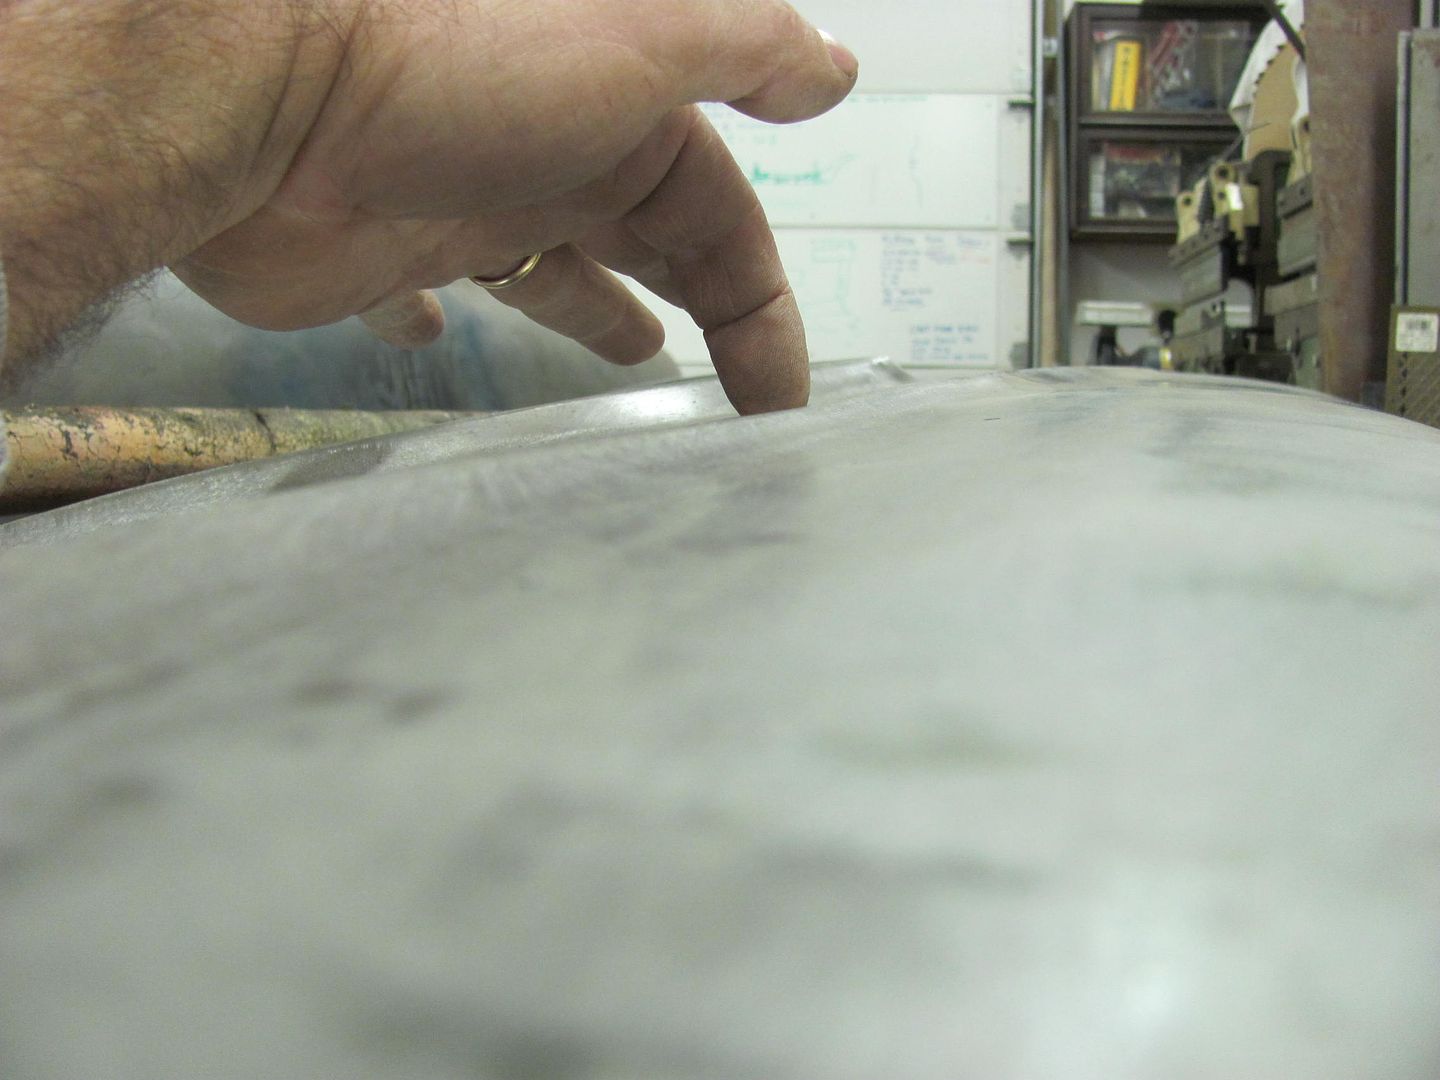
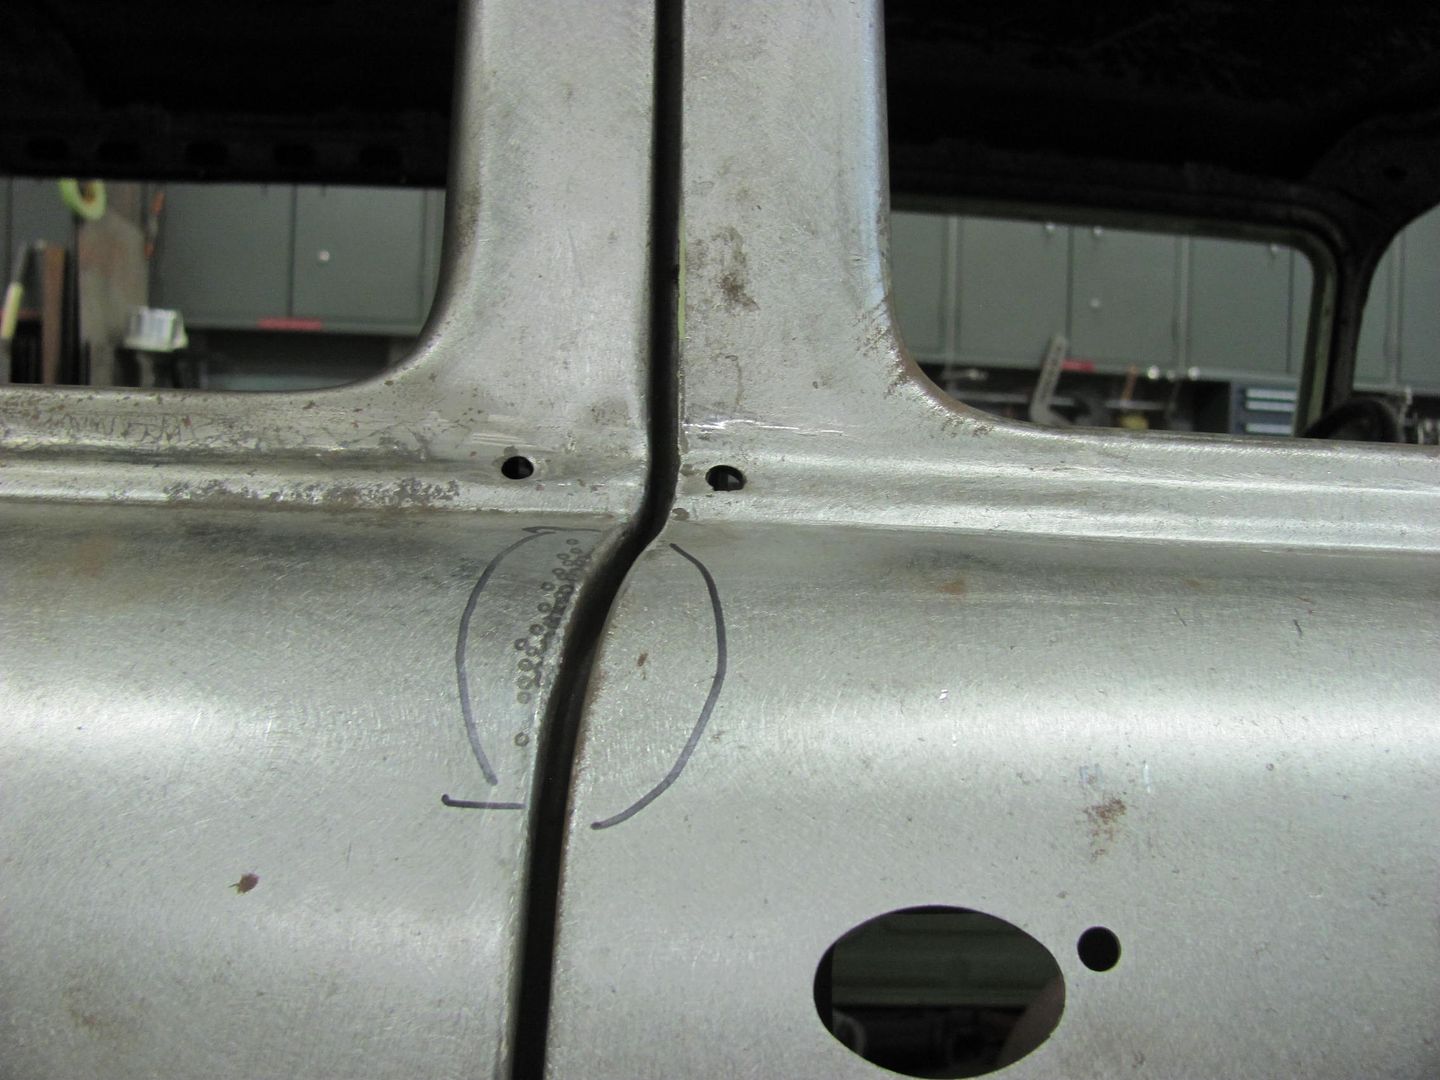
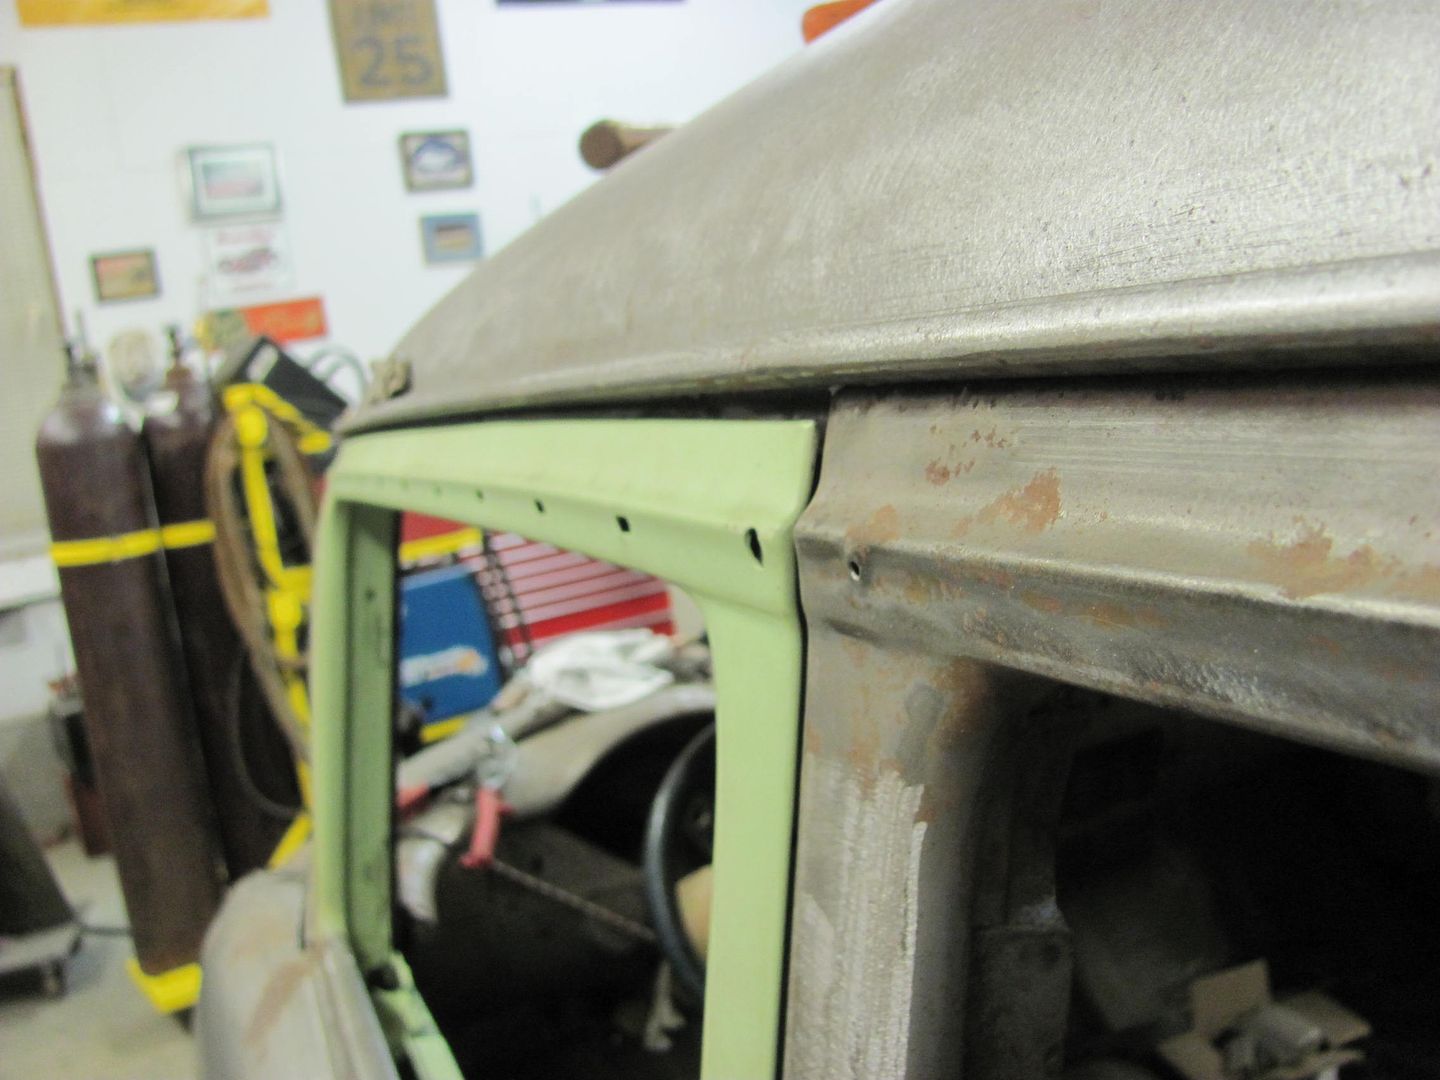
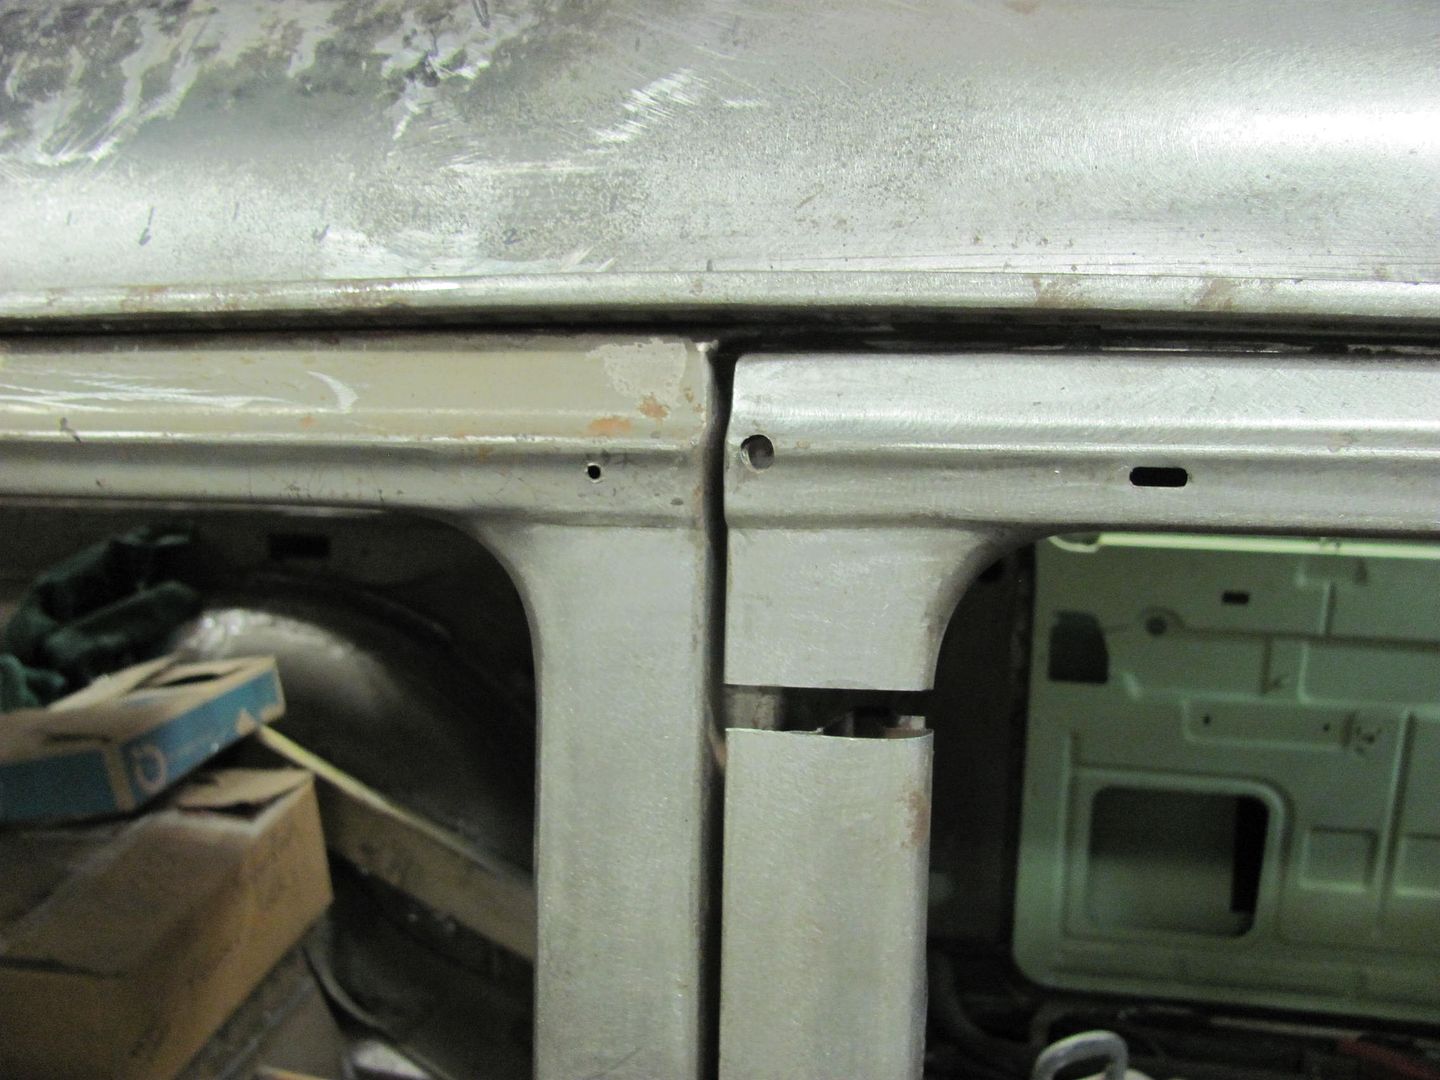
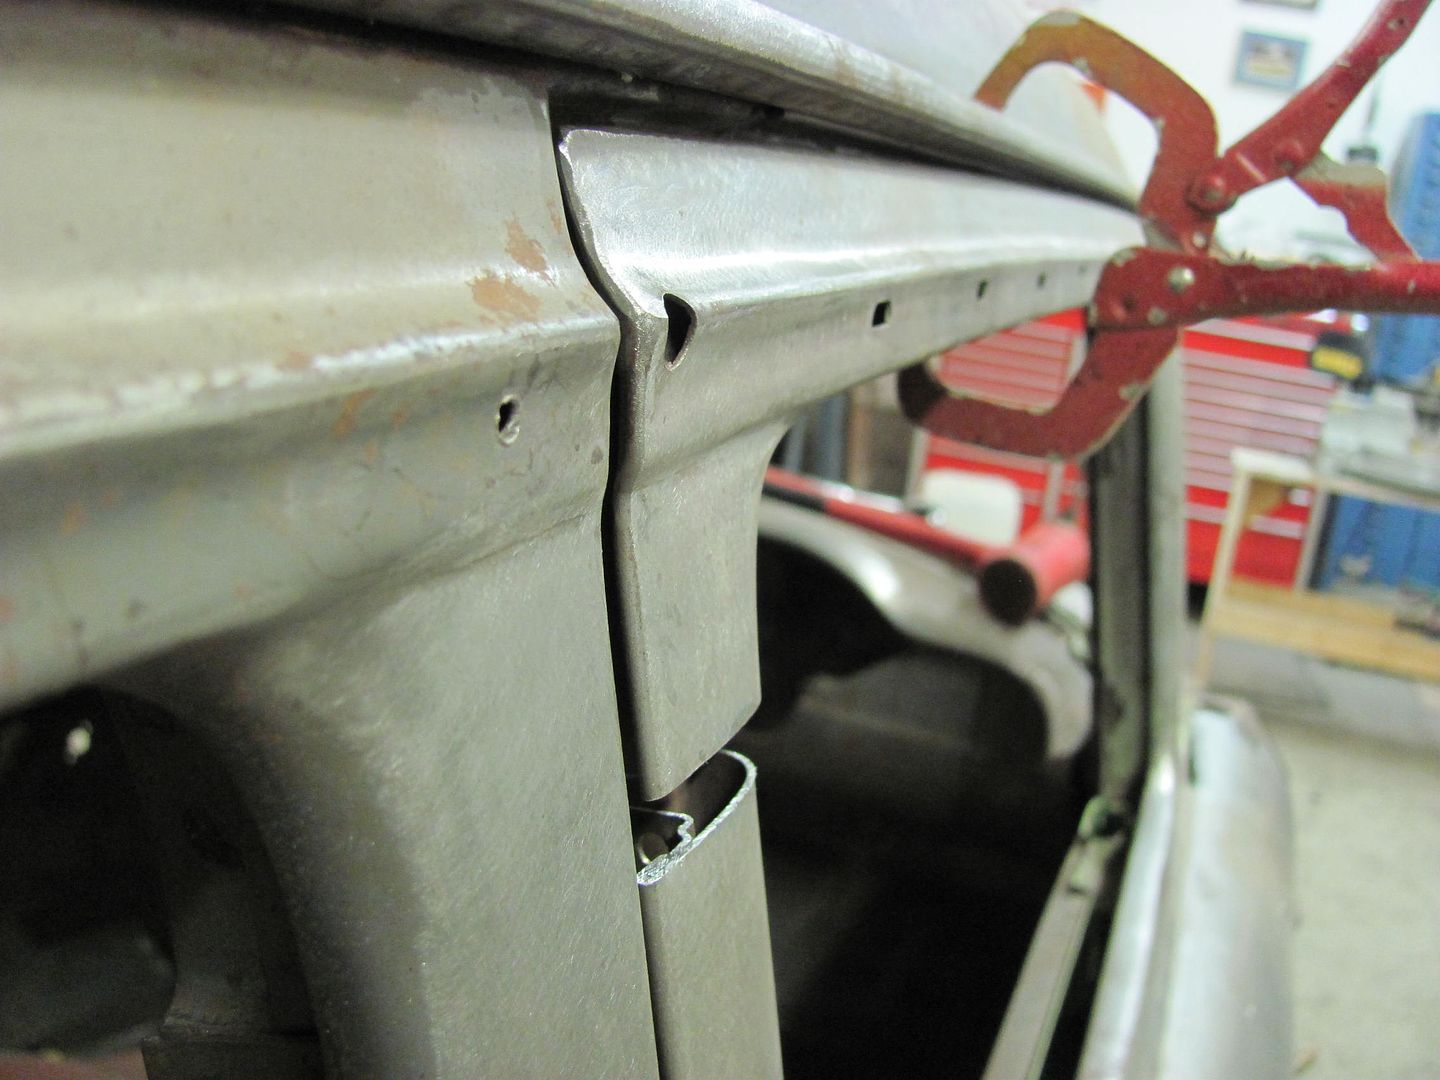
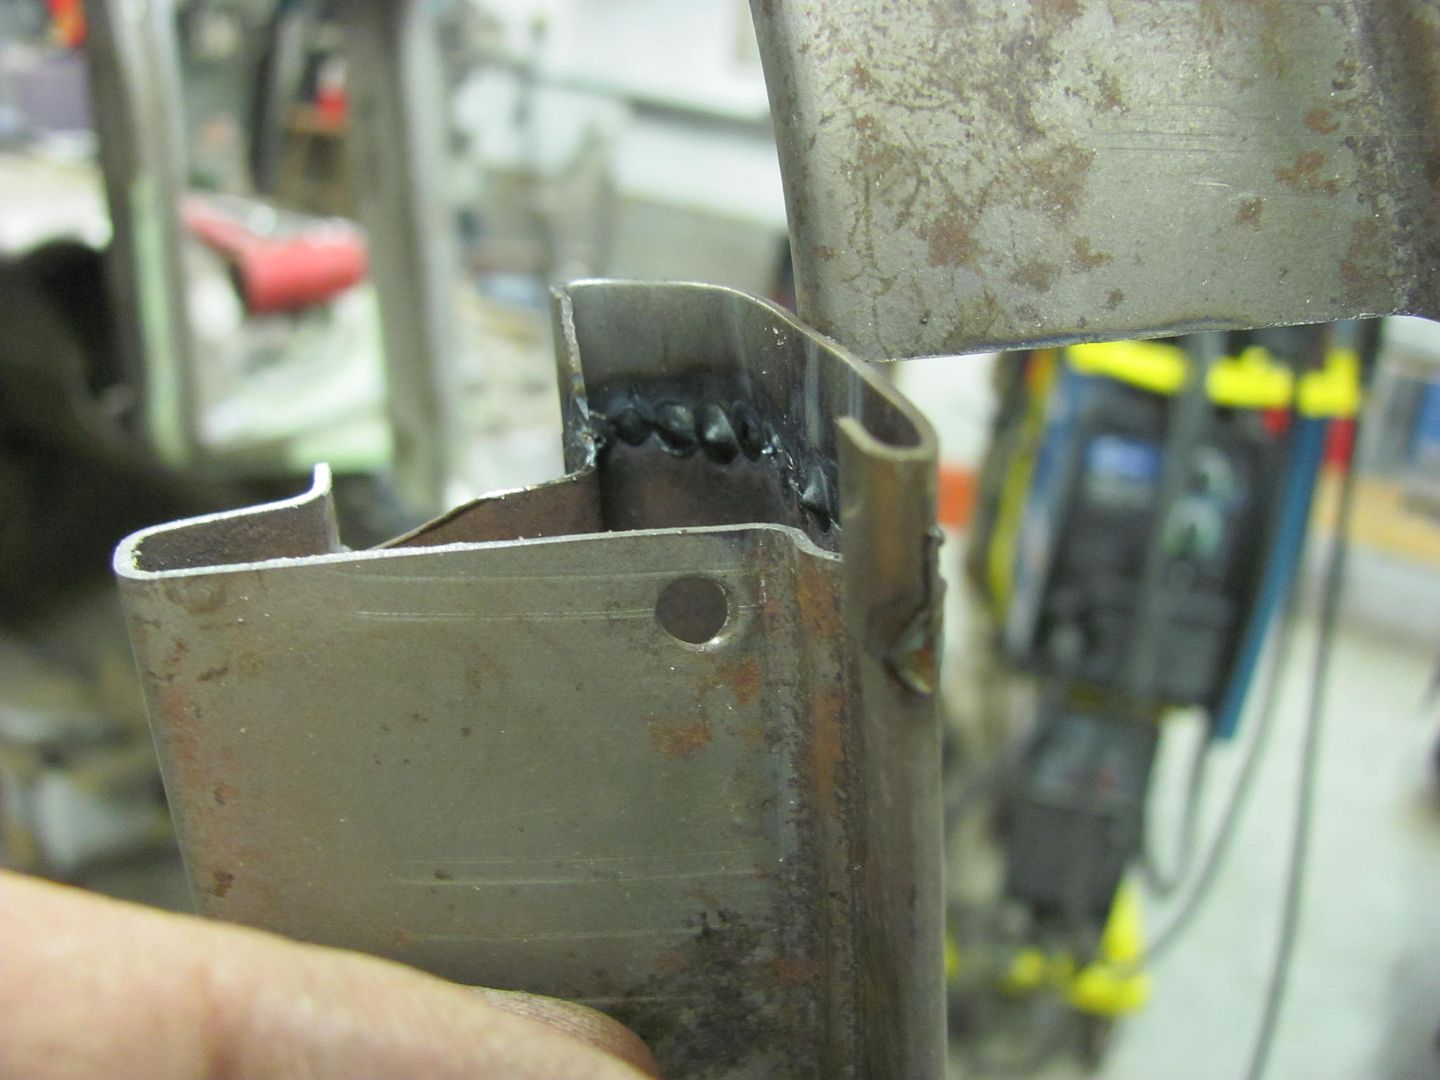
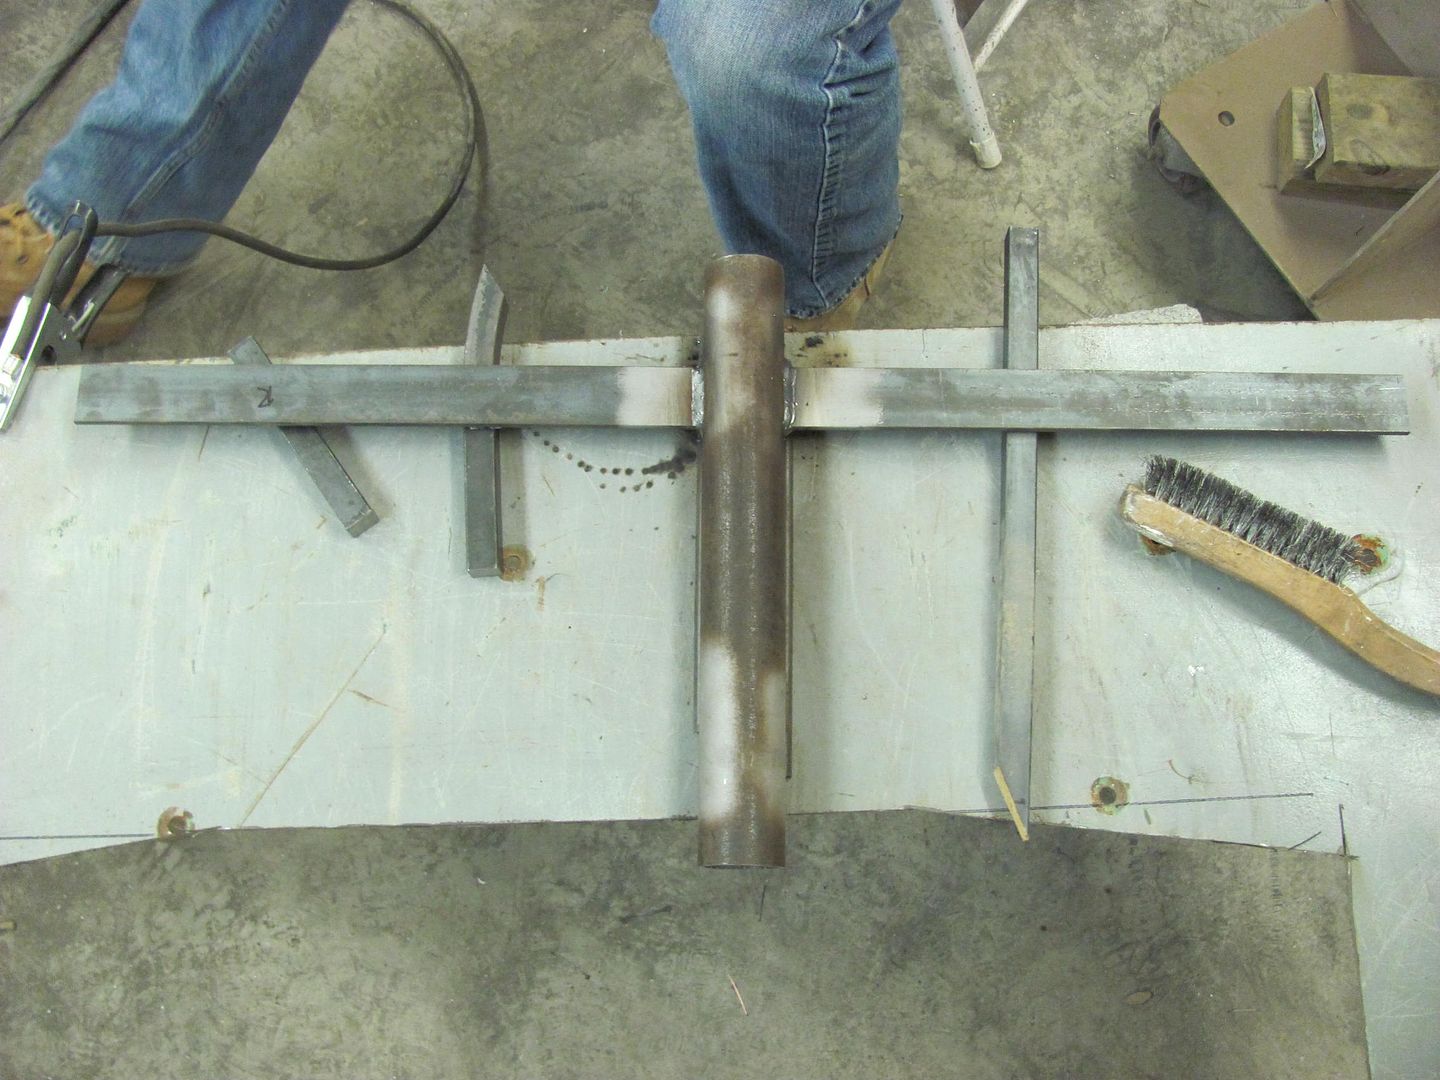
    A couple weak spots dictated a bigger hole. Here the radius was added from the A pillar to beneath the drip rail..
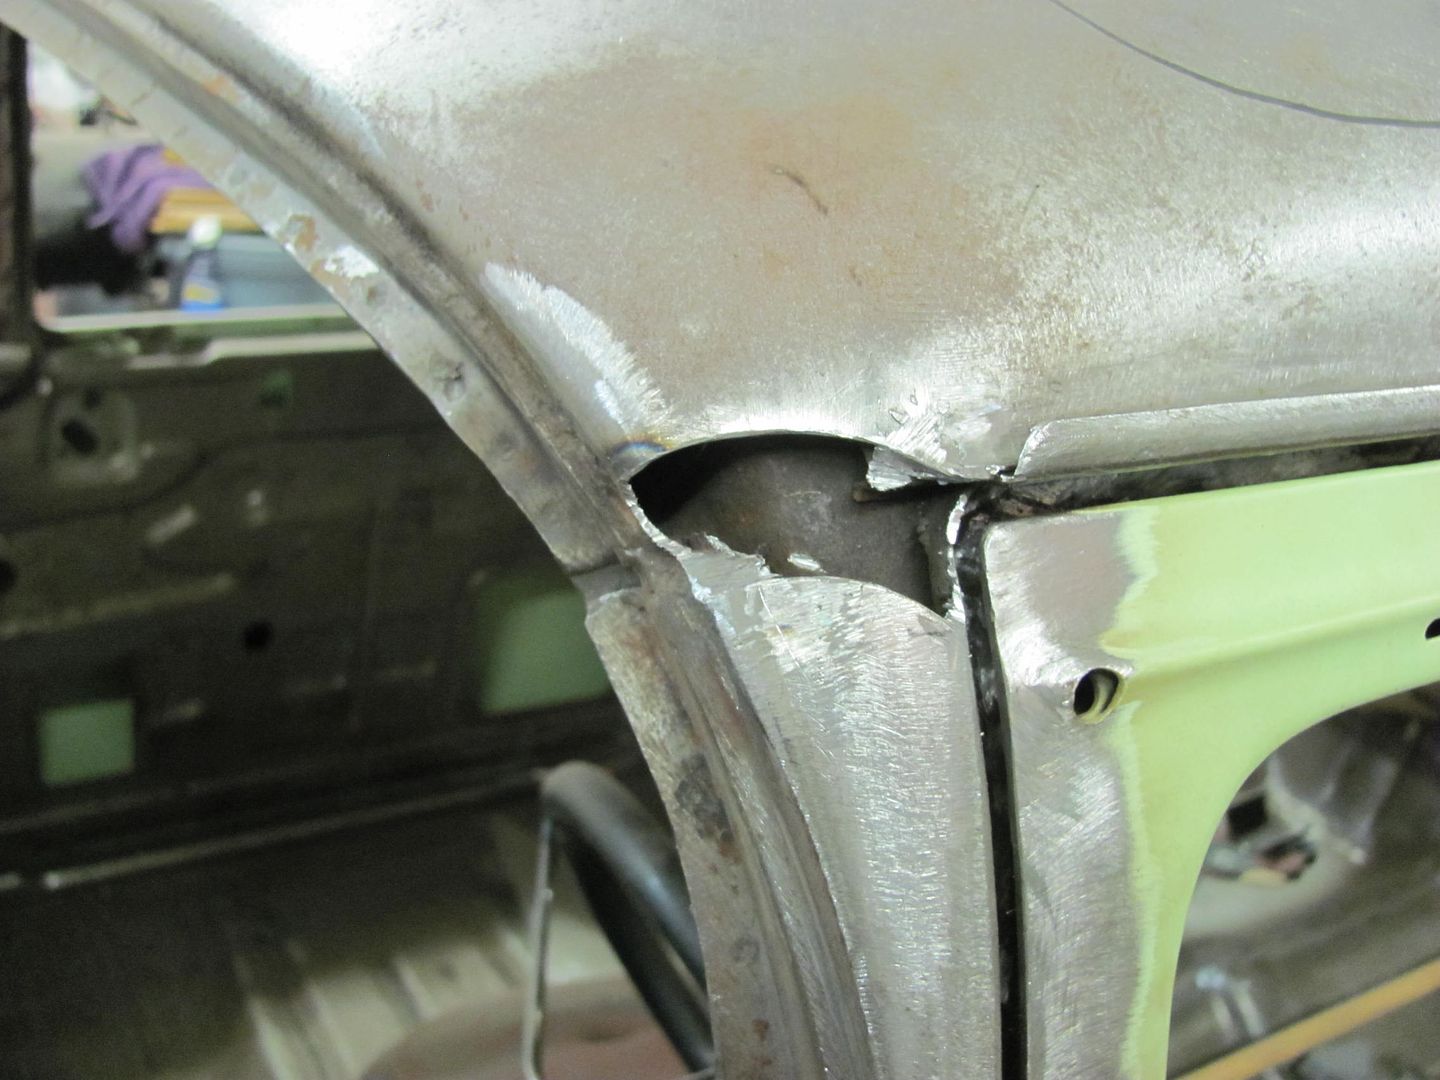
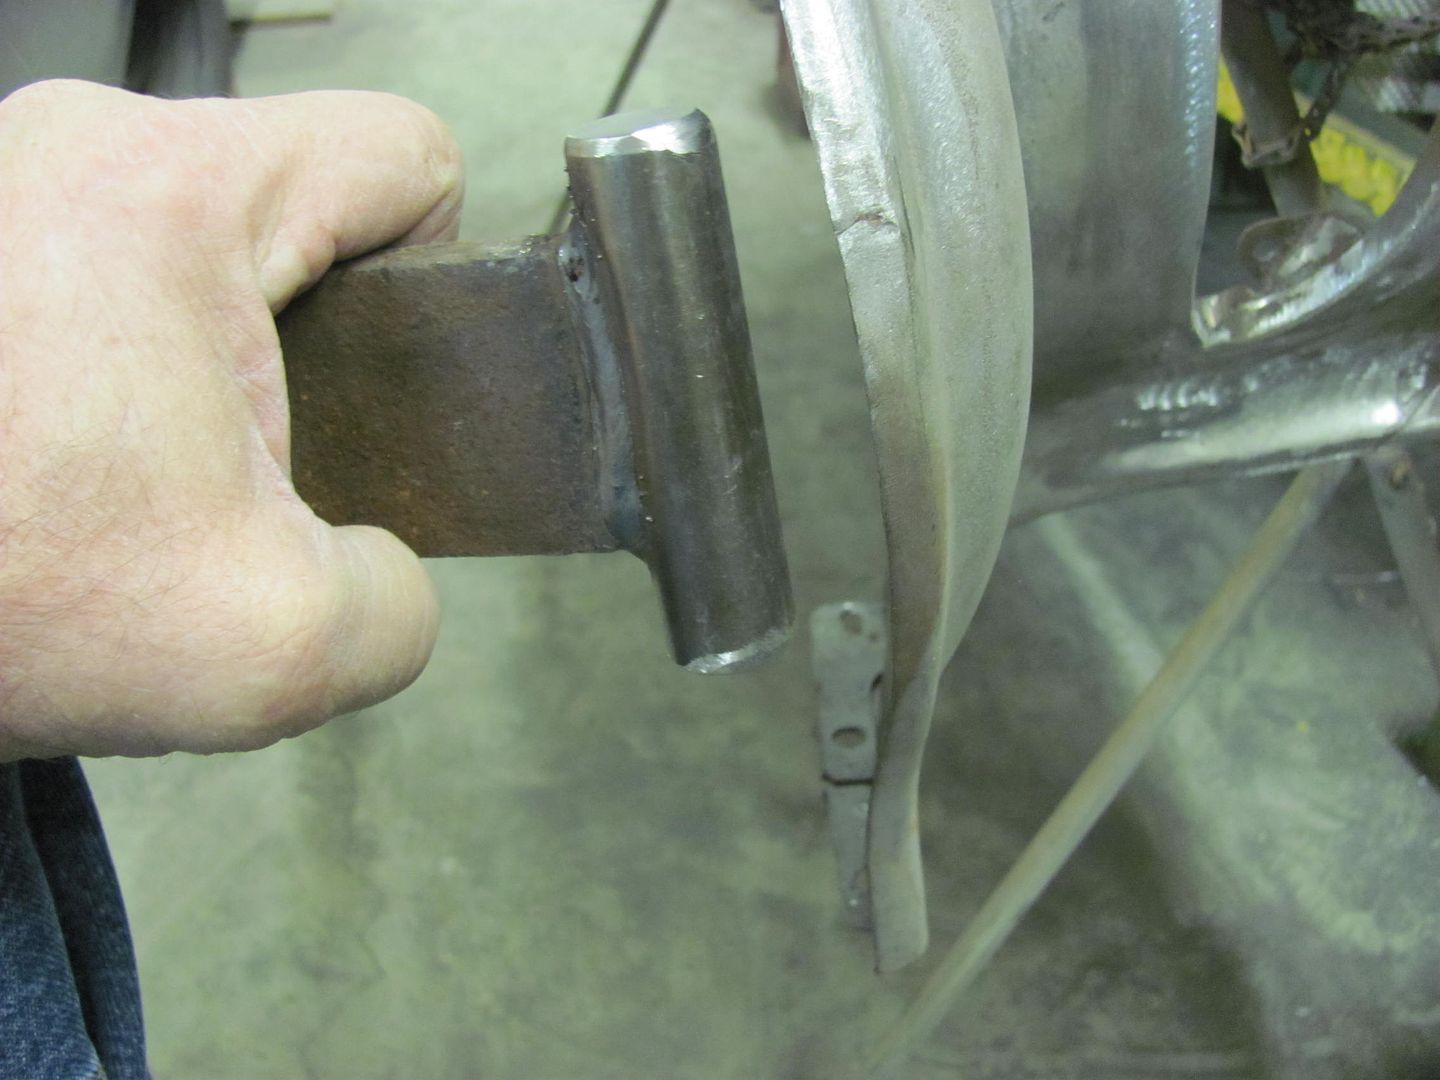
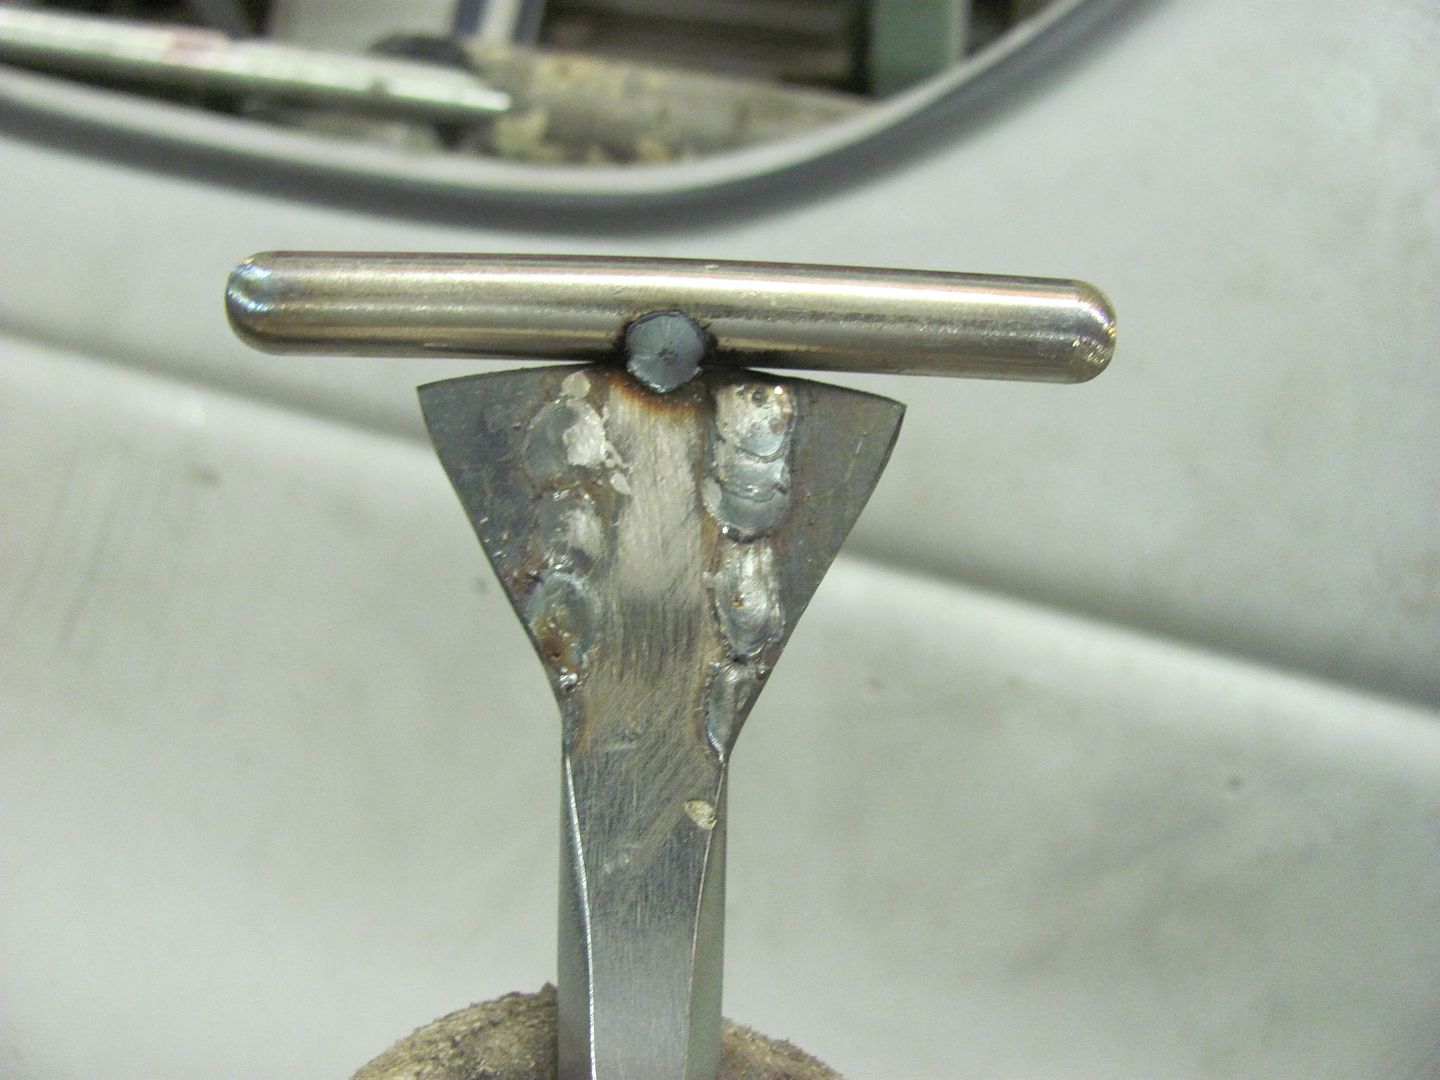
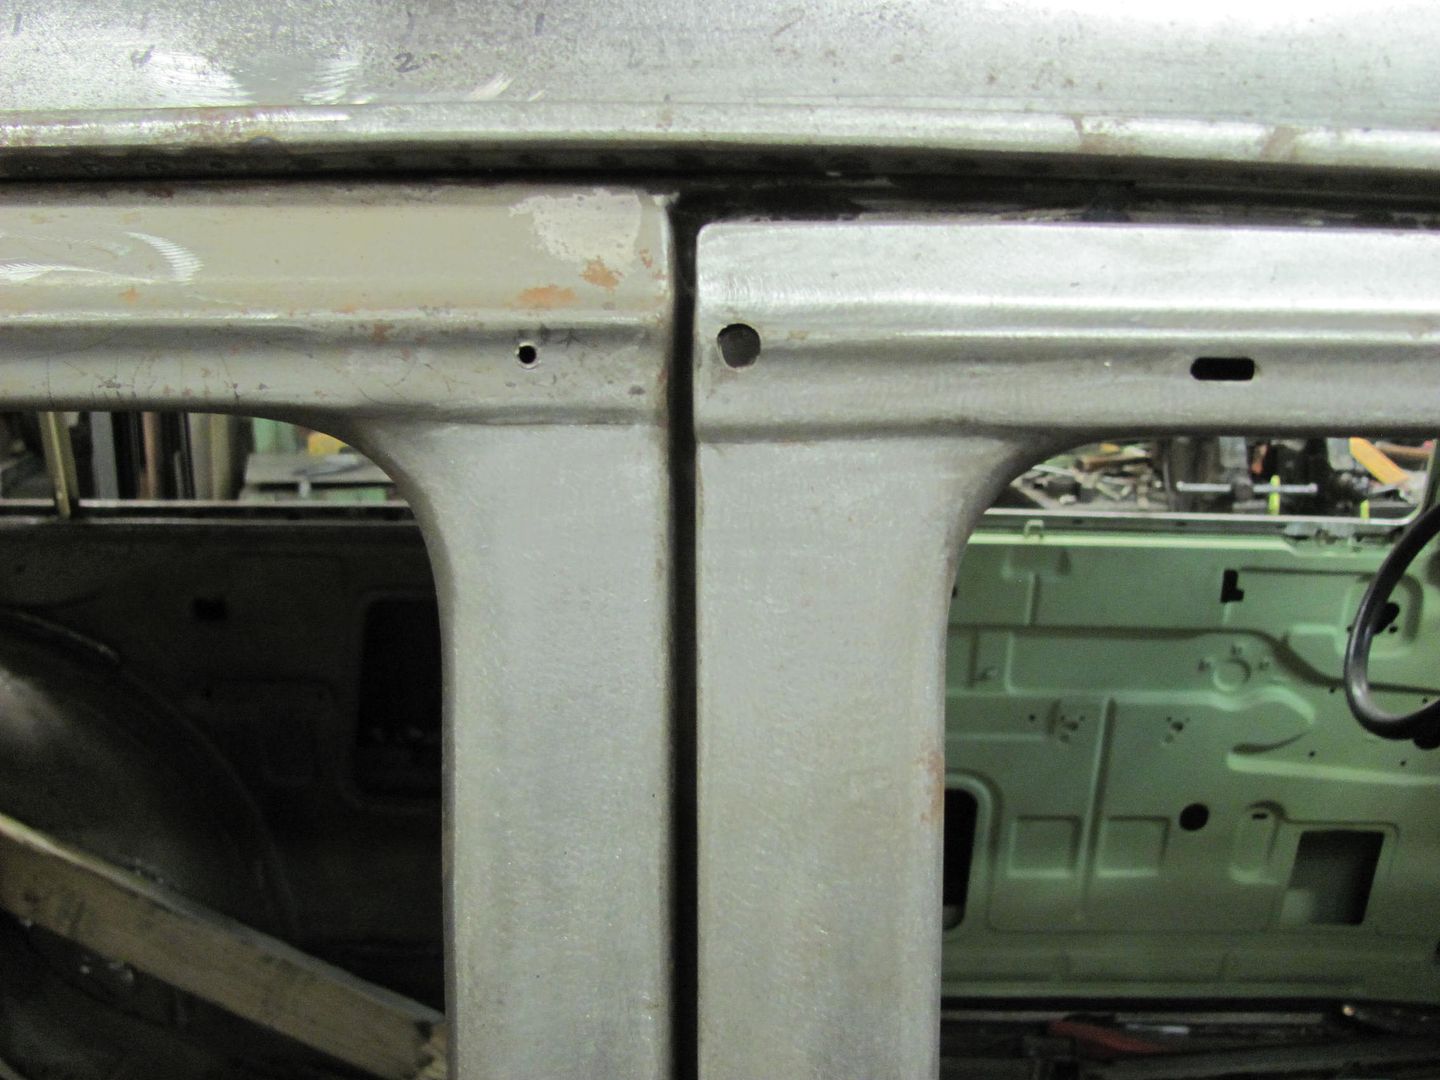
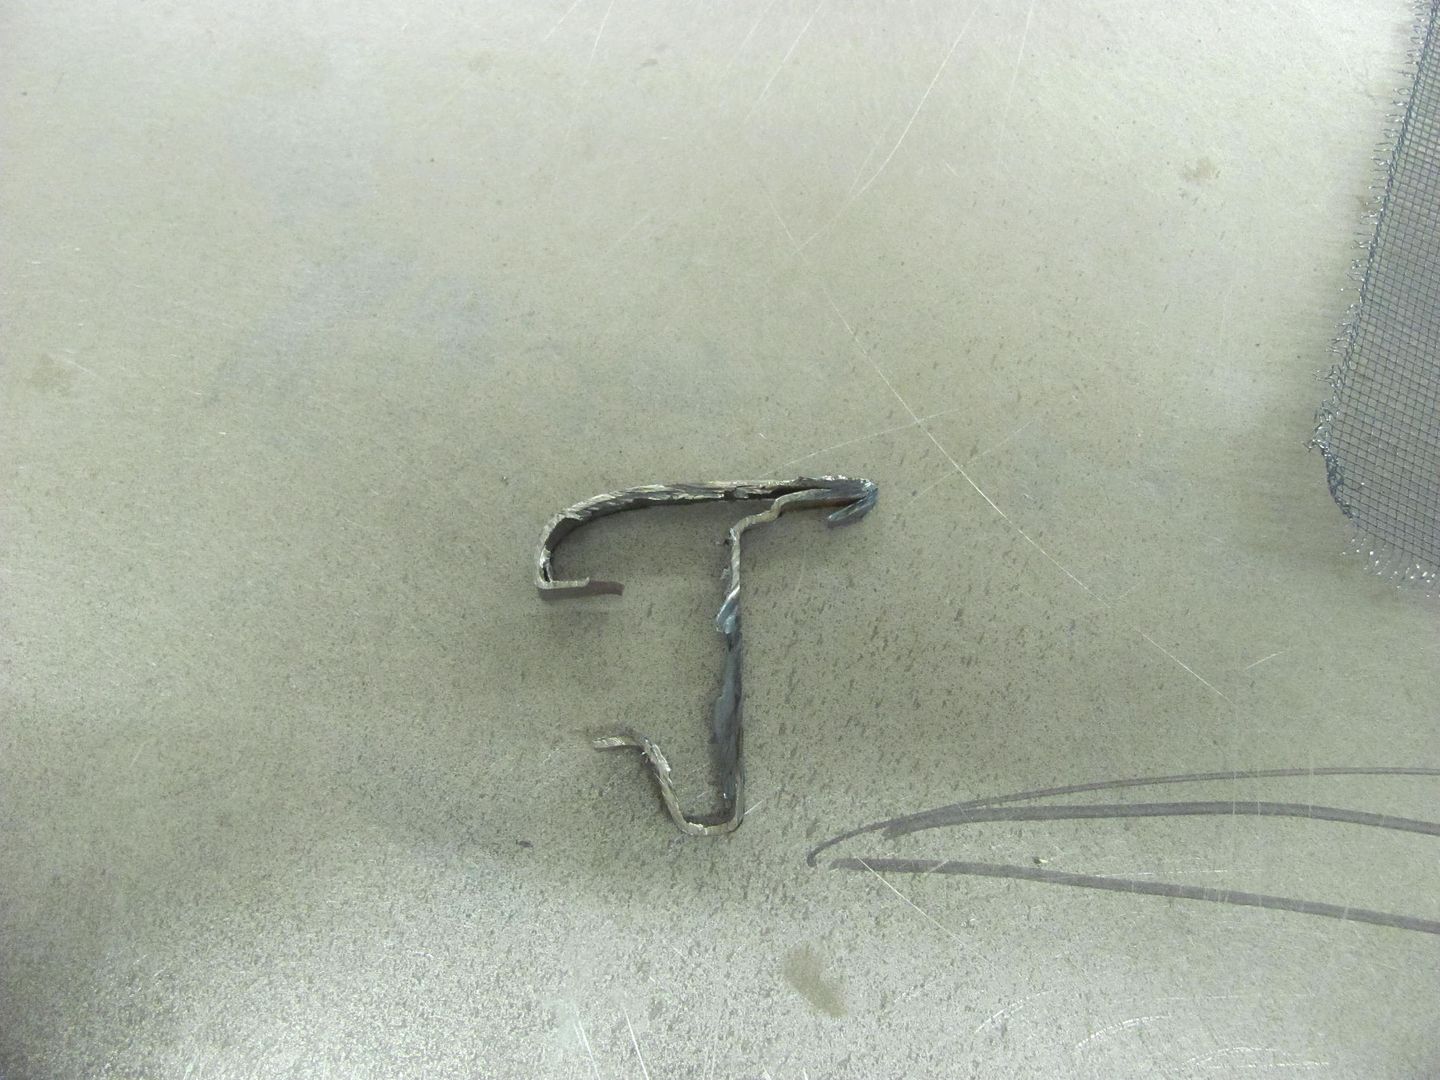
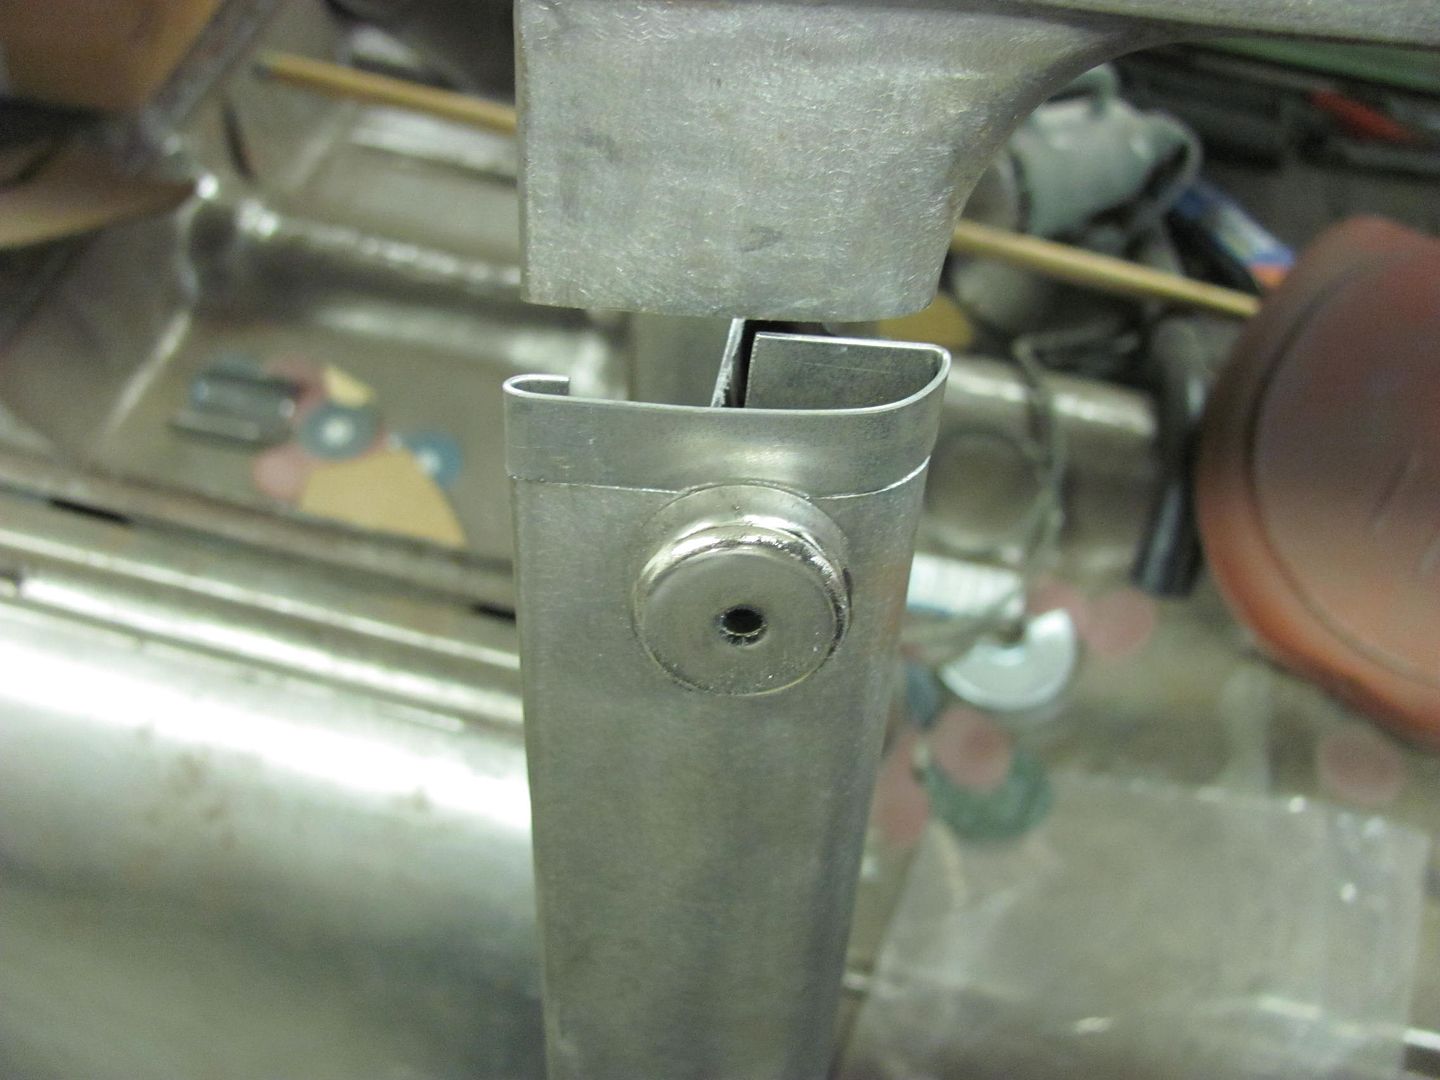


    Test fit


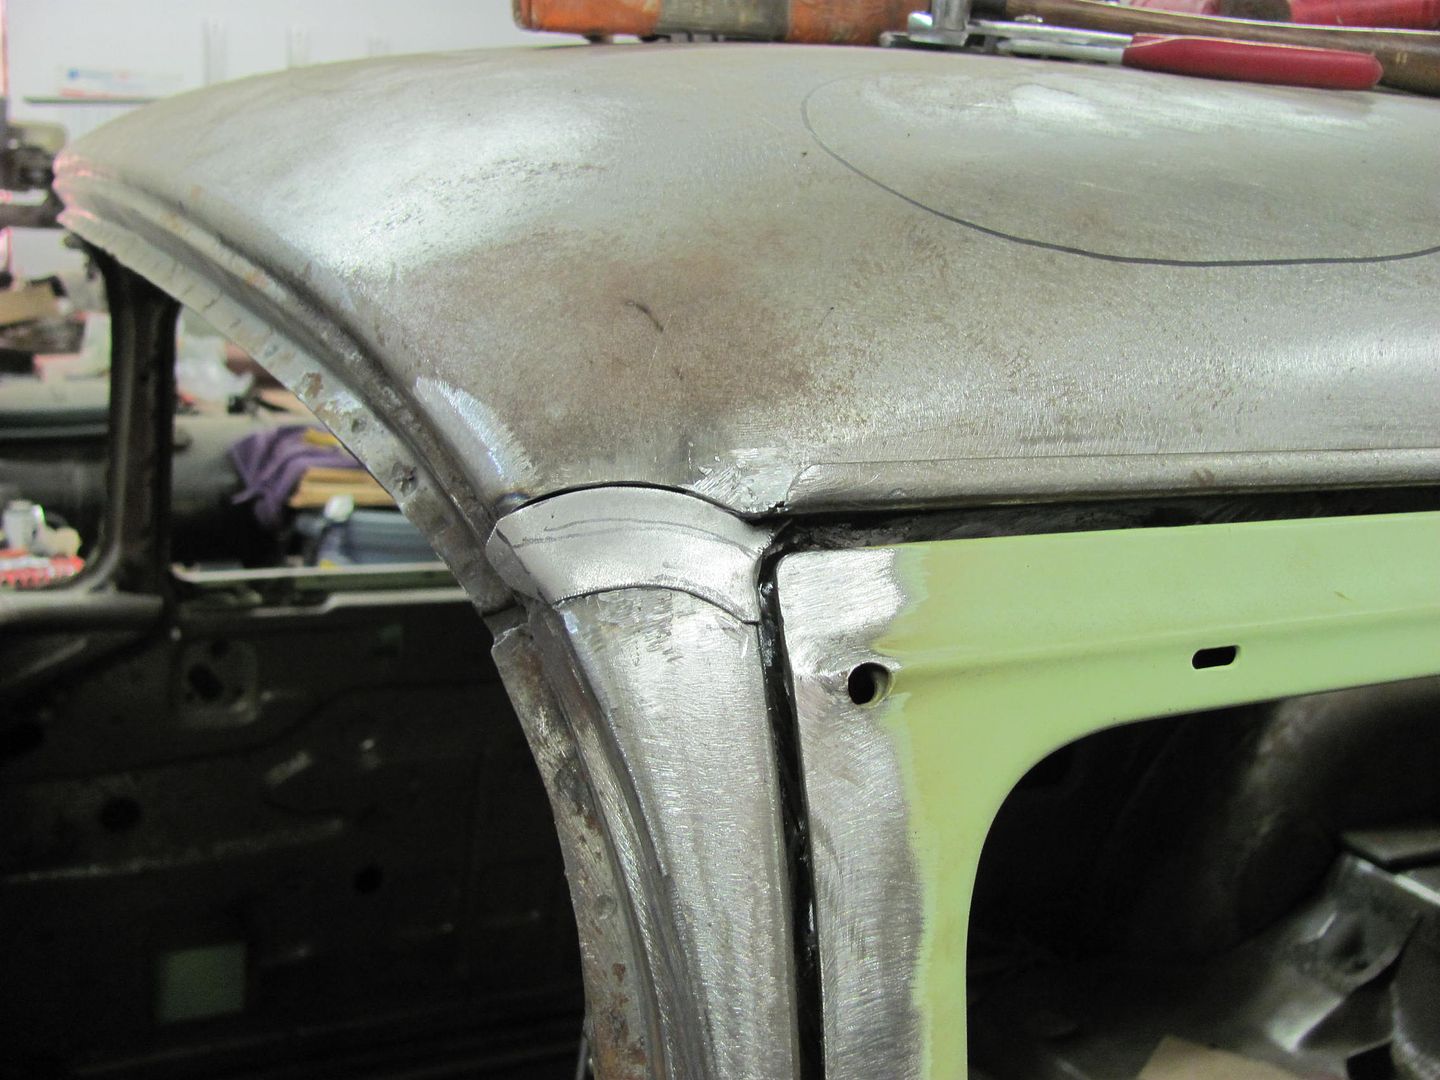
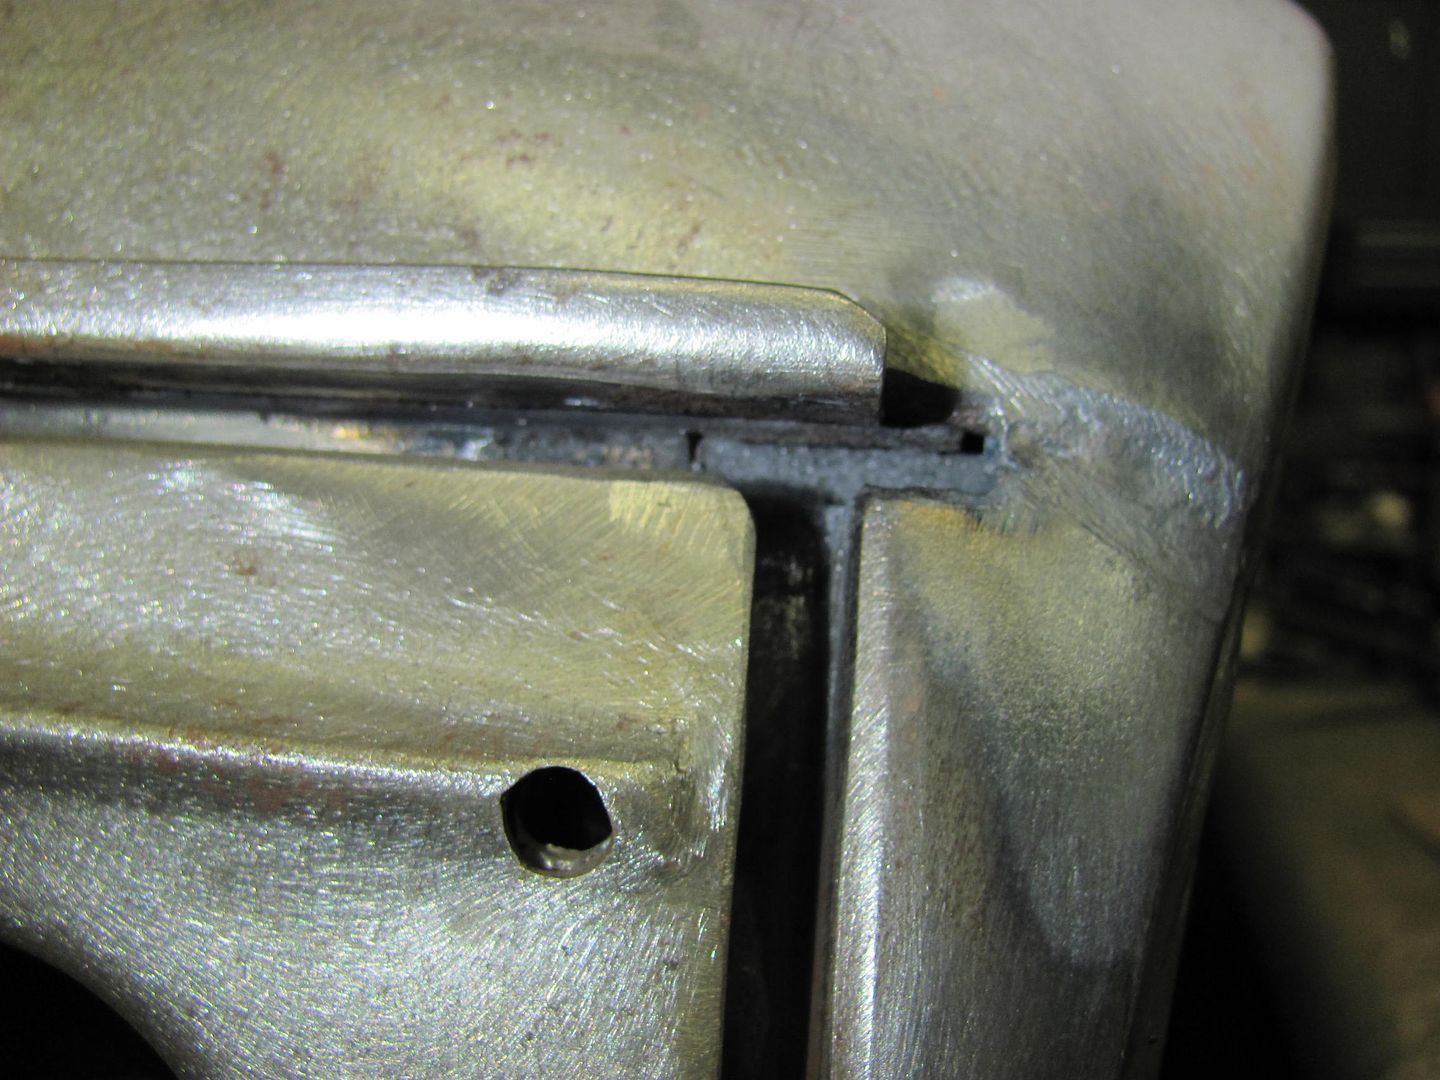
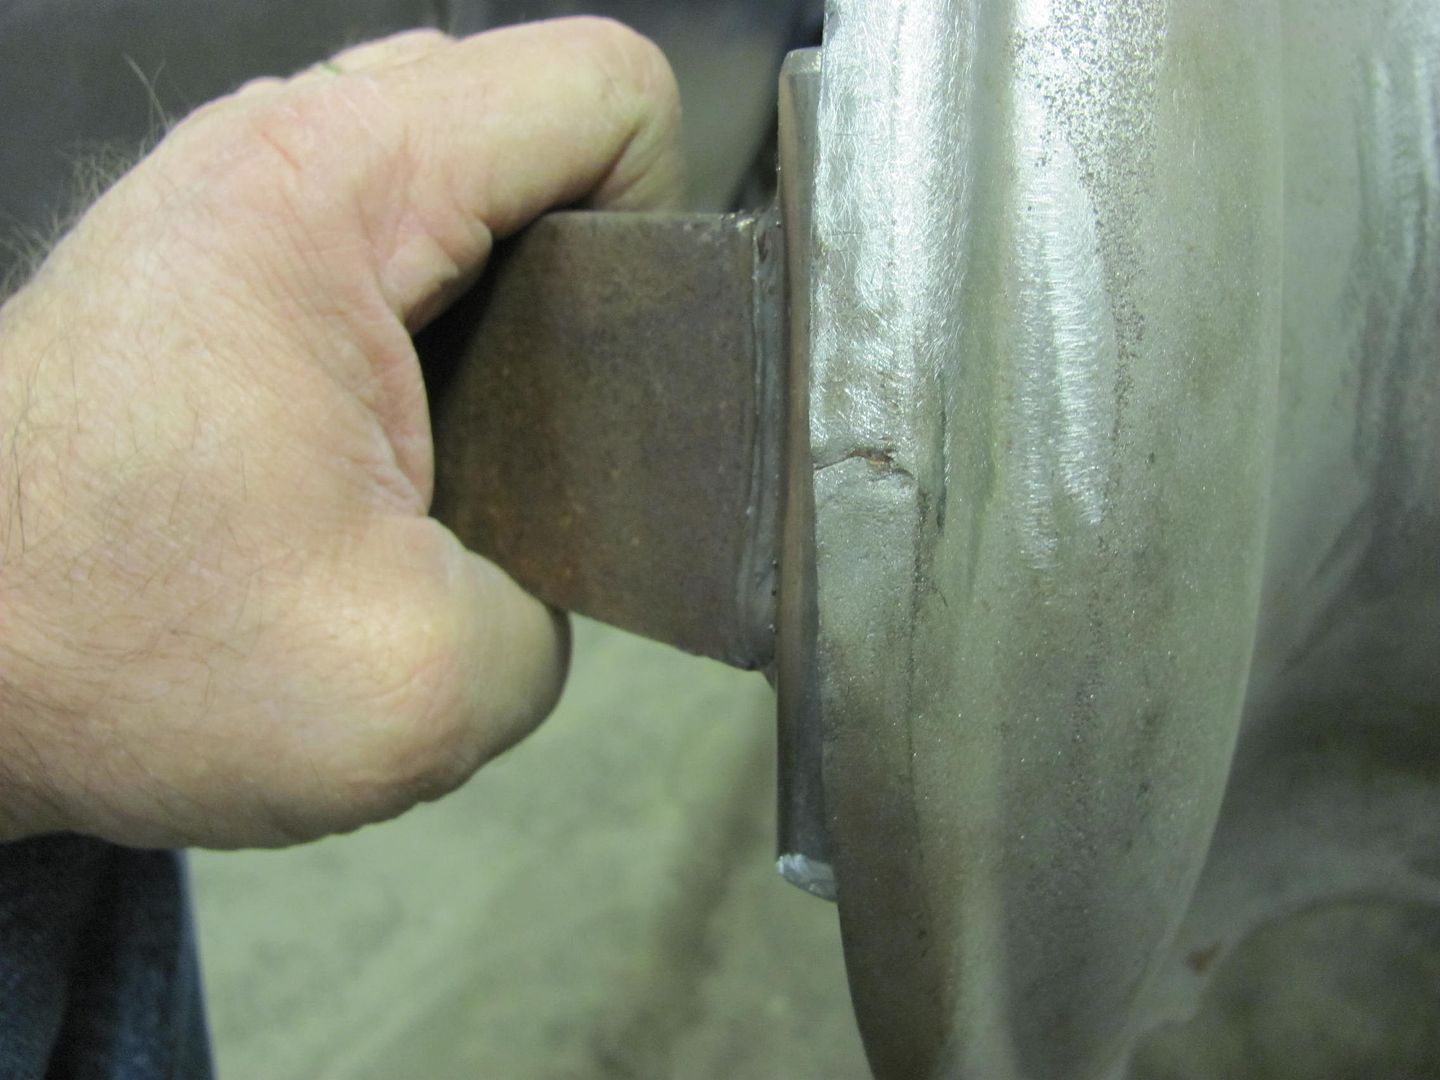
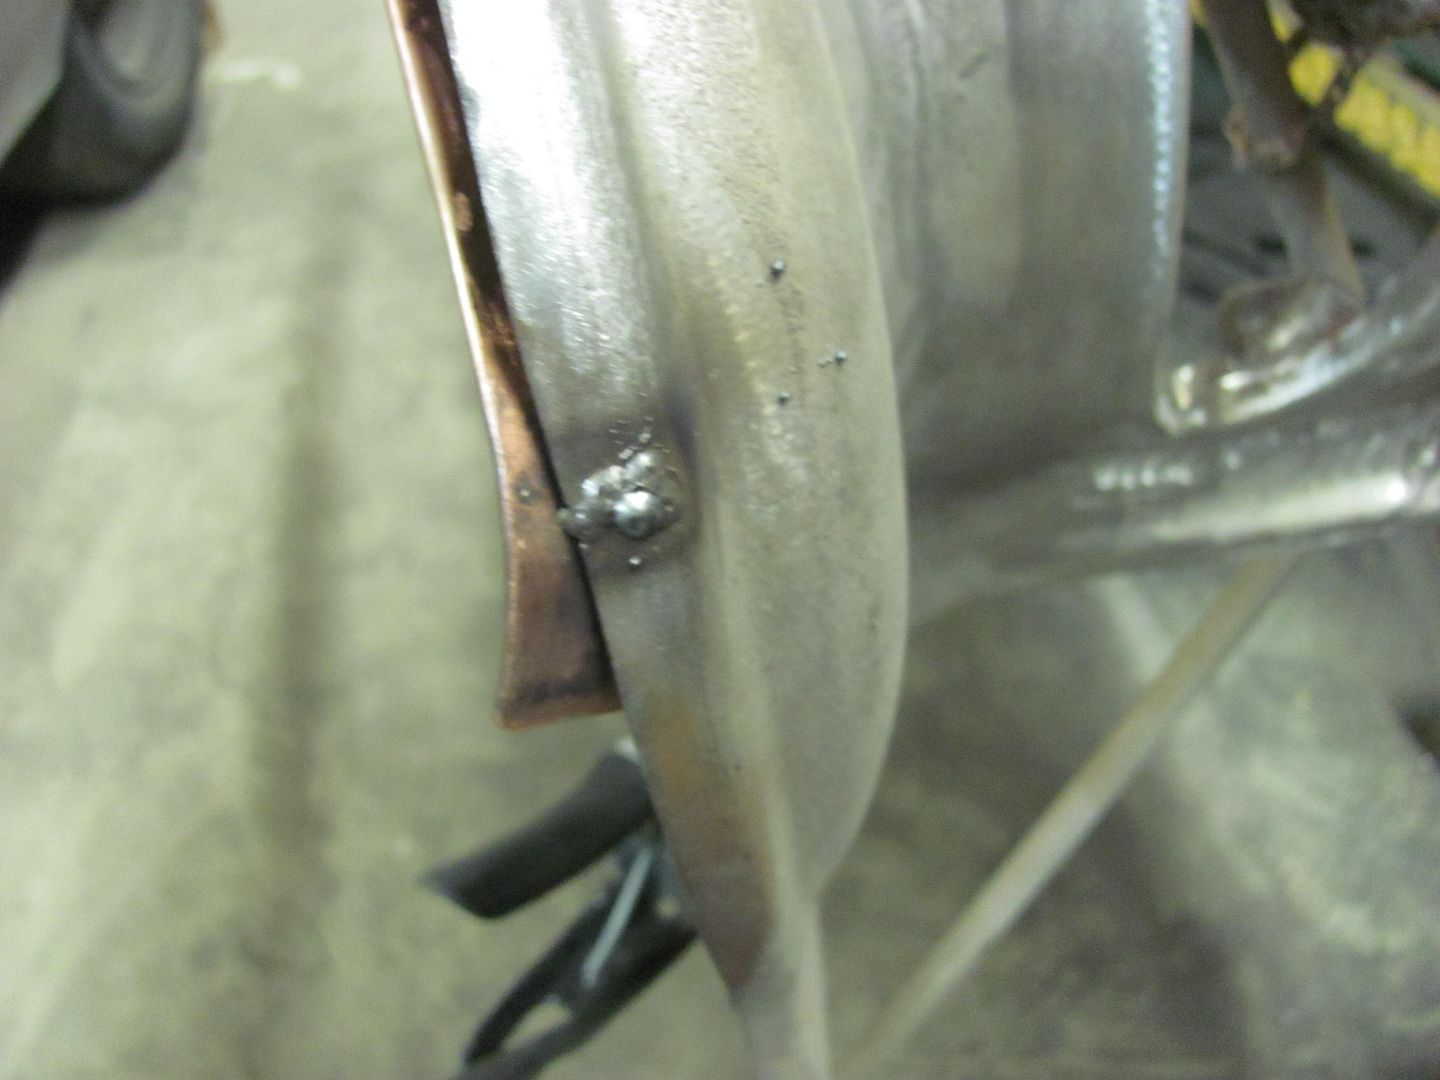
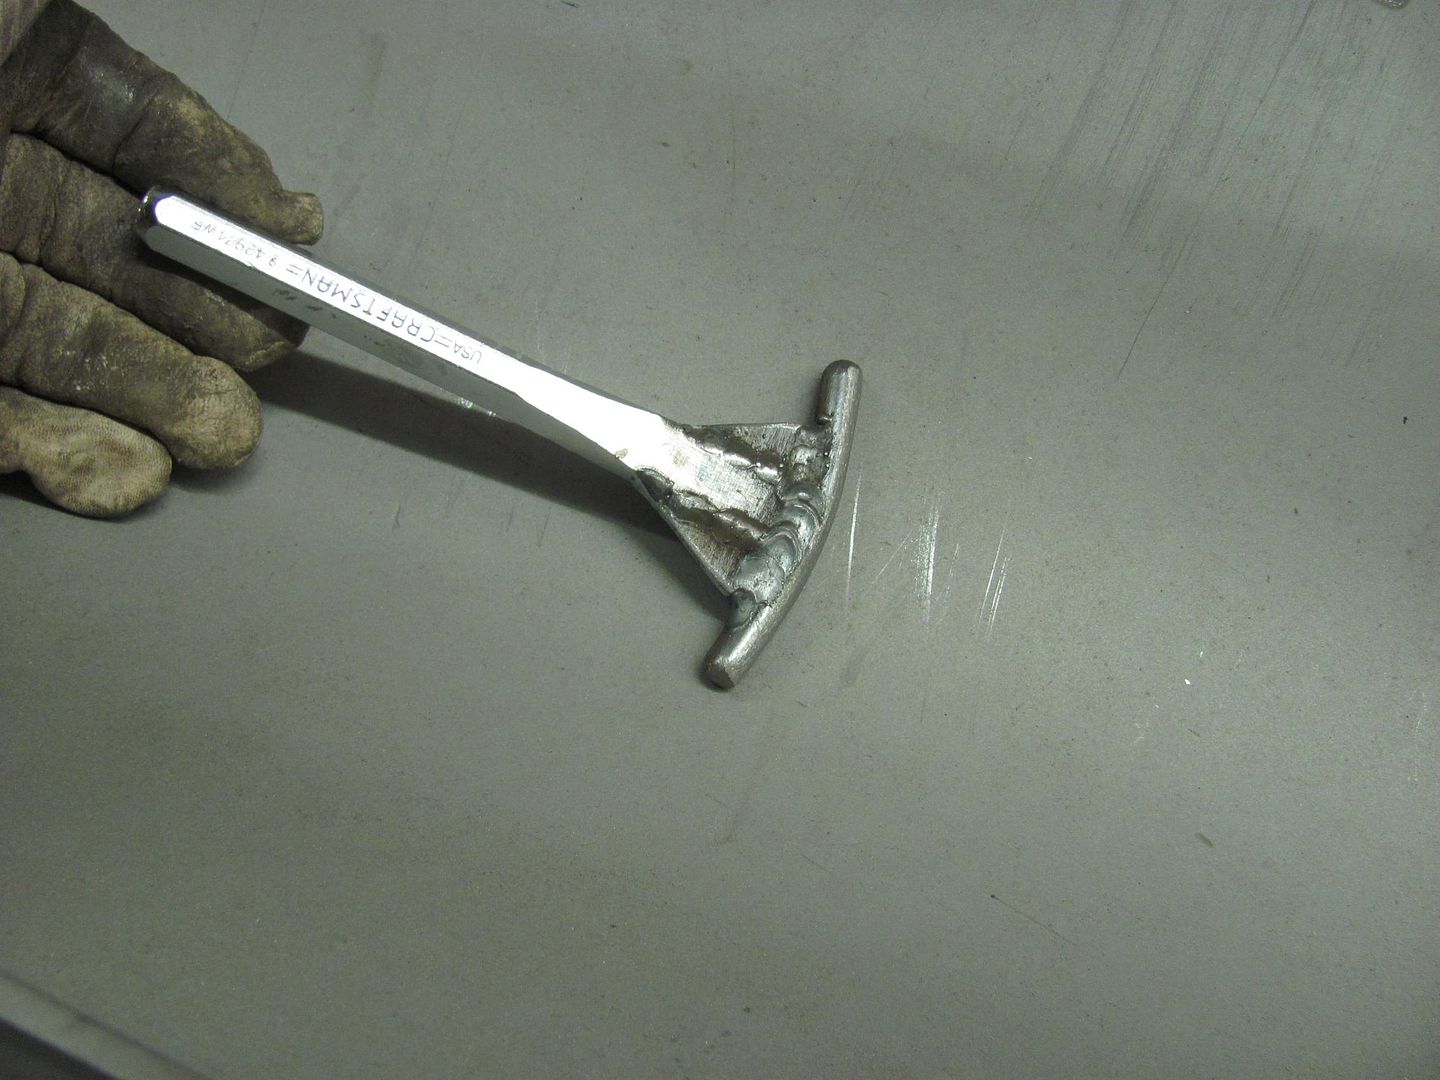
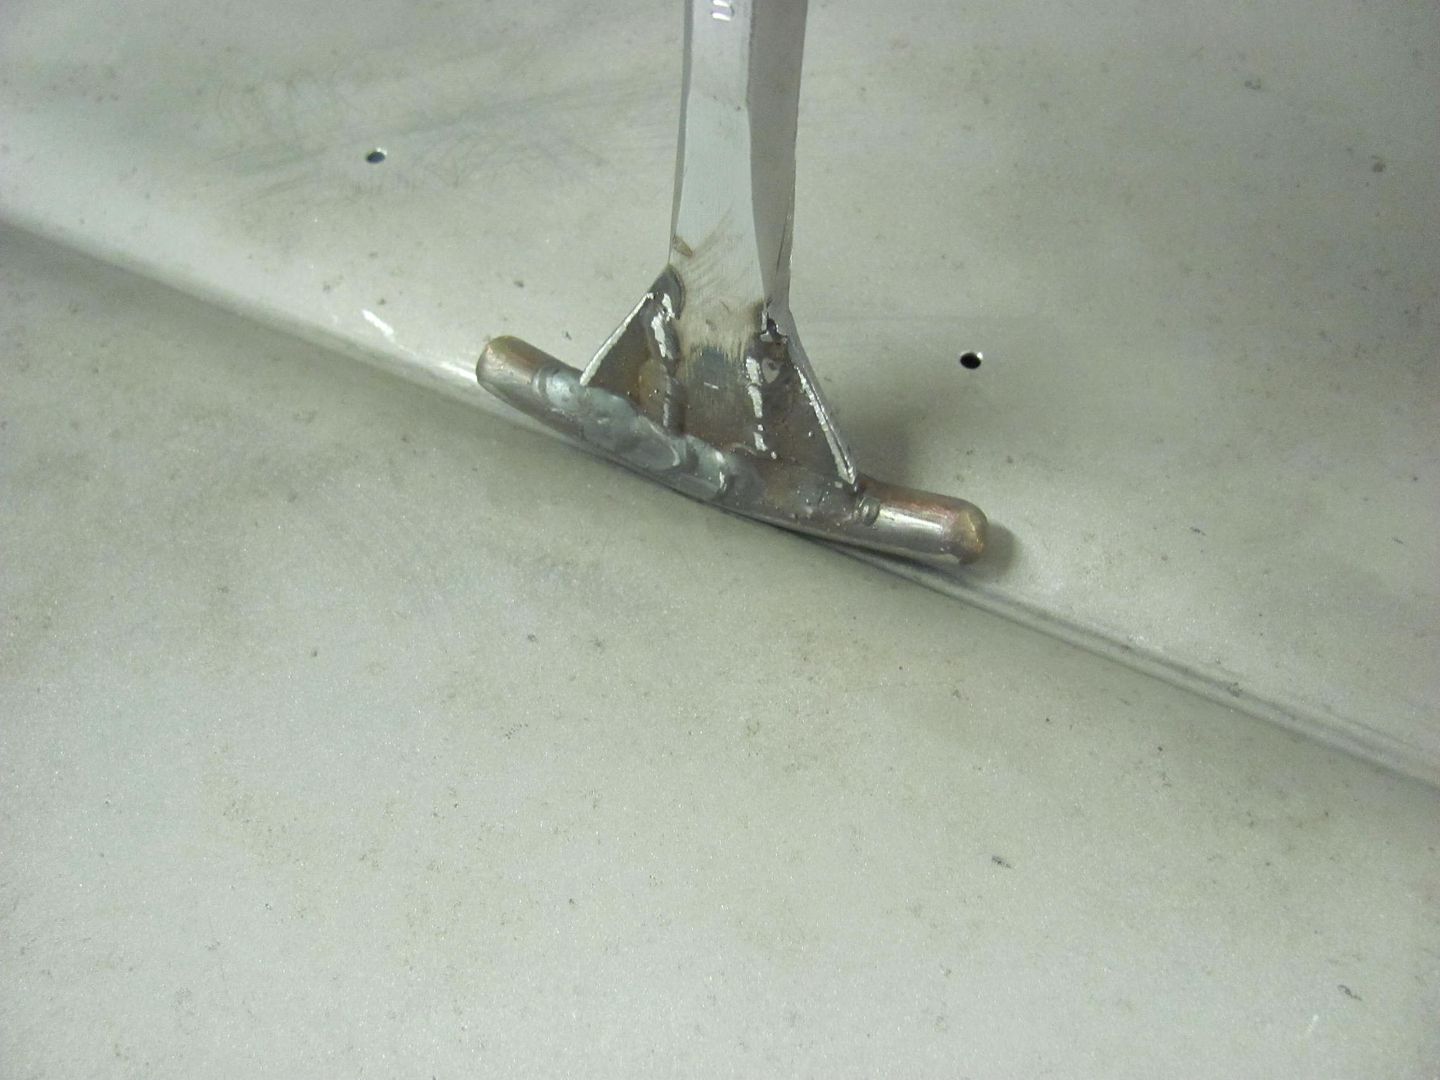
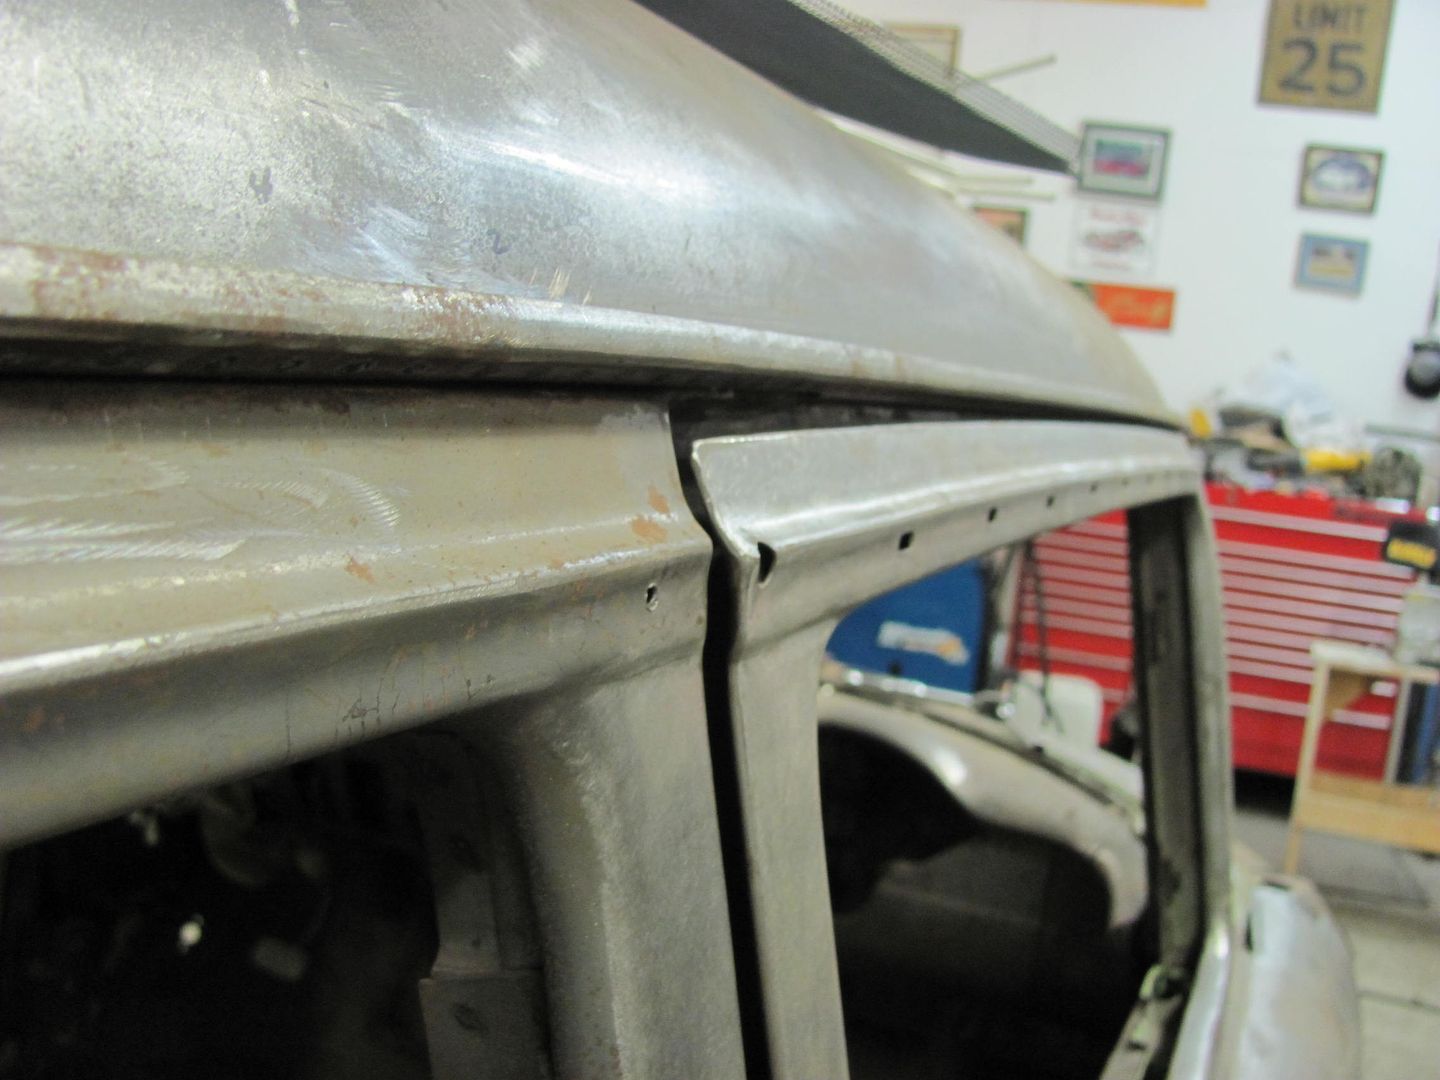
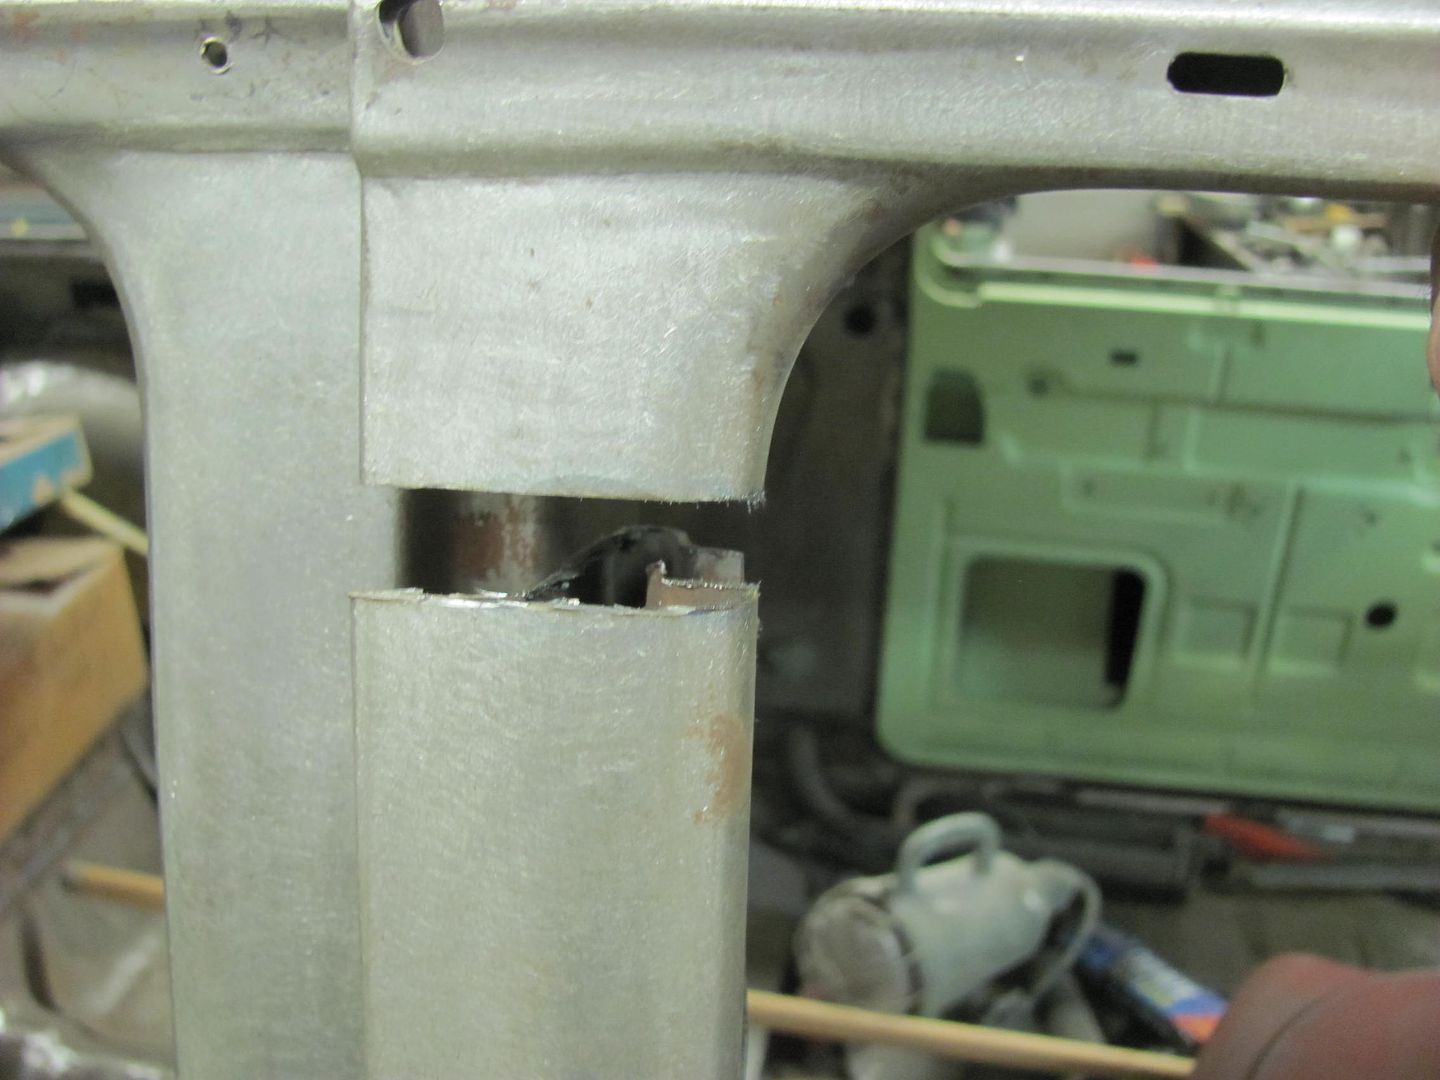
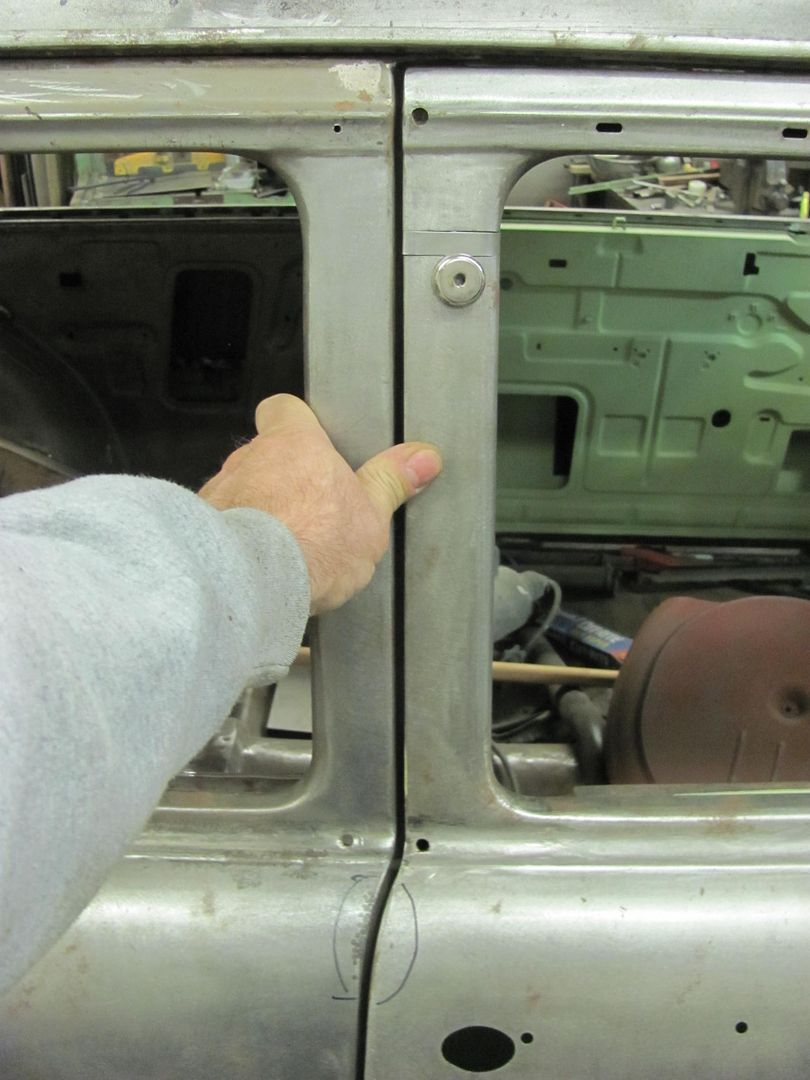
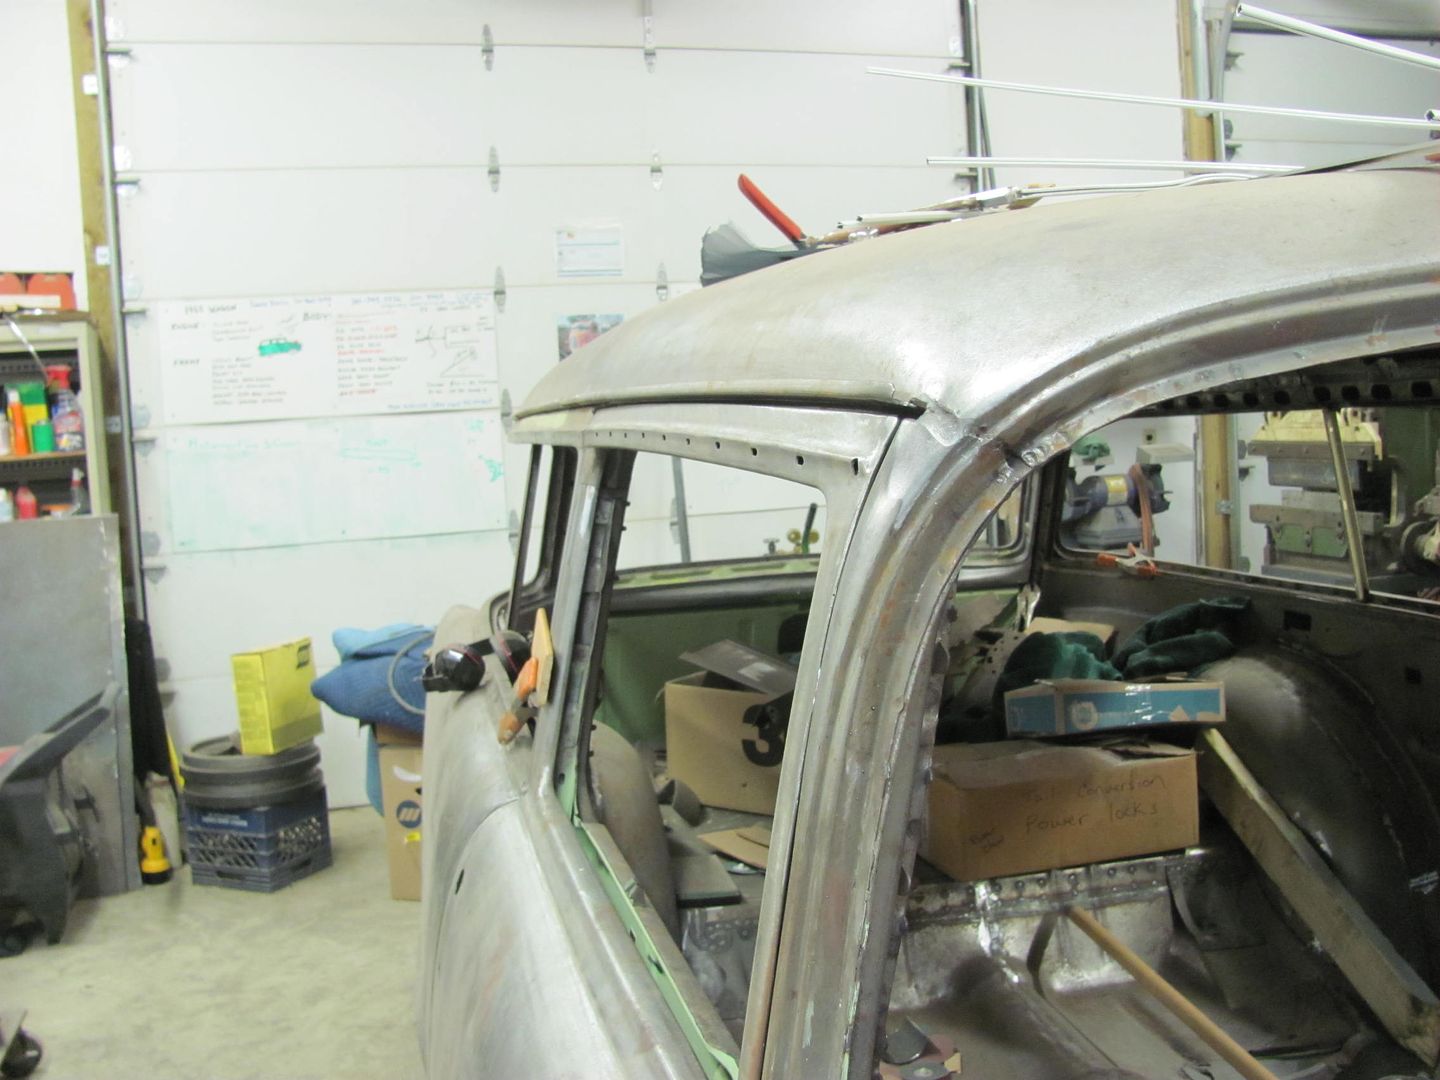
    Welded in place.....


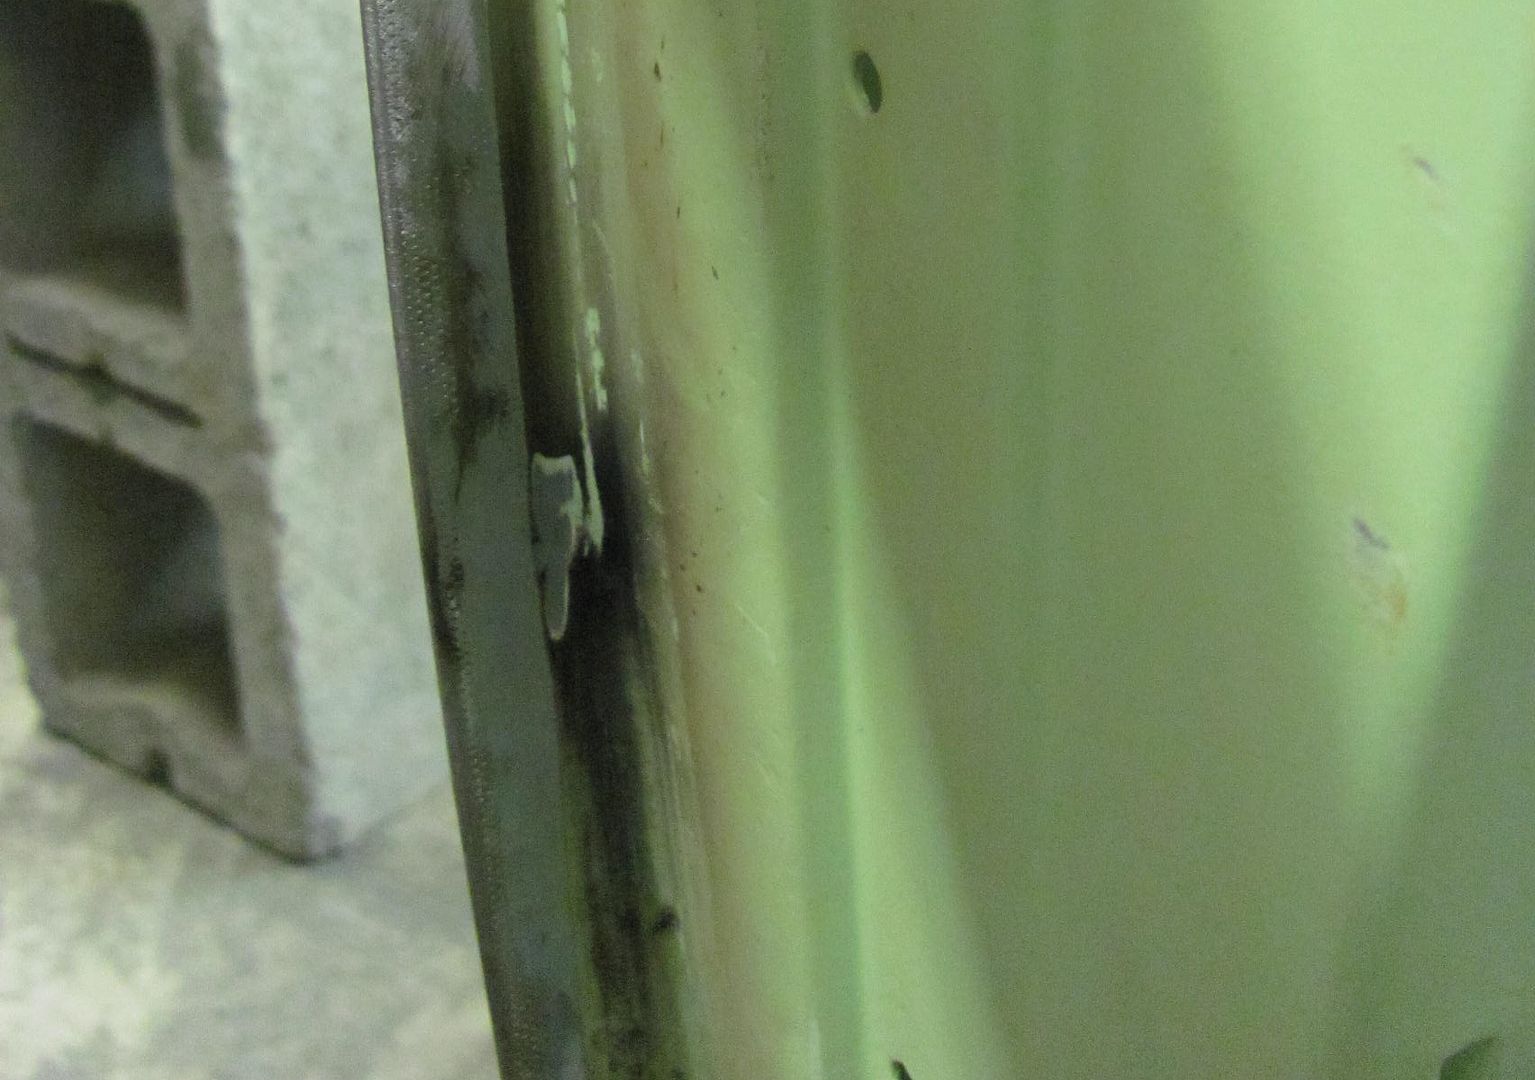
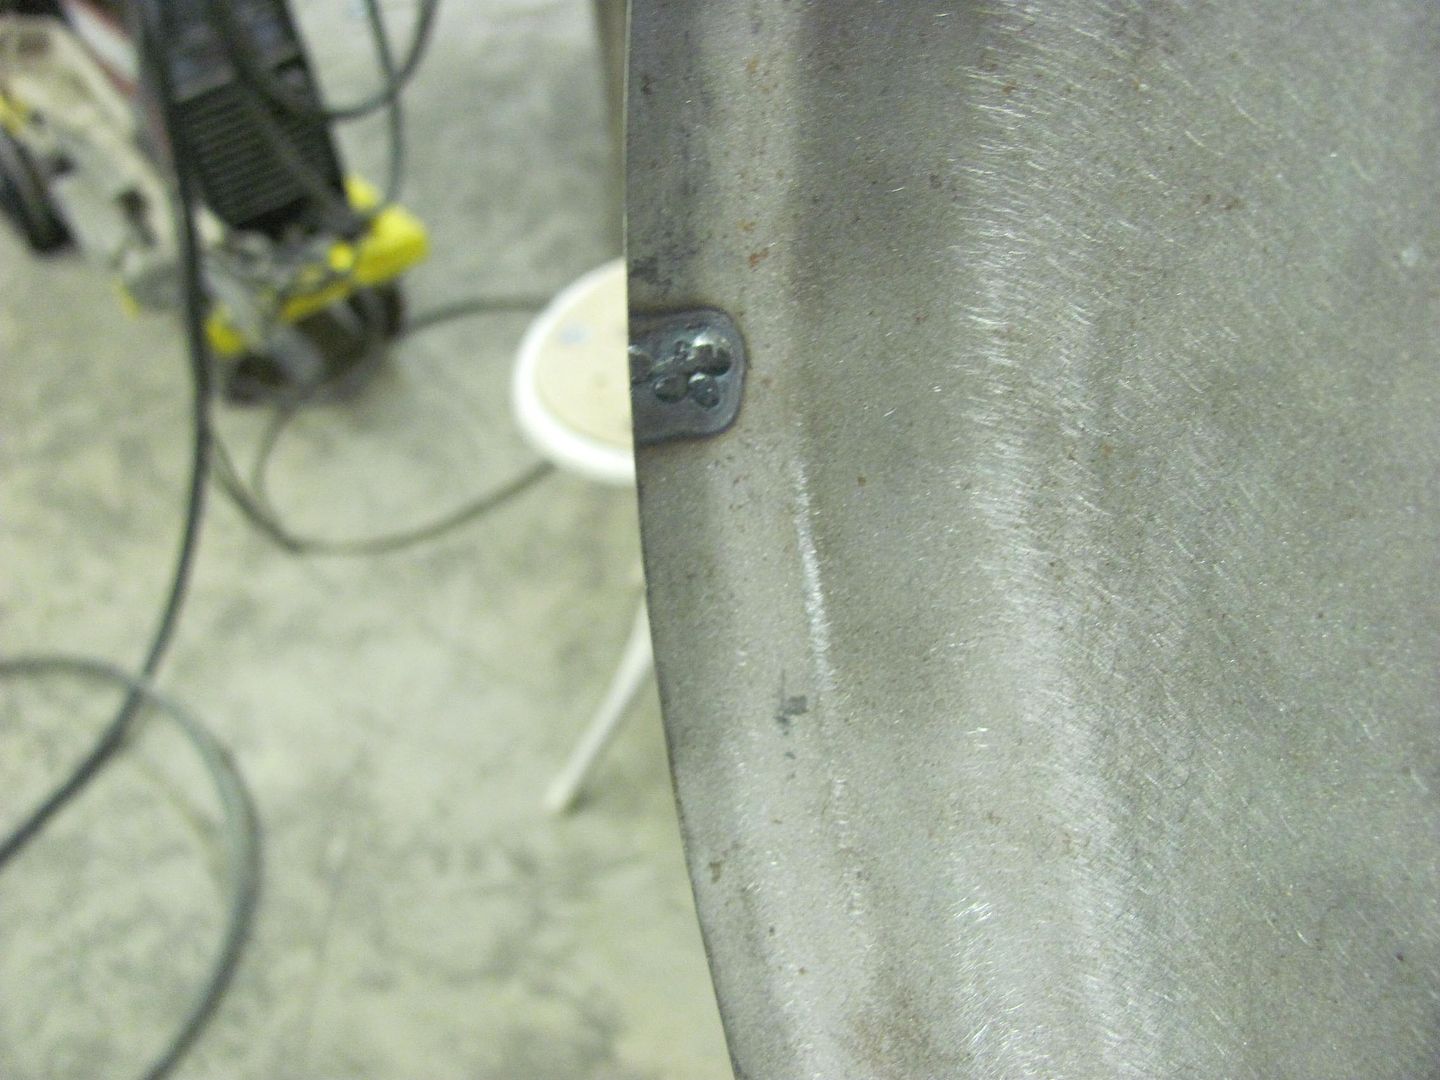
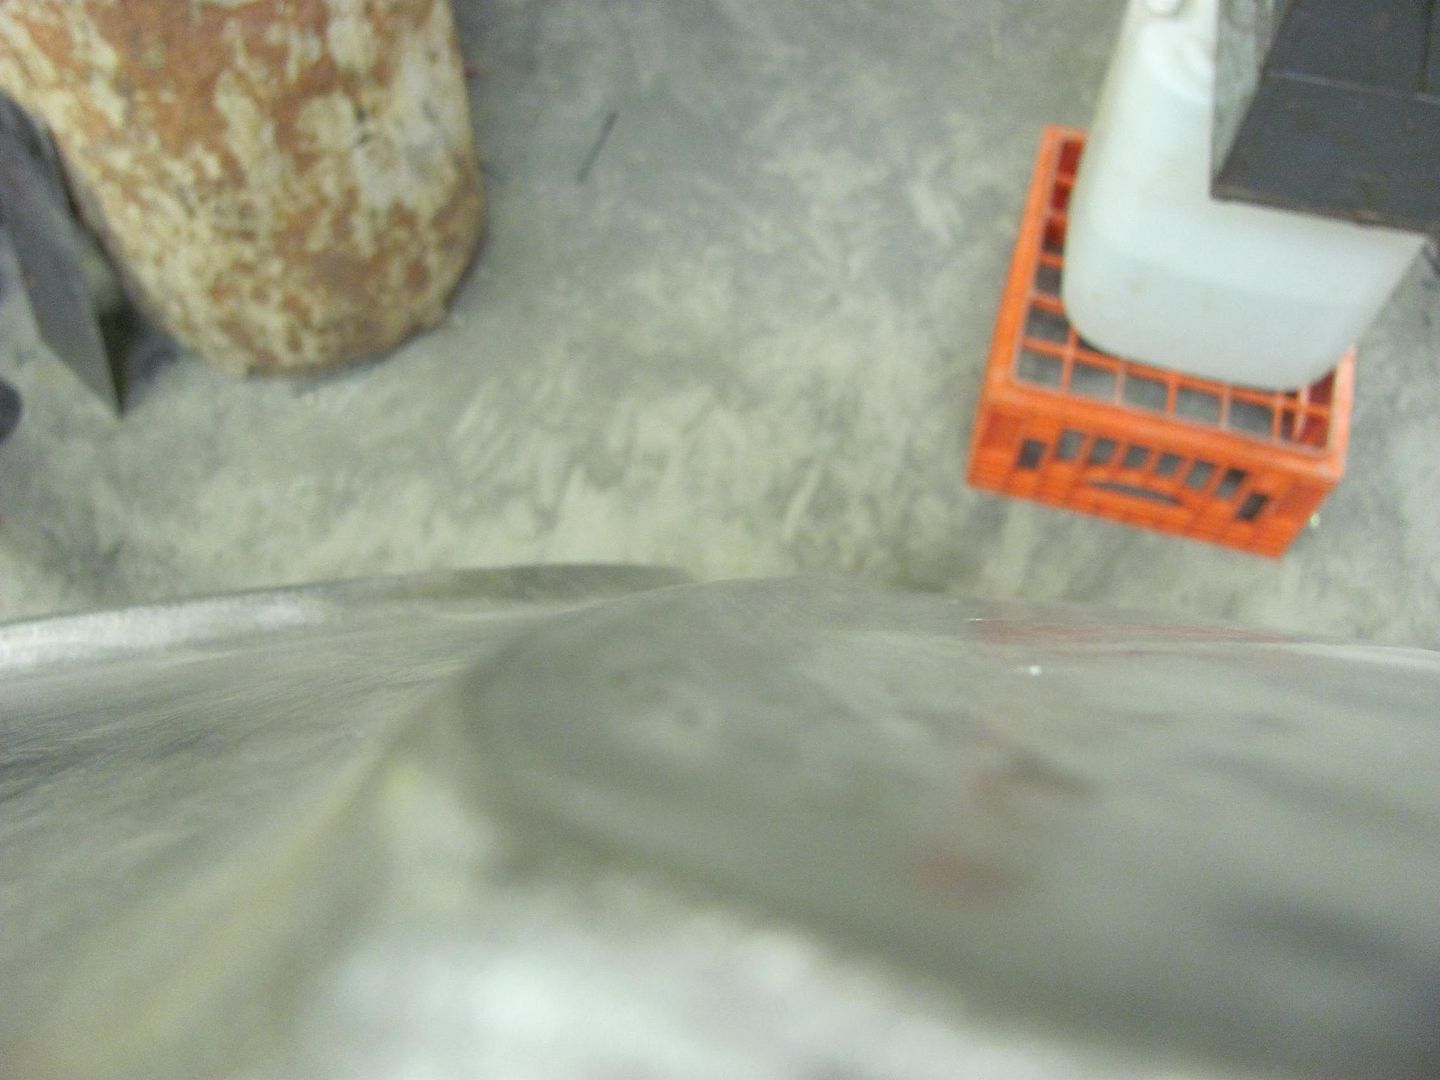
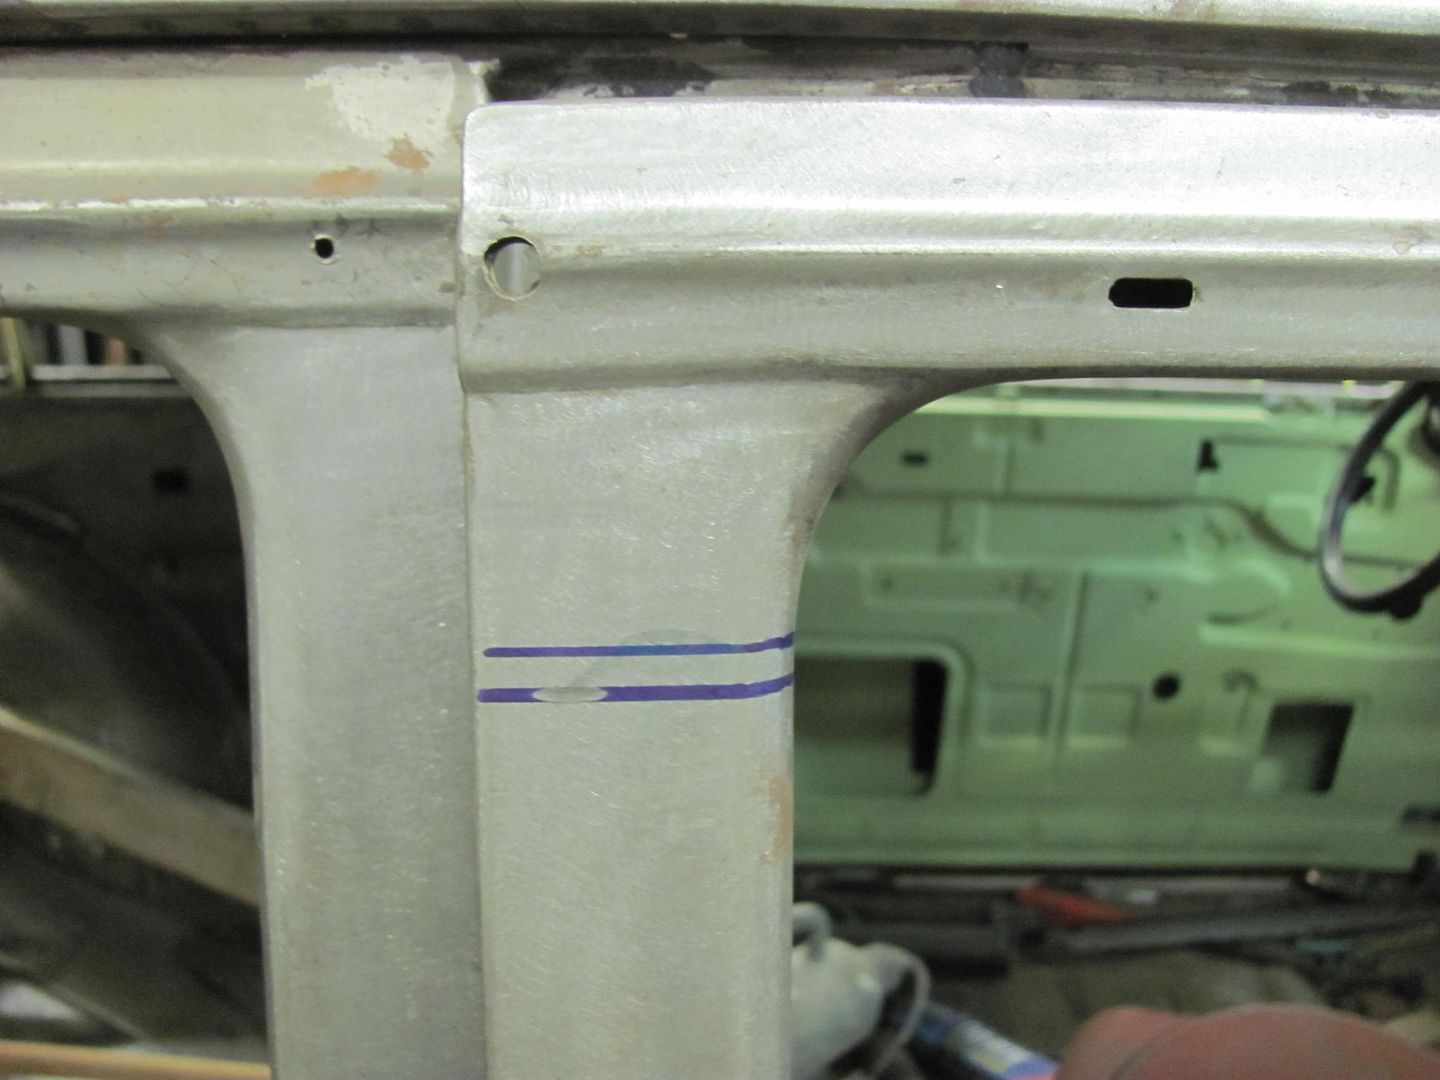
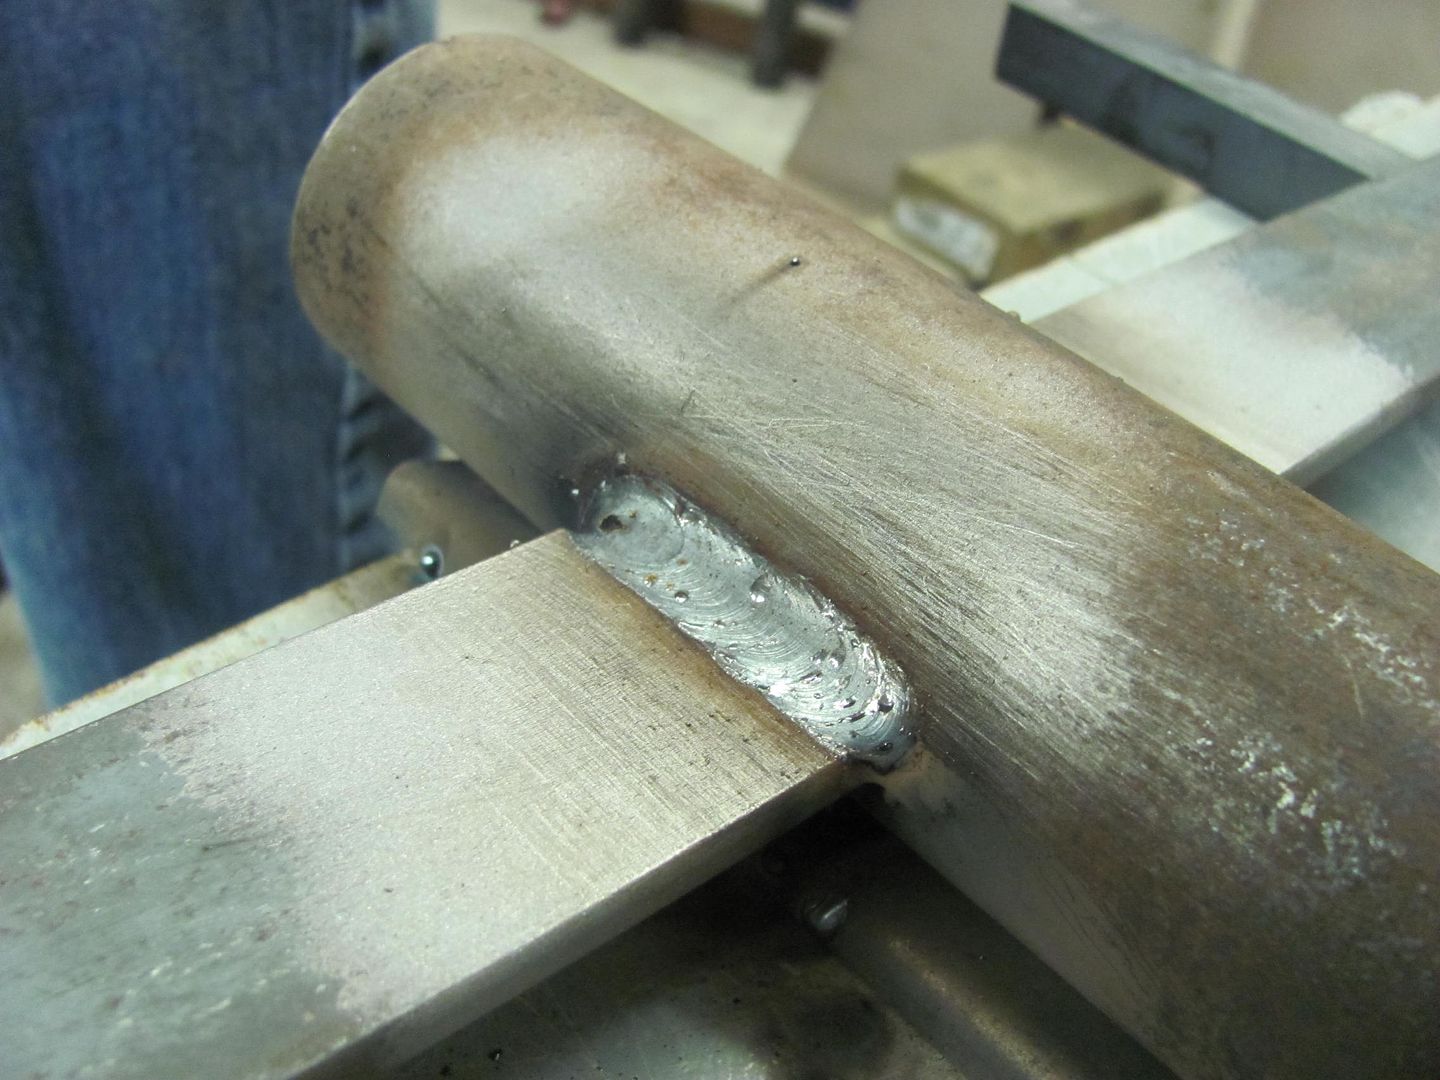
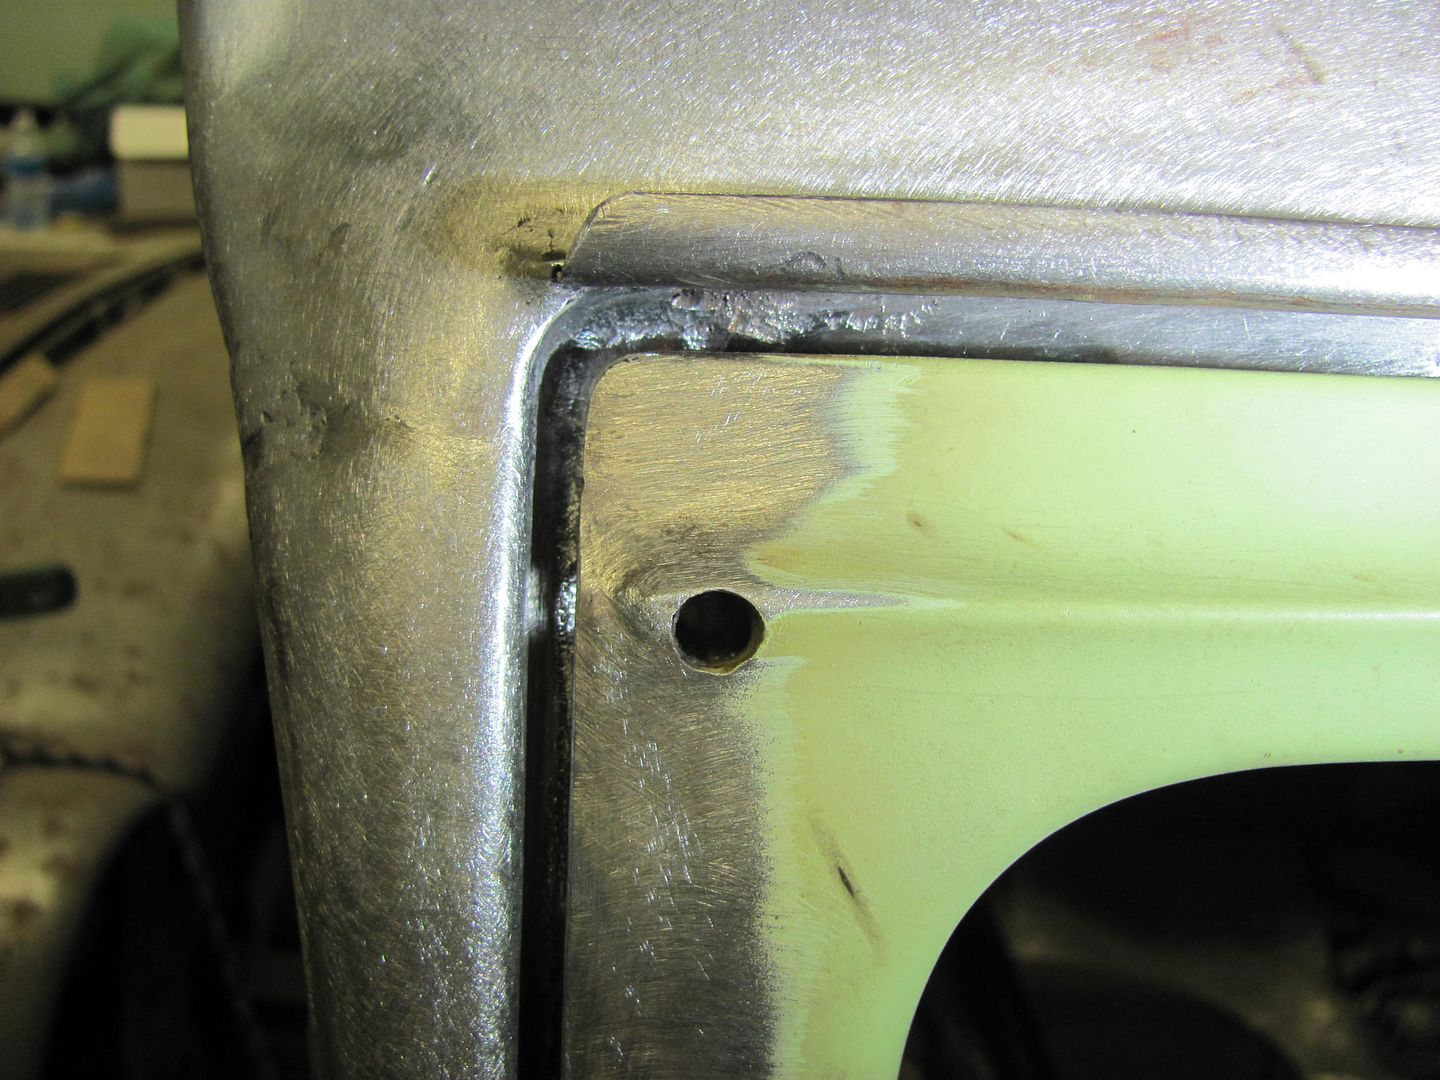
    Used a torch and wire brush to clean off the other side, looks like this gap was a factory deal, and we have another radius to install..


    Robert


    Instagram @ mccartney_paint_and_custom


    MP&C Youtube Channel

    Comment


    • so... are you eliminating all of the leaded seams?
      Patrick & Tammy
      - Long Haulin' 2008, 2009, 2010, 2011, 2012, 2014...Addicting isn't it...??

      Comment


      • Quite a few of them, actually. The pinch weld seam at the back of the quarters (under tail light) and also for the tailpan, all showed problems with rust due to dirt (and thus moisture) entrapment. Those pinch welded flanges were removed in favor of butt welds that would eliminate this issue in the future.. The factory's assembly methods were not always the best way to do things. Primarily they were looking at the quickest, cheapest way down the assembly line.
        Robert


        Instagram @ mccartney_paint_and_custom


        MP&C Youtube Channel

        Comment


        • Hell Sonny, back when I was a boy..........

          Everyone talked about those leaded seams like they were the best thing in the world but in 10 years time or less there was usually some bubbling in the seam somewhere. I'm thinking that it was probably very difficult to get 100% of the flux out of the seam before painting and over time the flux did it's evil job. So I have no heartburn over getting rid of those seams even if it isn't true to the OEM methods. I say, "Rock On!"

          Dan
          Last edited by DanStokes; December 14, 2014, 01:07 PM.

          Comment


          • I still remember all the time i spent learning how to lead seams and panels... Oh What Fun.....
            Patrick & Tammy
            - Long Haulin' 2008, 2009, 2010, 2011, 2012, 2014...Addicting isn't it...??

            Comment


            • More progress, although it doesn't appear like much, progress just the same...

              Door skins had been left "loose" on the inner door to allow twisting/tweaking for fitment within the door opening. Drilled some 3/16 holes from flange into inner door and plug welded. I've had many people ask how well the epoxy primer holds up to the heat of plug welds, here is a good indicator. It shows discoloration at the surface, but note the nice green primer underneath where the grinding wheel went through the paint..


              Parts ready for epoxy primer..


              These are the stiffeners for inside the door skin that go behind the door handle. The inside of the door will be sprayed, as well as these parts, and allowed to flash. Then another application on both and they'll get bolted in place, letting the epoxy primer act as an adhesive to hold in place and seal to the door skin. Once door handles are bolted on they will be there for good..


              This car has belt line trim that goes around the perimeter at the bottom of the windows, which needed to be added to the new door skins. I had saved a piece from the old door skins to get the locations correct. Here's the layout of the slots for the stainless attaching hardware, we'll get that finished next time..

              Last edited by MP&C; December 18, 2014, 05:28 AM.
              Robert


              Instagram @ mccartney_paint_and_custom


              MP&C Youtube Channel

              Comment


              • well now you're jsut showing off LOL! I love this thread...it's amazing to me.
                If you can leave two black stripes from the exit of one corner to the braking zone of the next, you have enough horsepower. - Mark Donohue

                Comment


                • Why is it when you're getting ready to mix primer you find other issues to fix?? More minor tweaks so that hopefully we can spray this afternoon...

                  A crack that looks to be from some previous body damage.


                  A post dolly is used to provide an off dolly effect, and the body hammer is struck on the "high" spot.


                  Used a copper backing since we're so close to the edge and the metal has been fatigued. Filled the crack and dressed the weld...


                  Then I noticed a low spot on the fender's bodyline crease...


                  Time to lose another Craftsman chisel to become a body tool...


                  ....the rod was heated and bent around, then finished welding.


                  Placed the fender on the large shot bag and used the dead blow hammer to apply the persuasive force...


                  Much better with a more consistent crown across the fender..


                  Robert


                  Instagram @ mccartney_paint_and_custom


                  MP&C Youtube Channel

                  Comment


                  • Your craftsmanship and attention to detail never ceases to amaze me Mr. MP&C

                    Comment


                    • Thanks!!


                      We have primer! Sprayed the SPI epoxy tonight, later this week we'll spray the doors and outside of the fenders and hood. Then we can assemble the front end and block across the adjacent panels..


                      Robert


                      Instagram @ mccartney_paint_and_custom


                      MP&C Youtube Channel

                      Comment


                      • Very nice. If I remember correctly those hoods a habit of sagging in the center, any thoughts on throwing in an extra brace?

                        Comment


                        • The holes on the sides are for another brace, it was removed temporarily when we shaved the hood bird. It will go back in, Part of the issue with these hoods is that there isn't a full front to back inner structure. The next issue is that hinges wear, which then makes the hood harder to close, so it starts getting slammed from the top, causing dents or depressions along the center peak. I'm not saying we won't have the issue, but the hinges have been addressed where it closes like this:

                          https://www.youtube.com/watch?v=E1-9K_iXN5A


                          .....and when the hood bird was removed the hood was peaked all the way to the front. This was massaged to get a nice crown in the peak from front to back for better support, so with fingers crossed, I'm hoping these fixes will do the trick..
                          Last edited by MP&C; December 22, 2014, 04:55 AM.
                          Robert


                          Instagram @ mccartney_paint_and_custom


                          MP&C Youtube Channel

                          Comment


                          • One of our projects for tonight was to make a stand to hold the doors for painting. I have some heavy duty "tripods" on casters that have a 2" ID pipe on top with a setscrew, which works well for changing out various fixtures for painting, as shown below on the left....


                            My thoughts were to make a similar "tree" to hold the doors, using the hinge mounts. Here's the prototype design...


                            Here's our CAD layout this evening (cardboard aided design). As the flat bar is a bit cheaper than the pipe, we altered the pattern slightly...


                            While Kyle was working on the parts for the door "tree", I turned my attention to one of the doors that still needed some finesse. One of the problem areas on the 55 wagon is that apparently GM did not have sufficient quantity of passenger doors specific to the wagon for the assembly line, so the quick fix was to install doors from the 2 door sedan. The downside was that the rear of the door tapers off where the sedans roof starts to drop off to the back window. With the belt line trim details aligned, note what appears to be a sagging rear edge with a widening gap to the upper door opening.... Most people don't notice this detail..


                            For comparison, the driver's door aligns well to the trim lines...


                            To fix the passenger door, we plan on a sectioning and a lift kit, adding a wider patch in the B post of the door to make up the difference.


                            This may just work yet.. Hope so, there's a big gap there..


                            New section fabbed and fitted...


                            Bottom seam welded in place...


                            Yeah, this will be much better...


                            One seam down, one to go...


                            ....and Kyle tackled his first welding project this evening..


                            until next time, Merry Christmas to all!
                            Robert


                            Instagram @ mccartney_paint_and_custom


                            MP&C Youtube Channel

                            Comment


                            • Dang, you guys are GOOD! Elegant fix. I hope the owner appreciates the detail.

                              Dan

                              Comment


                              • When one's standards are high, the others strive to catch up.. Kyle is a lucky kid!

                                Comment

                                Working...
                                X