Announcement

Collapse
No announcement yet.

55 Wagon Progress

Collapse
X
 
  • Filter
  • Time
  • Show
Clear All
new posts

  • Originally posted by Beagle View Post
    I was thinking along the same lines - GM probably wants to buy this thing because the brand new one they had in moth balls didn't fit that nicely.

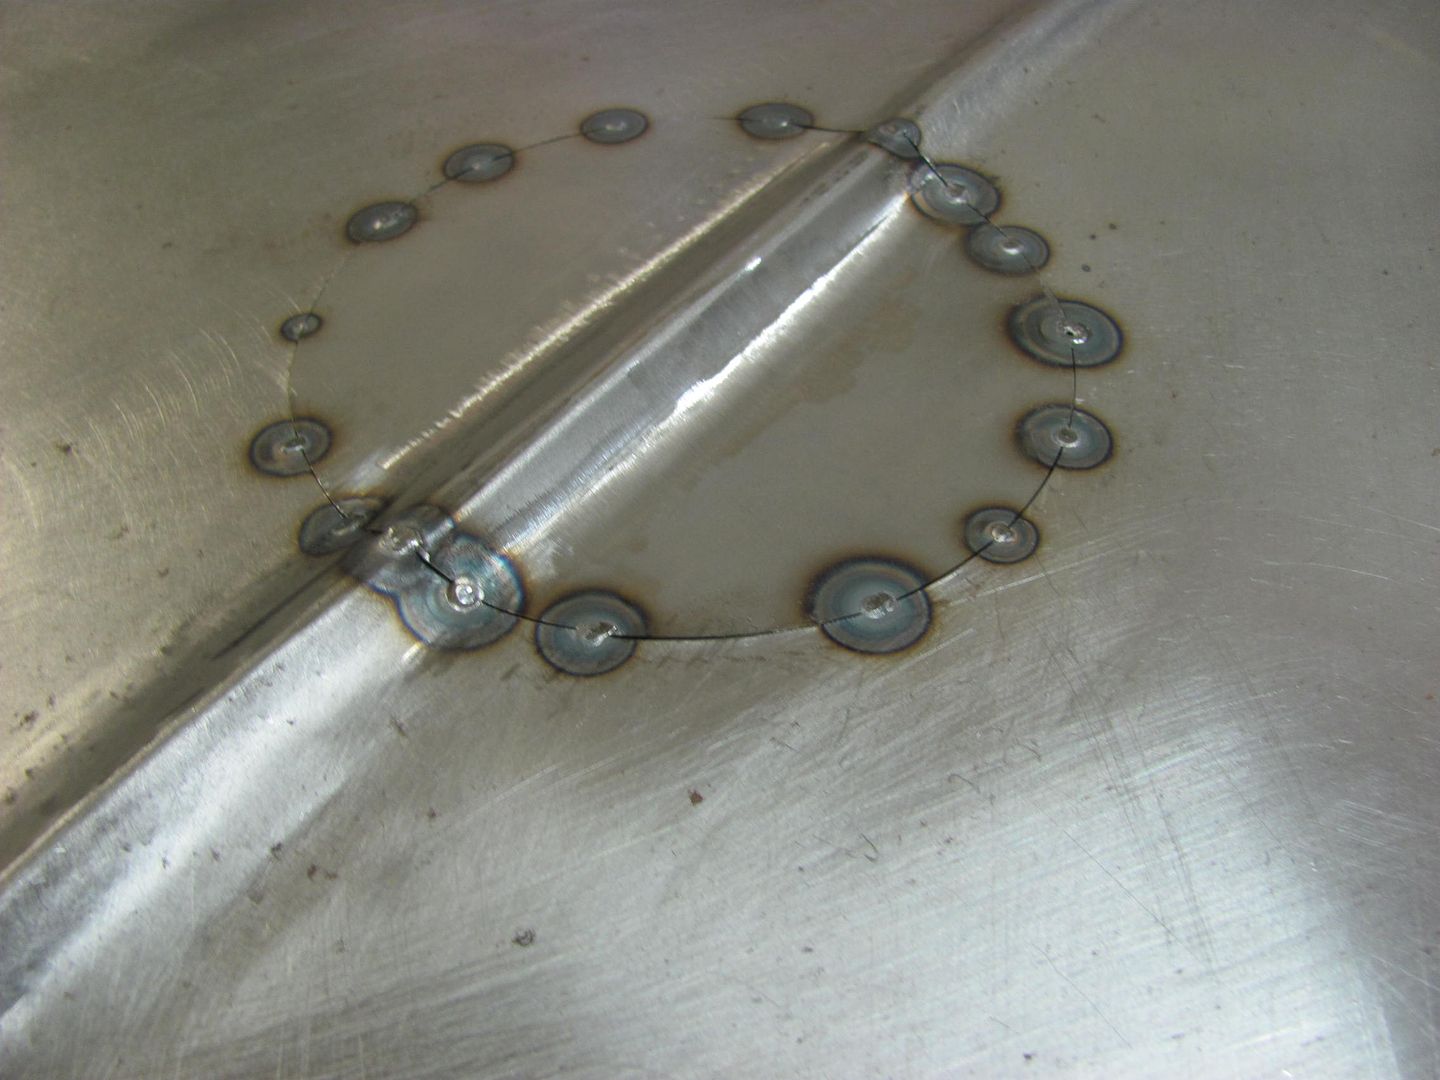
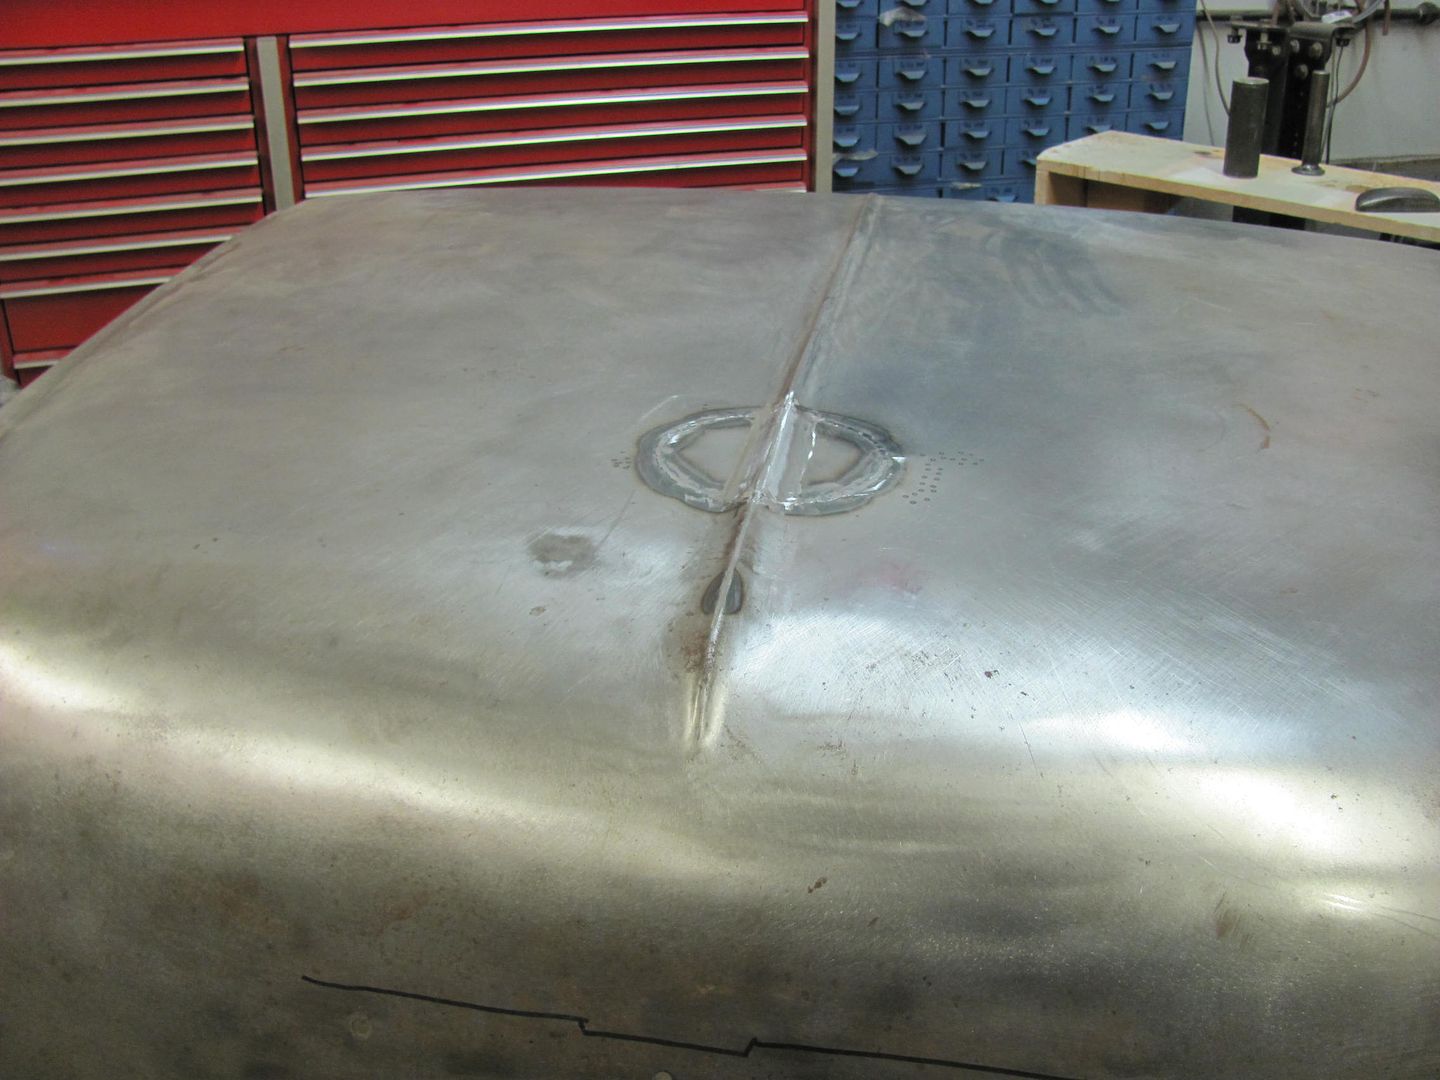
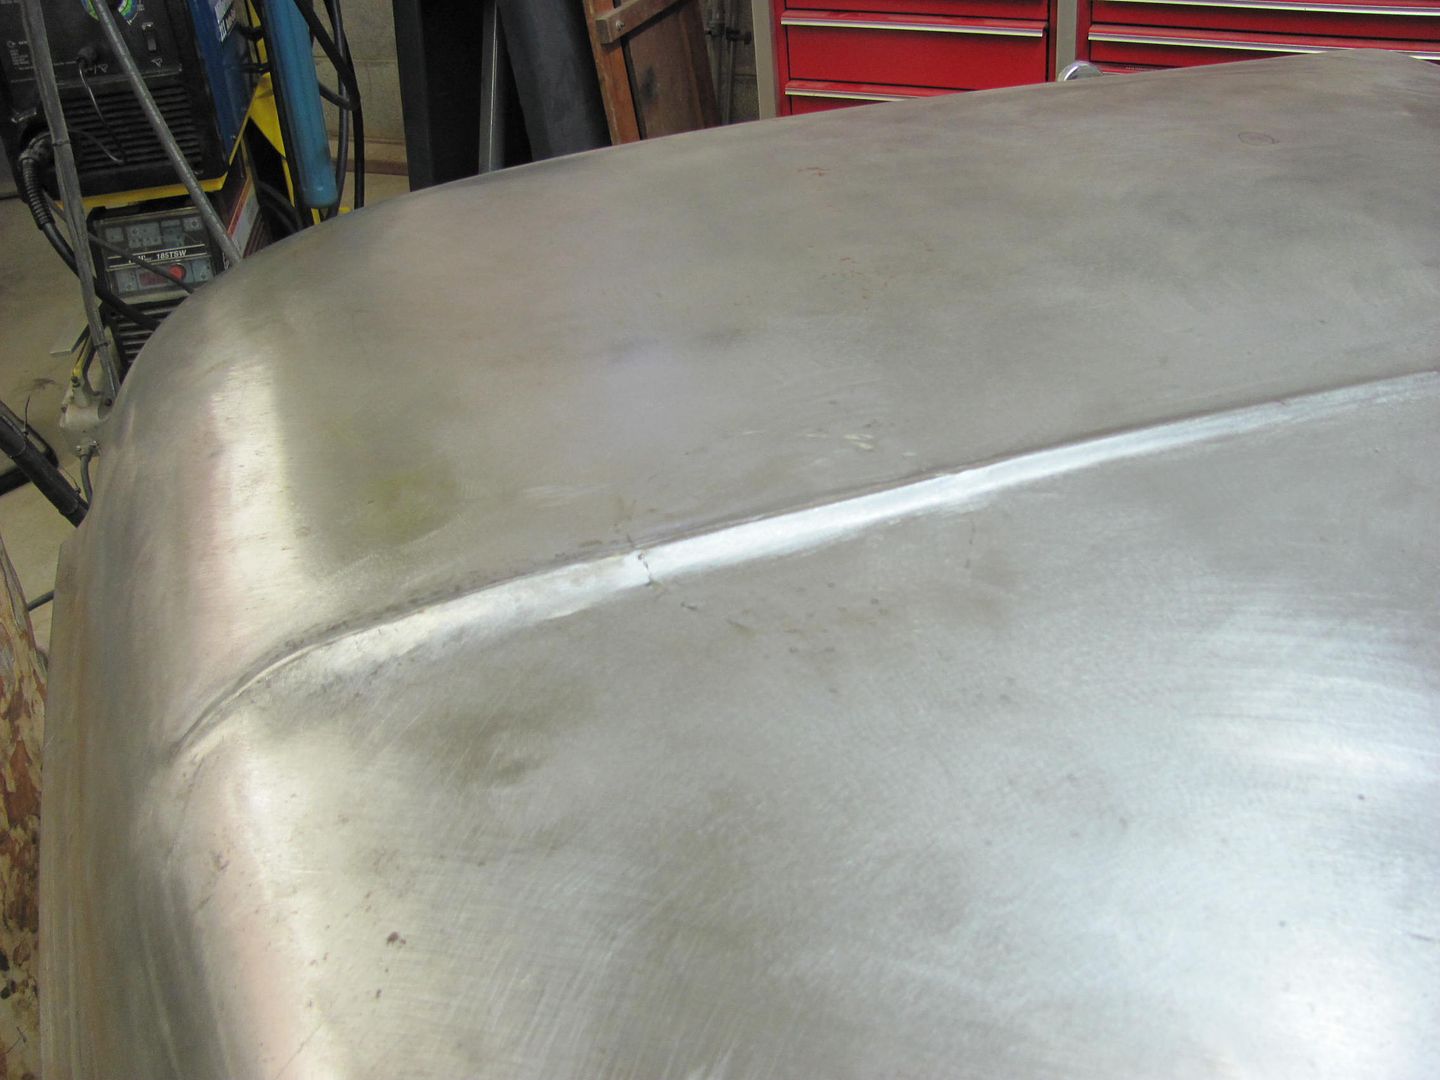
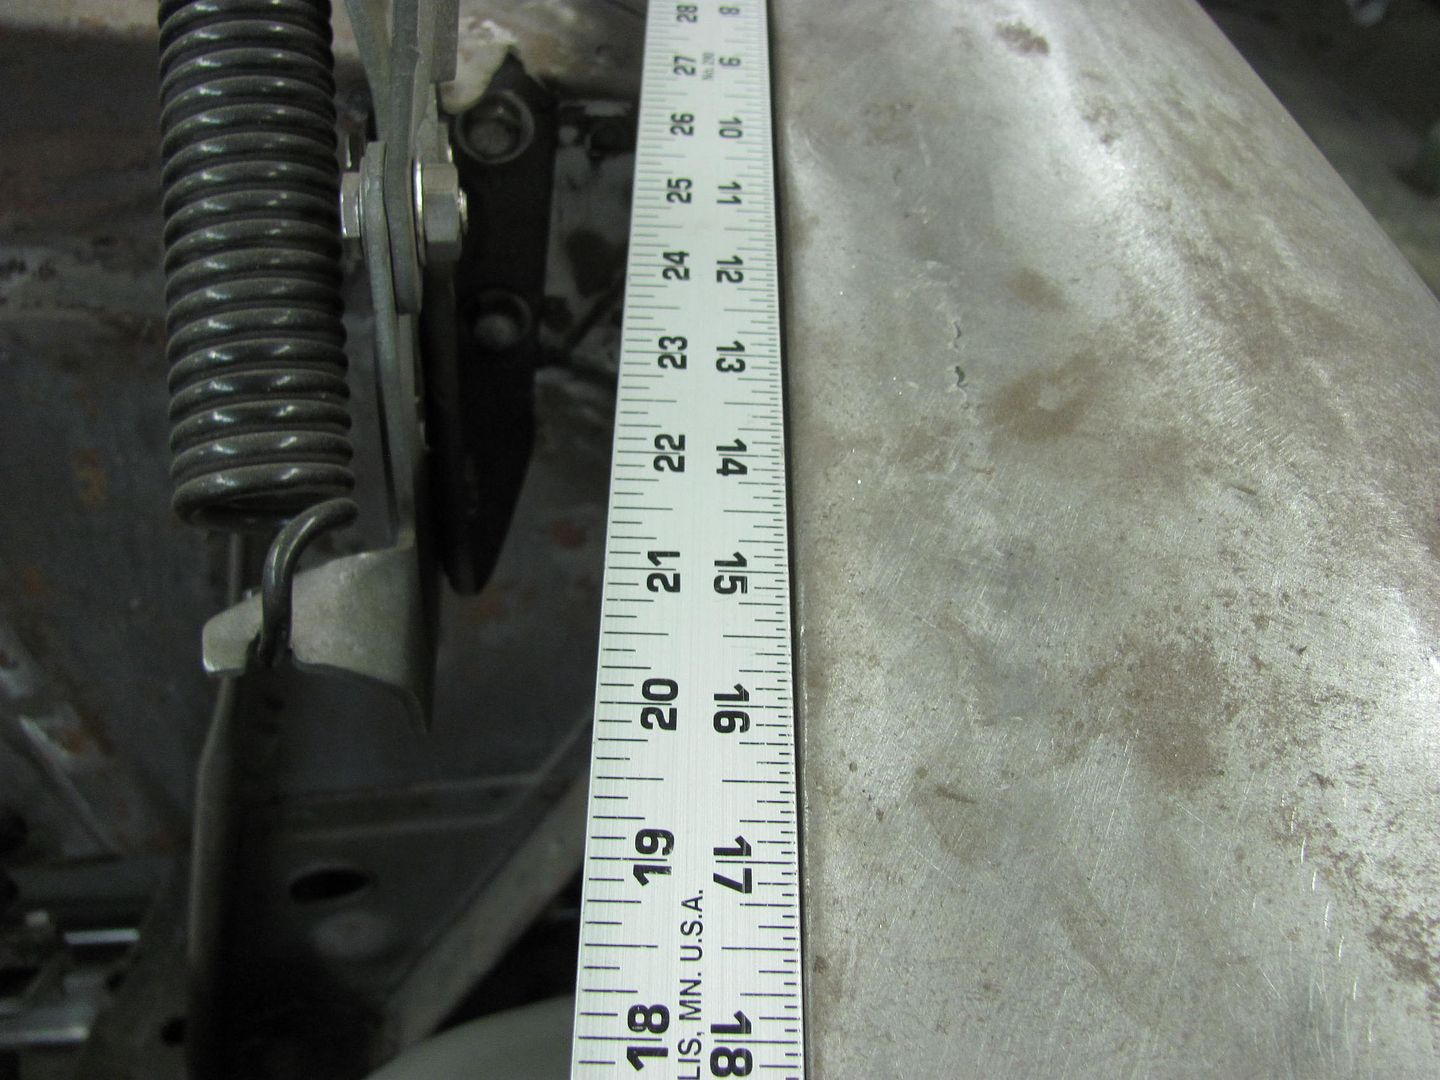
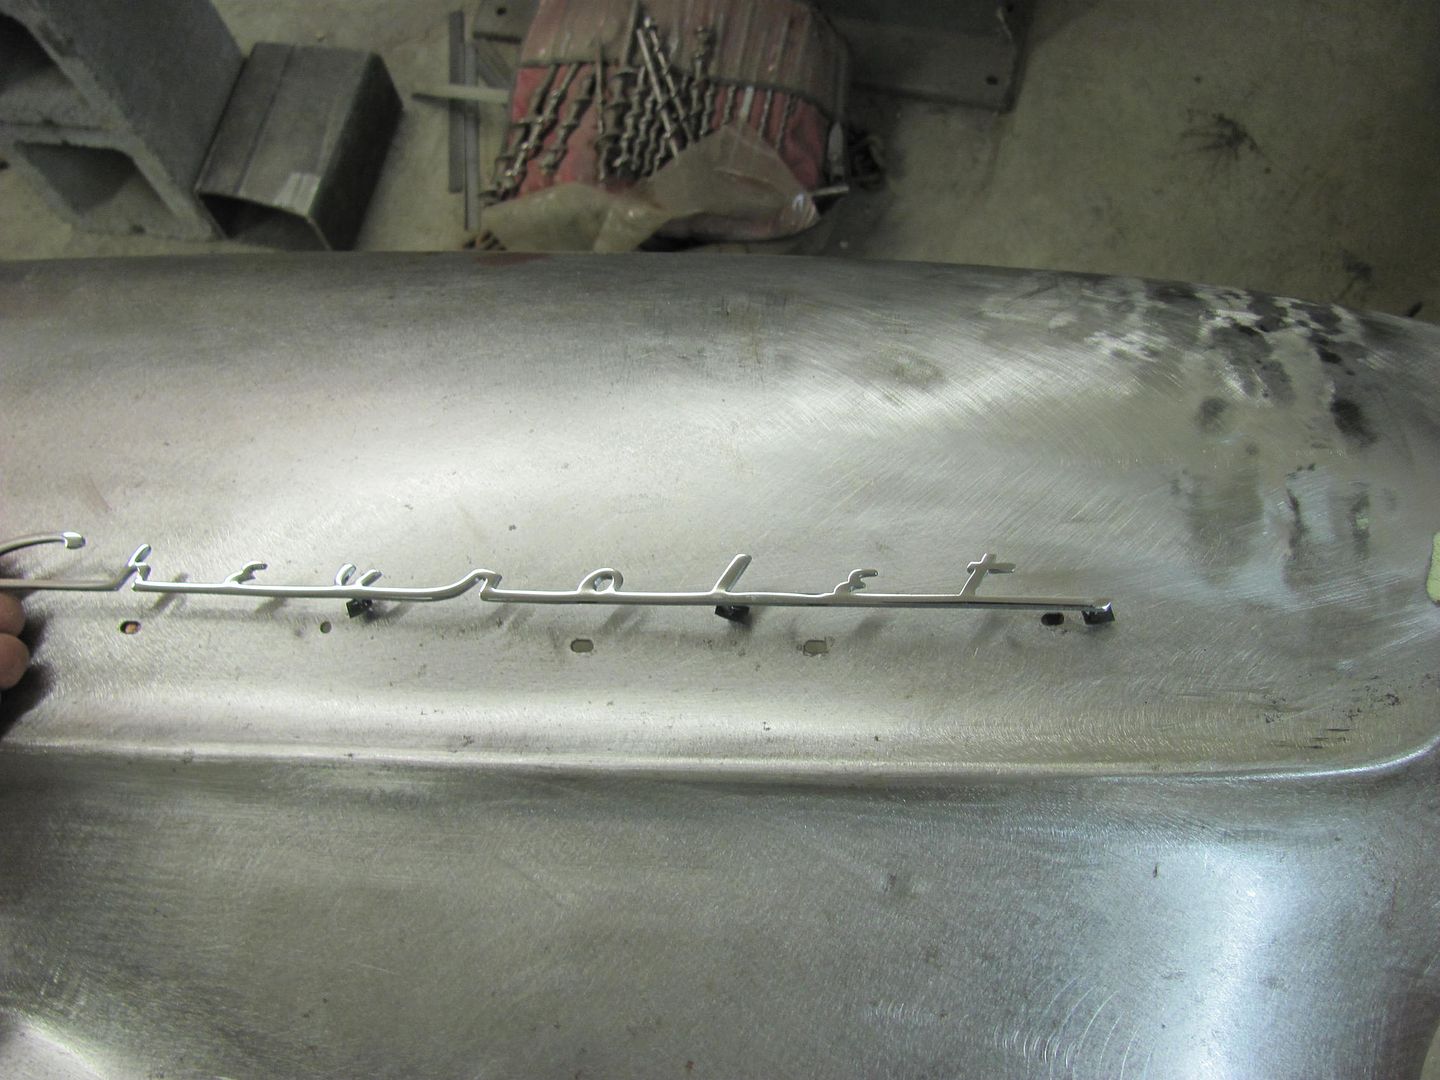
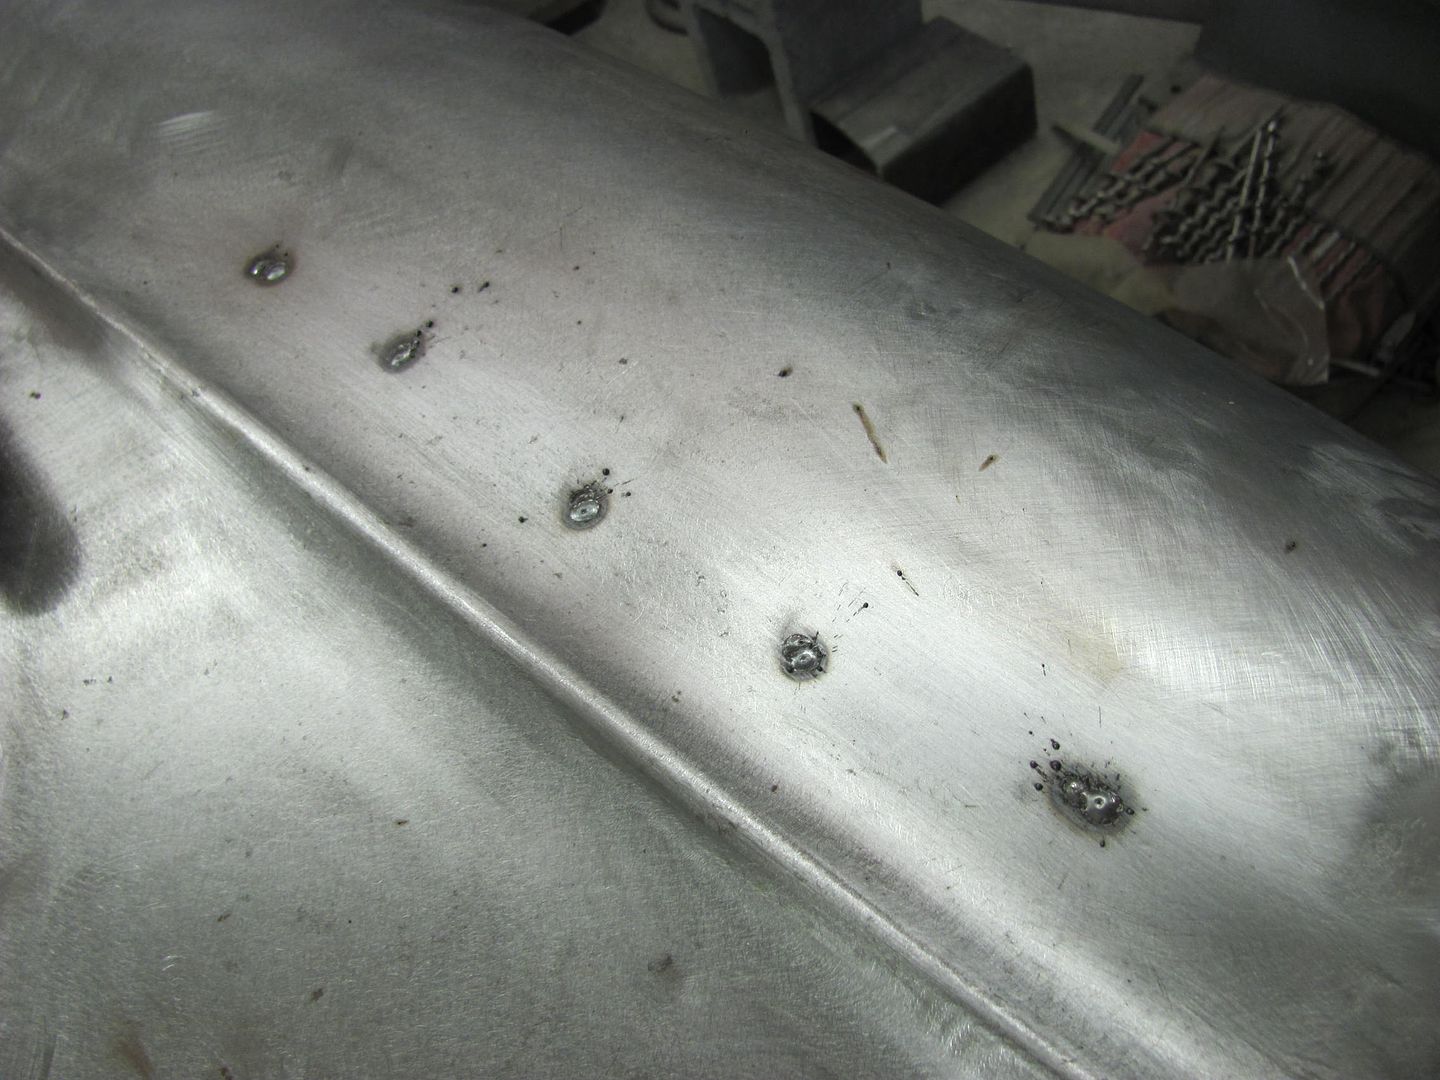
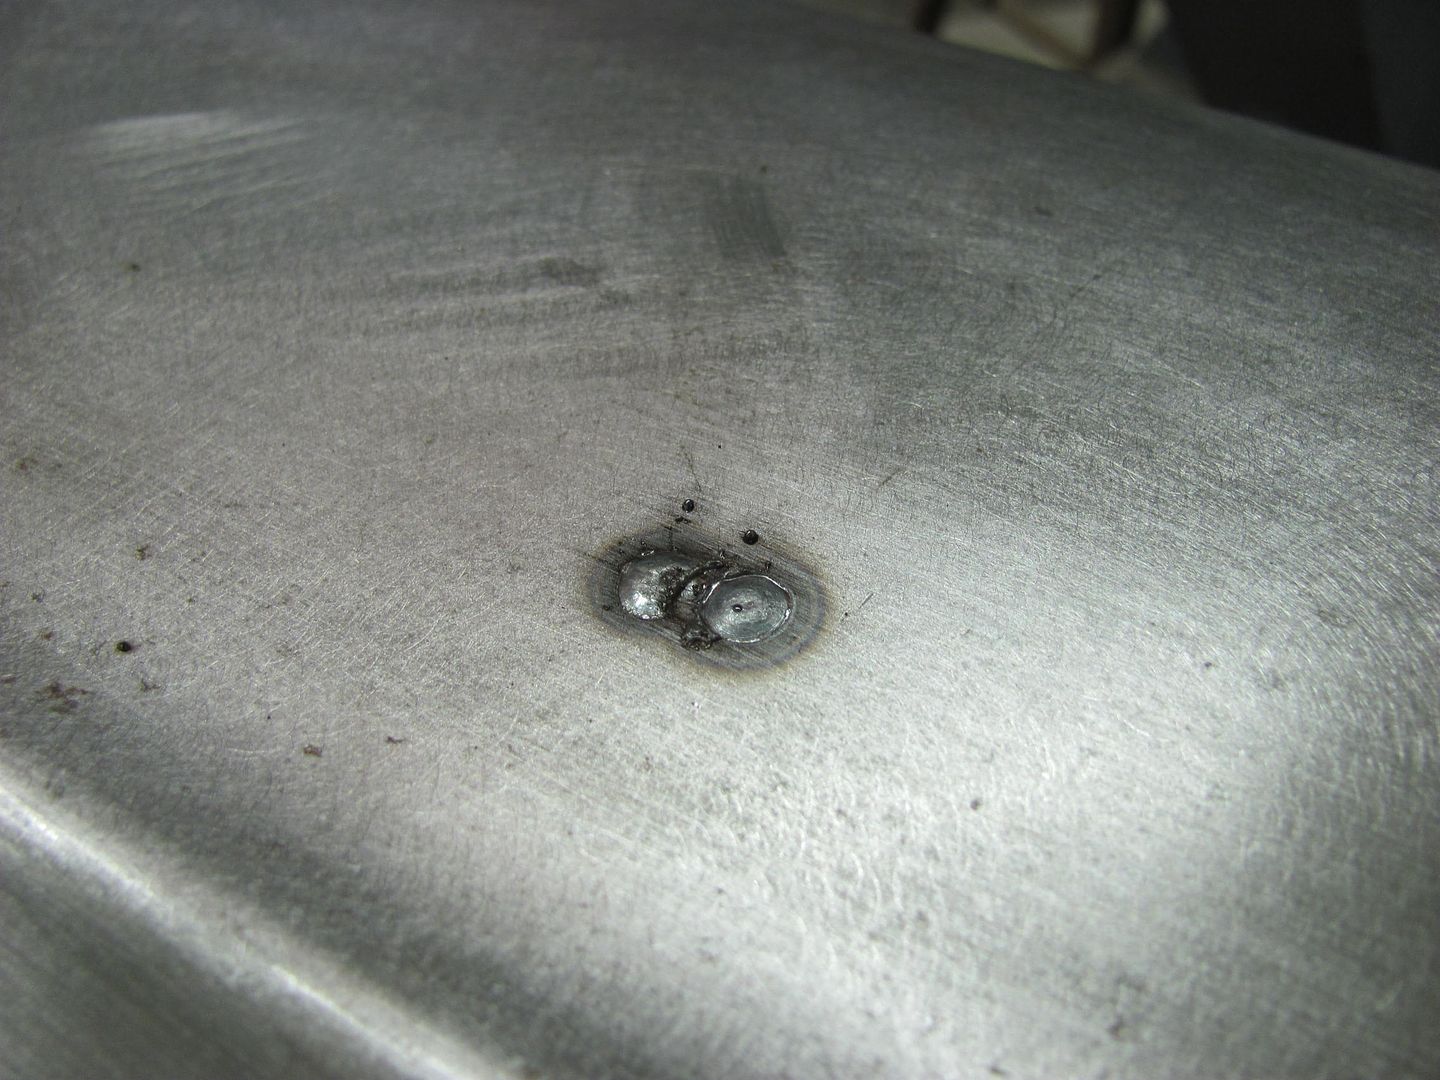
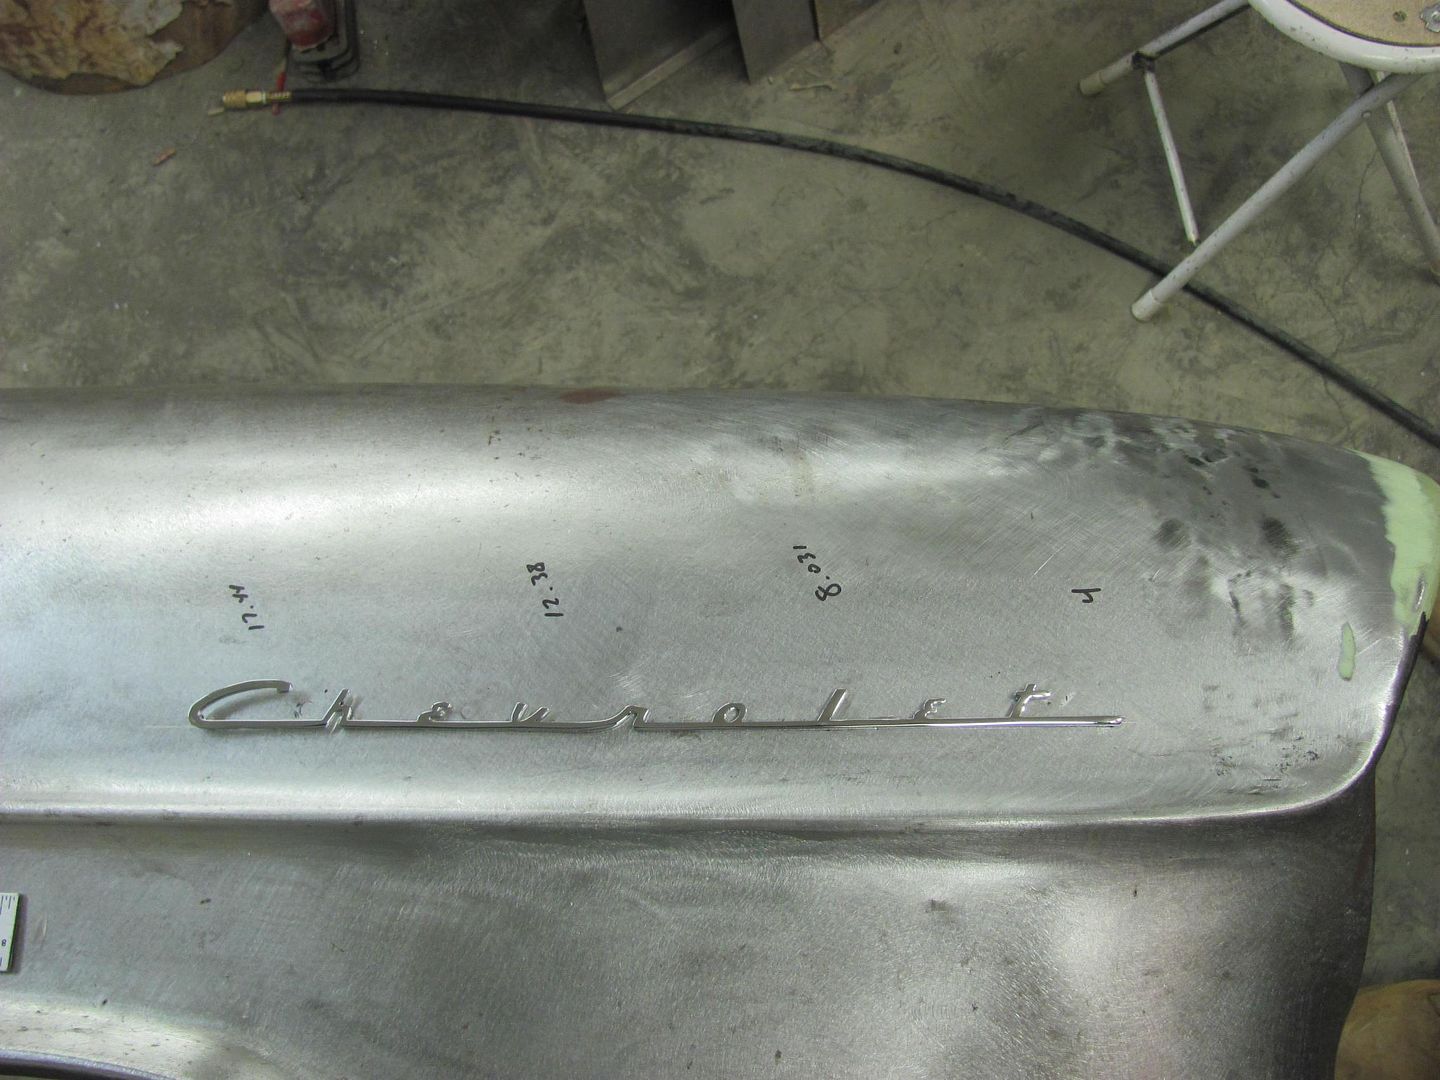
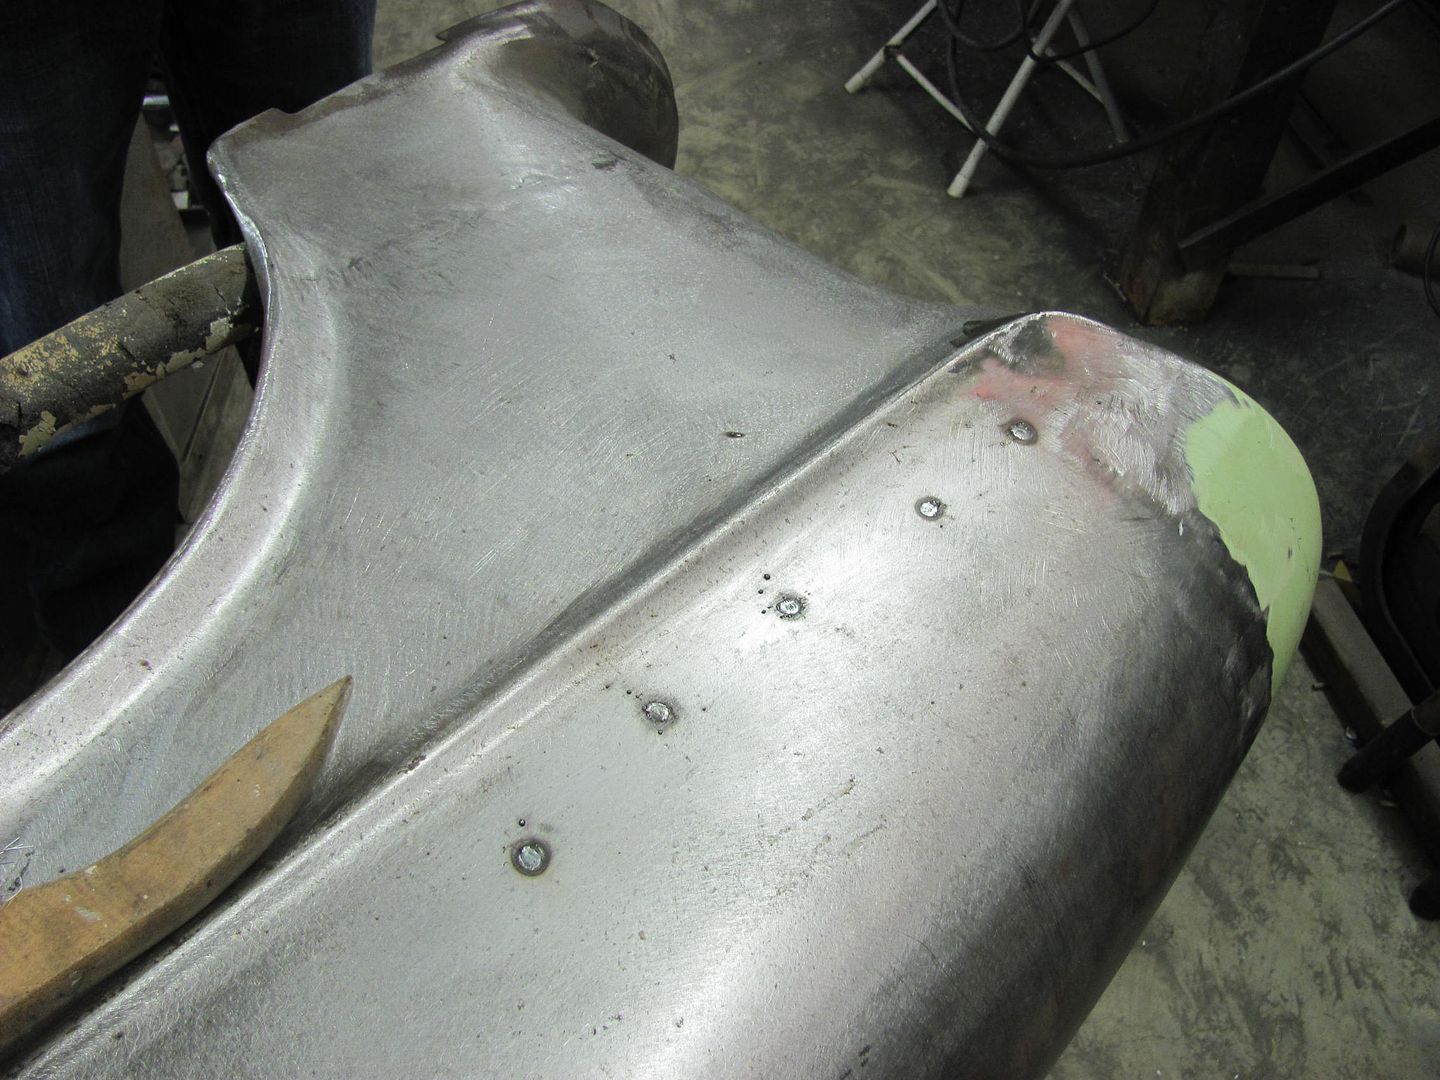
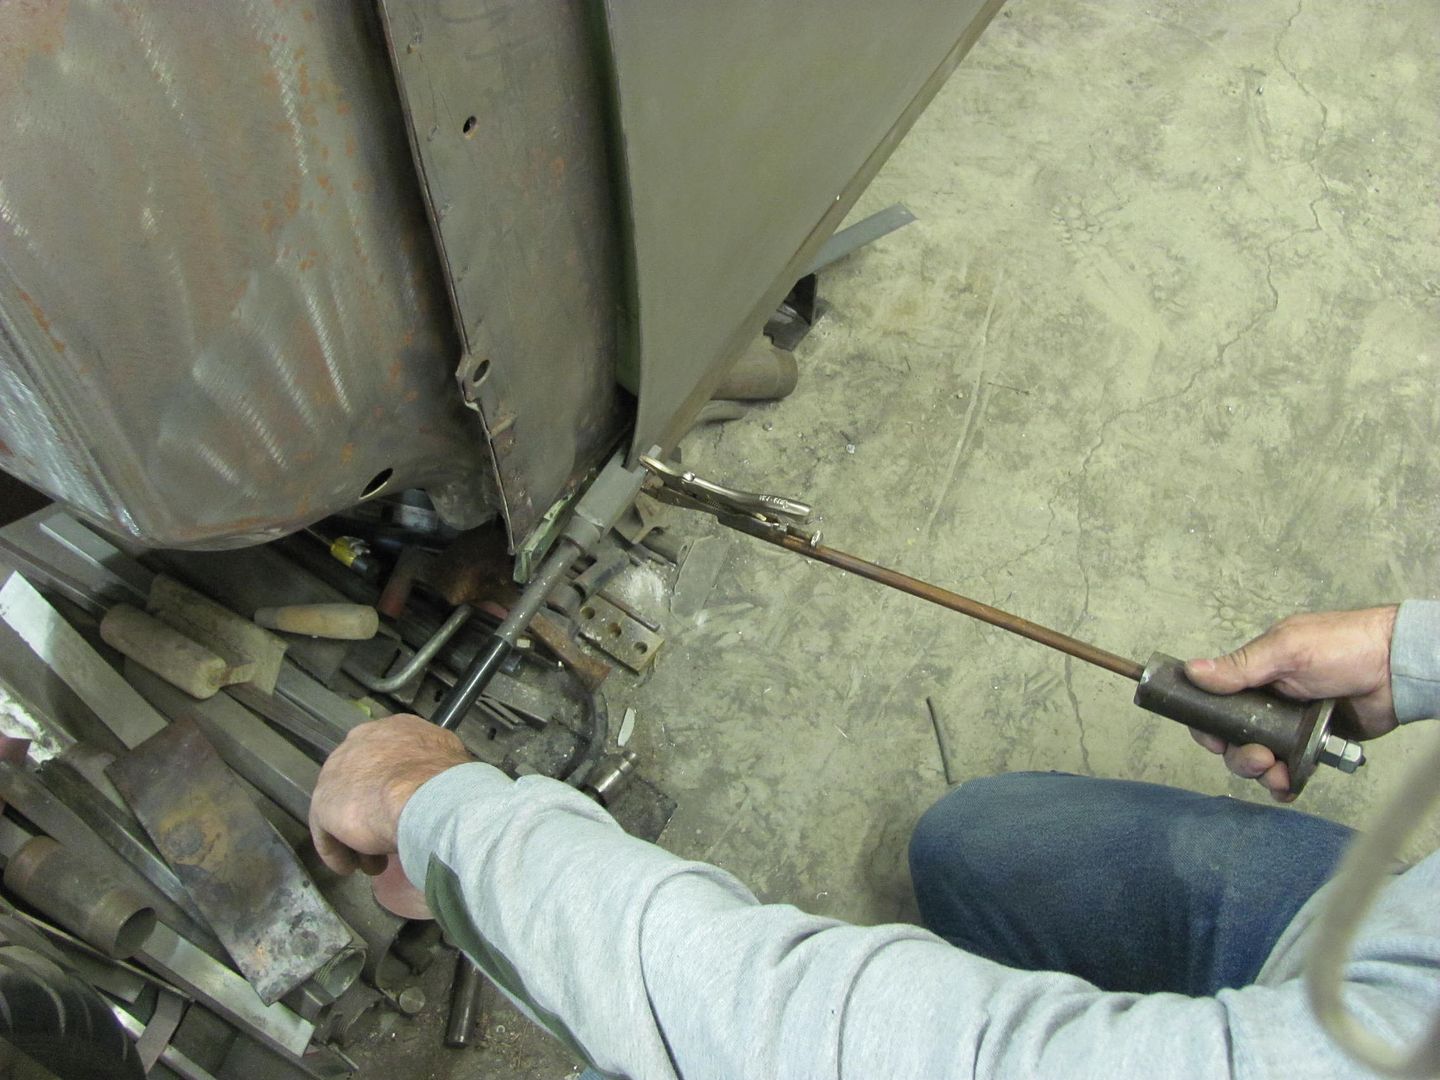
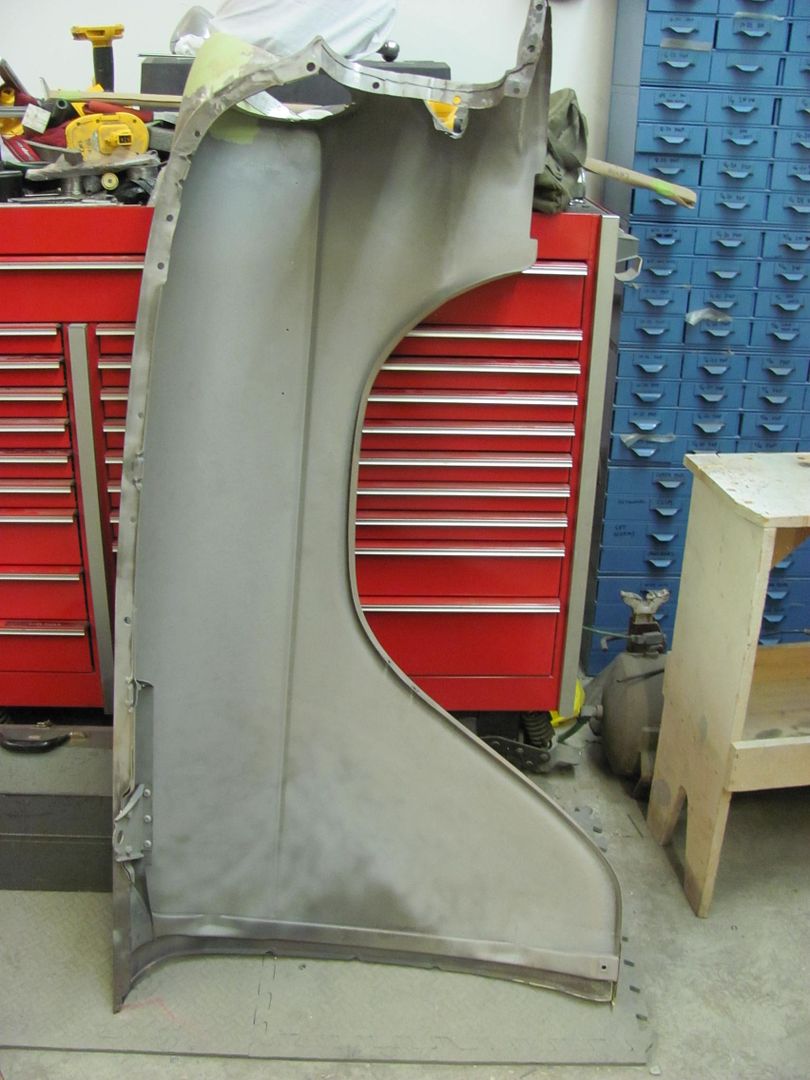
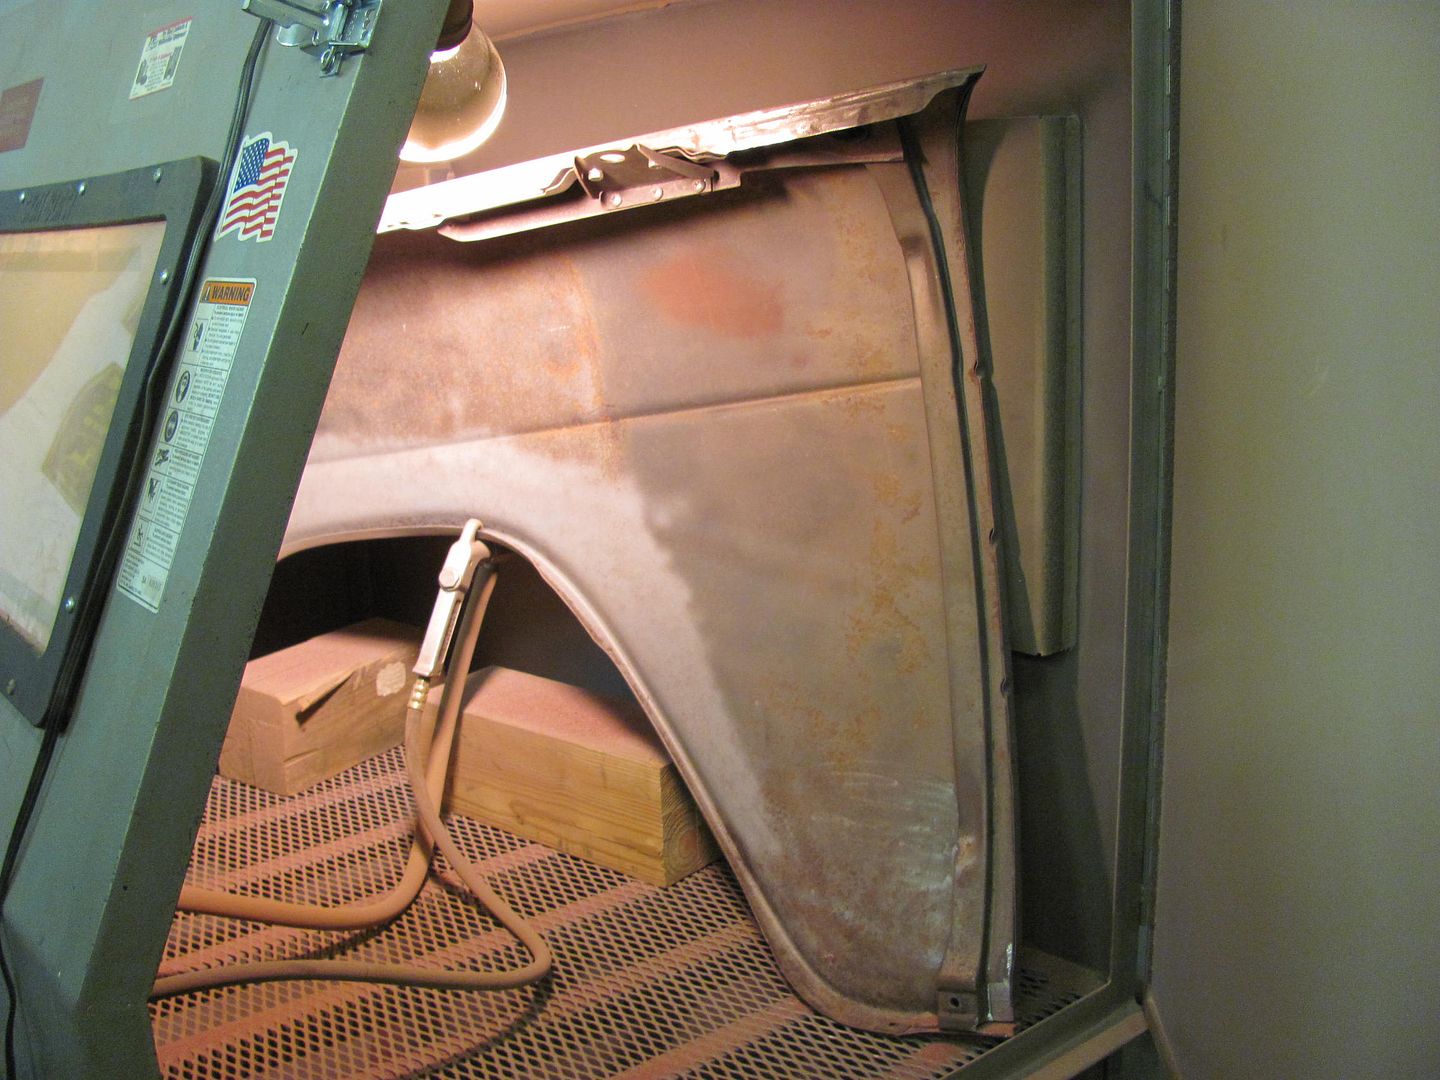
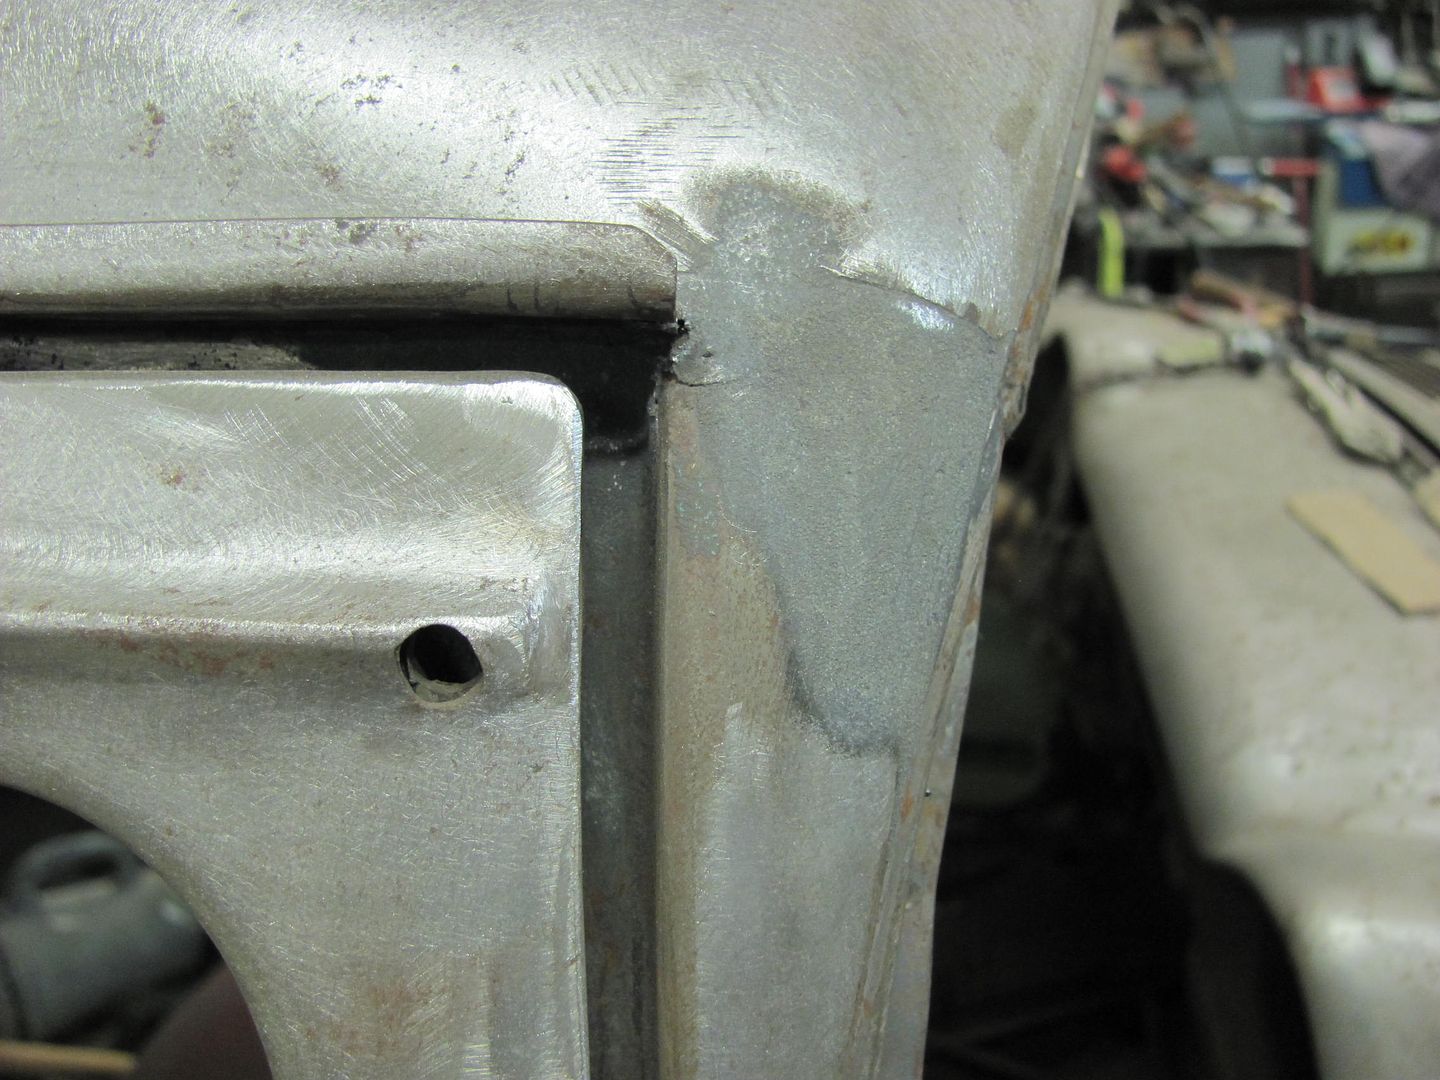
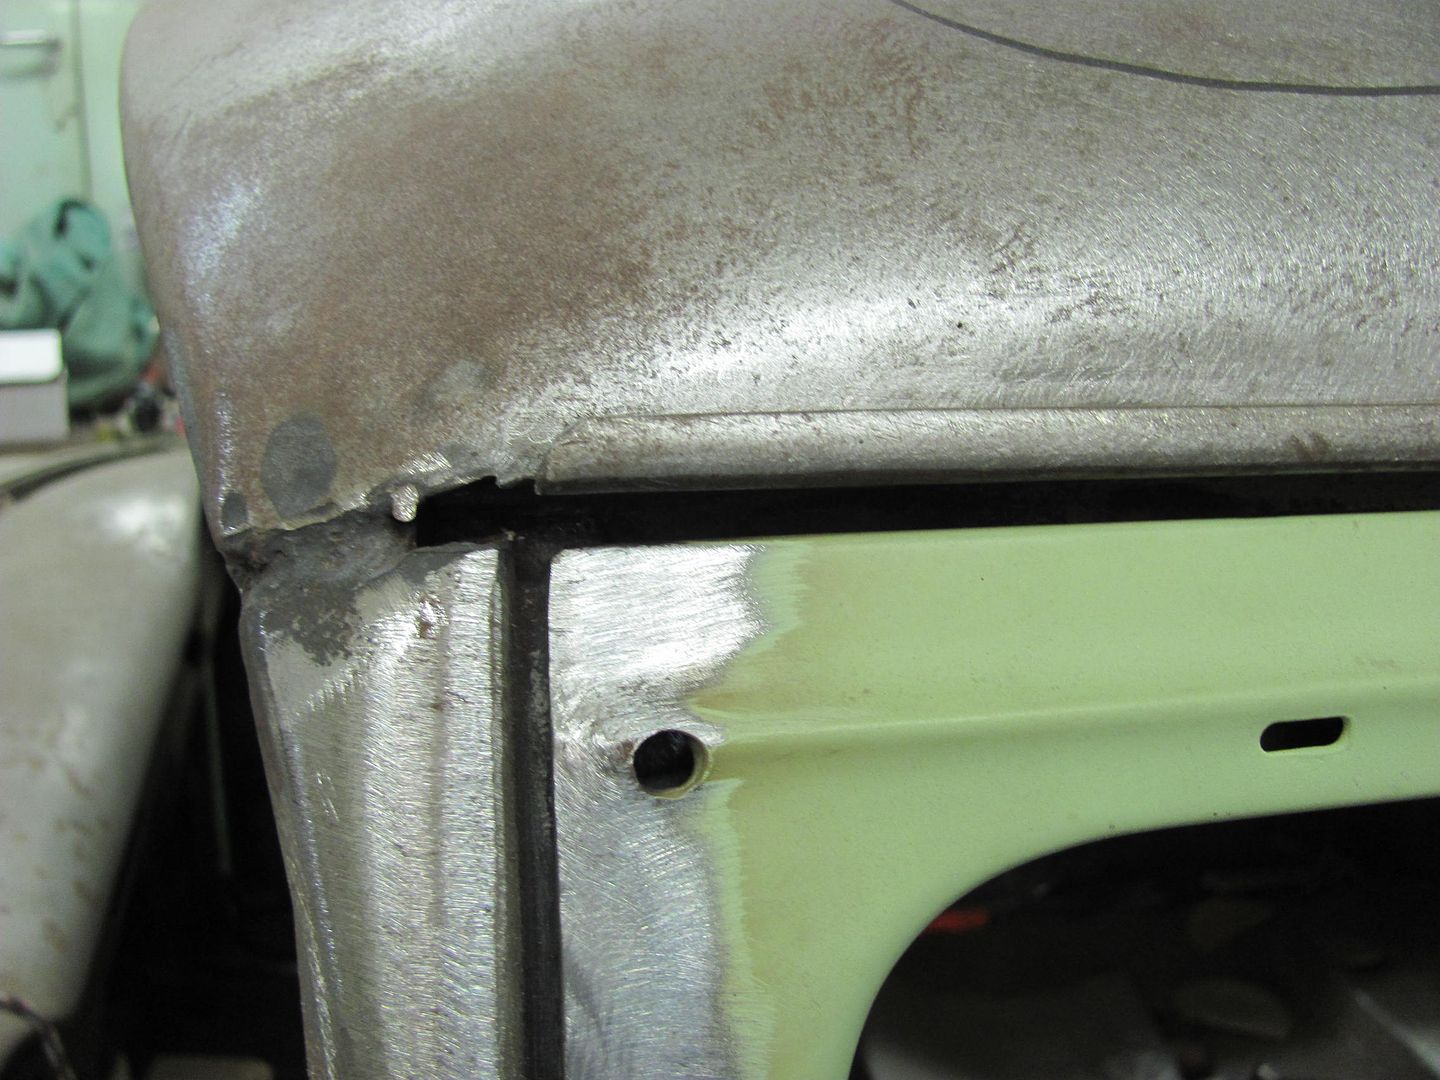
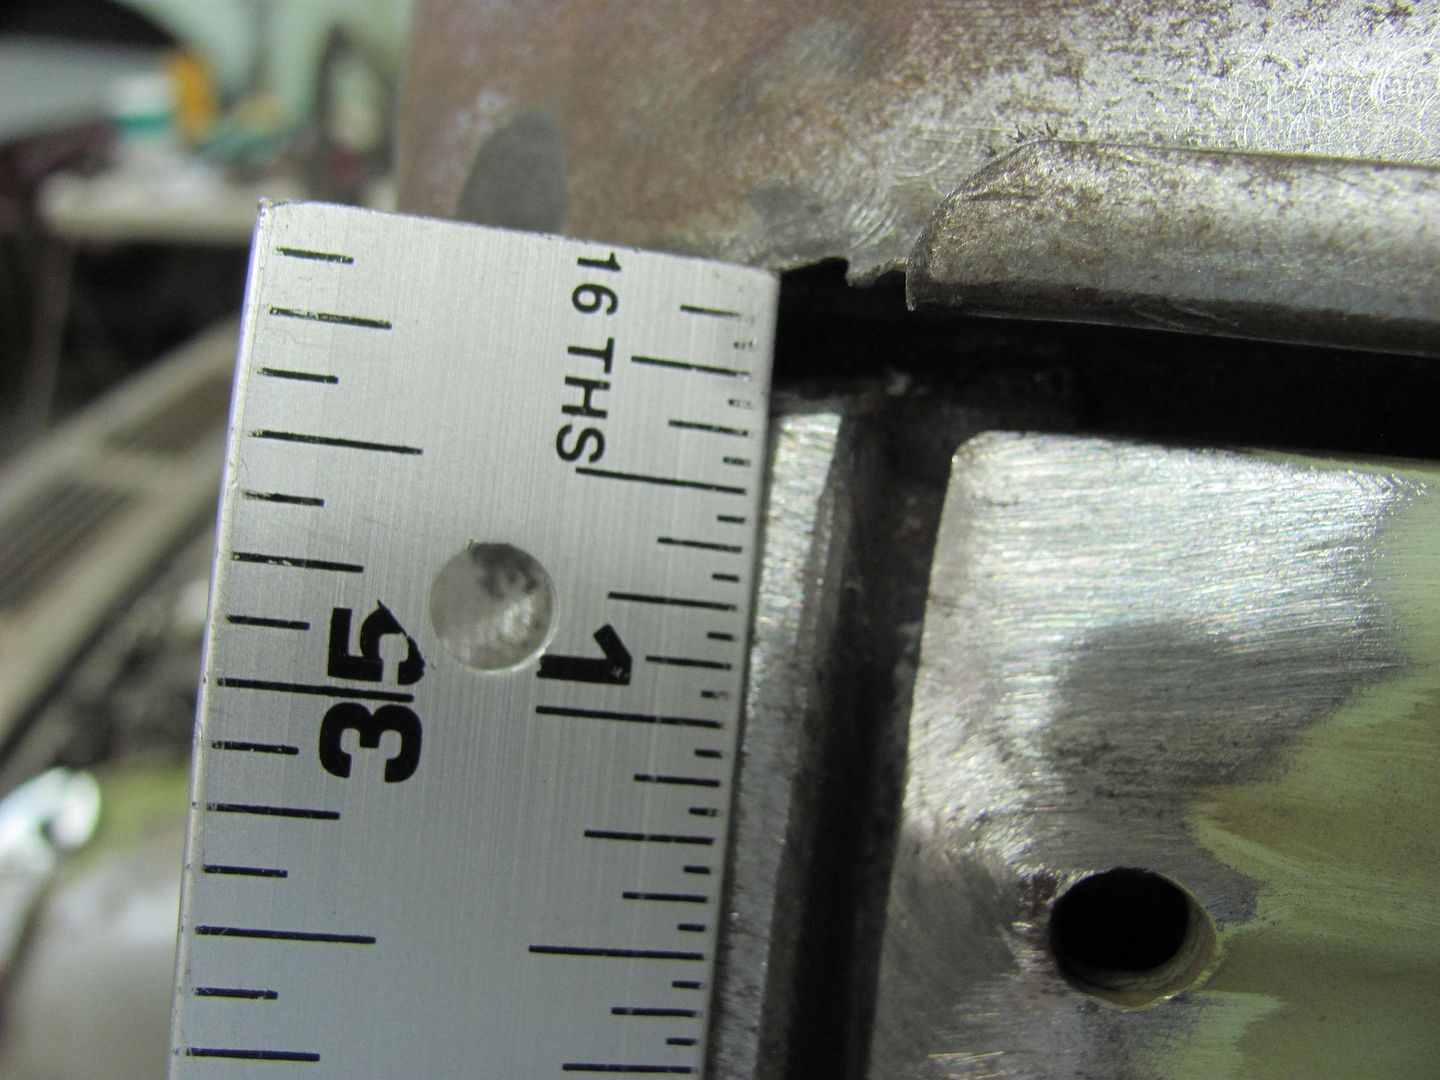
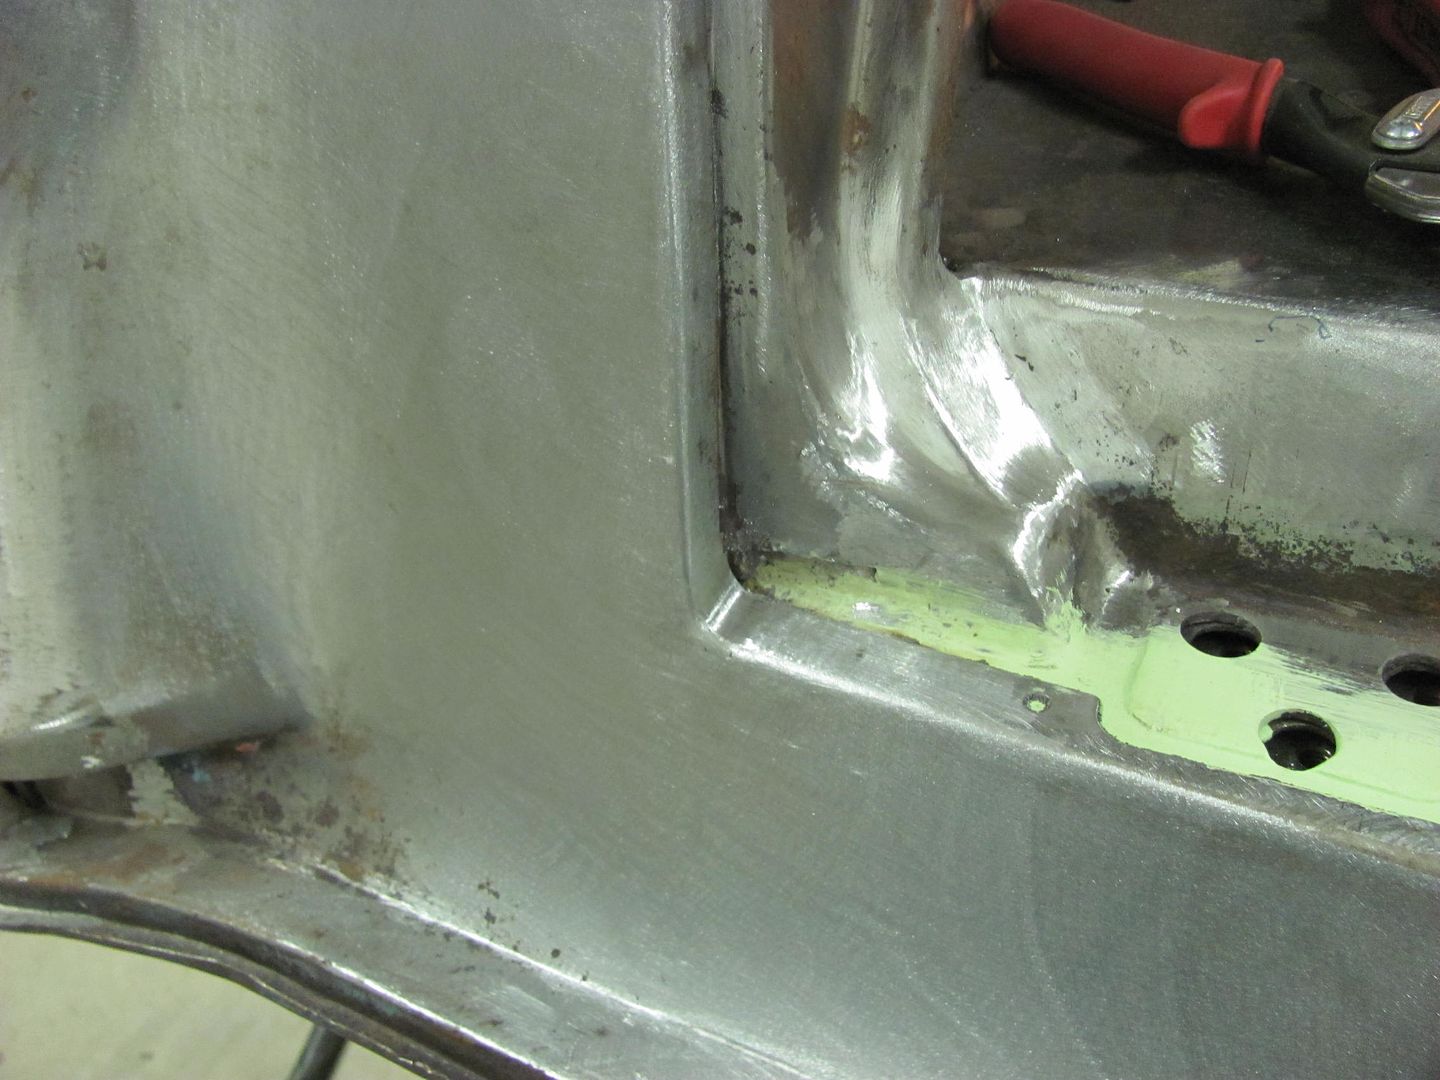
    I know the panel gaps on all three of my cars are no where near this close. I was looking at the truck's last night and they are pretty darn good for when it was built and being a truck. The doors and hood close and open very nice. Only fenders are noticeably off back by the cowl. My Impala's trunk was never taken off before I realigned it. It was off badly to one side from the factory. It closed just fine but it had a huge gap on side and none on the other.
    BS'er formally known as Rebeldryver

    Resident Instigator

    sigpic

    Comment


    • I got nothing...just sitting, reading...jaw on lap....good stuff.
      If you can leave two black stripes from the exit of one corner to the braking zone of the next, you have enough horsepower. - Mark Donohue

      Comment


      • Thanks for the comments guys. Well, things don't always go as planned, today was a slight back up and punt. Part of the hood peaking work in "fixing" the low spots......


        ....resulted in a slight tear in the sheet metal.... It was about 1/2" long and opened about 1/32. I thought this would be a good place to use the Tig, but it didn't work out that way.. Remainder of the tear can be seen at arrow..


        This helps to show that the Tig process prefers tight fitting panel joints.. Well, time to fix the gaping hole..


        Making room for the new patch


        Nice tight fit, tacked in place..


        Tig welded, dressed and planished....


        The dulled and radiused chisel was retired and this was used to tweak the peak for a nice consistent crown...


        Robert


        Instagram @ mccartney_paint_and_custom


        MP&C Youtube Channel

        Comment


        • Just wondering why you cut the square piece down to a round one, easier? or less welding?

          Comment


          • Welding into a 90* corner will compound the shrinking issues at the inside corners where you end up with puckers / distortion that is a bit more of a challenge to planish out. A radius used at a corner will help to balance the shrinking effects on either side for an easier job of planishing out the defects. So for as small as the patch was, I just used a circle.
            Robert


            Instagram @ mccartney_paint_and_custom


            MP&C Youtube Channel

            Comment


            • Sweet! Thanks for the tip!
              Patrick & Tammy
              - Long Haulin' 2008, 2009, 2010, 2011, 2012, 2014...Addicting isn't it...??

              Comment


              • Glad to help!


                Well a slight diversion in the shop, I thought we were done spraying yellow paint when the welding cart was complete, but I guess it's been long overdue. It's been quite a while that we've seen any bus repairs, but one got the side skirt panel mangled up enough that the county's transportation dept took it out of service.


                Picked up some stainless #12 screws and Kyle media blasted the heads for adhesion for paint...


                SPI Epoxy primer mixed as sealer...


                Some BASF Urethane applied...


                The rub strip at the bottom of the skirt panel was pretty mangled as well, the new comes in a stock 10' length, so it was cut to size and drilled per the original. (had to straighten it a bit to transfer the holes) We also have a brace behind the skirt that was pushed back a ways, it will need to be pulled out and re-welded.

                Here's the SPI epoxy:


                ....and the black urethane..


                Should get all the parts put back together tomorrow, all ready for inspection..
                Robert


                Instagram @ mccartney_paint_and_custom


                MP&C Youtube Channel

                Comment


                • Robert..... you realize their isn't another sole on the planet that puts that much care in rebuilding a school bus? For that I applaud you!

                  Sweeping a floor or building a space ship... be a craftsman.

                  Steve
                  Well I have stopped buying stuff for cars I don't own. Is that a step in the right or wrong direction?

                  Comment


                  • Special stuff - special craftsman.

                    Dan

                    Comment


                    • Haha! Thanks guys....
                      Parts all re-assembled, ready for inspection..


                      Robert


                      Instagram @ mccartney_paint_and_custom


                      MP&C Youtube Channel

                      Comment


                      • That project sucks. Now the rest of the bus looks like crap and will need to be refinished. I'm pretty sure PPG makes an orange peel additive.

                        Dan

                        Comment


                        • Very nice work I can only imagine the care you give all vehicles not just the classics.
                          Greg & Mendy Dayton, Ohio 2007LH 2008LH 2010LH 2011LH 2012 1st 2 stops 2013LH 2015 1st 2 stops2016LH 2017 first and last stops . 2018 LH ("It's better to be dead and cool than alive and uncool!! Harley Davidson!")

                          Comment


                          • That bus is much longer than the ones I rode on growing up...
                            Stew K.

                            2007 Chevrolet Trailblazer LS 4x4 4.2 L6 Stock DD
                            1992 Oldsmobile Custom Cruiser Adopt-A-Whale
                            1988 Chevrolet R30 Custom Deluxe L05 3L80 C&C
                            1974 Chevrolet Corvette 350/TH400 (Garage Art)

                            Comment


                            • Now that the bus parts are out of the way, tonight we worked on getting the front fenders ready for epoxy primer, just a few more items to cross off the list. An earlier repair to resolve some rust on the top of the fenders.........


                              .........when checking the gap to the hood recently we noticed it was slightly wide at these spots where the weld had pulled. Shown here with the straight edge....


                              Time to make a tool that will reach between the inner fender brace for a bit of bumping...


                              The shortened hammer comes in handy again...


                              A few good raps along the area brought it out nicely.

                              Next, we have some early model fender emblems to install on the front fenders, so we needed to fill the old holes...


                              Three separate quick zaps were used (about a minute in between) to minimize the heat introduced into the panel for filling the slotted holes. Note minimal HAZ..


                              Holes laid out and drilled for the new emblem...


                              Other fender...


                              Note minimal weld bead height using EZ Grind..


                              Next, we had one more minor adjustment to do to the driver door lower corner. It was tweaked inward slightly and needed some adjustment. I recently noticed one of my hole punches was broken, and it looks like it will work for what we need, in conjunction with the vise grip dent puller...


                              Kyle started media blasting the inside of the driver's fender.... A bit of a squeeze in a 58" wide blast cabinet..


                              Rather tight to the door!


                              Until next time.....
                              Robert


                              Instagram @ mccartney_paint_and_custom


                              MP&C Youtube Channel

                              Comment


                              • While I was doing the family thing today at an FLL robotics competition, Kyle worked some more on prepping the front fenders for priming..
                                One down......


                                One to go....


                                Another issue that plagues most of the trifive Chevrolets is cracking at the leaded joint at the top of the A pillar.


                                A look at the other side shows a gap that is quite a stretch to expect a good permanent repair regardless of the filler used..


                                At over 1/4" wide, something we will need to address...


                                So we'll attempt a repair similar to the radius-ing that was done on the rear tailgate, using STEEL..


                                Until next time....
                                Robert


                                Instagram @ mccartney_paint_and_custom


                                MP&C Youtube Channel

                                Comment

                                Working...
                                X